
Last updated November 18, 2026
 Wrought iron
 Wood & steel frame
 Farm & ranch
 Sliding driveway gates
 LiftMaster operators
Free on-site gate assessment - hinges, posts, and your LiftMaster or Nice gate operator checked before anything is quoted
The assessment is free and the quote is the invoice.
Get your free estimateDIY vs Professional Gate Repair: What’s Safe to Do Yourself
Replacing a gate battery yourself carries a consequence of zero if you get it wrong. Adjusting a limit switch yourself can burn out a $400 motor board in under a week. Both tasks take about the same ten minutes, but the failure cost sits at opposite ends of the scale. That gap is the whole story. The DIY-versus-pro question isn’t really about skill level; it’s about what happens when you’re wrong. This guide maps each common gate repair to its consequence of error, so you can decide based on risk instead of pride. We’ve repaired enough gate hardware across Whitney to know which attempts save money and which ones cost you twice.
Quick Answer
Safe do-it-yourself gate work is limited to battery replacement, visual inspection, clearing debris from the track or hinges, and cleaning photo-eyes with a soft cloth. Anything involving springs, the motor board, limit-switch calibration, or 120-volt wiring should go to a trained technician because a mistake there can cost hundreds in parts or create a shock and crush hazard. If you’re unsure which category a task falls into, treat it as the second one.
Styles & brands we work with
- Wrought iron
- Wood & steel frame
- Farm & ranch
- Sliding driveway gates
- LiftMaster operators
Table of Contents
- Sort Tasks by Consequence, Not Difficulty
- What’s Genuinely Safe to Do Yourself
- Repairs That Void Manufacturer Warranties
- When DIY Makes the Professional Repair Cost More
- What “Safe to Do Yourself” Actually Requires
- How to Hand Off After a DIY Attempt
- Common Mistakes to Avoid
- When to Call a Professional
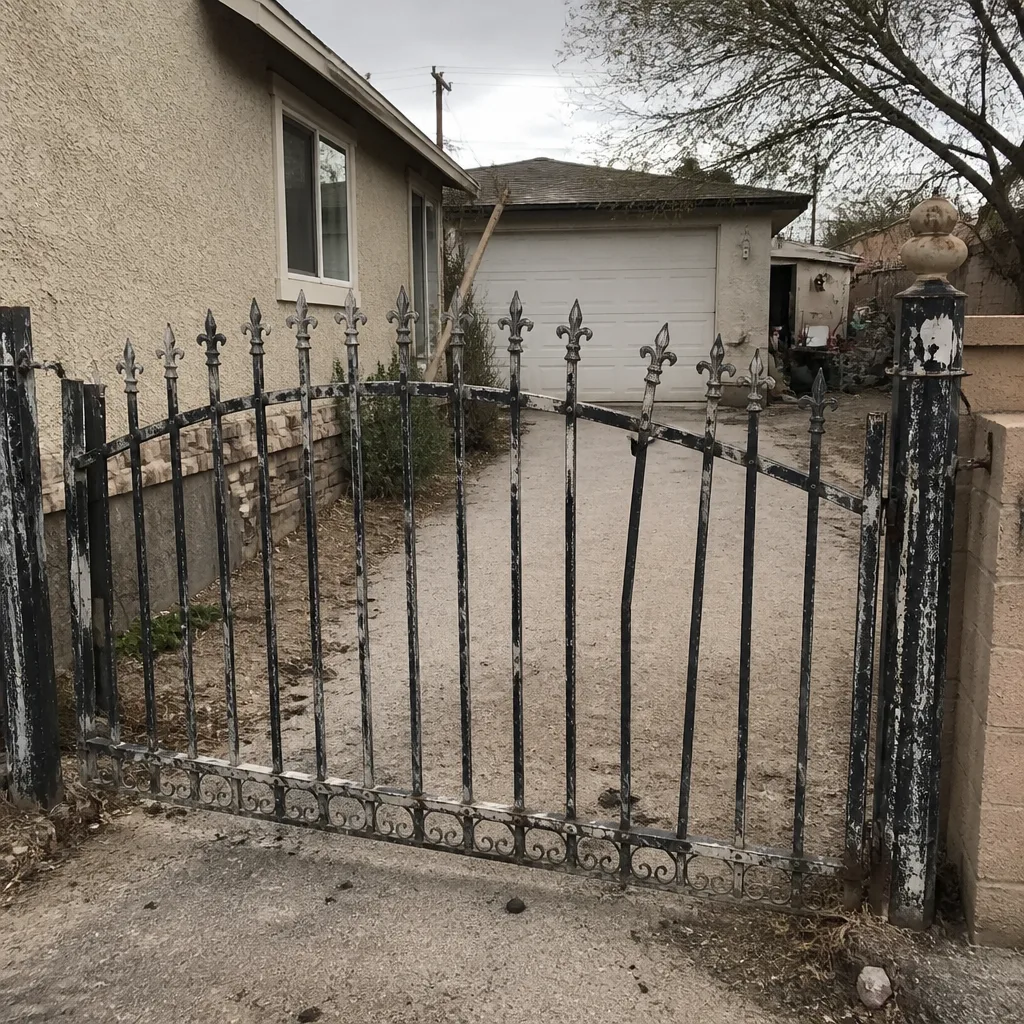 Before
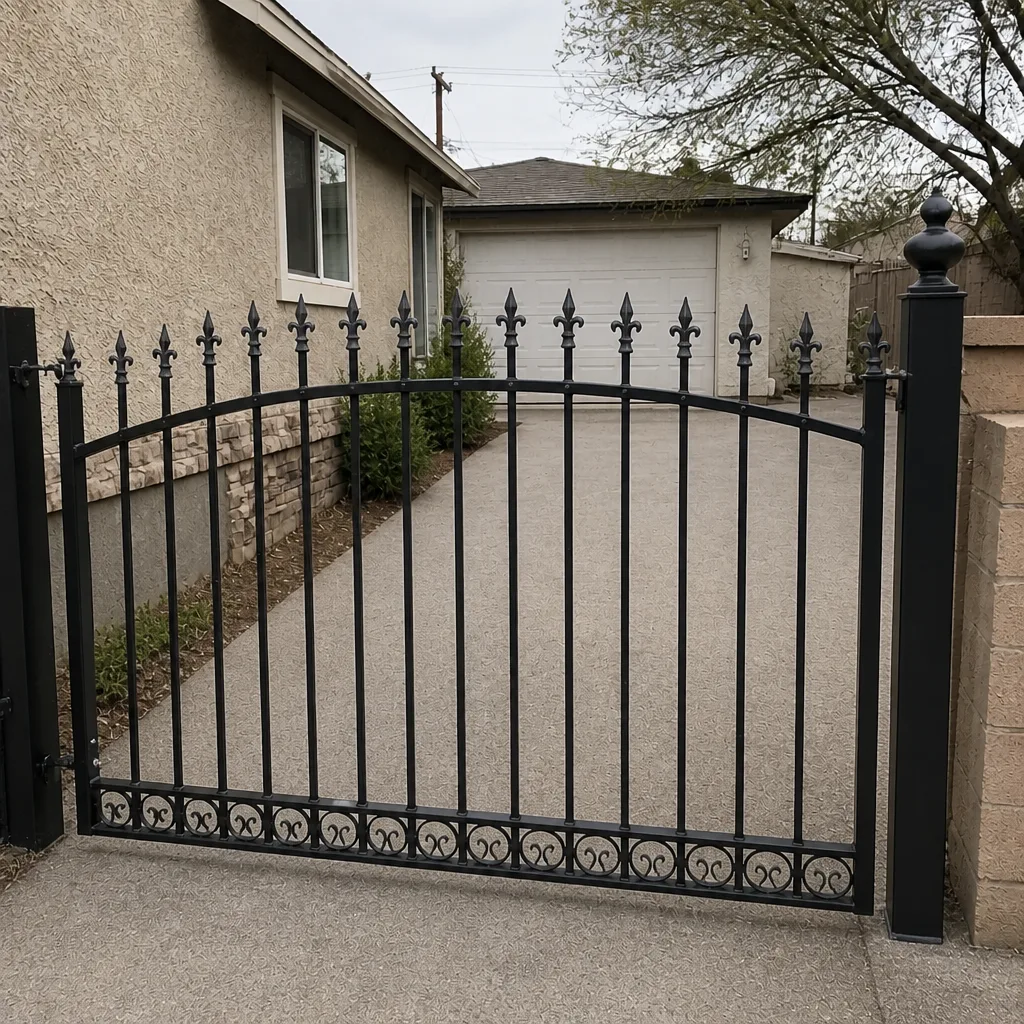 After
Sort Tasks by Consequence, Not Difficulty
Most DIY guides rank repairs by how hard they look. That’s the wrong measure. A gate battery swap and a limit-switch adjustment look equally easy, but the cost of being wrong is nowhere near equal. In our experience, that mismatch is what turns a weekend project into a two-part bill. Rank every task by the damage a mistake causes, and the decision makes itself.
Here’s how the consequence tiers break down:
- Zero-consequence: swapping a battery, wiping the photo-eye lens, clearing leaves from a track. Wrong means retry, nothing more.
- Low-consequence: adjusting the gate arm physically, tightening a loose hinge bolt, rehanging a sagging gate on its pivot. Wrong means the gate drags or misaligns, which you’ll notice immediately.
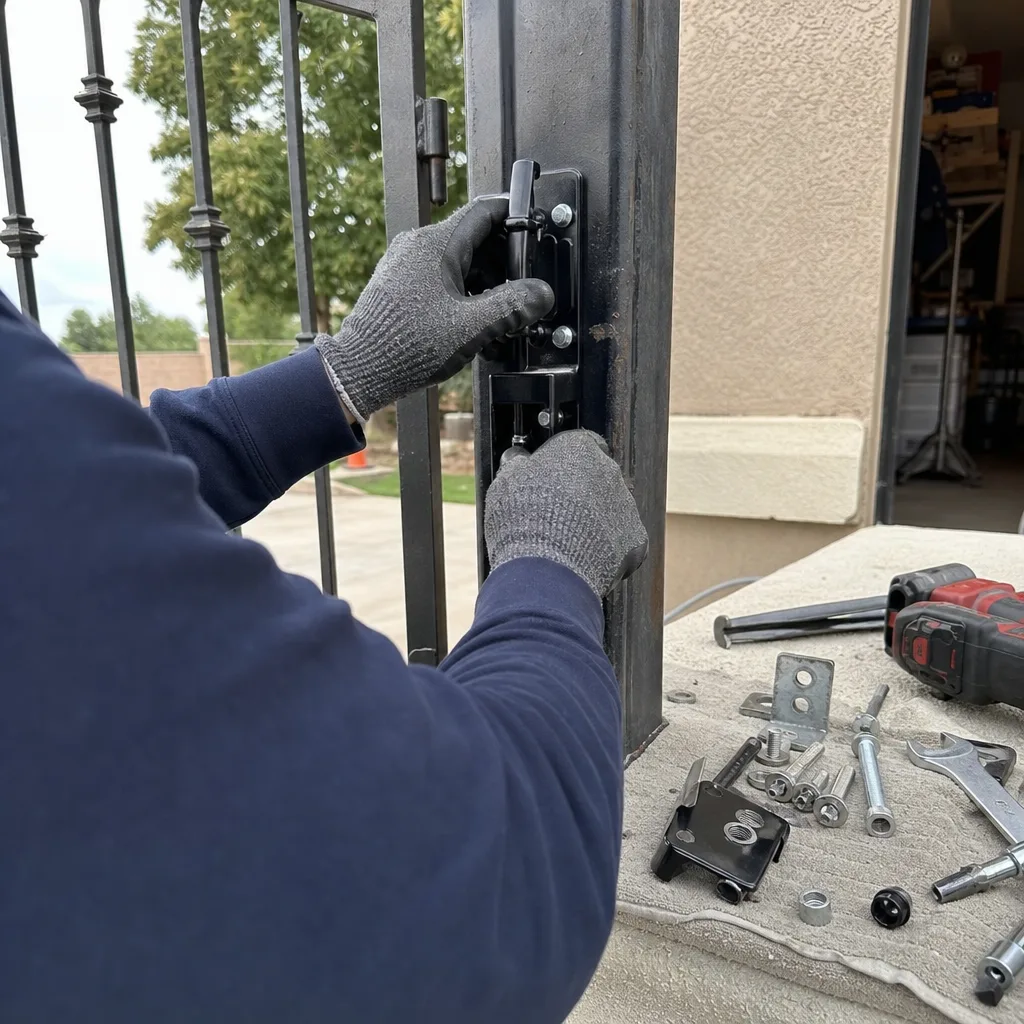
- High-consequence: setting a limit switch, re-wiring a control board, replacing a photo-eye or safety edge. Wrong means a burned board, a gate that reverses unpredictably, or a safety device that doesn’t stop the gate on a child.
- Severe-consequence: anything with torsion springs, high-tension cables, or line voltage. Wrong means serious injury. A loaded torsion spring on a swing gate stores enough energy to break a wrist or worse if it releases uncontrolled.
Notice none of those tiers track difficulty. A photo-eye replacement is a five-minute job for a trained tech but sits in the high tier because a misaimed beam is an invisible failure: the gate closes, the safety just isn’t there. That’s the trap. The easiest-looking repairs are often the ones with the worst failure mode, and in Whitney’s hotter months we see plenty of photo-eyes that drifted out of alignment after ground movement.
What’s Genuinely Safe to Do Yourself
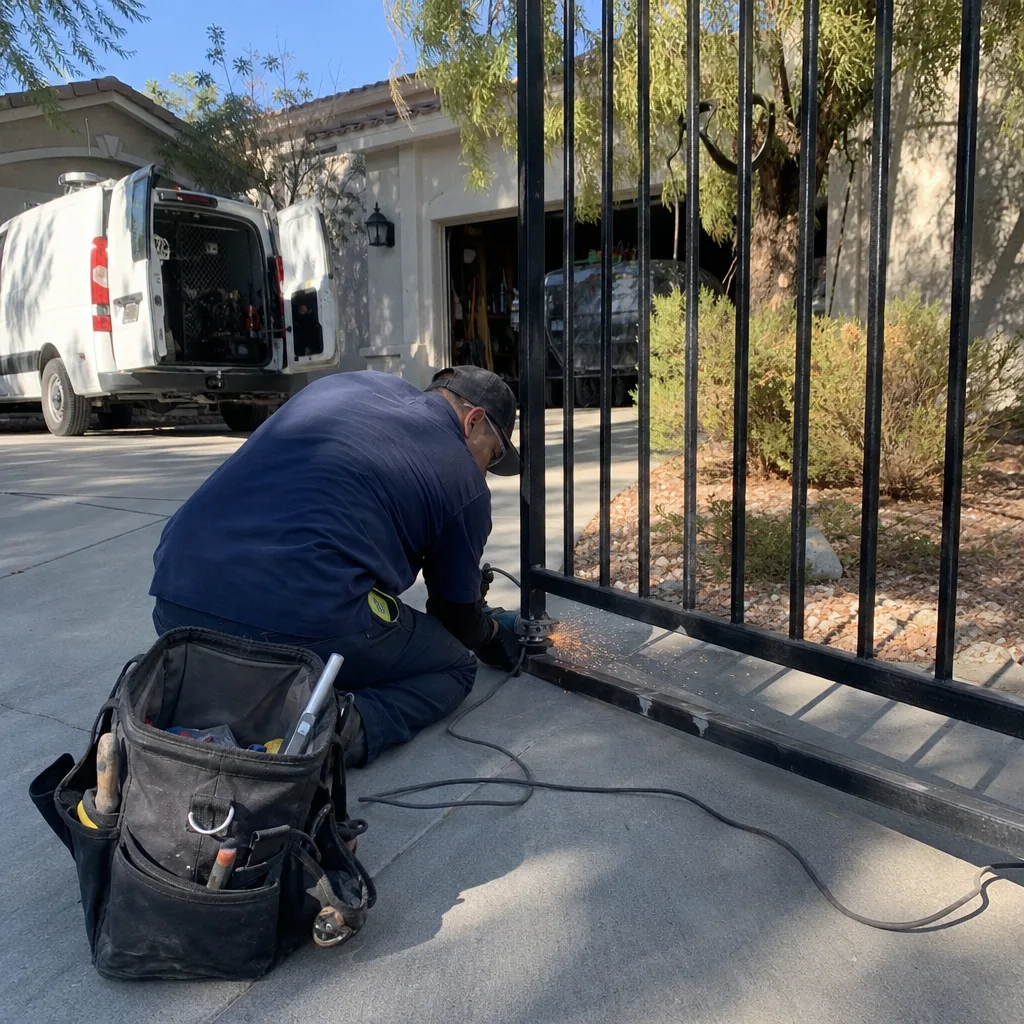
A short list of gate tasks are safe for a careful homeowner with basic tools, and worth doing to avoid a service call. The rest of the list belongs to a technician. Here’s where the line sits.
These are safe to handle yourself:
- Replace the battery in a battery-backup operator. Most swing-gate operators that run on backup batteries (we work on Ghost Controls and Mighty Mule panels regularly) use a standard sealed lead-acid cell. Power the operator down, note the terminal orientation, swap the cell, restore power. Wrong means retry.
- Clean the photo-eye lenses and housing. Dust, spider webs, and grit block the infrared beam that stops the gate from closing on a person. A soft cloth and a look at alignment is all you need.
- Clear debris from the track and hinges. Dirt, leaves, and grit bind a sliding gate track and stiffen swing hinges. Sweeping and a light cleaning of the pivot points is a five-minute task.
- Tighten visible, accessible bolts on the gate frame. Loose hinge and bracket bolts cause sag and drag. Tighten what you can see and reach without removing anything load-bearing.
- Confirm the manual release works. Every operator has a manual release (usually a key or lever) that lets you open the gate by hand during a power failure. Test it monthly so you know it works when the power’s out.
That’s the safe list. Everything beyond it – springs, cables, motor boards, limit switches, safety edges, wiring – is where the consequence tiers climb fast. If a task isn’t on this list, ask yourself what a mistake costs before you pick up a tool.
Repairs That Void Manufacturer Warranties
Here’s a fact that surprises a lot of homeowners: some manufacturer warranties on gate automation void the moment an unauthorized person opens the control enclosure, adjusts internal settings, or tampers with the safety circuit. We’ve seen the paperwork on BFT and Linear operators where the warranty language specifically covers unauthorized internal adjustment. Once that seal is broken or those settings are changed, the manufacturer can decline the claim even if the failure is unrelated to what you did.
The specific actions that typically void a warranty:
- Opening the operator’s control-box cover and touching wiring. Most warranties exclude internal electrical work by anyone other than a qualified installer.
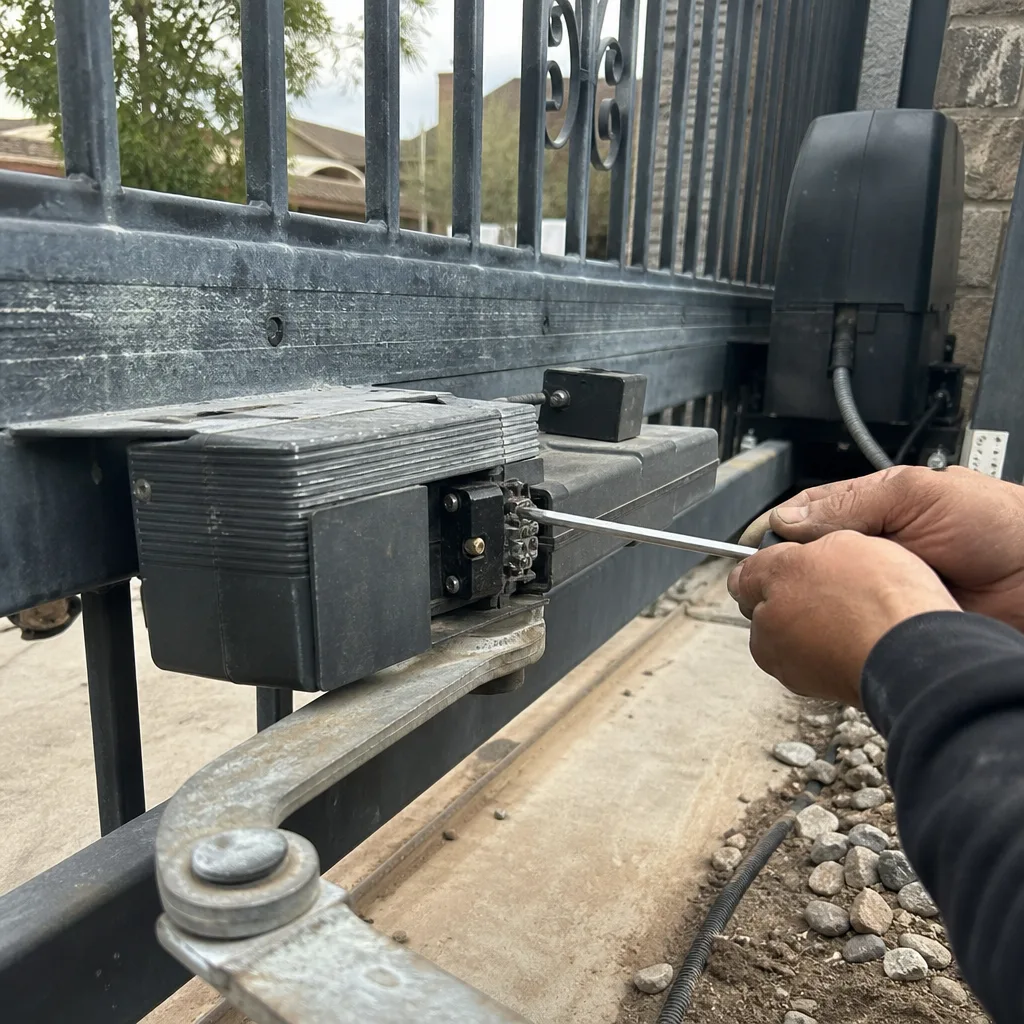
- Adjusting limit-switch settings from the factory default. Some brands tie the warranty on the motor and board to factory-set travel limits.
- Bypassing, disabling, or rewiring a photo-eye or safety edge. A disabled safety device voids the automation warranty outright on nearly every brand we work on.
- Changing the overload or force setting to make a binding gate move. This is the single most common warranty void we see: the gate was dragging, the homeowner cranked the force dial, the board overheated, and the warranty is now gone.
Documentation matters here too. Under the Haven Standard, every Vance visit leaves a written record of what was found, what was set, and what was installed – the kind of documented history that keeps a warranty claim defensible. If you had a technician adjust limits, keep the photo log and the written scope; that’s your evidence if the manufacturer ever asks.
When DIY Makes the Professional Repair Cost More
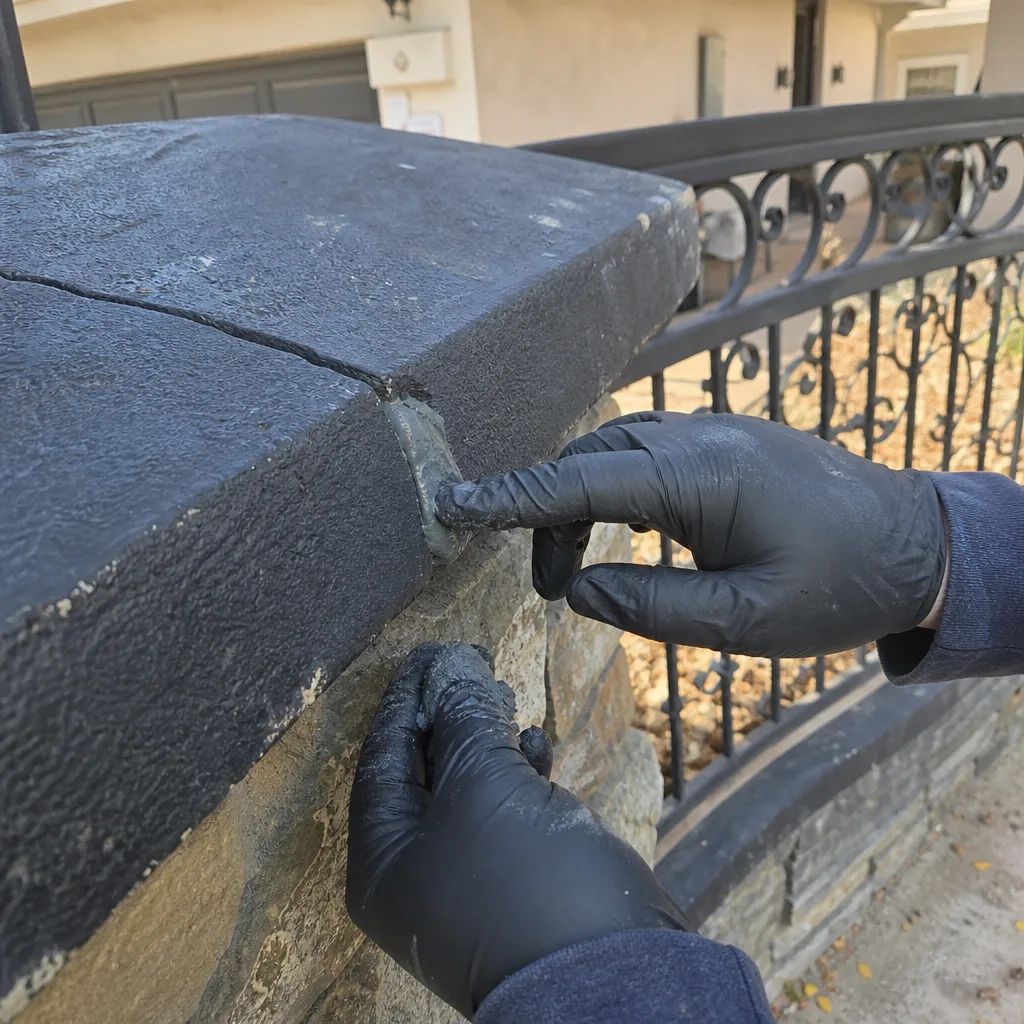
A failed DIY attempt usually doesn’t just add a repair; it adds repairs. The common pattern is a homeowner who fixes the visible symptom, and the technician has to repair both the original problem and the consequence of the fix. Here are the situations where a DIY attempt makes the professional bill go up rather than down:
- Cranking the force setting to clear a binding gate. The gate still drags, but now the motor draws excess current, the board overheats, and you’re replacing the controller instead of resetting the limit.
- Forcing a binding gate by hand or with tools. You bend the hinge bracket or warp the gate arm, and the technician now has to realign the entire arm, not just loosen a hinge.
- Replacing a limit switch from a photo without checking the reading. The switch goes in slightly off, the gate over-travels to the hard stop for a week, and the motor or gearbox takes the damage.
- Disconnecting a photo-eye because “the gate kept reversing.” The safety device is now out, and any repair requires re-running the beam and re-testing the entire safety circuit.
- Using a battery or control-board substitute that doesn’t match the operator’s voltage and terminal layout. Mismatched parts (we’ve seen a 12-volt cell jammed into a 24-volt operator) can fry the board the moment power comes on.
The lesson is plain: a wrong guess on a high-consequence circuit costs more than the original repair ever would have. When a binding gate wants a force adjustment, the real fix is diagnosing why the gate drags in the first place – usually a sagging hinge, a settled post, or a worn track. That’s the call a technician makes with a gauge and a photo record.
What “Safe to Do Yourself” Actually Requires
Here’s the part most DIY guides leave out: being safe requires more than the right tools. It requires the right documentation before you start. You need to know what the operator was doing before, what the settings were, and what changed, because once you’ve moved something you can’t un-know it. A technician works from a baseline. A homeowner without one is working blind.
Before you touch anything, gather these:
- Photograph the inside of the control enclosure before you open it. A clear shot of the wiring layout and terminal labels means you can put everything back exactly as it was. Every Vance job uses the same habit – we’re a gate repair company in Whitney that photographs every wiring setup before we touch a wire, and that habit started with the commercial access-control work that shaped how we document residential jobs too.
- Write down the model and serial number of the operator. The manual is the best tool you own, and every brand we service (LiftMaster, FAAC, BFT, Linear, Viking, Ghost Controls, DoorKing, Elite, Mighty Mule) publishes its limit and force settings in the manual.
- Note the gate’s current behavior in words and video. “Gate stops about six inches early on the closing cycle, then reverses” is a baseline a technician can read. “It did something weird” is not.
- Photograph the gate track or hinge gap against a fixed point. That image is how you’ll know whether a hinge has slipped a quarter inch or the whole gate settled.
- Keep the written record. If a technician makes an adjustment later, the before-and-after tells them what already changed.
The right documentation is what separates a safe DIY attempt from a guess. If you can’t capture the baseline first, the task isn’t safe to do yourself – not because you lack skill, but because you lack a way to know whether you made it better or worse.
How to Hand Off After a DIY Attempt
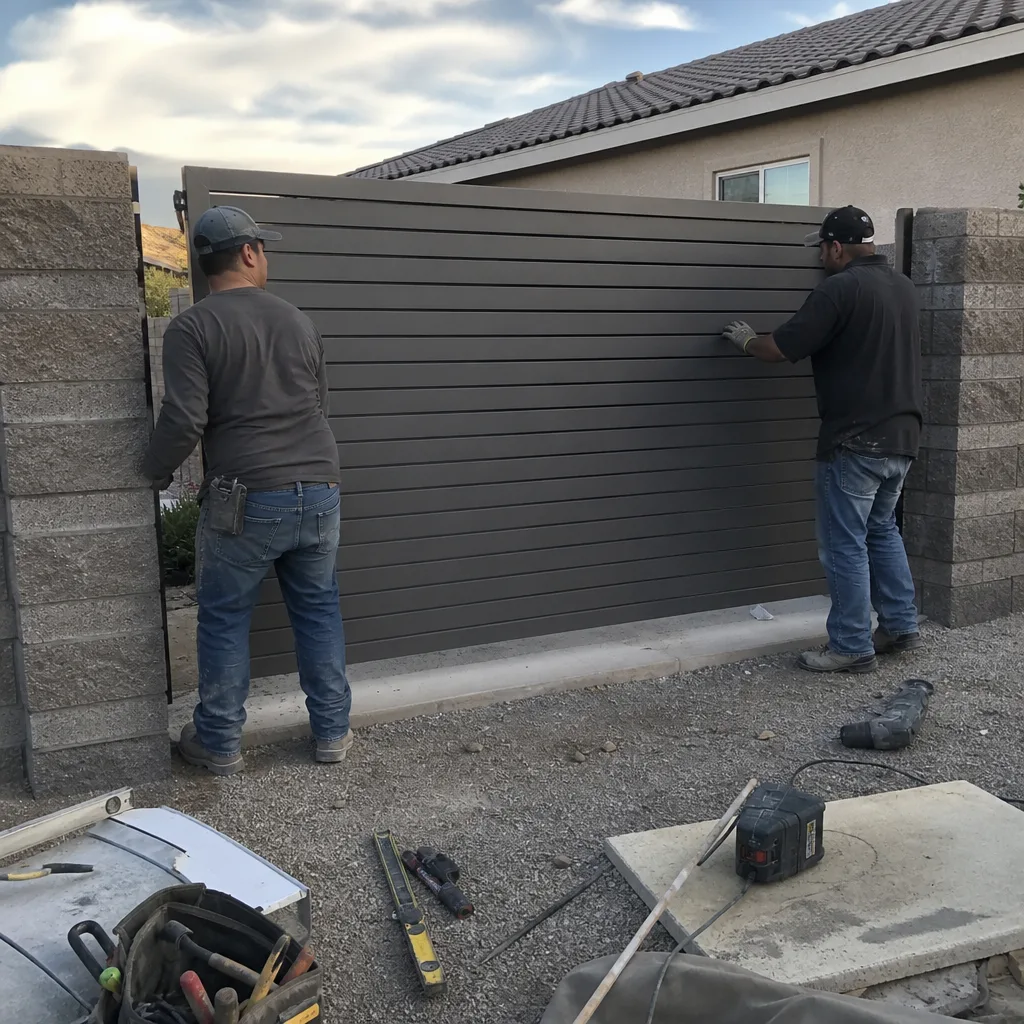
If you’ve already tried a repair, the smartest thing you can do is make a clean handoff. A technician who arrives with accurate information diagnoses faster, and that’s real money saved. When we take a job in Whitney, the difference between a well-documented handoff and a vague one is usually one more part and an extra hour on the clock. Here’s how to give us what we need.
What to tell the technician and what photos to have ready:
- What you replaced and why. “I replaced the backup battery because the gate wouldn’t open during the last power outage” gives us the timeline. “I changed the battery and it still doesn’t work” doesn’t.
- What you adjusted and by how much. “I moved the limit switch one turn in” is exact. “I messed with the settings” leaves us guessing whether the board or the gate is the problem.
- Every photo you took before you touched anything. The original wiring shot, the original limit-switch position, the original track photo.
- The behavior before and after. Include what the gate did before you started, and what it does now. Watch the gate open and close once and shoot a short video.
- The parts you bought, with the packaging or part number. A match on voltage and terminal layout is the first thing we check, and the box answers it faster than the invoice.
- What you didn’t touch. If you stopped at the spring or the line voltage, say so. That tells us which high-consequence items are still original.
A clean handoff is also where our written-price promise matters. Before we do anything, we write down the scope and the price and hand it to you – so there’s no surprise when the bill arrives, and you know exactly what the DIY attempt already cost you in diagnosis time. If you’ve got a written estimate from another company, we’ll review it at no charge as a free second opinion. Bring the paperwork.
Common Mistakes to Avoid
- Cranking the force setting to get a binding gate moving. It’s the fast way to make the gate open, and the fast way to overheat the motor and burn the board. The real fix is diagnosing why it drags – a settled hinge or a worn track, not a weak motor.
- Disabling a photo-eye because “the gate kept reversing.” A gate that reverses is telling you something is wrong with the safety device or the alignment. Fiddling with the beam to stop the reversing leaves the gate opening on things – pets, kids, cars – with no safety stop.
- Reaching into a loaded torsion spring or cable system. The spring on a swing-gate setup stores enough energy to injure badly on release. There’s no safe homeowner version of that job, no matter how many videos are online.
- Buying a backup battery or control board by appearance, not voltage. A cell that looks right but carries the wrong voltage can fry the board on the first power cycle. Match the model and the terminal layout before you install.
- Adjusting a limit switch without photographing the original position. A quarter-turn is invisible if you can’t compare before and after. Without a baseline, the technician can’t tell whether the travel is off or the board is failing.
- Leaving a photo-eye or safety edge disconnected after a “fix.” That device is the one that stops the gate on an unseen person. Leaving it out and calling the job done is the most dangerous shortcut on this list.
- Ignoring a small water leak or drainage issue at the operator base. After a storm, water pooling near a control enclosure is where boards die. It’s a low-consequence report and a high-consequence repair if you leave it.
When to Call a Professional
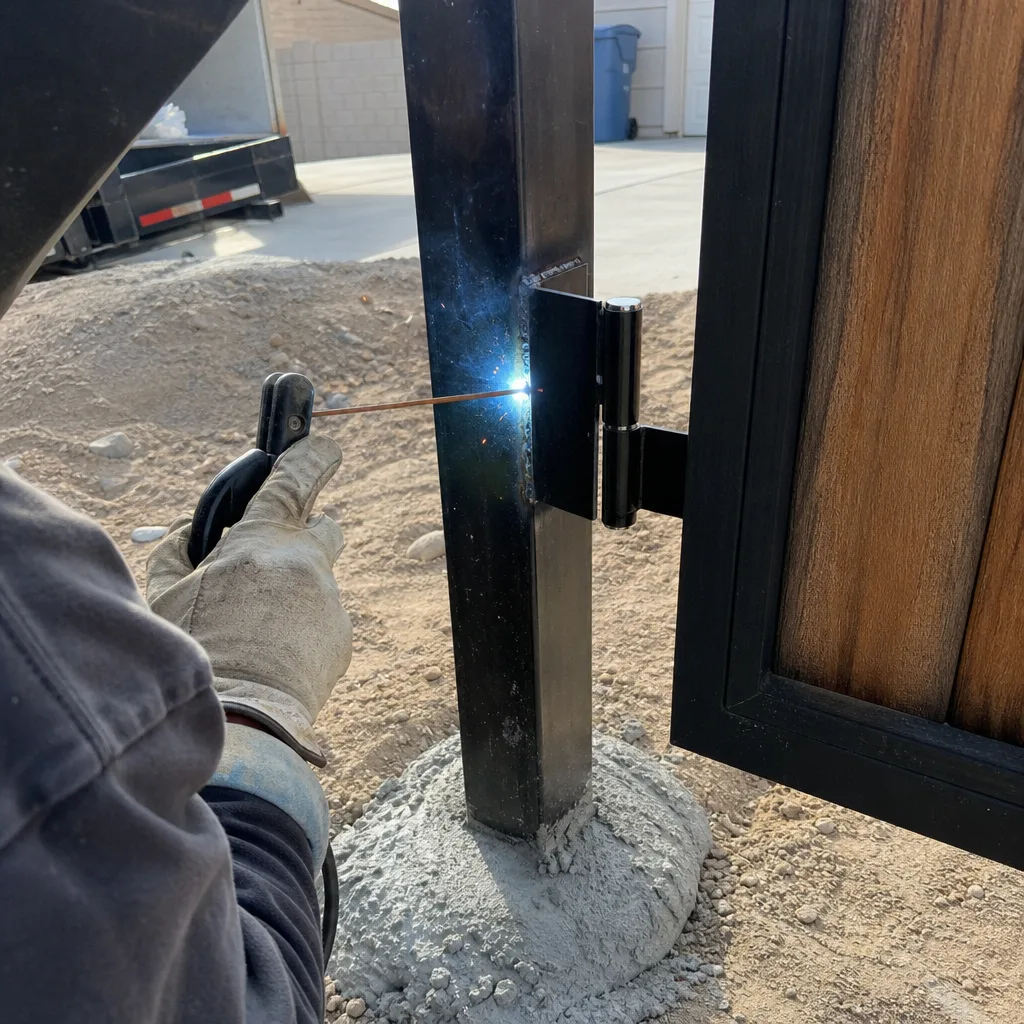
Call a professional when the task touches a spring, a high-tension cable, line voltage, a limit switch, a control board, or a safety device – and call one if the gate has already failed after your attempt. These are the tiers where being wrong costs more than the service call. The same is true if your gate is binding after a force adjustment, if a photo-eye is misaligned, or if the operator is behaving unpredictably; those are diagnosis jobs, and a technician who photographs the setup and writes the price down front will find the fixed problem faster than you can guess at it. A trained technician diagnosing a settling hinge and documenting the fix is cheaper than a second board.
Vance Gate Repair Whitney offers free estimates in Whitney – call (844) 797-4861, and a live person answers any hour of the day or night. We write the price down before we start, and under our 365-Day Done Right Promise we make any repair right for a full year at no additional charge. That promise is the point of the whole enterprise: a repair made with a written scope and a photo record is one you can stop worrying about.
See the difference
BeforeAfter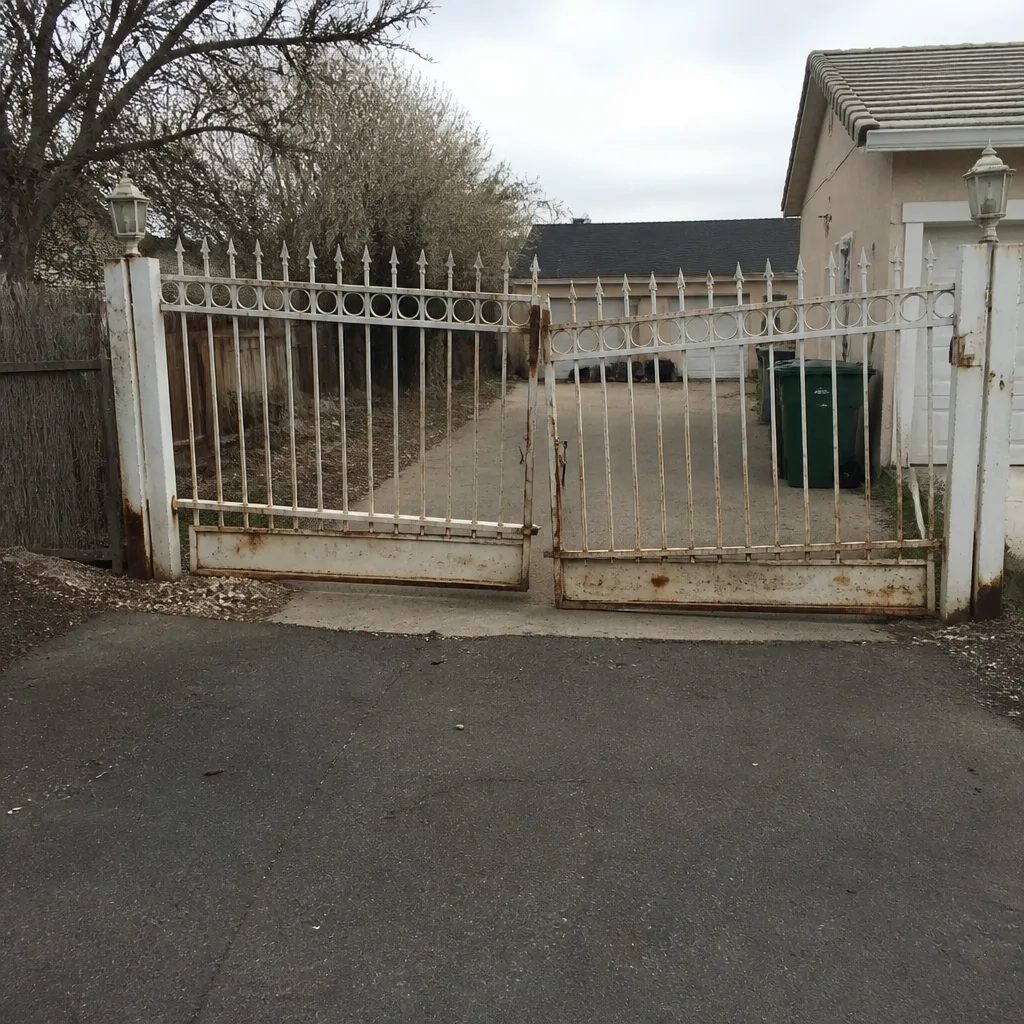 Before
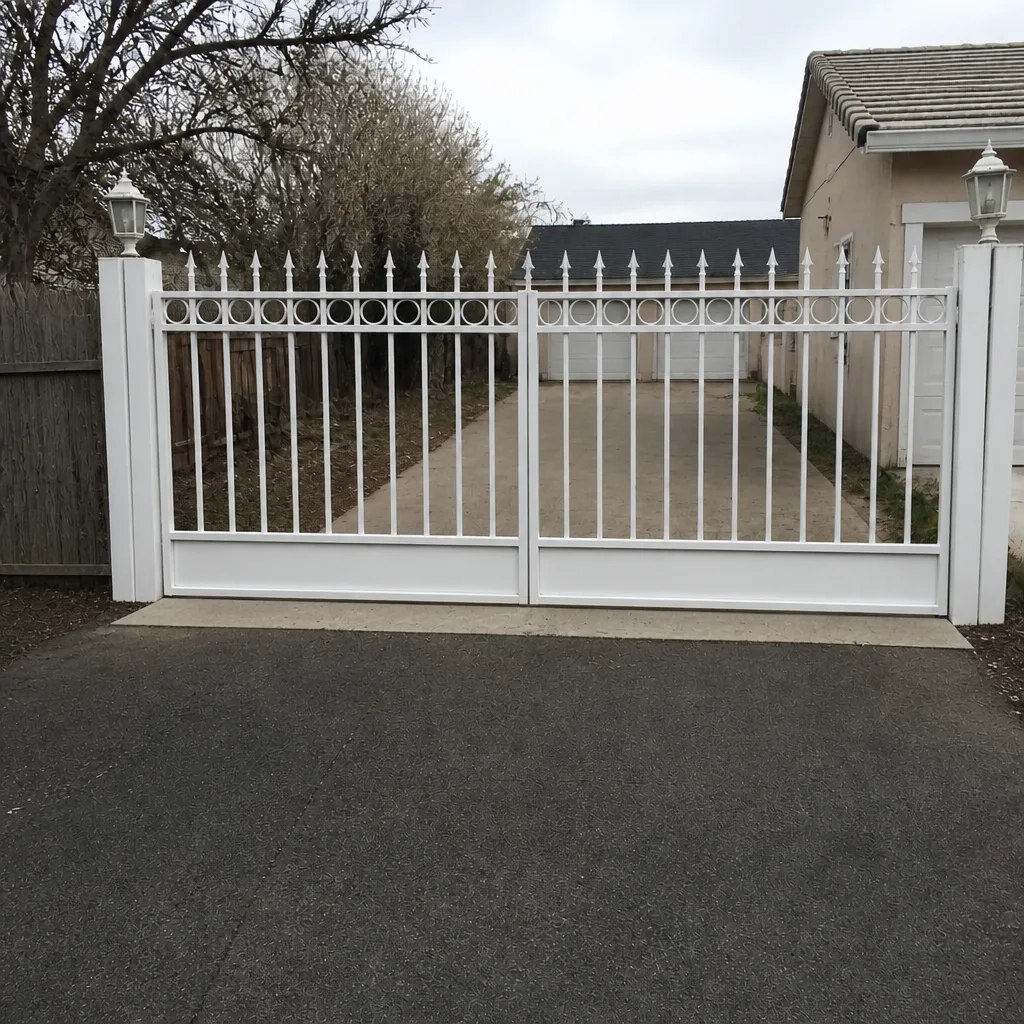 After
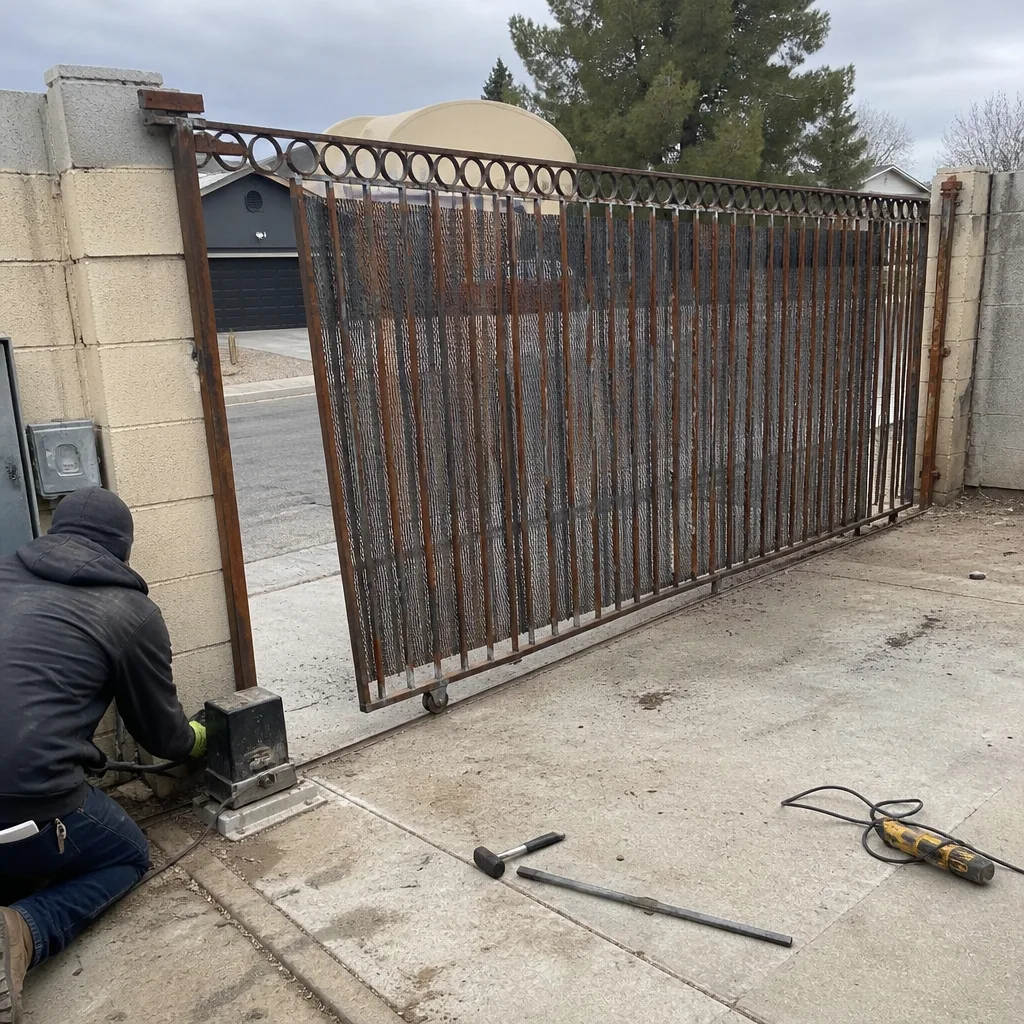 Before
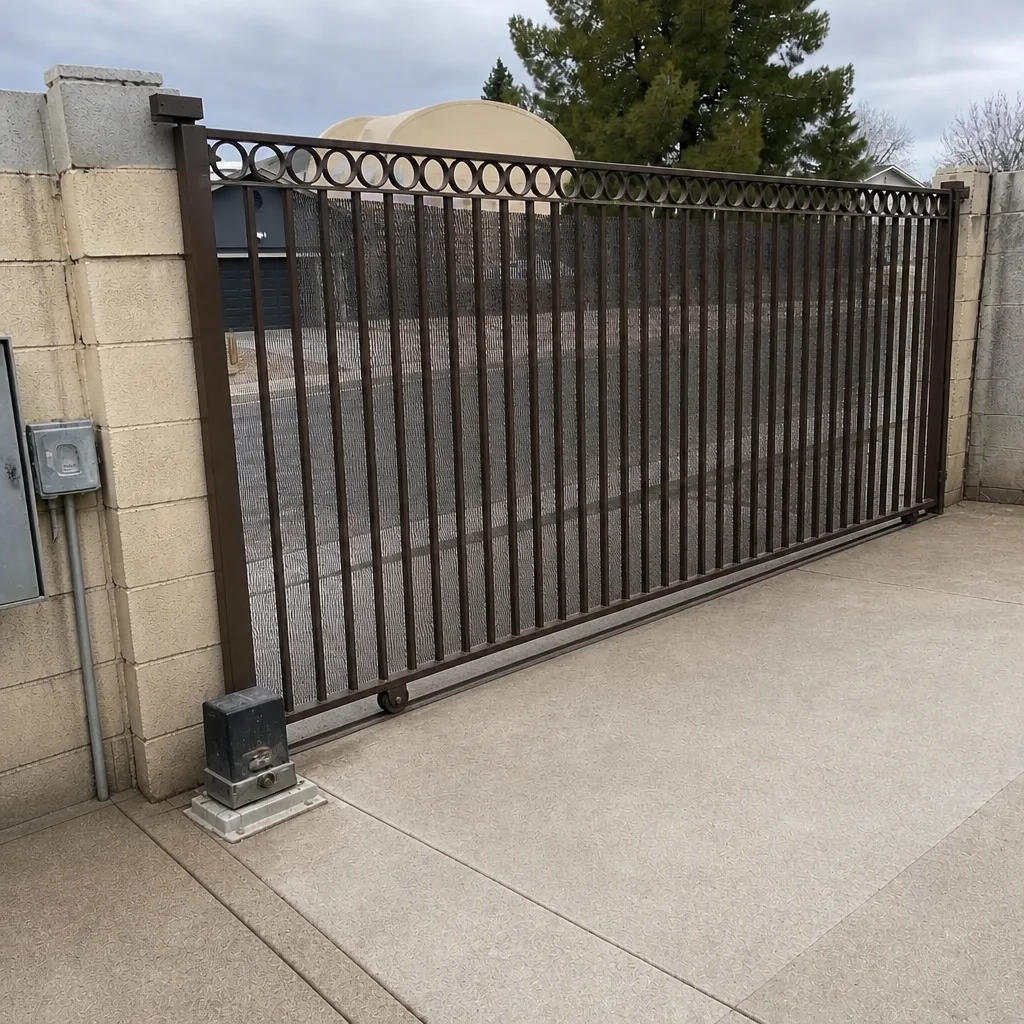 After
Frequently Asked Questions
Yes. Replacing a backup battery in a battery-powered operator is one of the safest homeowner tasks on a gate, because getting it wrong means a retry, not a repair. Power the operator down, note the terminal orientation, swap the cell, and restore power. If the operator is wired to line voltage and the battery lives inside a live enclosure, leave that to a technician.
Opening the operator’s control enclosure and touching internal wiring, adjusting factory-set limit settings, changing the overload or force setting, and disabling or rewiring a photo-eye or safety edge will typically void the automation warranty. Those specific exclusions show up in the warranty paperwork for brands like BFT and Linear, and the exclusion usually applies even if the failure itself is unrelated.
No, and it’s one of the easiest repairs to get subtly wrong. A limit switch set even a few degrees past the gate’s true travel position sends the gate into its hard stop every cycle, which over a week can damage the motor, gearbox, or board. A technician reads the current setting with a gauge and resets it against the gate’s actual travel, then photographs the new position so the next adjustment has a baseline.
A gate that reverses is usually reacting to a misaligned photo-eye, a safety edge that’s seeing an obstacle, or a binding track telling the operator the gate is blocked. Do not disconnect the safety device to make the reversing stop – that’s the repair that most often turns into a professional bill for a burned board or a replaced safety circuit. This is a diagnosis job, not a swap job.
Tell us what you replaced or adjusted and bring the photos you took before you started, plus the behavior before and after. A technician who arrives with the original wiring photo, the original limit-switch position, and the part number of whatever you installed will diagnose in one visit what would otherwise take two. Call (844) 797-4861 and we’ll talk through what you have before anyone gets in a truck.
Yes. We’ll review any written estimate from another company at no charge – bring the paperwork and we’ll compare it against what we’d write down for the same job, without pushing you toward a replacement when a repair is the better call. Our own price is written and handed to you before any work starts, so you have both numbers to compare in writing.
The Bottom Line
Sort gate repairs by what a mistake costs, not by how hard the task looks. Safe do-it-yourself work is limited to battery swaps, cleaning, debris clearing, and tightening what you can see and reach. Limit switches, control boards, photo-eyes, safety edges, springs, cables, and line voltage belong to a technician, because a wrong guess there costs more than the service call ever would. Document before you touch anything, make a clean handoff if you’ve already tried, and let a live person answer when the gate won’t. That’s how you decide based on risk instead of pride, in Whitney or anywhere else.
Written by the team at Vance Gate Repair Whitney.