
Last updated November 18, 2026
 Wrought iron
 Wood & steel frame
 Farm & ranch
 Sliding driveway gates
 LiftMaster operators
Free on-site gate assessment - hinges, posts, and your LiftMaster or Nice gate operator checked before anything is quoted
The assessment is free and the quote is the invoice.
Get your free estimateGate Access Control Troubleshooting: Common Problems and How to Fix Them
A keypad that accepts the correct code but doesn’t open the gate is not a keypad problem. It’s a wiring or relay problem downstream. But most homeowners replace the keypad first because it’s the visible component, then they replace it a second time when the new one behaves the same way. Access control failures have a layered architecture, and diagnosing from the wrong layer wastes both time and money. This guide walks through that architecture in the order a trained technician actually tests it: power supply, wiring continuity, control board relay output, motor interface, then credential and programming. You’ll learn how to isolate a fault with a multimeter in about five minutes, why three of the most common failures look like something else entirely, and what documentation makes the next service visit faster. We’re writing this from Whitney, where summer heat and monsoon-season humidity put gate electronics through a specific kind of stress.
Quick Answer
Gate access control troubleshooting means testing from the power supply outward, not from the keypad inward. A code that’s accepted but doesn’t move the gate almost always points to the wiring or the control board’s relay output, not the keypad itself. Three failures masquerade as other problems: low supply voltage causing random code rejects, corroded wiring causing intermittent response, and a full credential memory that accepts new codes but never triggers them.
Styles & brands we work with
- Wrought iron
- Wood & steel frame
- Farm & ranch
- Sliding driveway gates
- LiftMaster operators
Table of Contents
- The Layer Model: Test Power First, Keypad Last
- How to Test a Relay Output in Five Minutes
- Three Failures That Masquerade as Something Else
- Remote Access Won’t Work? Check Device, Network, Then Account
- The Documentation That Makes the Next Visit Faster
- Brand-Specific Quirks: LiftMaster, FAAC, BFT, Linear
- What You Can Safely Check Yourself
- Common Mistakes to Avoid
- When to Call a Professional
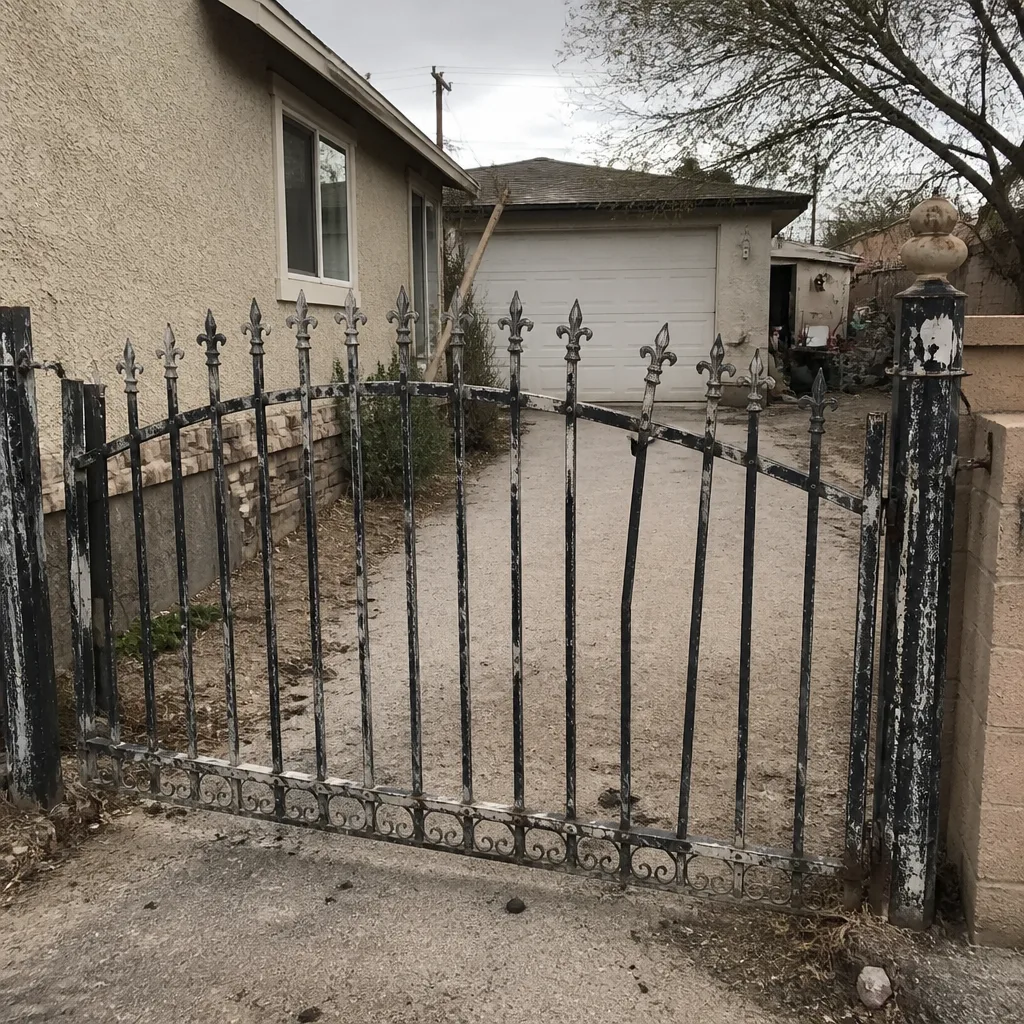 Before
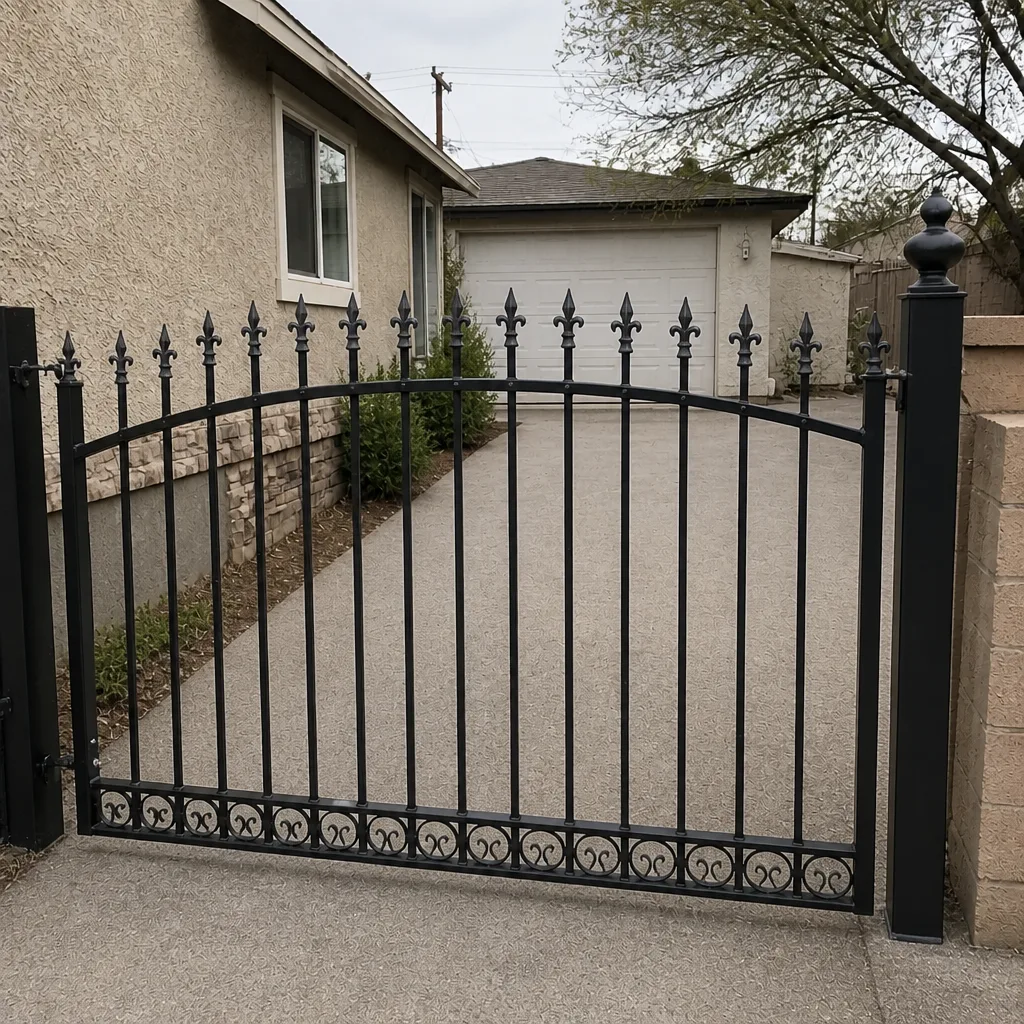 After
The Layer Model: Test Power First, Keypad Last
Here’s the diagnostic order that eliminates the most guesswork. Work down the list and stop at the first layer that fails. Every layer after a failure is suspect until the one above it is proven good.
- Power supply. Measure the DC or AC voltage at the control board’s power input terminals. Compare it to the transformer or supply rating. A 24V system reading 19V under load is failing even though it looks “on.”
- Wiring continuity. Disconnect both ends and measure resistance through each conductor. A corroded splice reads high; a broken conductor reads open. This is where intermittent problems usually live.
- Control board relay output. Command the gate and watch whether the board’s output terminal actually switches. If the relay clicks and the terminal doesn’t change state, the problem is on the board.
- Motor interface. If the relay output switches correctly but the operator doesn’t move, the fault is between the board and the motor – control wiring, the operator’s own logic board, or the motor circuit itself.
- Credential and programming. Only when every layer above is proven healthy do you treat the problem as a programming or credential issue.
Most homeowners start at layer five, which is the credential they typed, or layer zero, which is the keypad they can see. That’s backwards. In our experience, a Whitney gate that accepts a code and then sits there is far more often a layer two or three problem. Our team documents each layer’s readings on every job under The Haven Standard, so a fault that comes back six months later starts from known baselines instead of a fresh guess.
How to Test a Relay Output in Five Minutes
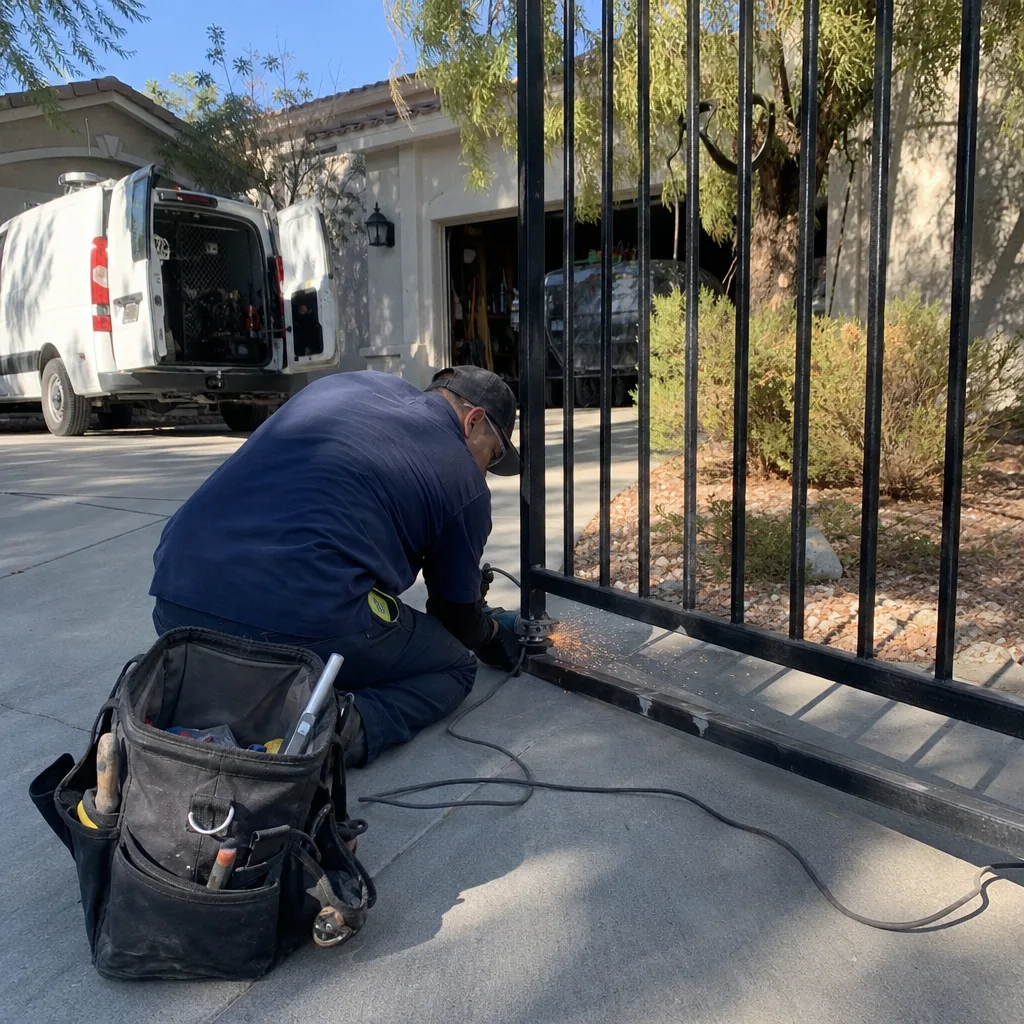
This single test eliminates half the diagnostic tree. Before you run it, understand what you’re doing: you’re checking whether the control board is sending a command to the operator at all. If you’re not comfortable working inside a live control enclosure, stop here and call a technician. Gate operators carry enough current to injure someone, and a moving gate is a hazard to anyone in its path.
- Put the operator in manual or disconnect the motor leads at the board, so the gate cannot move during the test. This is the safety step, and it matters.
- Set your multimeter to DC voltage. Place the probes across the board’s motor-output terminals (or the trigger-command terminals for an access device) – the wiring diagram inside the enclosure labels which is which.
- Have someone enter a known-good code at the keypad, or trigger the device. Watch the meter. If the voltage does not change when the command is sent, the board is not outputting, and the fault is on the access-control side.
- If the meter does move, the board is working. Jumper the trigger terminals briefly to confirm the operator fires on a direct command. If it fires on a jumper but not on the keypad, the fault is upstream in the wiring or the keypad. If it doesn’t fire on a jumper either, the fault is downstream at the motor or the operator’s own logic.
That’s it. You’ve now split the entire system in two: access side or motor side. Everything after this is testing within the correct half, which is a much smaller search. A wiring diagram showing exactly which terminals connect the access device to the control board is what makes this test possible at all; if yours is missing, we photograph and leave one during a diagnostic visit.
Three Failures That Masquerade as Something Else
These three account for the majority of “the keypad is broken” calls we handle in Whitney, and none of them is actually a broken keypad.
1. Low power supply voltage causing random rejects. The keypad accepts a code one morning and rejects it the next, with no pattern. The supply is sagging – often a failing transformer or a battery backup that’s dropped below its usable range. On a 24V system, a supply reading in the high teens under load will let the memory hold a code but fail to hold the relay long enough to trigger. The fix is measuring voltage under load, not at rest.
2. Corroded wiring causing intermittent response. Gate wiring lives outdoors, in conduit, and at terminals that see humidity. A green-crusted screw terminal or a splice with moisture inside it will pass continuity cold and fail the moment current flows. The gate works most of the time, then doesn’t, and everyone blames the board. In Whitney, the swing between dry heat and monsoon-season humidity accelerates this faster than a stable-climate region would.
3. Full credential memory accepting new codes that don’t work. A control board or keypad with limited memory can appear to accept a new code that then does nothing. The programming sequence completes, the gate doesn’t move, and the homeowner assumes the keypad is faulty. Read the credential count against the board’s capacity before you program anything new – deleting a stale code often makes the new one work immediately.
Remote Access Won’t Work? Check Device, Network, Then Account
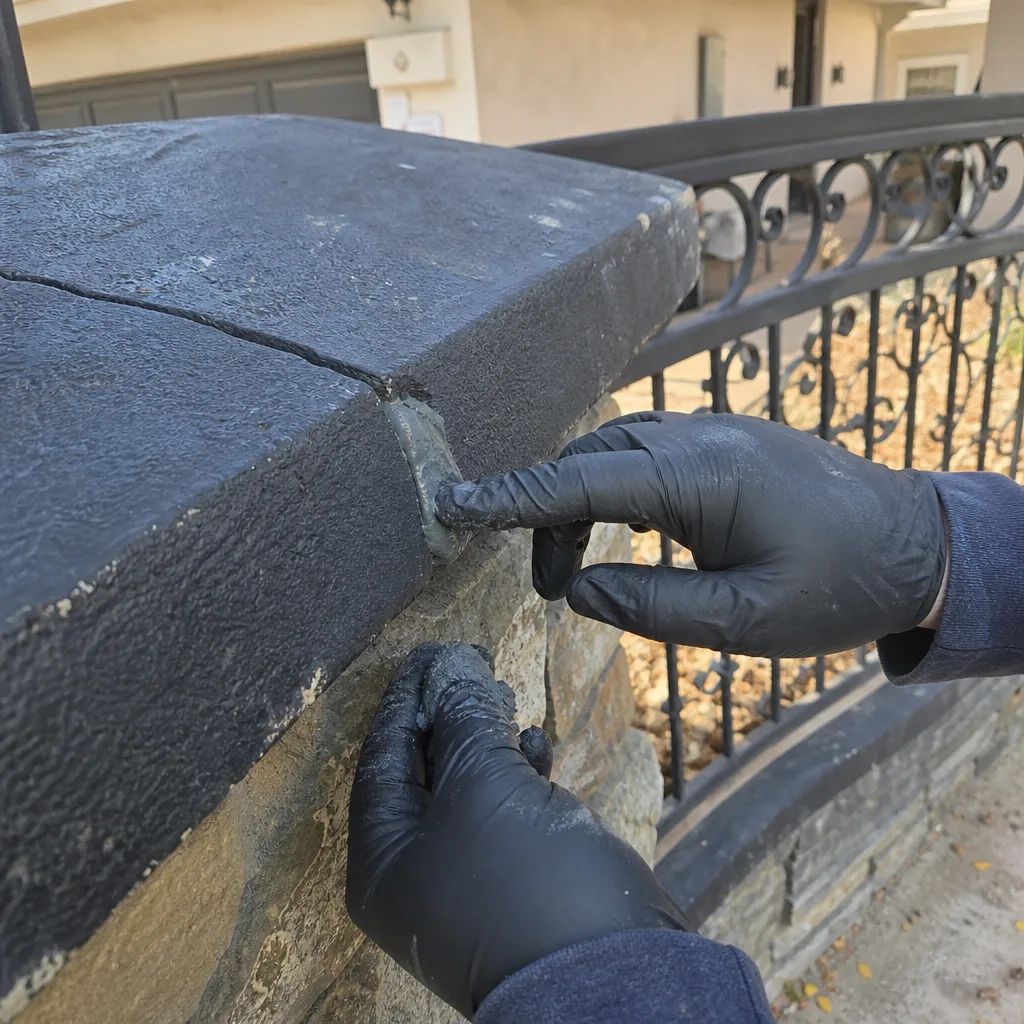
When an app or remote-access feature stops opening the gate, most people assume the gate is broken. Usually it isn’t. Work in this order, because each check saves you work on the next.
- Device first. Open the app, sign out and back in, and try a second phone. If the second device works, the first device is the problem – an app update, a changed password, a revoked permission.
- Network second. Is the gate’s controller still online? Look for a link light on the connectivity module or the board’s network indicator. If it’s dark, the controller has lost its connection – a dead module, a router change, or a Wi-Fi password update on the home network.
- Account and subscription third. Cellular-connected controllers run on a service plan. If the plan lapses or the SIM is deactivated, the device stays powered but goes silent, which looks exactly like a hardware failure from the driveway. Confirm the plan status with the manufacturer’s account portal before anyone touches the operator.
In our experience, a “gate stopped responding to the app” call in Whitney is often a network change in the house – a new router, a changed Wi-Fi name – and not the gate at all. Testing in this order keeps you from paying a technician to diagnose a router.
The Documentation That Makes the Next Visit Faster
The reason access-control problems get expensive is that the next technician starts from zero. Three records prevent that.
- A wiring diagram showing which terminals connect each access device (keypad, loop detector, receiver) to the control board, and the color of each conductor. Without it, every fault starts with a tracing exercise.
- An admin credential record naming which access codes exist, who holds them, and the master/admin code location. A full memory and a lost master code is a discovery that costs time.
- The firmware version installed at setup. When a remote-access feature stops working after a manufacturer update, knowing the installed version tells the technician whether the board needs reprogramming or replacement.
Under Clause 4 of The Haven Standard, every visit leaves a photographed record of what was found, what was adjusted, and what was replaced – the wiring diagram, the limit-switch readings, the reading on each terminal tested. It’s the same access-control documentation habit that carried over from our commercial work, and it means a fault that returns a year later starts from a known baseline rather than a fresh investigation.
Brand-Specific Quirks: LiftMaster, FAAC, BFT, Linear
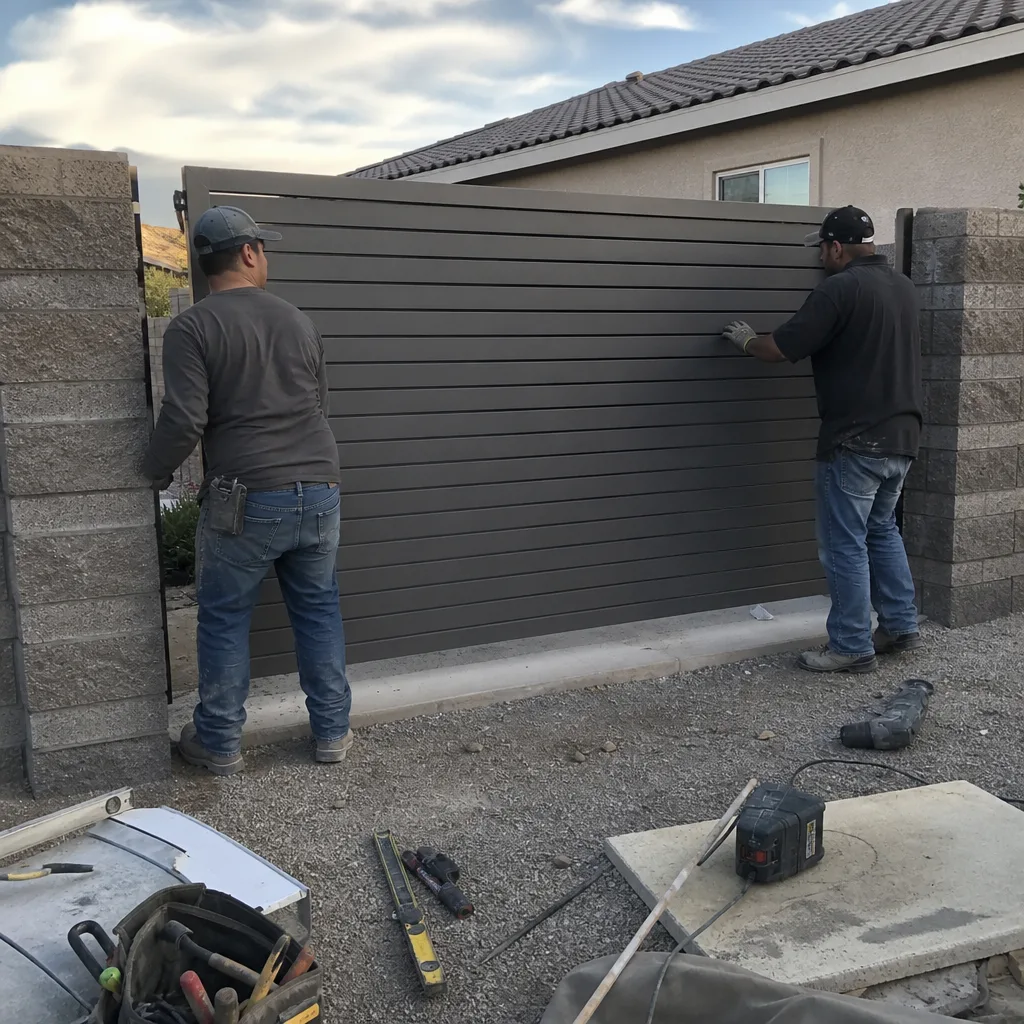
The diagnostic model is universal, but the menus, terminals, and failure habits are not. A few things we see repeatedly:
- LiftMaster controllers and accessories often use a proprietary communication bus rather than a simple dry-contact trigger. A multimeter test that assumes terminal voltage change can misread a healthy LiftMaster board, so confirm the trigger type before testing.
- FAAC operators frequently run a 24V control architecture with separate accessory power, which means a sagging accessory supply trips the access device while the motor remains healthy – exactly the low-voltage failure above.
- BFT boards commonly carry limited credential memory and a distinct programming sequence; a full memory or a code programmed in the wrong slot presents identically to a dead keypad.
- Linear residential receivers are sensitive to antenna placement and interference from nearby metal; an intermittent receiver is often an antenna and range issue, not a board fault.
We service nine major automation brands, so the goal is to diagnose what’s already on your property rather than steer you toward a replacement. If you’d like the operator side covered in more detail, our Gate Motor & Opener in Whitney page covers motor and opener diagnostics separately.
What You Can Safely Check Yourself
Some checks need no tools and carry no risk. Others involve live current inside an enclosure and a moving gate, and those belong to a technician. Here’s the line.
Safe to check on your own: whether the gate is in manual or auto mode; whether the keypad has power or a lit display; whether the app or a second phone can reach the system; whether anything visibly crosses the path of a photo-eye (the infrared beam that stops the gate if something blocks it); and whether any recent work in the house changed the Wi-Fi.
Not safe to attempt: opening the operator enclosure to test live terminals, bypassing or jumping safety devices, adjusting limit switches while the gate is powered, or testing motor voltage with the gate able to move. A bypassed safety edge or photo-eye is how people get hurt, and a live 24V or higher circuit inside an enclosure can bite. If a check requires a multimeter inside the control box, that’s a professional’s job. Our technicians have up to 12 years of experience with exactly this work, and they arrive with the meter already calibrated to the test.
Common Mistakes to Avoid
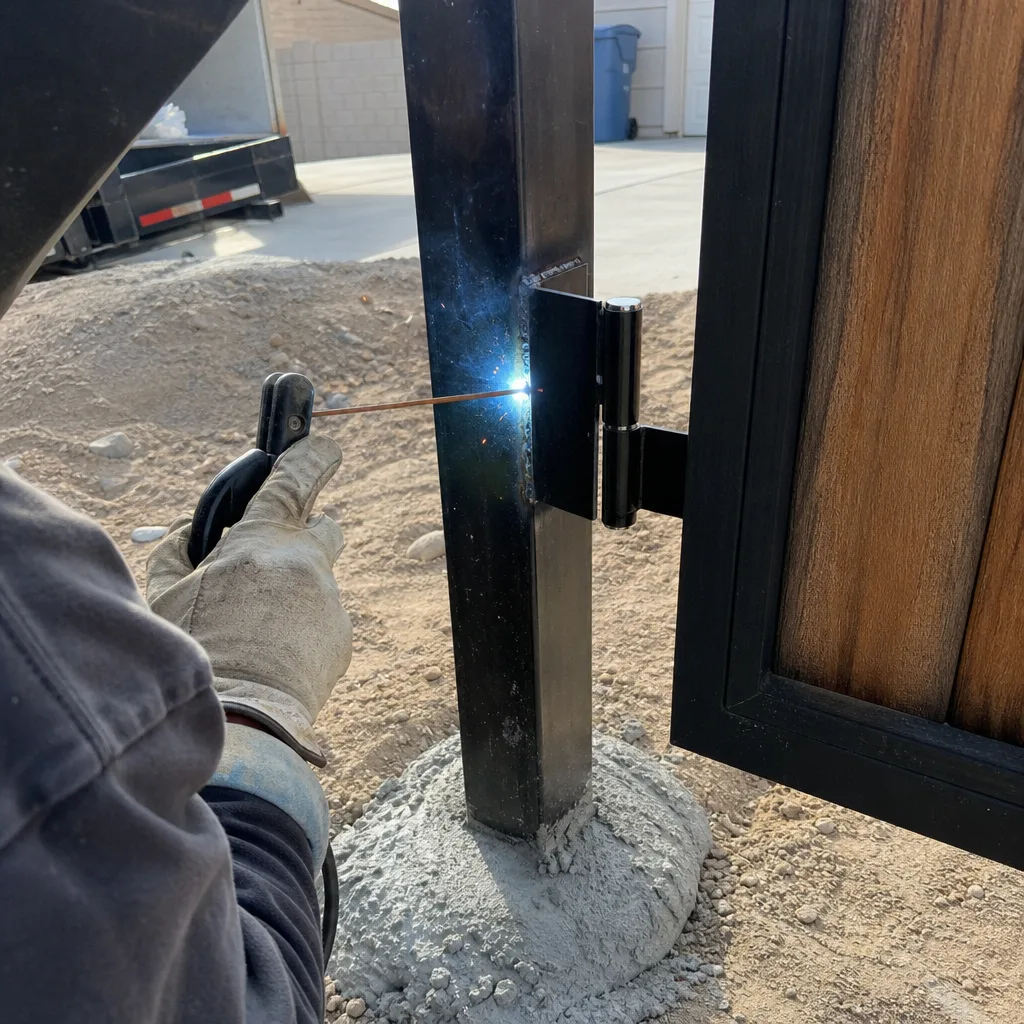
- Replacing the keypad first. The visible component is rarely the failed one. Test the relay output before you spend money on a part the fault isn’t in.
- Measuring supply voltage at rest instead of under load. A sagging transformer reads fine until a command pulls current. Test it while the gate is trying to move.
- Programming a new code into a full memory. Read the credential count before you add codes. A full board accepts the programming and then ignores the code, which reads as a failure.
- Bypassing a photo-eye to “test it.” Never disable a safety device to see if the gate moves. It’s the fastest way to turn a repair into an injury, and it can damage the operator.
- Ignoring wiring splices after a monsoon-season humidity swing. In Whitney, terminals and outdoor splices are where intermittent faults appear first. Ask for them checked, not assumed.
- Assuming an app failure means the gate is broken. Check the device, then the network, then the plan. Most remote-access problems never touch the operator.
- Handing off a gate with no diagram. If the last technician left no record, the next one starts cold. Ask for the diagram and the credential record.
When to Call a Professional
Call a technician when the fault is inside the enclosure, when a safety device is involved, when a multimeter test points to the relay or the motor interface, or when an intermittent problem has already defeated two guesses. Access control is a layered system, and layers two through four require live testing and a working knowledge of the board. In Whitney, we also see access-control faults that track a specific season – dry heat stressing power supplies, humidity attacking terminals – and a trained eye knows which layer to suspect first. Vance Gate Repair Whitney offers free estimates in Whitney and reviews any written estimate from another company at no charge if you bring the paperwork. Call (844) 797-4861. A live person answers, day or night. For a full view of what we cover, our Gate Repair in Whitney page lists the diagnostics, and our Vance Gate Repair Whitney home page is the place to start.
See the difference
BeforeAfter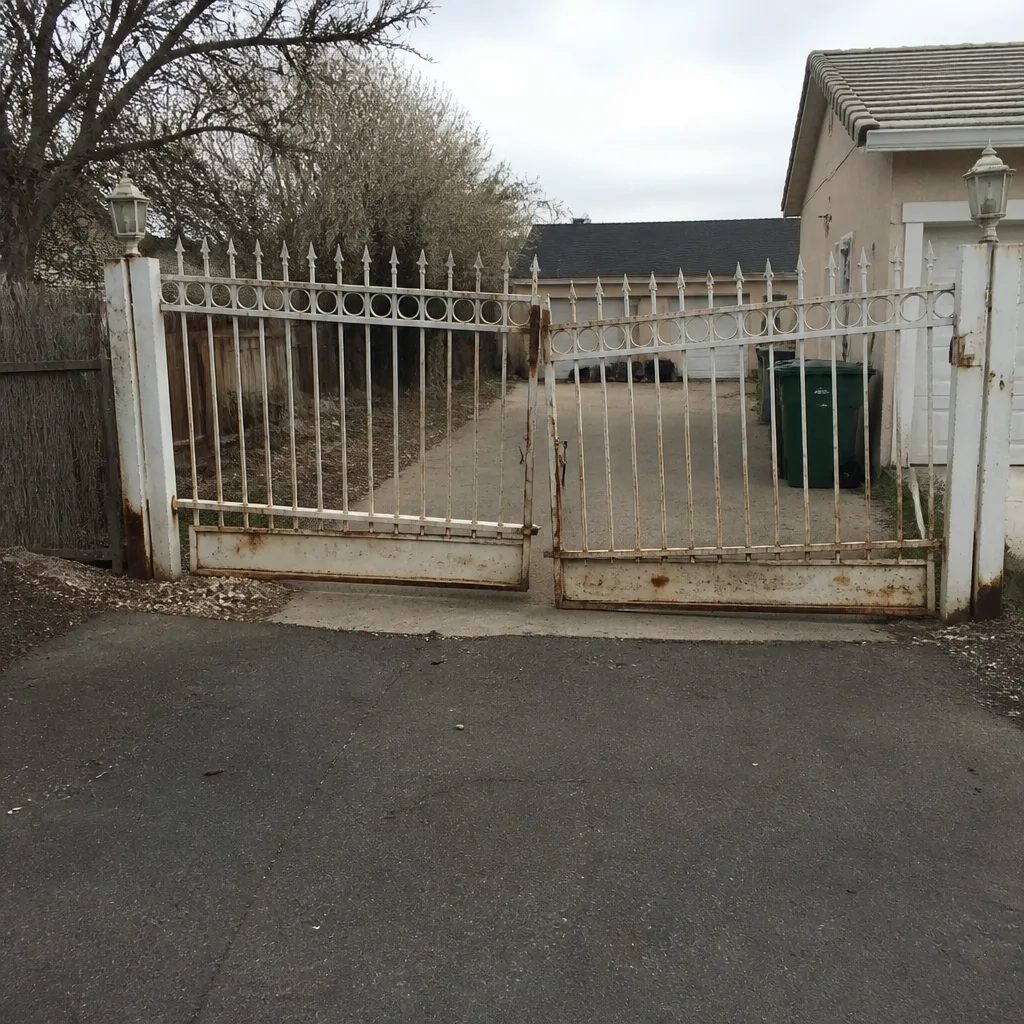 Before
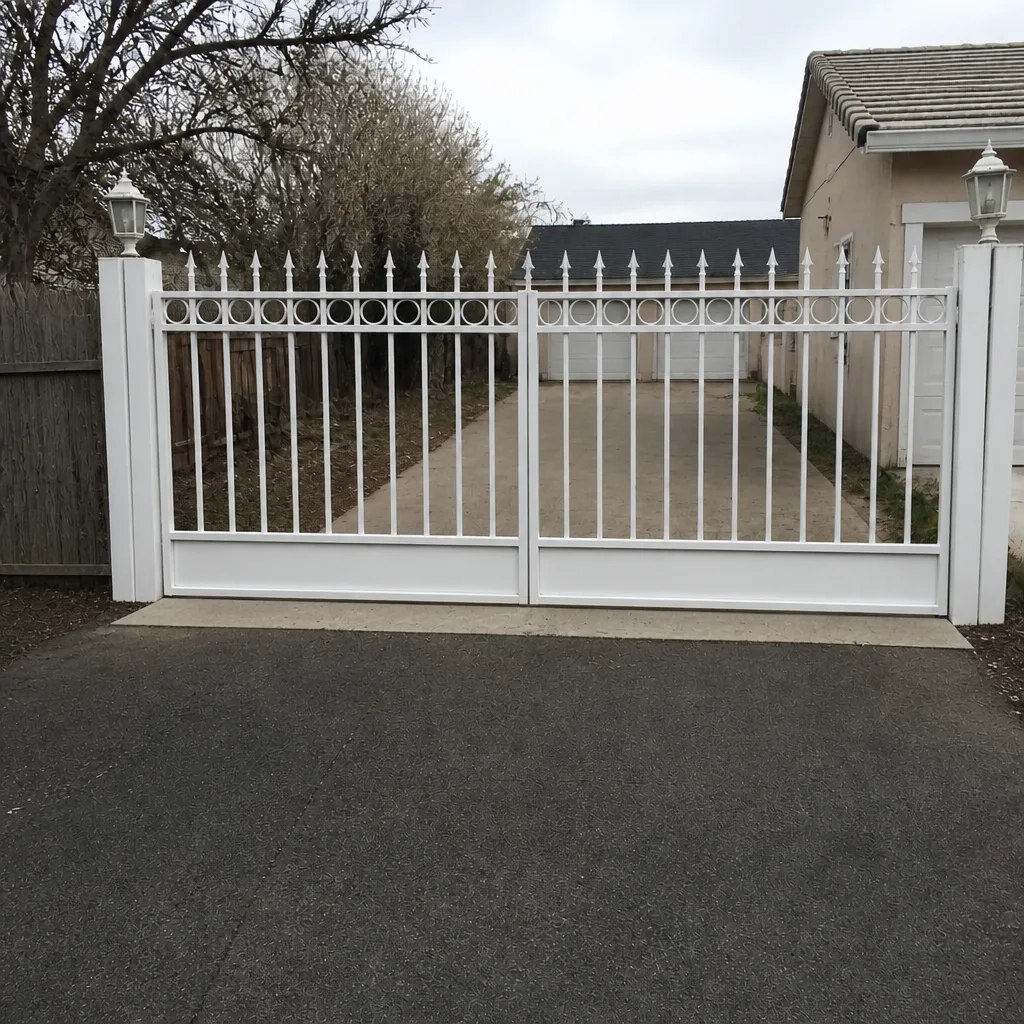 After
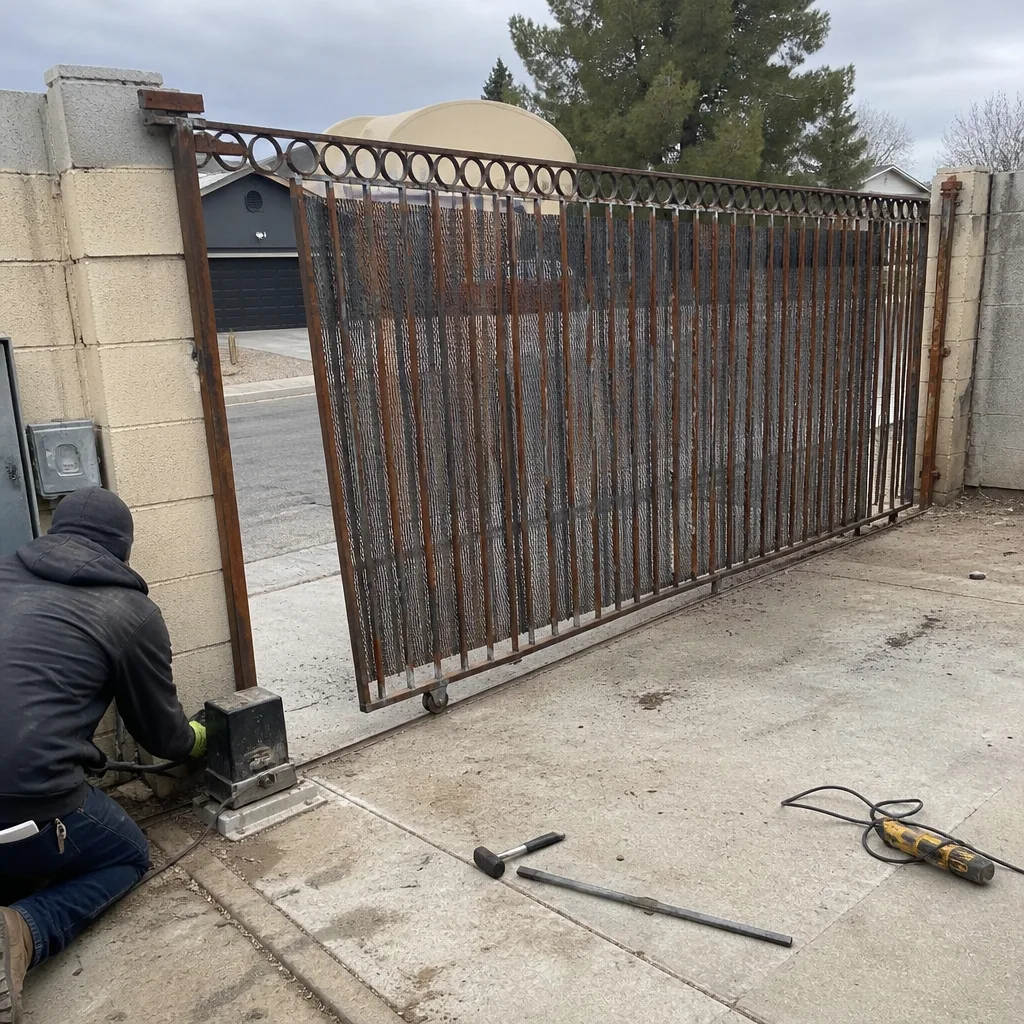 Before
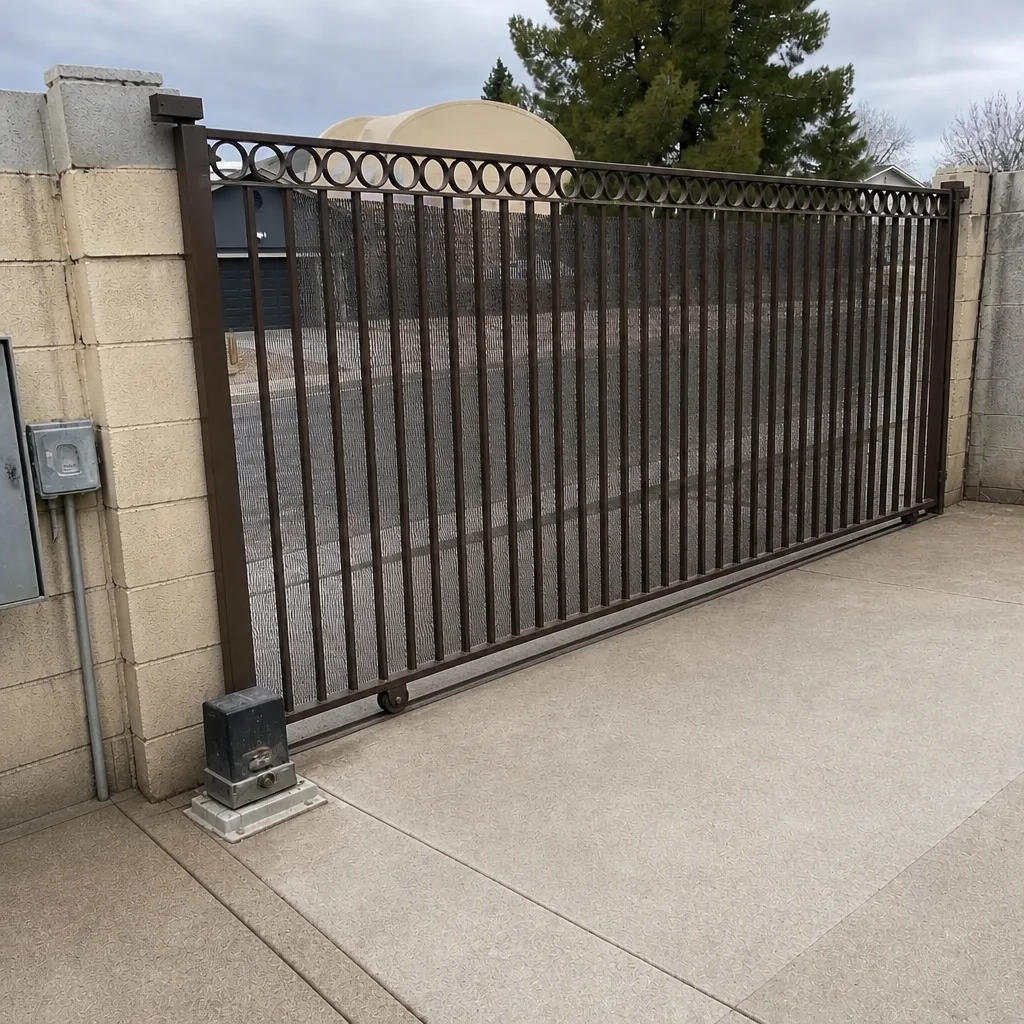 After
Frequently Asked Questions
Because the fault is almost always downstream of the keypad, not in it. The keypad is sending a valid code; the wiring or the control board’s relay output isn’t passing the command to the motor. Testing the relay output splits the system in two and tells you which side to focus on. Call (844) 797-4861 for a diagnostic – estimates are free.
A diagnostic visit typically covers the layer-by-layer test, the relay and voltage readings, and a written description of what was found, with the price written and agreed before any work starts. Access-control faults can land in several layers, so the scope varies; you’ll see a flat written price before a tool comes out. Call (844) 797-4861 for an exact quote.
Low supply voltage is the usual suspect – the supply reads fine at rest but sags under load, so the code is sometimes accepted and sometimes not. Corroded wiring produces the same intermittent symptom. Both are measured, not guessed at.
Usually not. Check the device first, then the gate controller’s network status, then whether the cellular service plan is active. A lapsed plan or a new home router looks exactly like a hardware failure from the driveway. If all three check out, book a visit.
No, and this is why a fresh code sometimes appears to program and then does nothing. A full credential memory accepts the sequence but won’t store the code. Delete a stale code first, then add the new one. A written credential record makes this a one-minute job instead of a guess.
We service nine major brands, so in most cases yes – LiftMaster, FAAC, BFT, Linear, and the others on the list. The point is to diagnose the system you already have rather than push a replacement. If you’re weighing new equipment, our Gate Installation in Whitney page covers that separately. Call (844) 797-4861 for a free estimate.
The Bottom Line
Access control failures have layers, and the cheapest fix is always to find the right one. Test power first, then wiring continuity, then the relay output, then the motor interface, and only then treat a problem as credentials or programming. A five-minute relay test splits the system in half and saves you from replacing a keypad that was never faulty. Low voltage, corroded wiring, and a full memory are the three failures that wear other problems’ faces. Leave a wiring diagram, a credential record, and the firmware version on every job and the next fault starts from evidence, not a guess. Under the 365-Day Done Right Promise, if a repair isn’t right we make it right – no argument, no fee. Call (844) 797-4861 for a free estimate.
Written by the team at Vance Gate Repair Whitney.