
Last updated November 18, 2026
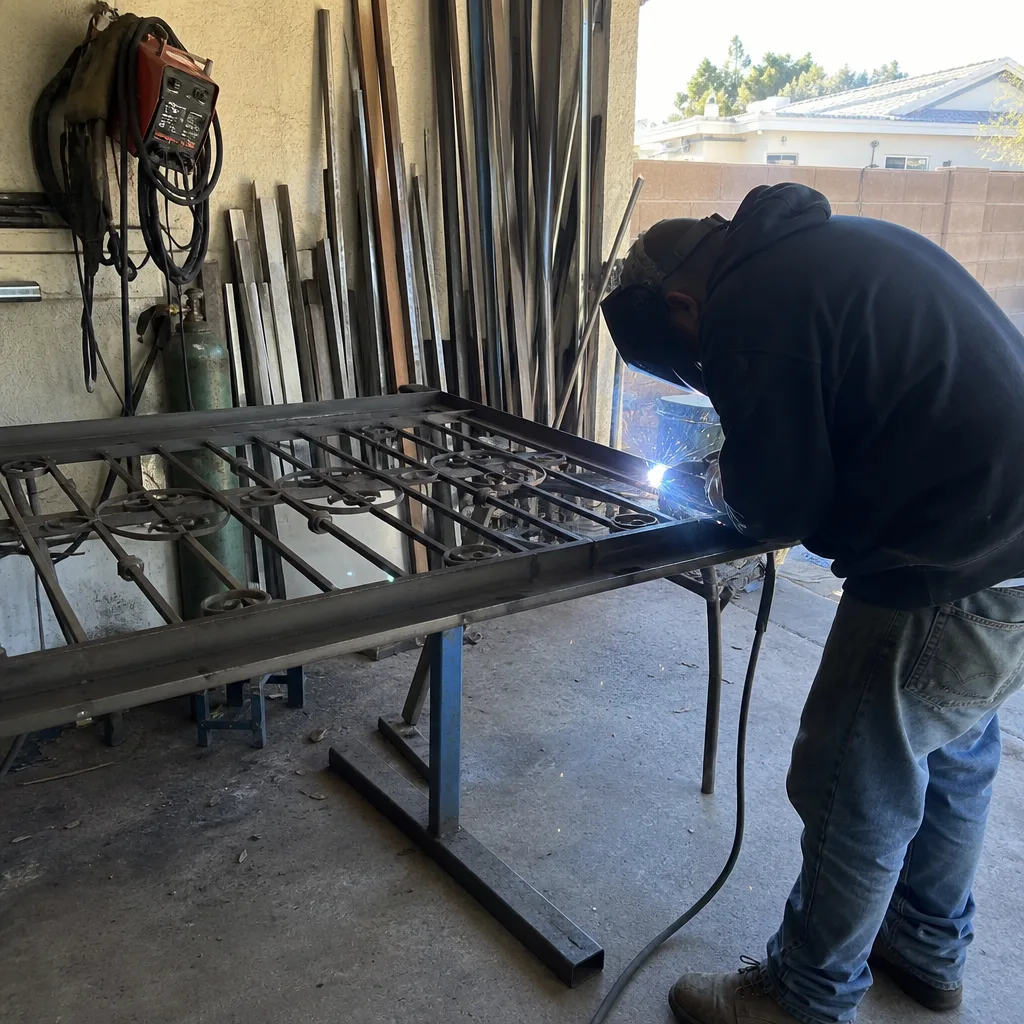
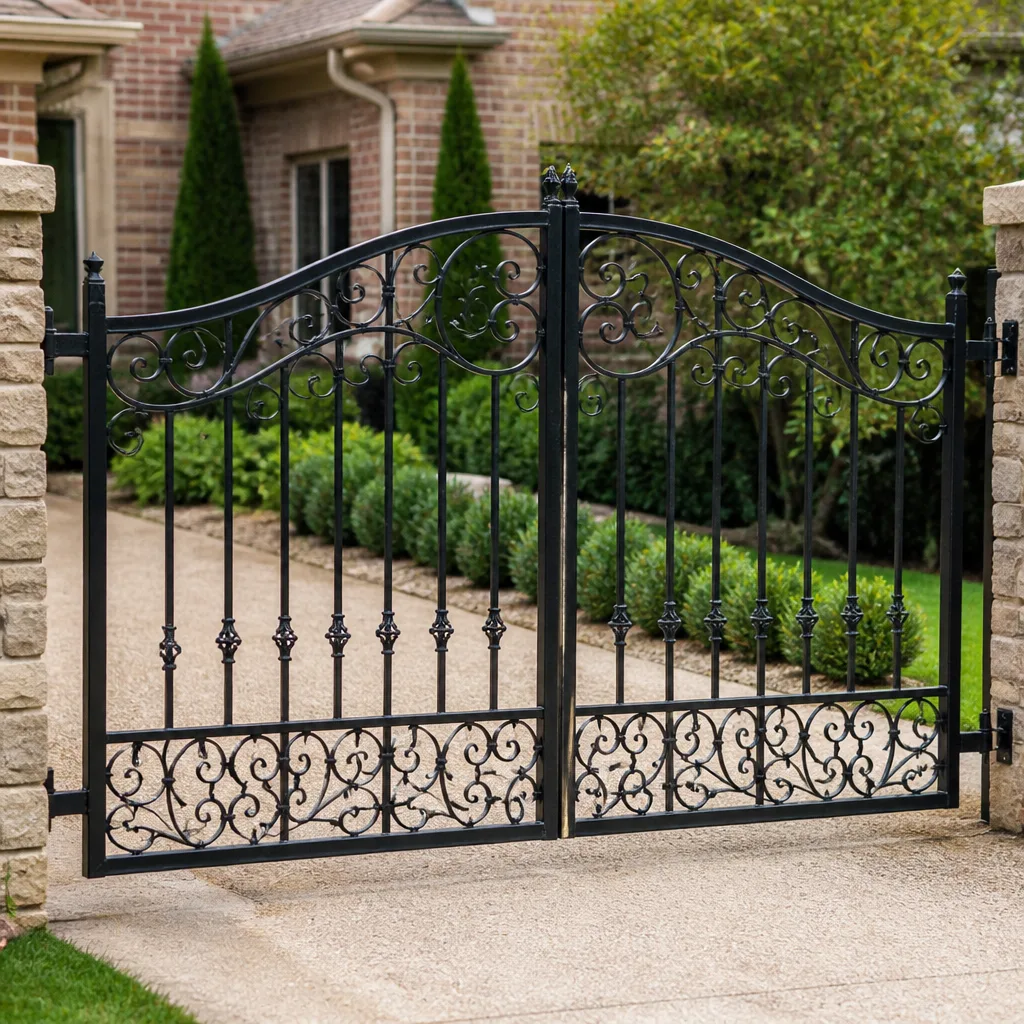 Wrought iron
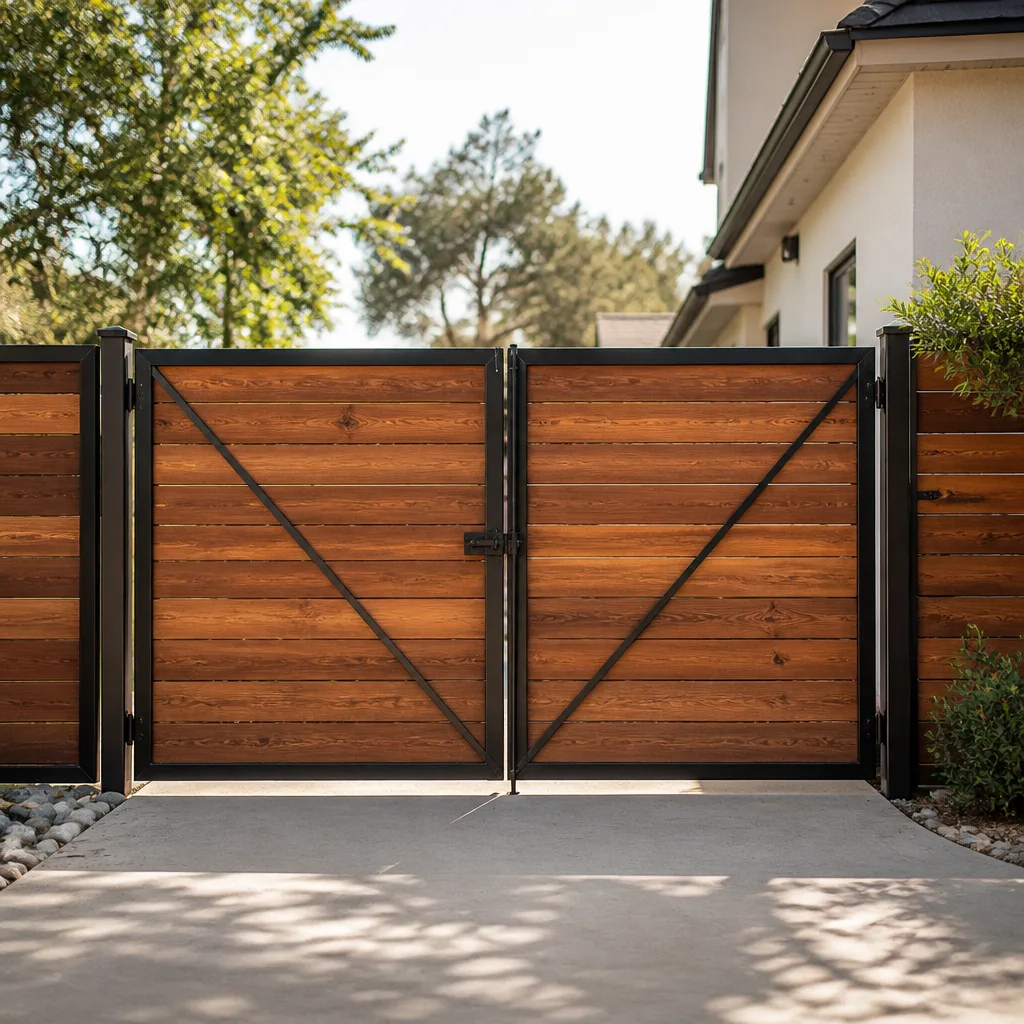 Wood & steel frame
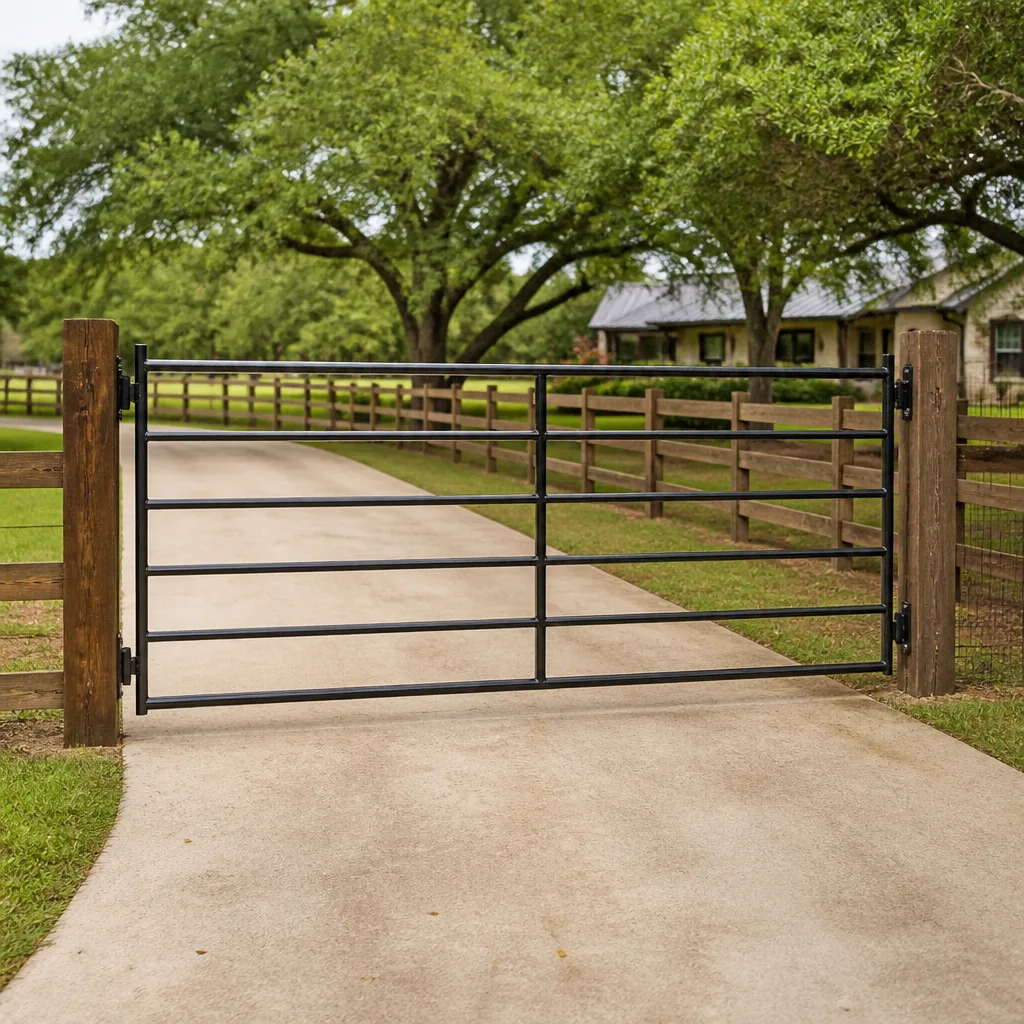 Farm & ranch
 Sliding driveway gates
 LiftMaster operators
Free on-site gate assessment - hinges, posts, and your LiftMaster or Nice gate operator checked before anything is quoted
The assessment is free and the quote is the invoice.
Get your free estimateDIY vs Professional Gate Parts & Welding: What’s Safe to Do Yourself
A homeowner with a good MIG welder and solid technique can still produce a structurally dangerous gate repair. That’s the part most DIY guides skip. The problem usually isn’t weld quality. It’s knowing which welds carry dynamic load under a moving gate and which ones are just holding a decorative scroll in place. We’ve seen a Whitney driveway gate that looked beautifully welded at the hinge, square to the eye, that cracked loose in eleven months because the post had shifted two degrees and the weld fought the geometry instead of following it. This guide draws the line for you: what you can safely replace yourself, what you shouldn’t touch, and how to tell the difference before you pull out a grinder.
Quick Answer
Hardware swaps on static, non-load-bearing gate parts are genuinely safe DIY: drop rods, keeper pins, cotter pins, latches, and decorative elements. Anything structural that carries the weight or swing of the gate, including hinge mounts, post bases, and operator arms, is a professional job. The deciding factor isn’t whether you can weld. It’s whether the component bears load while the gate moves.
Styles & brands we work with
- Wrought iron
- Wood & steel frame
- Farm & ranch
- Sliding driveway gates
- LiftMaster operators
Table of Contents
- Load-Bearing vs Non-Load-Bearing: How to Categorize Your Own Problem
- Hardware Replacements That Are Genuinely Safe DIY
- Why Hinge Welding Is a Geometry Problem, Not Just a Welding Problem
- The Liability Question: What Happens After a DIY Structural Repair Fails
- What a Professional Structural Repair Actually Leaves Behind
- Whitney Conditions That Change the DIY Calculation
- A Five-Step Check Before You Decide
 Before
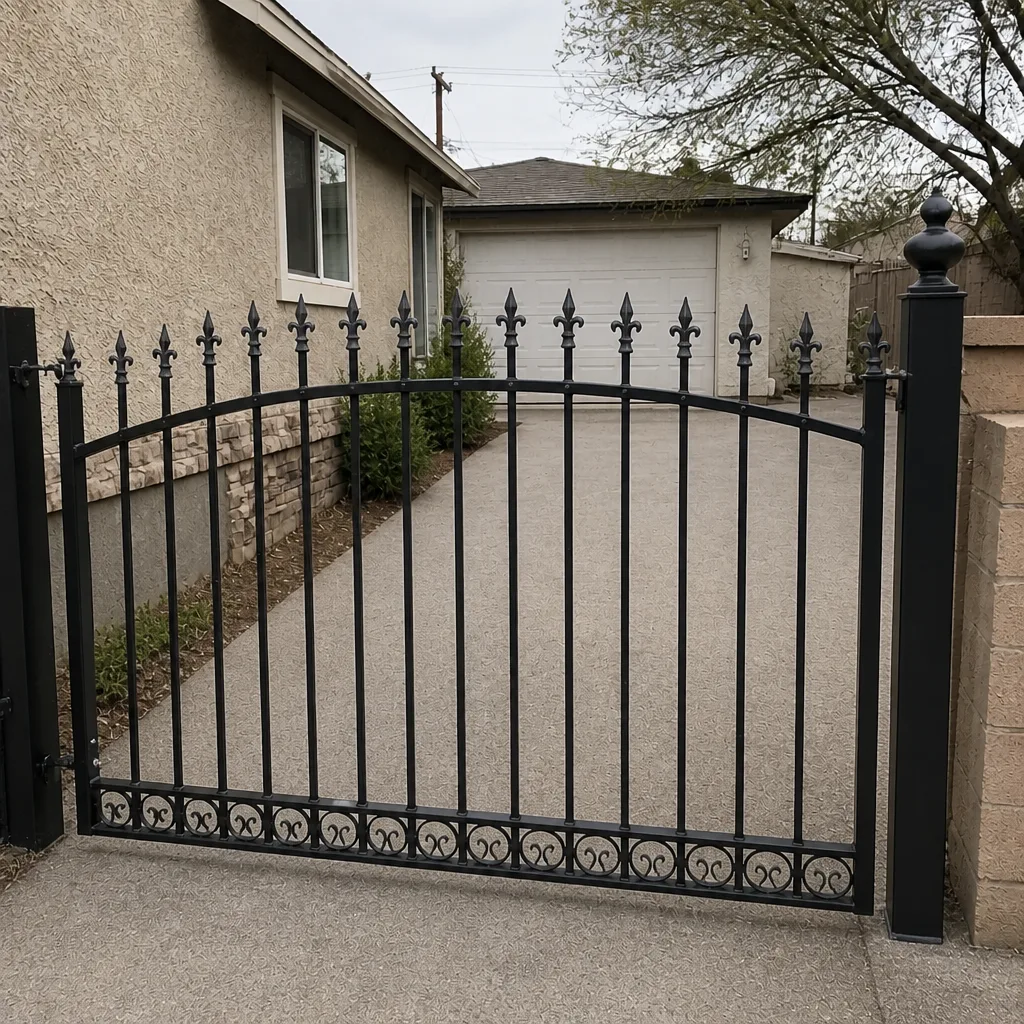 After
Load-Bearing vs Non-Load-Bearing: How to Categorize Your Own Problem
Before you decide anything, figure out what the broken part actually does. Load-bearing components carry the gate’s weight, resist the swing force, or hold the frame in geometry. Non-load-bearing components guide, latch, stop, or decorate. That single distinction sorts almost every gate repair into “you can do this” or “call someone.”
Load-bearing components include hinge plates welded to the gate frame, hinge barrels welded to the post, post-base welds at the ground, gusset plates at frame corners, the operator arm bracket on automated gates, and any weld joining two structural members of the frame itself. If the gate sags, drags, binds, or swings out of alignment, the problem is almost always in this group.
Non-load-bearing components include the drop rod that pins a swing gate open, the keeper pin that receives it, the latch and striker, cotter pins and clevis pins on linkage, rubber bump stops, and ornamental scrollwork that touches nothing structural. These parts guide the gate or finish it. They don’t hold it up.
In our experience across Whitney, homeowners frequently misdiagnose a sagging gate as a hinge problem when the real issue is a post that has moved or a weld that has cracked at the base. Replacing the hinge on a post that’s out of plumb makes the sag worse. Categorize first, then decide.
Hardware Replacements That Are Genuinely Safe DIY
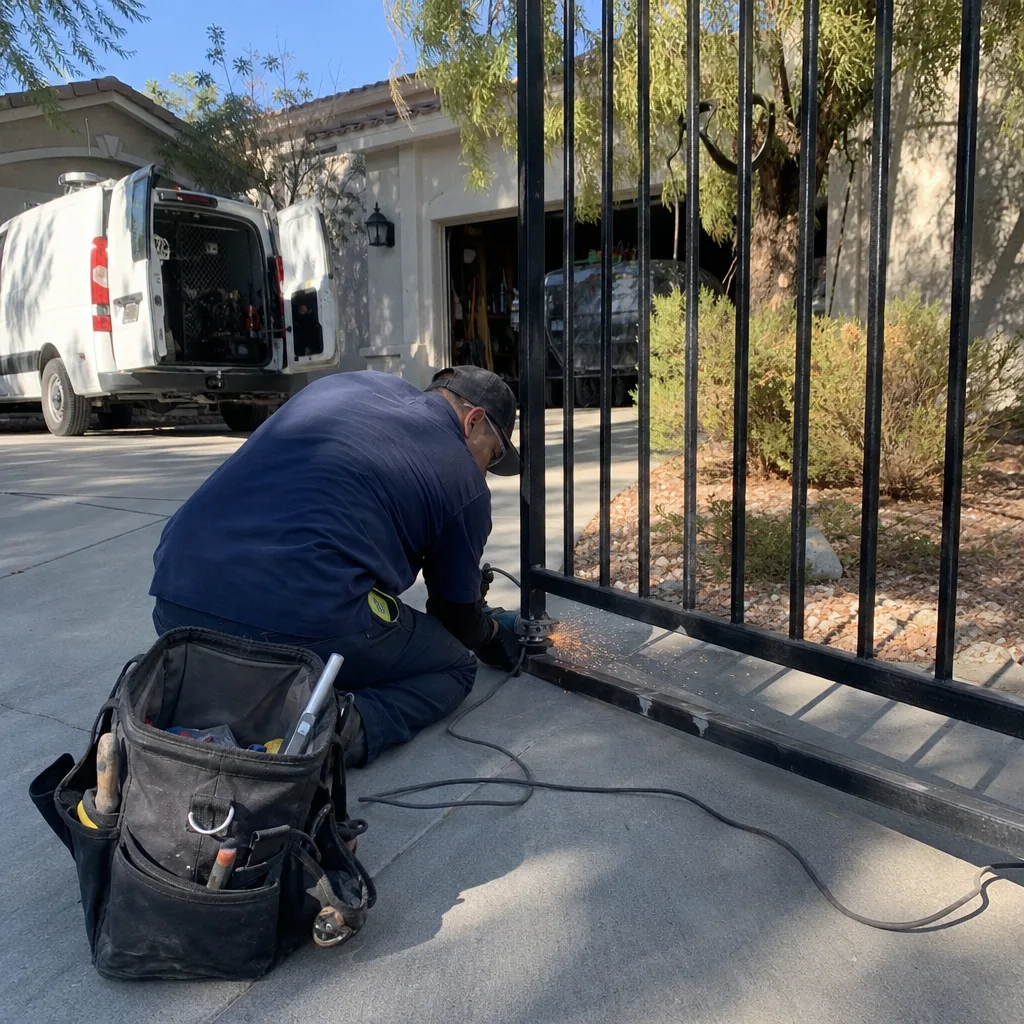
These are the repairs we’d tell a neighbor to go ahead and handle. They involve fasteners and bolt-on parts, not structural welds, and a mistake usually costs you a few dollars and a trip to the hardware store rather than a gate on the ground.
- Drop rods and keeper pins. The rod that holds a swing gate open threads or bolts into a bracket. Swapping it is a wrench job. Note the thread pitch before you buy a replacement.
- Cotter pins and clevis pins. Common on operator linkage. Pull the old pin, match the diameter, insert the new one, bend the cotter legs. Cheap and reversible.
- Latch and striker plates. Typically screwed or bolted on. If the gate already closes cleanly and only the latch is worn, a bolt-on replacement is fine.
- Rubber bump stops. Bolt-on cushioning at the end of travel. Replace when cracked.
- Non-structural decorative elements. A loosened ornamental scroll that touches no moving part can be reattached with a bolt-on bracket if the design allows.
What ties these together: none of them changes the gate’s geometry or carries dynamic load. If you can remove the part with hand tools and the gate still stands and swings the same way, it’s in the safe category. If removing it makes the gate move differently, stop.
For issues that go past bolt-on hardware, our Gate Repair in Whitney page covers the repair categories we handle, and a free second opinion on any estimate you’ve already received is always available.
Why Hinge Welding Is a Geometry Problem, Not Just a Welding Problem
Here’s the part that trips up capable welders. A hinge weld has to do two jobs at once: bond the metal and hold the gate’s swing plane. A perfectly sound weld applied to a gate frame that’s out of square will hold the gate in the wrong position permanently. The weld isn’t the failure. The geometry is.
Picture a post that has shifted two degrees out of plumb over a few seasons of ground movement. Weld the hinge squarely to the gate and you’ve built in a two-degree bind. The gate now drags at the latch end, the operator works harder, and the weld at the hinge takes a bending load it was never designed for. On an automated gate running a LiftMaster or FAAC arm, that misalignment also wears the operator faster and can trip the built-in obstruction sensing.
A correct structural repair works in this order:
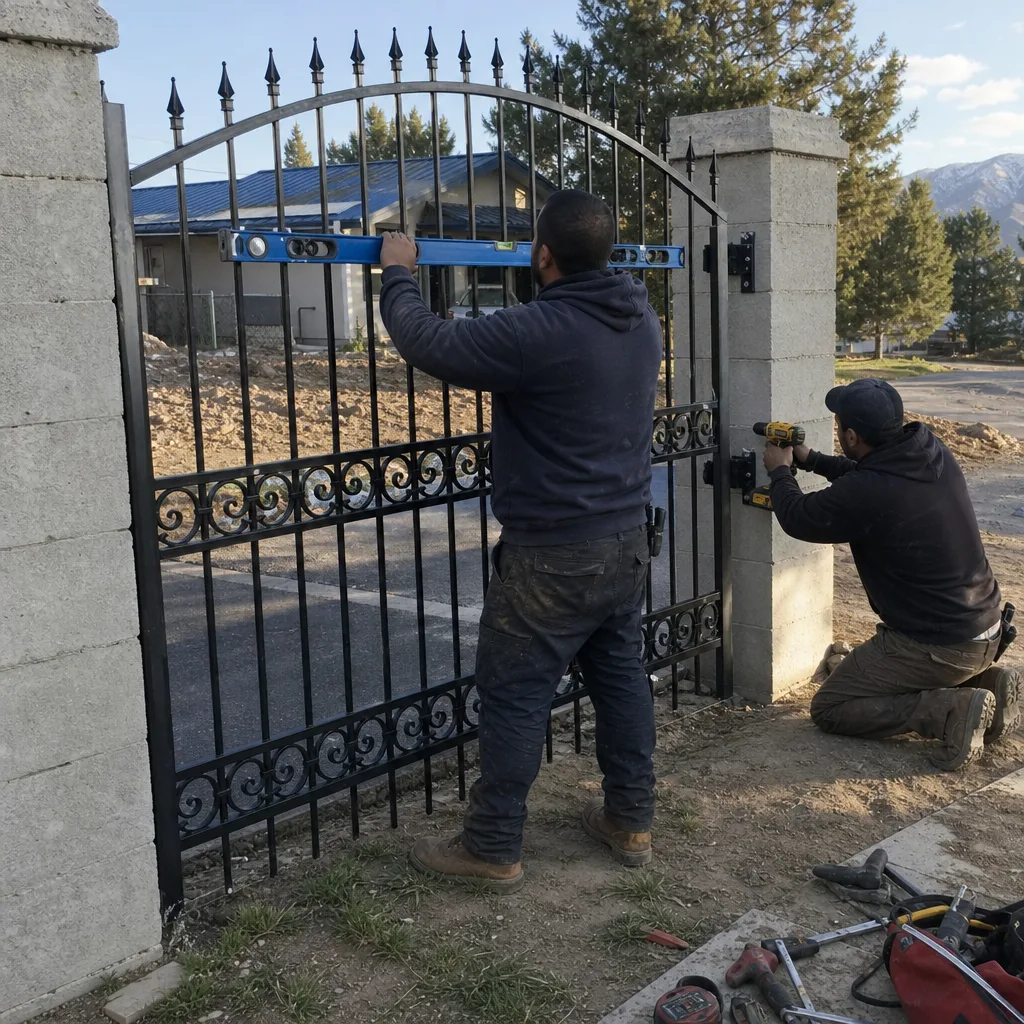
- Measure post plumb and gate frame square with a digital level before anything is cut.
- Determine how much the geometry has drifted and whether the hinge or the post is the source.
- Set the gate frame to its correct swing plane, supporting it while welds are open.
- Weld the hinge to the corrected position, allowing for weld shrinkage.
- Re-measure after cooling and adjust the operator limit switches to the new travel.
Step five is the one most DIY jobs skip and the one that matters most on automated gates. If the limit switches aren’t reset to the new travel, the operator keeps pushing a gate past its stop. On a Gate Motor & Opener in Whitney setup, that’s the fastest route to a stripped gear or a burned-out control board.
There’s a safety dimension here as well. Gate springs, tension rods, and the arm of an automated operator store energy. A gate that releases suddenly while you’re under it can cause serious injury. If you’re working near an operator arm or any tensioned component, de-energize and disconnect it first, and have a trained technician handle anything you can’t safely isolate. We won’t walk a homeowner through structural work when the risk is real.
The Liability Question: What Happens After a DIY Structural Repair Fails
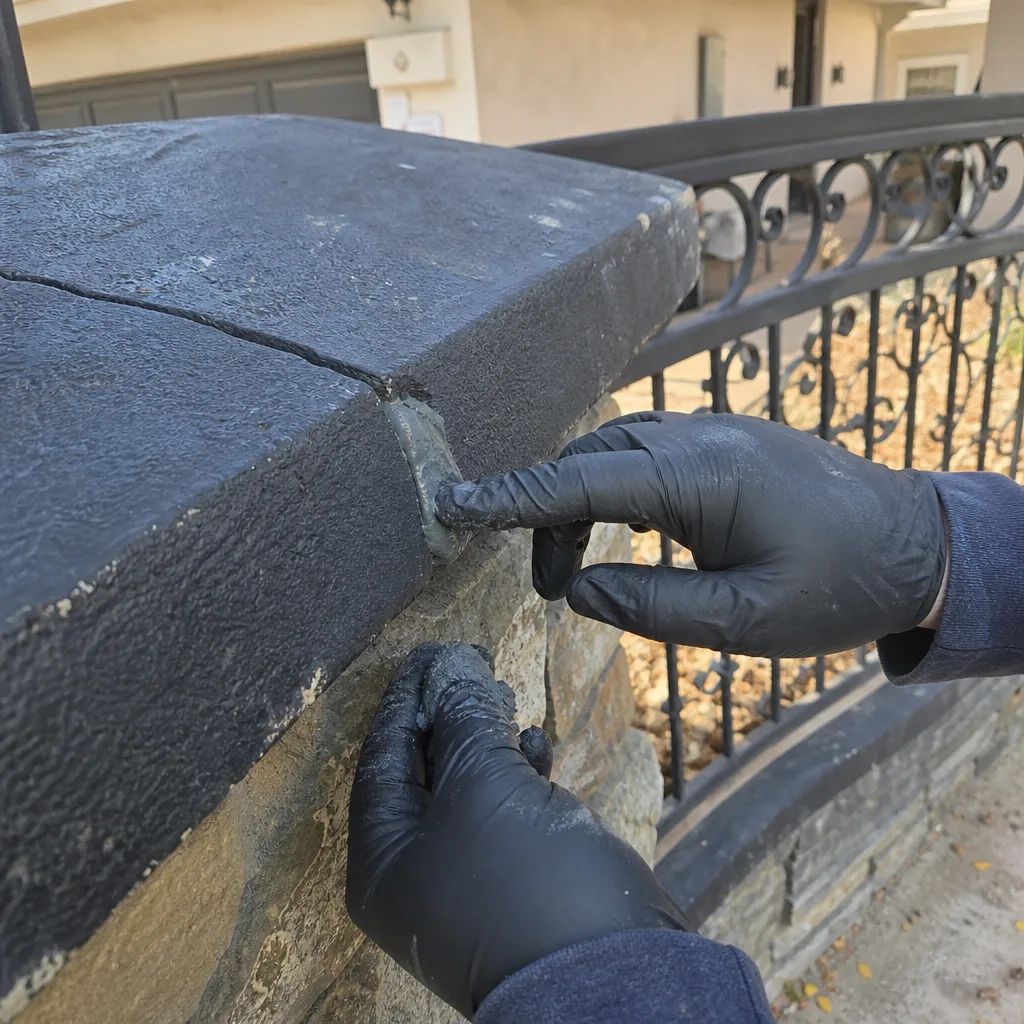
If a gate falls on a vehicle or a person after a structural repair you performed, the first question isn’t who welded it. It’s who’s responsible. And in most homeowner policies, the answer depends on whether the work was done to a professional standard and whether it was disclosed.
Several things can go wrong from an insurance standpoint:
- Coverage disputes. Insurers can question a claim tied to work the homeowner performed, especially structural work on a moving component. Some policies exclude damage from faulty workmanship, including your own.
- Undisclosed work. If you repair the gate and later sell the home without disclosing a structural repair, the next owner’s claim can come back to you.
- Contractor liability. When a licensed professional does the work, their insurance and warranty sit behind the repair. A documented professional repair gives all parties something to point to.
- Automated gates specifically. Gate operators are covered by safety standards requiring obstruction sensing and entrapment protection. A structurally compromised gate with a functioning operator is a dangerous combination.
We’re not insurance advisors, and we don’t make claims about what your policy will do. But we’ve seen enough Whitney properties where a gate repair turned into a vehicle-damage claim to know the structure of the question. If the gate is heavy, automated, or in a position where it could fall on a driveway or sidewalk, the risk math argues for professional work.
What a Professional Structural Repair Actually Leaves Behind
Here’s the part no DIY repair gives you: a record. When we complete a structural gate repair under the Haven Standard, the homeowner gets a documented file showing exactly what was found, what was set, and what was installed. That record has real value, and not just for our own follow-up.
A documented structural repair typically includes:
- Pre-repair photos of the weld location and post base, showing the condition we started from.
- Measurements of post plumb and gate frame square, before and after.
- Weld location photos of the finished repair, so any future technician can see what was done and where.
- Hardware specifications for any replaced part, including the part number and brand.
- Limit-switch readings on automated gates, confirming the operator was reset to the corrected travel.
This is the same documentation habit that carried over from commercial access-control work into every residential gate we touch. It means the next visit doesn’t start from zero, and it means no homeowner pays a second technician to rediscover the same problem. It also means if you ever sell the home, the buyer has evidence the structural work was done to a documented standard.
Every visit under Clause 4 of the Haven Standard (evidence on every job) includes that photo record at no additional charge. The written price comes before any work begins, under Clause 1.
Whitney Conditions That Change the DIY Calculation
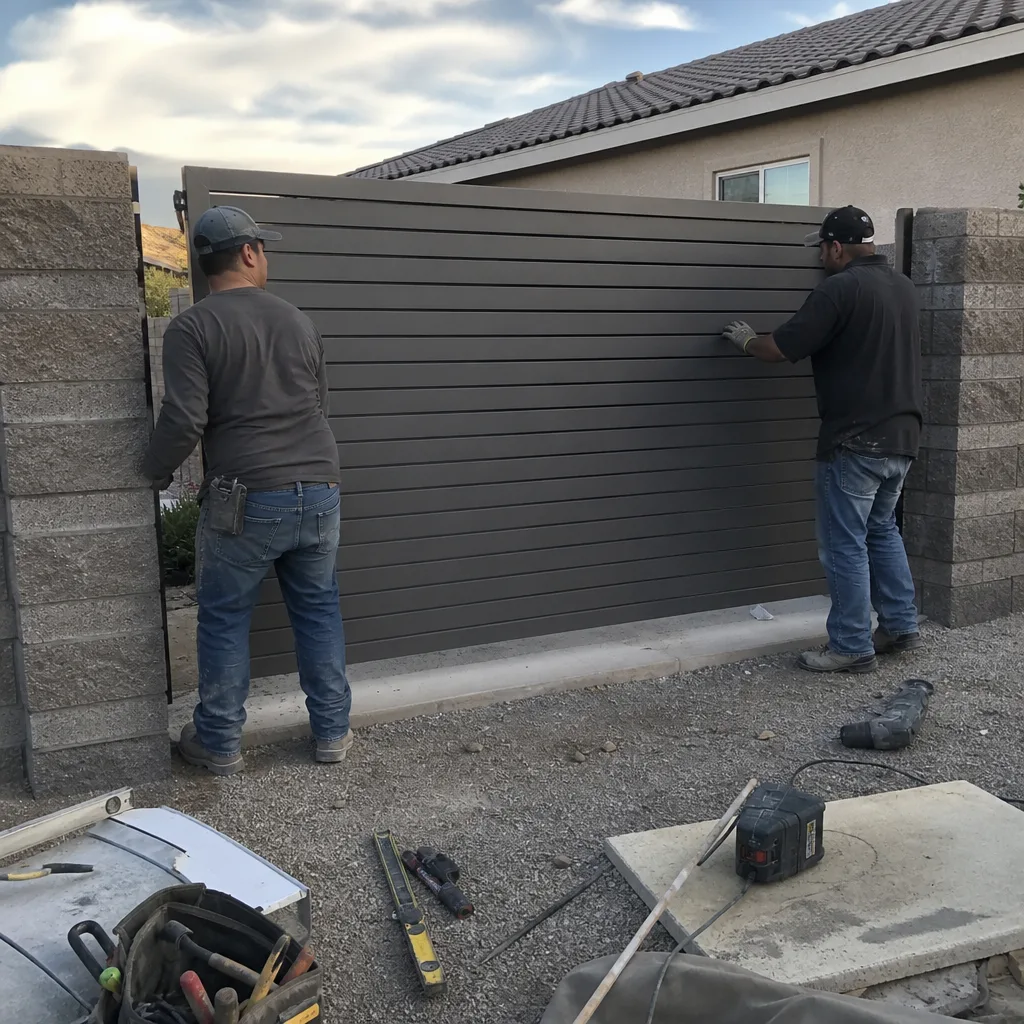
Local conditions affect gate repairs more than most homeowners expect. Whitney’s climate – hot dry summers, monsoon-season storms, and the kind of ground movement that follows shrink-swell soil cycles – puts particular stress on post bases and hinge welds. We regularly see spring failures and weld-crack development on gates that went through a dry summer followed by a wet monsoon. The soil under the post moves, the post shifts, and a weld that was sound in spring is under bending stress by fall.
In Whitney we also see older driveway gates with operator arms installed during earlier renovations, where the mounting plate was welded with limited clearance for the gate to reach full travel. Those welds often hold fine while the gate is manual and fail once an operator is added, because the dynamic load goes up sharply. If you’re converting a manual gate to automated, that’s the moment to inspect every structural weld, not after the operator is on.
We’ve worked on gates across Whitney on all nine major automation brands – LiftMaster, FAAC, BFT, Linear, Viking, Ghost Controls, DoorKing, Elite, and Mighty Mule – so whatever motor is already on your property, we can work with it rather than steering you toward a replacement.
A Five-Step Check Before You Decide
- Identify the part. Is it a fastener, a bolt-on accessory, or a weld joining structural metal? Write down what you found.
- Test the gate for movement. Open and close it by hand. Note any drag, bind, or sag. If it moves cleanly and the broken part doesn’t affect movement, it’s likely safe DIY.
- Check the post and frame. A level against the post will tell you if the geometry has drifted. If it’s out of plumb, don’t weld anything until it’s corrected.
- Trace the load path. Ask what holds this part up when the gate moves. If the answer is “this part,” it’s structural.
- Photograph before you touch. Whatever you decide, take photos first. If you do decide to call us, those photos help us quote accurately, and if you complete a hardware swap yourself, you’ll have a record.
If the answer at step four is “this part carries load,” put the welder down. That’s the point to call.
Common Mistakes to Avoid
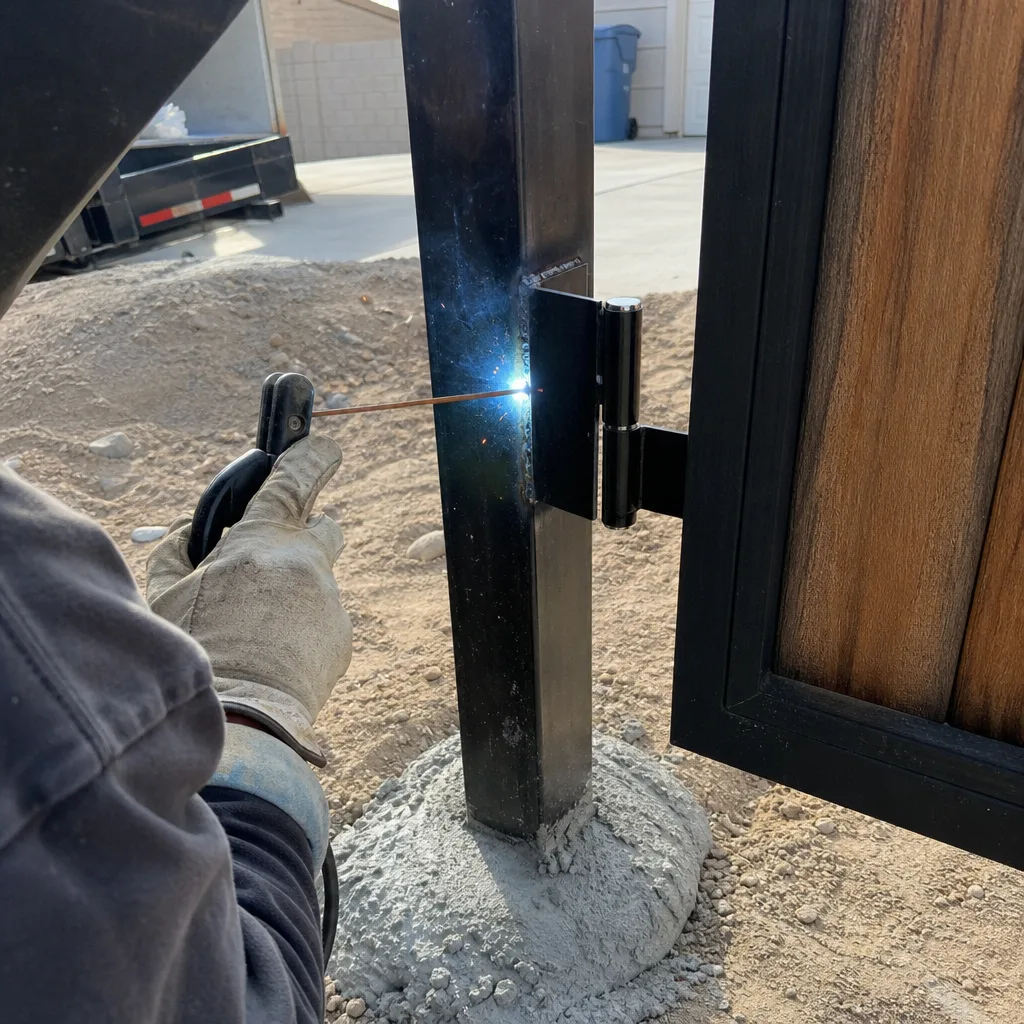
- Welding a hinge without checking post plumb. The weld may hold and the gate may still bind, because the frame geometry is wrong. Fix the geometry first, or the repair doesn’t last.
- Grinding off a structural weld before the gate is supported. Opening a hinge weld releases the gate’s only support at that corner. Support the gate with jacks before you cut.
- Skipping the limit-switch reset after welding. On an automated gate, a new hinge position means the operator’s travel has changed. Reset it or the operator keeps pushing against a stop it can’t see.
- Replacing a sagging hinge when the post has moved. The new hinge sags too, because the real problem was never the hinge. Diagnose the post before buying parts.
- Judging weld quality by appearance alone. A clean-looking bead on a gate frame that’s out of square is still the wrong weld. Geometry matters as much as penetration.
- Working near a tensioned spring or operator arm without isolating it. These components store energy. De-energize and disconnect before any work, and call a professional for anything you can’t safely release.
- Not documenting what was done. Even a DIY hardware swap benefits from a photo and a note. It saves the next technician time and helps if you sell the home.
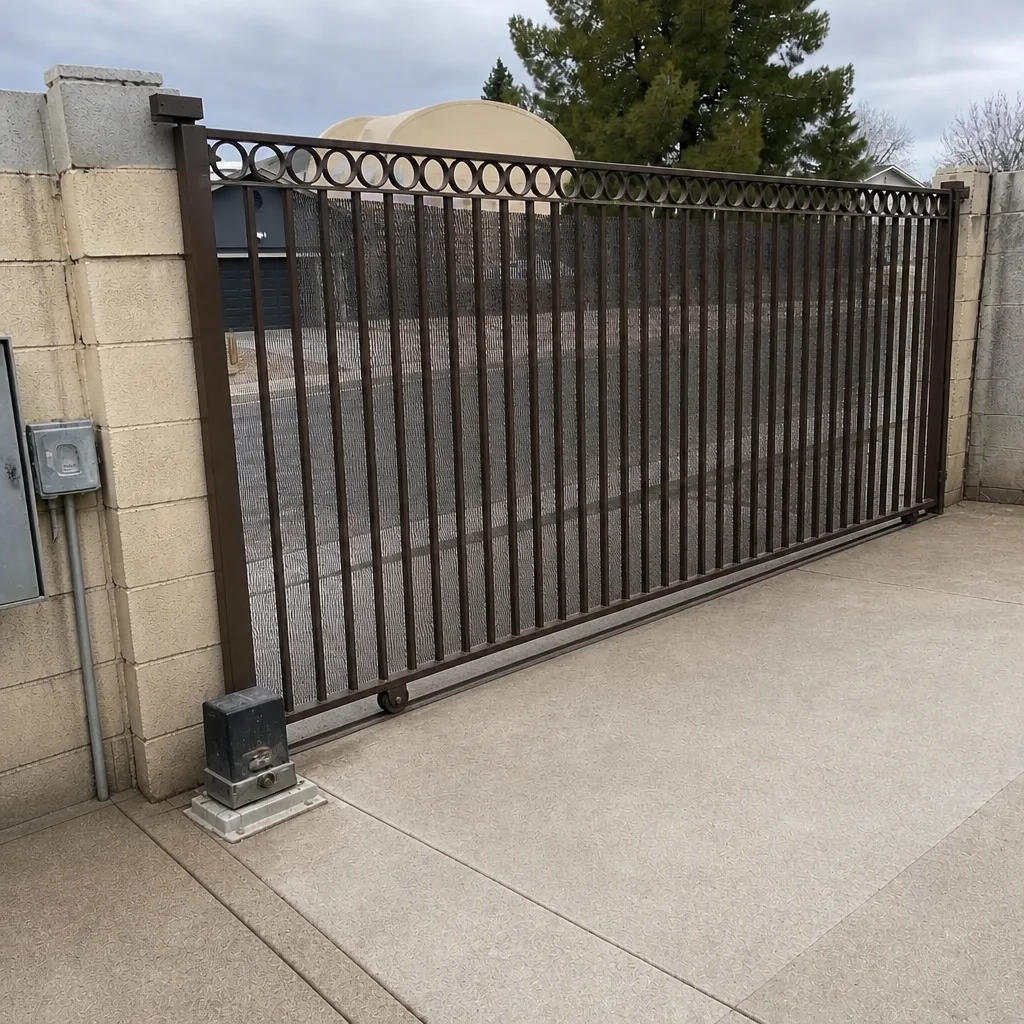
See the difference
BeforeAfter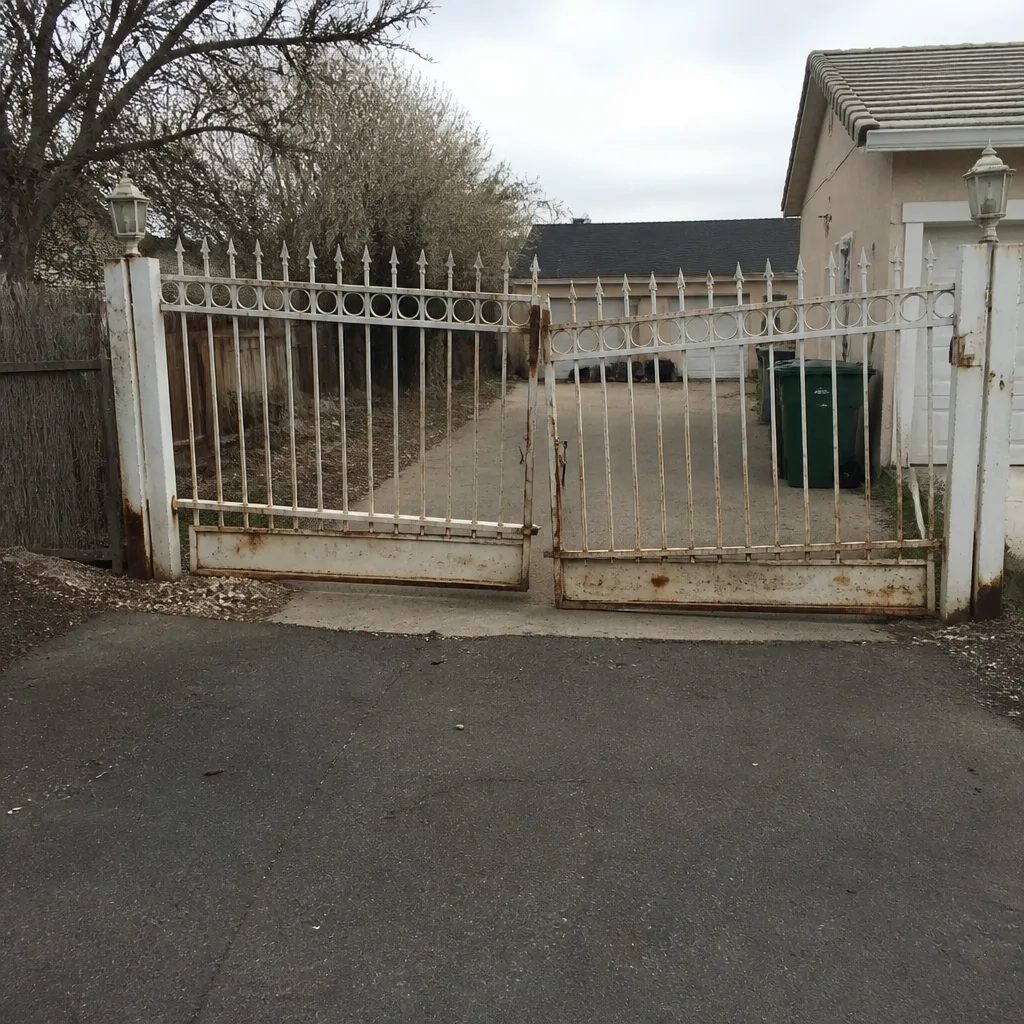 Before
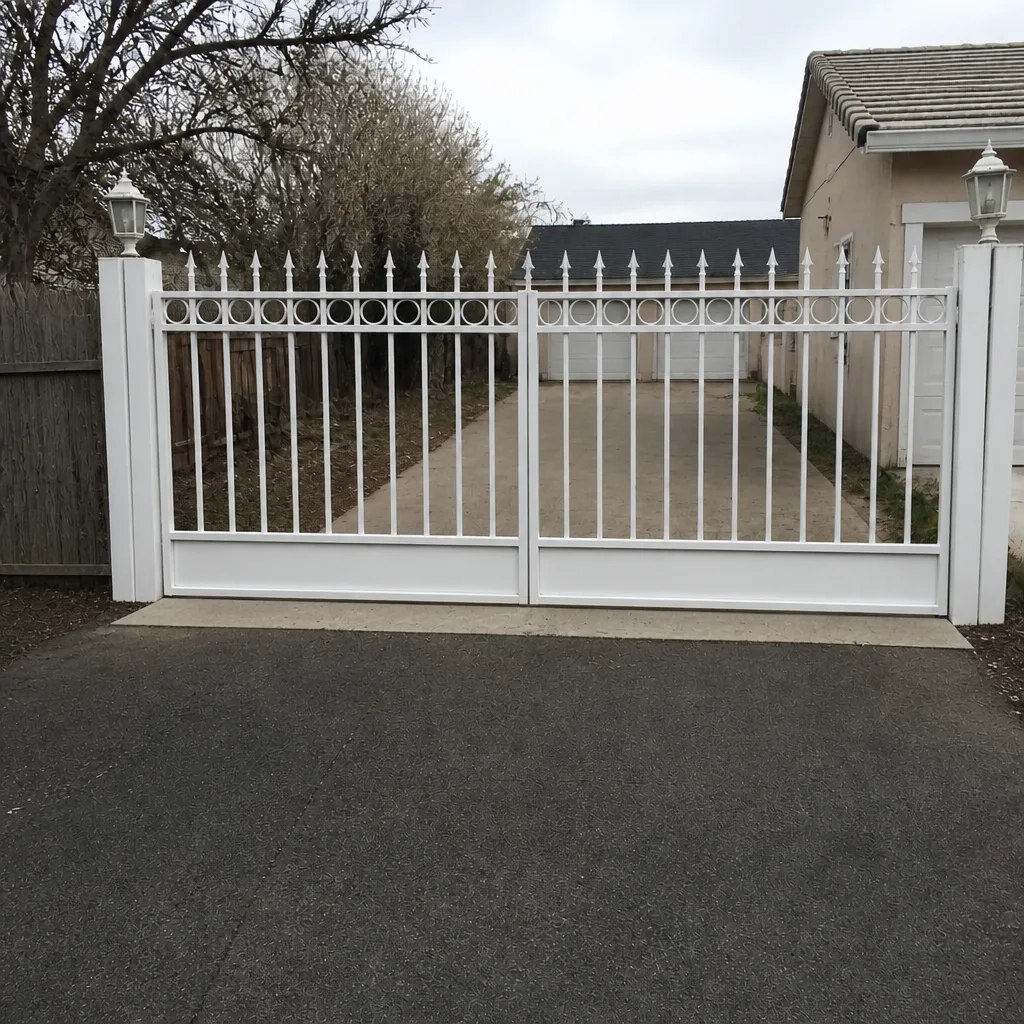 After
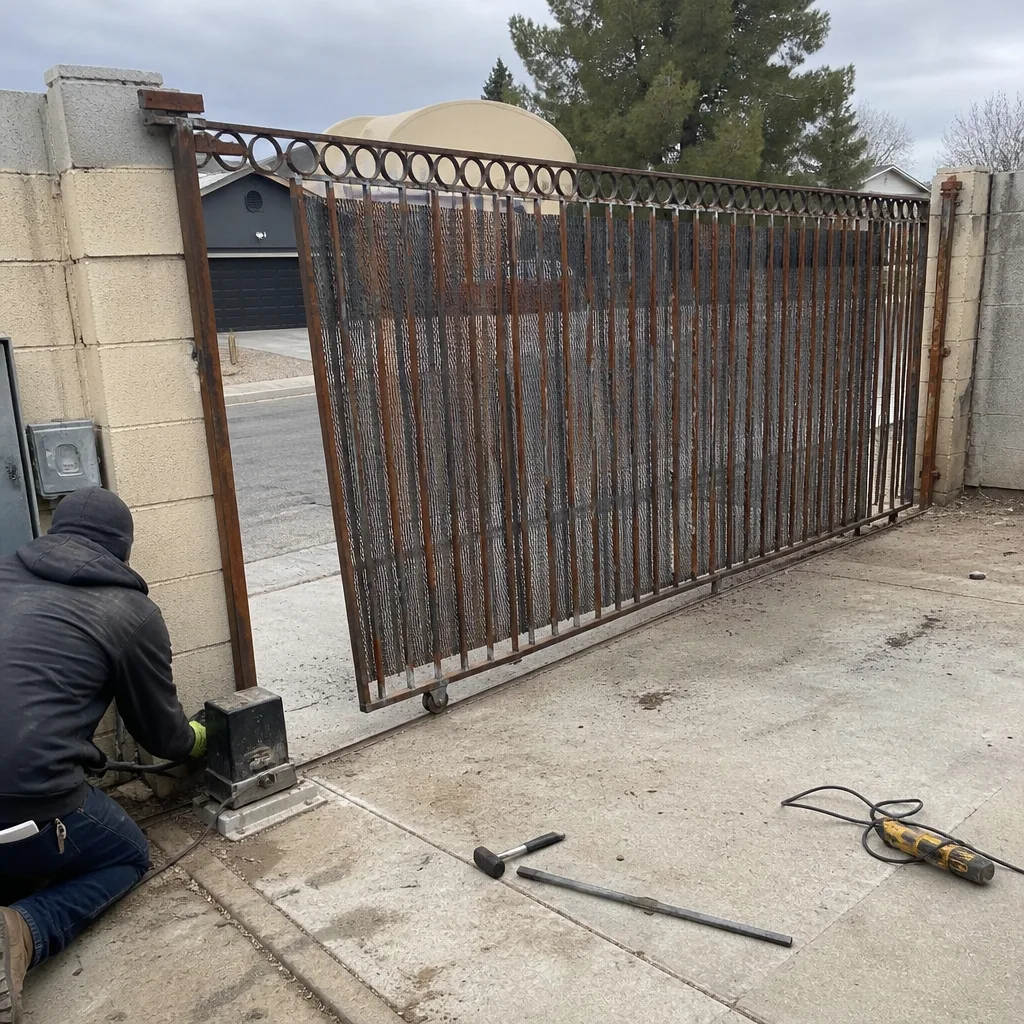 Before
 After
When to Call a Professional
Call a professional when the repair touches a hinge mount, a post base, a frame weld, the operator arm bracket, or any component that carries the gate’s weight or swing. Call when the gate sags or drags even after a hardware fix, when you’re working near a tensioned spring or operator, or when the gate is automated and the structure is compromised. Call when you’re unsure which category your problem falls into – the check takes minutes and saves you from welding the wrong thing. Vance Gate Repair Whitney offers free estimates in Whitney, with a written price before any work begins. Call (844) 797-4861 and a live person will answer, any hour. You can also start with our Vance Gate Repair Whitney home page for an overview of what we handle.
Frequently Asked Questions
Yes, for non-load-bearing hardware like drop rods, keeper pins, cotter pins, latches, and bump stops. These bolt or pin on and don’t carry the gate’s weight or affect its swing plane. Keep the old part to match size and thread pitch, and photograph before you start. If the replacement changes how the gate swings, stop and reassess.
Only on truly non-structural joints, and in most real repairs there aren’t many of those. A hinge weld, post-base weld, or frame weld all carry dynamic load. A weld that looks perfect can still fail if the geometry it’s locking in is wrong. Call (844) 797-4861 for a free estimate before you weld anything structural.
The post may have moved out of plumb, or a weld at the post base may have cracked. A digital level on the post will tell you quickly. If the post is out of plumb, replacing the hinge won’t fix the sag. This is one of the most common misdiagnoses we see in Whitney, and it’s a professional inspection, not a parts swap.
Yes, and it protects you. A photo of what you replaced, the part number if you have it, and a note on the date gives any future technician a starting point and shows the work was done. It also helps if you ever sell the home. Professional repairs under the Haven Standard include this documentation as standard.
Responsibility for the repair can fall on the homeowner, and many policies exclude damage from faulty workmanship. We can’t give insurance advice, but the structure of the question favors documented professional work when the gate is heavy, automated, or near a driveway or sidewalk. A professional repair puts a warranty and a record behind the work.
Structural hinge and post repairs typically run in the low-to-mid hundreds depending on the gate type, material, and whether the post needs correction. The exact figure depends on what we find. At Vance Gate Repair Whitney, the flat price is written and handed over before any tool is picked up, and the 365-Day Done Right Promise covers the repair for a full year. Call (844) 797-4861 for a free estimate.
The Bottom Line
The DIY boundary in gate parts and welding isn’t about whether you can weld. It’s about whether the component carries load while the gate moves. If it’s a drop rod, a keeper pin, a latch, or a bump stop, go ahead – those are wrench jobs and reversible. If it’s a hinge weld, a post base, a frame joint, or an operator arm bracket, put the welder down and call. The difference between a safe repair and a dangerous one is usually geometry, not weld quality. When you’re ready for the structural work, a written price comes before any tool, and the record gets left behind for the next technician. That’s the whole point. For new gate work, our Gate Installation in Whitney page covers what a proper structural installation includes.
If you’re in Whitney and the question is still open, call Vance Gate Repair Whitney at (844) 797-4861 for a free estimate. A live person answers any hour, 24/7, with a written price in your hands before work starts and a documented photo record when we leave.
Written by the team at Vance Gate Repair Whitney.