
Last updated November 18, 2026
 Wrought iron
 Wood & steel frame
 Farm & ranch
 Sliding driveway gates
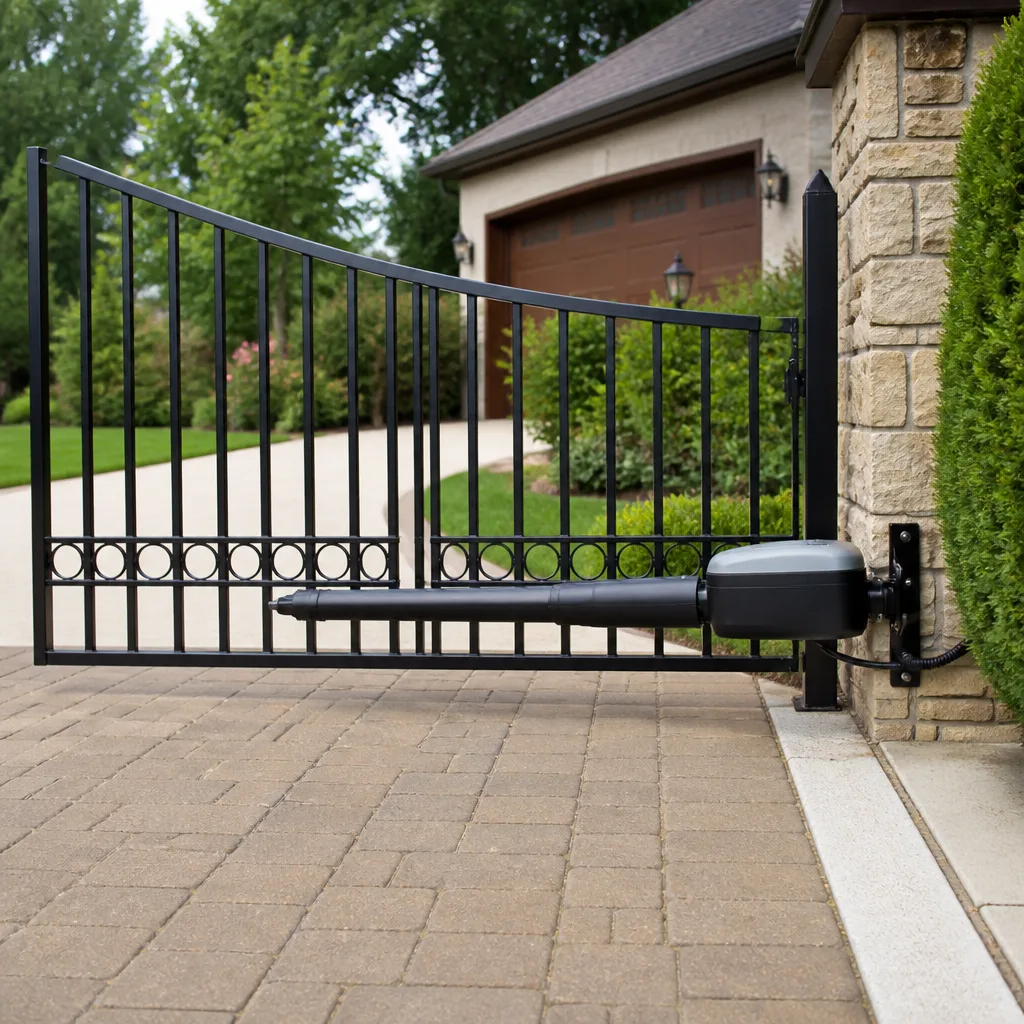 LiftMaster operators
Free on-site gate assessment - hinges, posts, and your LiftMaster or Nice gate operator checked before anything is quoted
The assessment is free and the quote is the invoice.
Get your free estimateDIY vs Professional Gate Motor & Opener: What’s Safe to Do Yourself
Replacing a gate motor battery is a ten-minute job with a screwdriver and a replacement cell from the hardware store. Replacing the motor itself on a low-voltage AC system without a wiring diagram is a task that can void the new motor’s warranty the same day it’s installed. Those two facts sit at opposite ends of the same driveway gate, and most homeowners can’t tell where the safe line falls until they’re already past it. This guide draws that line task by task, explains the warranty language that makes the difference, and shows what a Whitney homeowner actually saves or loses by choosing DIY over a documented professional install.
Quick Answer
Battery swaps, sensor cleaning, remote programming, and manual-release operation are safe DIY tasks on almost any residential gate motor. Anything involving new motor wiring, control board replacement, buried conduit, or loop detector installation requires an electrician’s license, calibration equipment, and documented wiring records – skip any of those and you can void the motor’s parts warranty and create a liability you didn’t have before. The DIY-versus-professional question isn’t about skill. It’s about which tasks carry electrical, liability, or warranty consequences that make professional involvement the cheaper option over time.
Styles & brands we work with
- Wrought iron
- Wood & steel frame
- Farm & ranch
- Sliding driveway gates
- LiftMaster operators
Table of Contents
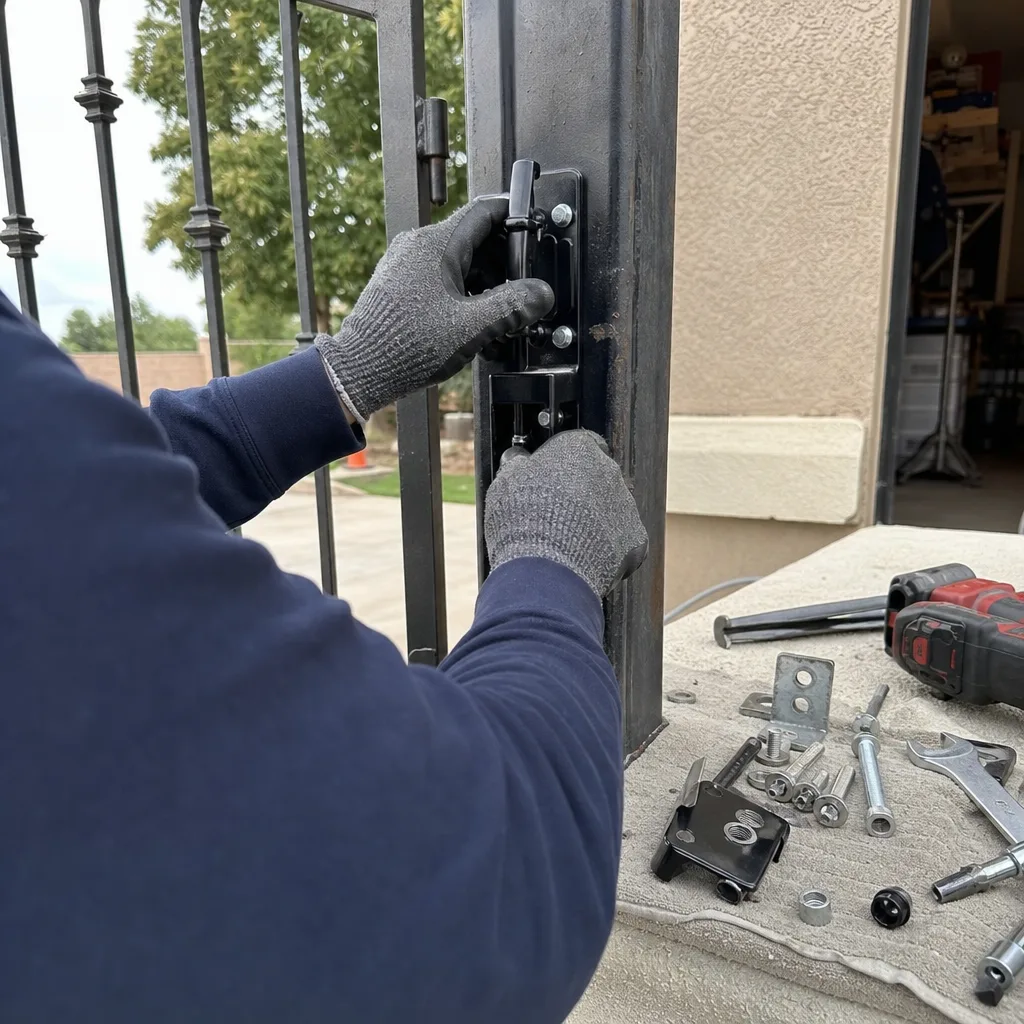
- The Two-Column Task List: DIY vs. Professional
- The Warranty Clause Almost Every Manufacturer Writes In
- The Loop Detector Problem: Physically Easy, Calibration Hard
- What “Documented Wiring” Means and Why It Matters
- The Honest Cost Comparison
- Safety Caveats for the Tasks You Shouldn’t Touch
- Why Whitney Conditions Change the Math
- What a Whitney Homeowner Should Actually Do
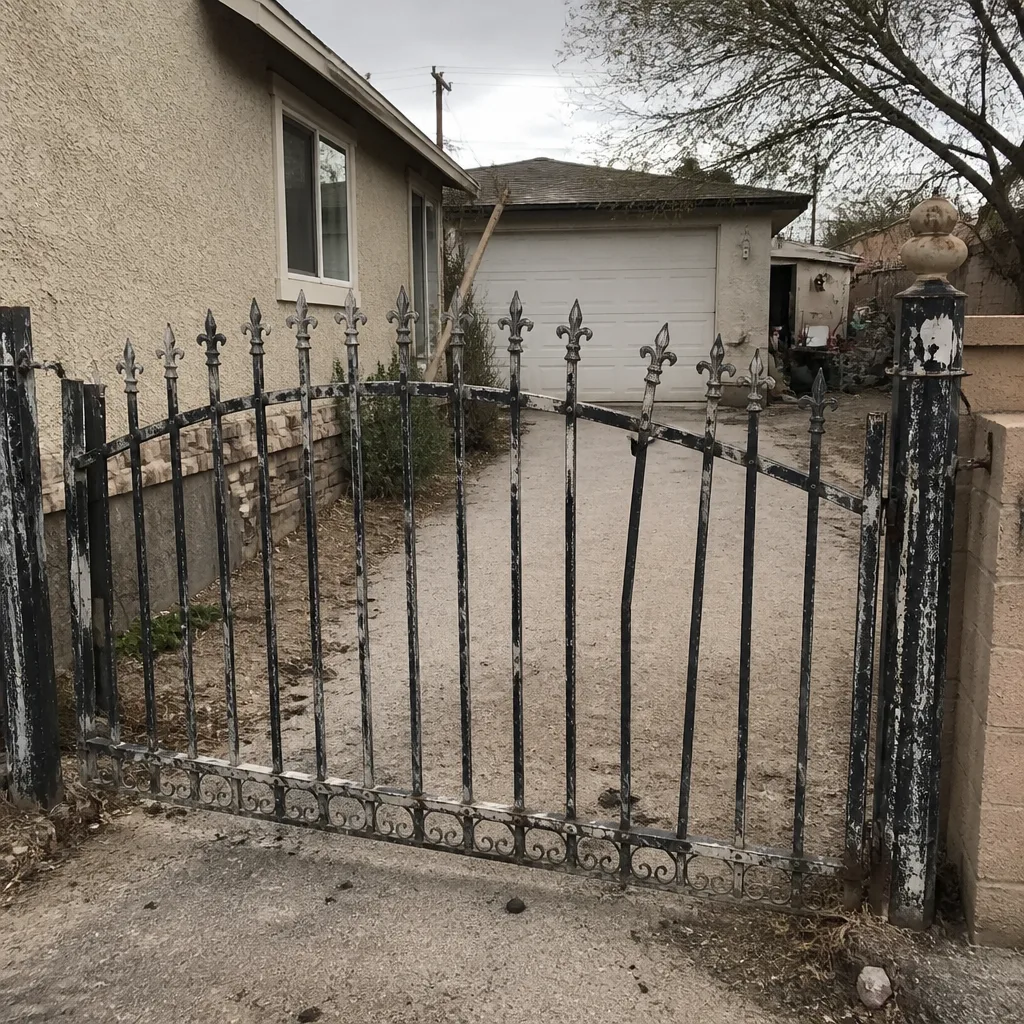 Before
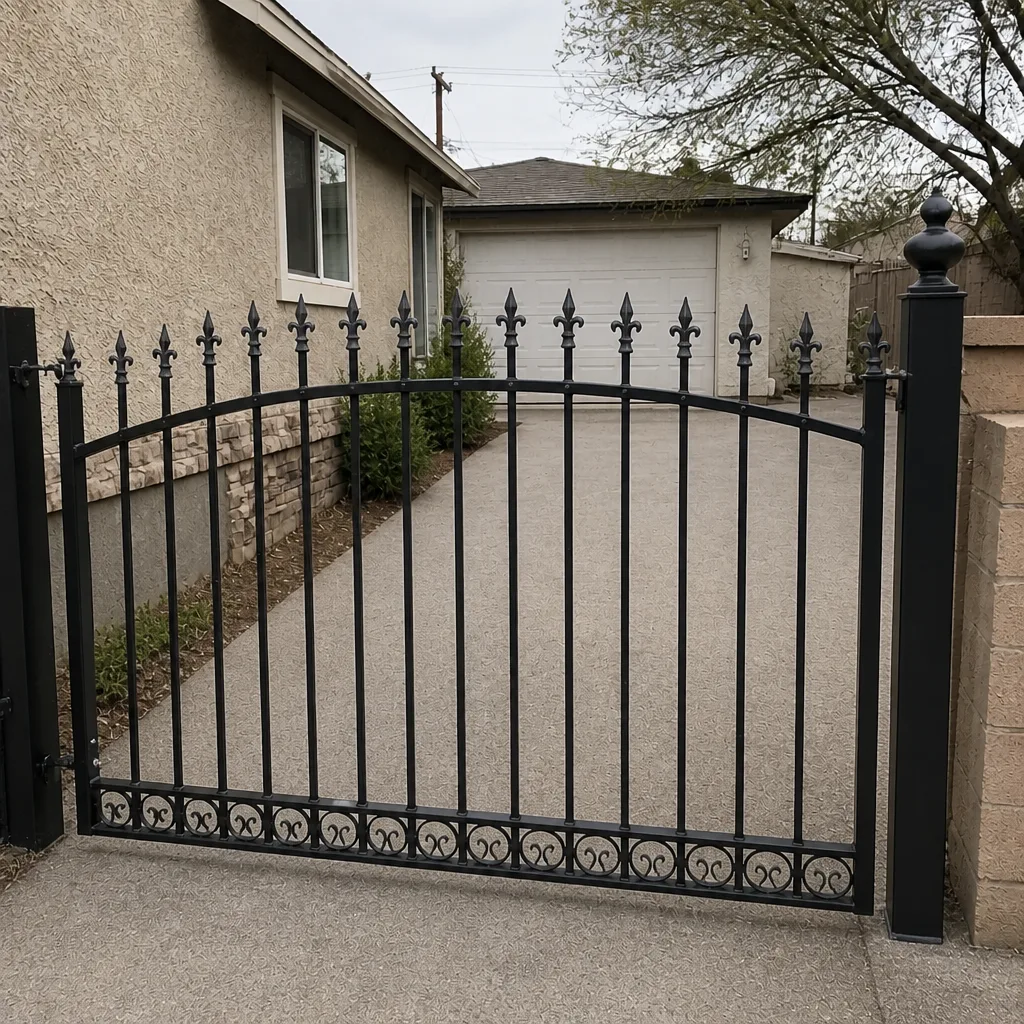 After
The Two-Column Task List: DIY vs. Professional
The clearest way to answer the DIY question is to split every common gate motor task into two columns. On the left, the work a homeowner can reasonably handle without special tools, a license, or documentation. On the right, the work that carries a code requirement, a warranty consequence, or a liability you can’t undo with a YouTube tutorial.
Safe to DIY
- Battery swap. Most backup batteries on LiftMaster and Linear operators sit in a compartment on the housing. Ten to fifteen minutes with a screwdriver and a same-voltage replacement cell.
- Sensor cleaning. The photo-eye is the infrared beam that stops the gate if something crosses the path. A dirty lens or a spider web across the beam causes most “phantom reverse” complaints. Wipe both eyes with a dry cloth and clear the path.
- Remote programming. Adding or removing a remote to a LiftMaster or Linear receiver is a documented sequence – usually a “learn” button and a paired press. If you have the manual, you have everything you need.
- Manual-release operation. Every UL-listed residential operator has a manual release so the gate can be opened by hand during a power failure. Learn where yours is before you need it. Test it twice a year.
- Cleaning and greasing the operator arm. Wipe dust off the arm, check for debris under the gate, and inspect the rollers. Small maintenance goes a long way here.
Requires Documentation or Licensing
- New motor wiring. Connecting a new operator to line voltage, dressing the low-voltage control wires, and setting the terminal block correctly. This is where warranty clauses bite.
- Control board replacement. Boards are brand-specific and pin-specific. A crossed wire on install often kills the new board on first power-up.
- Buried conduit work. Trenching and running conduit to a new operator or safety device. Most jurisdictions require an electrical permit for new outdoor power runs.
- Loop detector installation. The buried inductive loop and its calibration. Covered in its own section below for a reason.
- Photo-eye and safety edge adjustment when the gate has reversed unexpectedly. Sometimes the fix is calibration, sometimes the operator board is failing. A misdiagnosis here is what turns a $60 sensor fix into a $400 board replacement.
For a broader walkthrough of what a documented repair visit looks like in our trade, see our page on Gate Motor & Opener in Whitney.
The Warranty Clause Almost Every Manufacturer Writes In
Read the fine print on any LiftMaster, FAAC, BFT, or Linear operator sold for residential use, and you’ll find a version of the same sentence: parts coverage is valid only if installation and repair are performed by a licensed professional, and the manufacturer reserves the right to request documentation of the installation. That word – documentation – is doing a lot of work. It means the manufacturer can ask you to produce a wiring diagram, a photo of the installed unit, and often a record of the terminal voltage readout before honoring a claim on a board that failed in month four.
This isn’t a scare tactic. In our experience, the clause is enforced most often when the failure mode looks like an installation error – a board blown on first power-up, a limit switch set past travel, a photo-eye wired to the wrong terminal. When the paperwork exists, the claim goes through. When it doesn’t, the homeowner pays for the part, and often the diagnosis on top.
Here’s the part most DIY guides skip: the same clause generally covers work performed later, not just the original install. A homeowner who does their own motor swap in year three can void the remaining coverage on a unit that was originally professionally installed. The motor’s covered; the motor’s no longer covered the moment the wiring changes without a record.
That’s why every job we complete under the Haven Standard leaves a photographed record – not because the manufacturer demands it on every call, but because we’ve watched how quickly the demand appears when something fails. Our Gate Repair in Whitney page explains how that record is produced on a service visit.
The Loop Detector Problem: Physically Easy, Calibration Hard
A buried inductive loop – the wire coil under the driveway that tells the operator a vehicle is present – is the most misunderstood DIY candidate in the trade. Digging the saw-cut and laying the loop wire is not physically difficult. Setting the detector correctly is a different job entirely.
The detector head needs to be tuned for the specific size and shape of the loop, the gauge of wire, the pavement depth, and the surrounding metal (rebar, wire mesh, adjacent gates). Sensitivity set too high, and the loop trips on a passing car in the street, holding the gate open at exactly the wrong moment. Sensitivity set too low, and a vehicle sitting on the loop doesn’t register at all. The failure mode that matters most: an improperly calibrated loop that reads a vehicle as clear when it isn’t, and closes a swing gate into the side of a car.
That last scenario is a liability, not an inconvenience. We’ve been called to Whitney properties where a self-installed loop triggered a gate closure that dented a parked SUV – and the homeowner’s insurance treated it as a property-maintenance failure rather than a covered accident. Calibration requires a meter and familiarity with the specific detector model’s diagnostic readouts. It’s not a task to learn on a Saturday afternoon on the only gate you have.
What Proper Loop Installation Actually Includes
- Layout the loop position and confirm the required inductance for the gate width and approach speed.
- Saw-cut, lay the wire, backer rod, and sealant. This part is physical and mostly straightforward.
- Connect the lead-in wire to the detector head and dial in sensitivity using a diagnostic meter, not by ear.
- Test with the actual vehicles that use the driveway – a sedan reads differently than a lifted truck or a vehicle with a hitch-mounted rack.
- Photograph the detector settings and document the loop inductance so a future technician doesn’t start from zero.
What “Documented Wiring” Means and Why It Matters
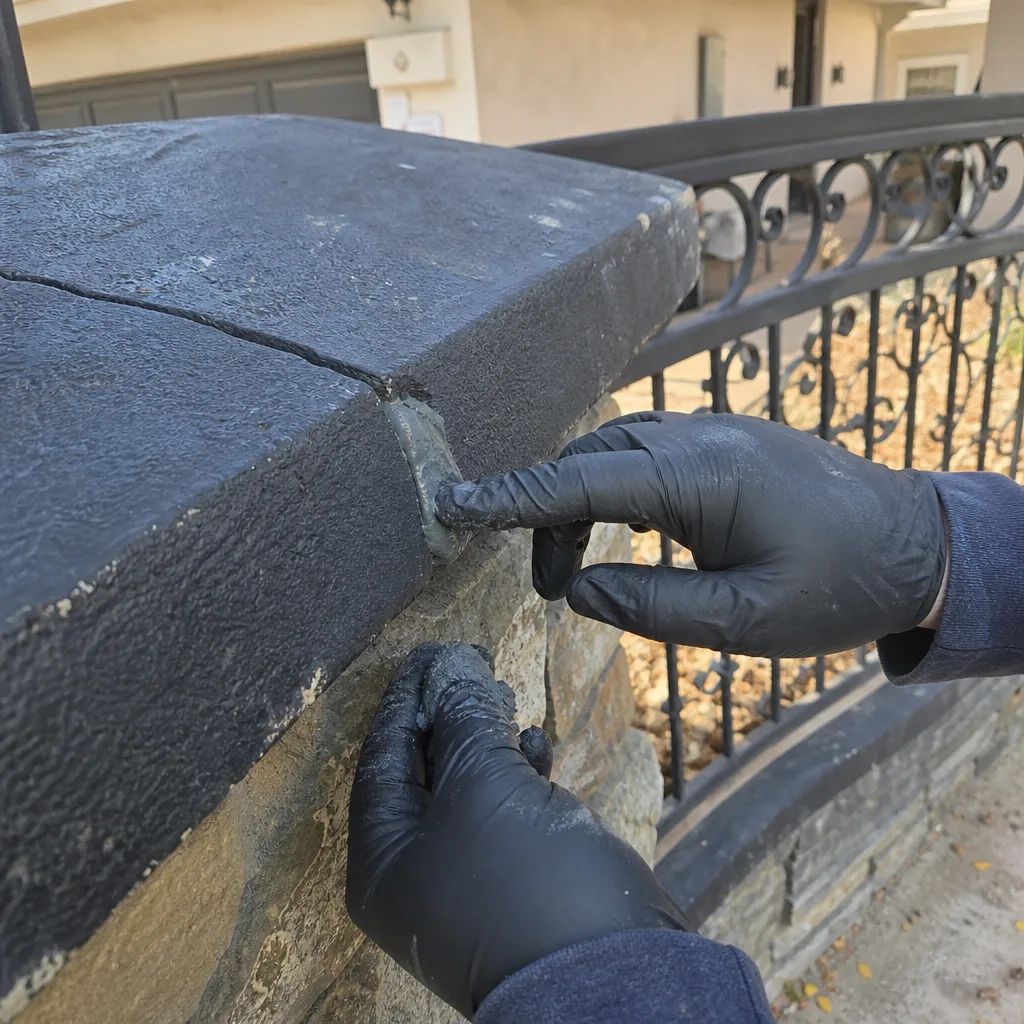
A wiring diagram in this trade isn’t a photocopy from the manual. It’s a one-page record of what’s actually on the wall: which terminal on the operator board connects to which wire, what color wire is carrying which signal, where the photo-eye leads land, what the limit-switch readings were at the end of the visit, and a photo set that shows the full run from the operator to the gate post.
Here’s why a homeowner doing their own motor swap should produce one anyway, even if no one requires it. Two reasons. First, the next person who opens that housing – a service tech, an electrician, a future buyer’s inspector – starts from a known state instead of guessing. Second, if the operator fails inside its warranty window, you have the evidence the manufacturer will ask for. A thirty-minute documentation pass at install saves a four-hour diagnostic session later.
The minimum documentation set on a motor swap:
- Model and serial photo of the new operator, taken before the housing goes back on.
- Photo of the terminal block showing every wire in its landing position.
- Written terminal descriptions – what’s on terminals 1 through 6, not just “control wires.”
- Limit-switch reading at both open and closed positions, with the gate’s travel distance measured from post to post.
- Photo of the photo-eye mounting and the safety edge termination point.
- One wide-shot photo of the full install showing the operator, arm, and gate together.
That’s the record we leave on every visit – the same wiring-diagram habit our founder developed on commercial access-control sites starting in 2014. It’s become the backbone of how we operate, and it’s why we offer a free second opinion on any written estimate from another company: bring the paperwork, and we’ll review it at no cost. If the documentation isn’t there, we can photograph and diagram the existing state so you’re not stuck in the same position twice.
The Honest Cost Comparison
The DIY math is real, and it’s worth being honest about it. On a like-for-like motor swap – same brand, same model, same install scope – the DIY homeowner and the professional pay almost the same amount for the motor itself. Parts pricing through supply houses and retail channels has compressed to within 10-15% on most residential units. The labor is where the numbers diverge, and the labor is often the smaller number.
So where does the DIY save actually show up? It doesn’t, at install. It shows up when the second service call happens – and it always comes. Some of the scenarios we see in Whitney:
- Second service call after DIY install: diagnostic visit to trace an unknown wire, plus the fix. Frequently $200-$400, and the diagnosis often costs as much as the fix.
- Second service call after documented professional install: the technician reads the diagram, sees the terminal map, and diagnoses the failure in 20 minutes. The Haven Standard 365-Day Done Right Promise covers the repair itself at no additional charge within the first year.
- Warranty claim gone sideways after DIY: the manufacturer denies parts coverage and the homeowner pays for the board out of pocket – typically $180-$450 depending on brand and model.
- Warranty claim with documentation: the claim goes through because the install record exists, and the part is covered.
The math isn’t always against DIY. It’s against undocumented DIY. A homeowner with an electrical background who produces a clean wiring diagram and photo record has genuinely neutralized most of the risk. A homeowner without that habit is essentially betting the parts warranty and the install cost against the price of one service call – and losing that bet on the second call is the normal outcome, not the exception.
Safety Caveats for the Tasks You Shouldn’t Touch
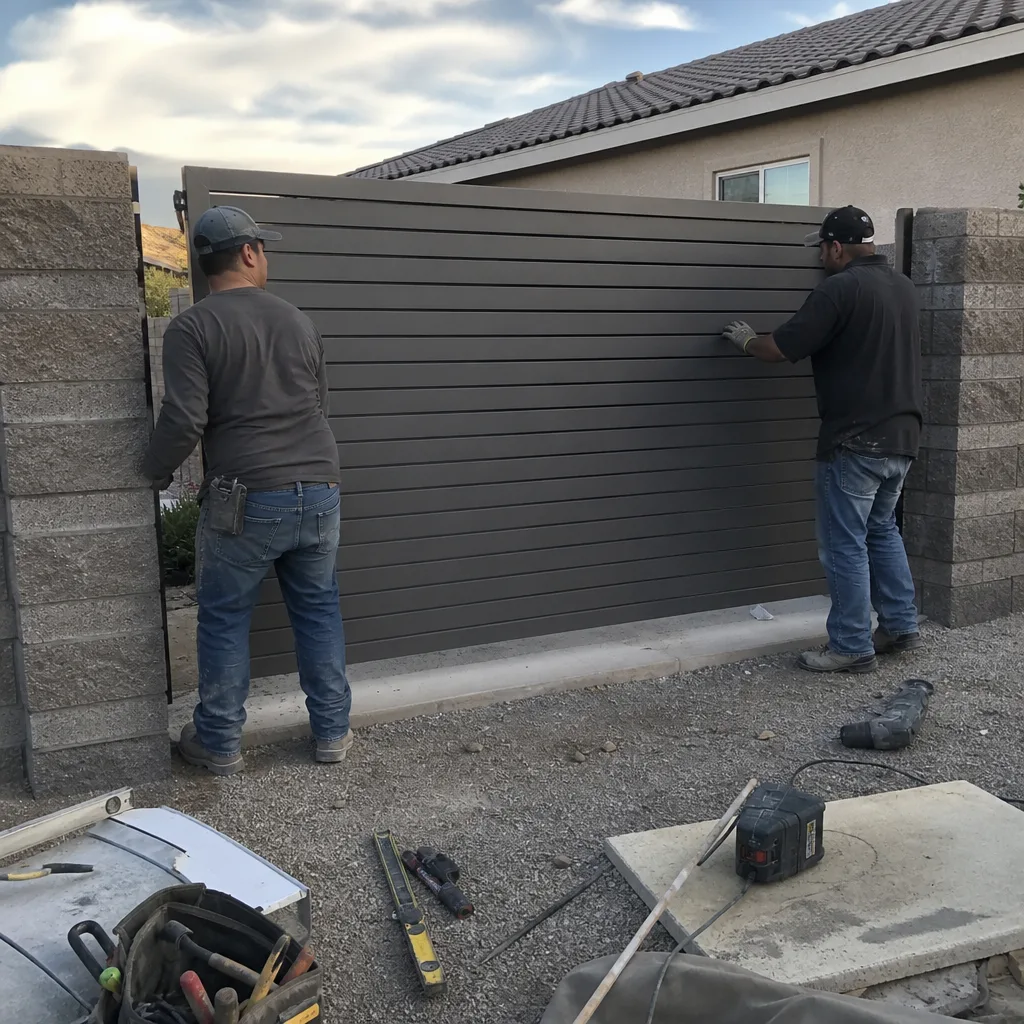
Two of the tasks on the professional list carry genuine physical danger, and it’s worth naming them plainly.
New motor wiring and control board replacement involve line voltage that can injure or kill, and operators are typically installed with capacitors that hold a charge after power is cut. There is no DIY shortcut that makes working inside an energized or recently-energized operator housing safe. This is a job for an electrician or a licensed gate technician, full stop.
Photo-eye and safety edge adjustment on a failing gate can compound the danger if a misdiagnosis causes a gate to reverse unexpectedly or fail to reverse at all. A gate that closes on a child, a pet, or a vehicle because the safety beam was misadjusted is a serious liability. If the gate has reversed when it shouldn’t have, or failed to reverse when it should, call a professional – this is not a sensor cleaning task, it’s a calibration or board diagnosis task.
The rest of the DIY list is low-risk if you follow common sense: cut power at the breaker before touching anything inside the housing, use the manual release any time the gate needs to be moved by hand, and don’t stand in the gate’s path during testing. For installation work rather than repair, see our Gate Installation in Whitney page for how a full install is scoped.
Why Whitney Conditions Change the Math
Whitney properties sit in climate and soil conditions that stress gate operators in particular ways. Summer heat inside a metal housing regularly pushes control-board temperatures past what the manufacturer’s thermal margins assume, which shortens board life and makes an undocumented install more likely to fail inside its warranty window. Wind-driven dust from open lots and desert edges finds its way into operator arms and limit-switch housings, and the resulting friction load on the motor is a common cause of premature failure on gates that were never adjusted for the local grade.
Soil conditions matter for loops and conduits too. Whitney’s caliche-heavy ground makes trenching for new conduit or loop saw-cuts a different job than it would be in a softer-soil market. A homeowner planning a DIY loop install should expect rock and plan for it – but the calibration issue still dominates the decision. Loop detectors in Whitney fail more often on sensitivity drift than on install quality, and drift is exactly the thing that requires a meter and someone who reads meters.
We’ve serviced thousands of residential gates in the Whitney area and the pattern holds: the DIY installs that hold up are the ones where the homeowner documented what they did. The ones that fail inside 18 months are the ones where the next technician opens the housing and finds a wire landing that doesn’t match the manual. If you’re in Whitney and you’re going to do the work yourself, do the documentation. If you’d rather not, we’re on the phone 24 hours a day.
What a Whitney Homeowner Should Actually Do
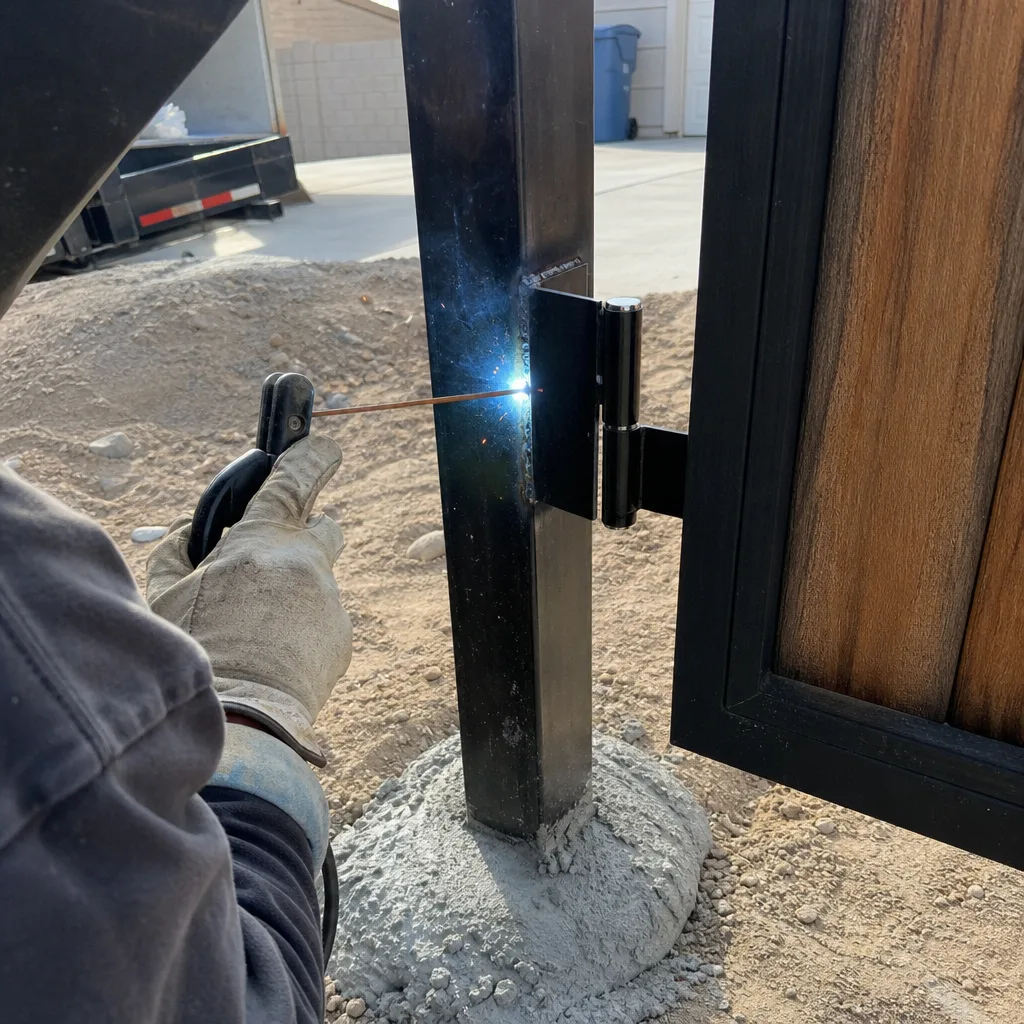
Here’s the honest version of the DIY-versus-professional decision, in the order a careful homeowner should think about it.
- Separate the diagnosis from the work. If the gate is behaving badly – reversing unexpectedly, failing to fully open or close, cycling on its own – the diagnosis is the hard part, and it’s the part that carries liability. Pay for a proper diagnosis even if you plan to do the repair yourself.
- Match the task to the column. Battery swap, sensor cleaning, remote programming, manual release: do them yourself, and enjoy the savings. Motor wiring, board replacement, conduit, loop detector: don’t, unless you have the license and the calibration equipment.
- Produce documentation regardless. If you’re doing a task that touches the operator, photograph the wiring, write down the terminal map, capture the limit-switch readings, and keep the set with the manual. Future-you, or the next technician, will need it.
- Compare apples to apples on cost. The professional quote is not just labor – it’s the documentation, the warranty integrity, and the 365-Day Done Right Promise that covers the repair for a full year. That coverage has a real dollar value in a market where the next visit alone can run $200-$400.
- Use the free second opinion. If you’ve gotten a quote from another company, bring the written estimate to us. We’ll review it against the actual gate, at no cost, and tell you plainly which line items are necessary and which aren’t.
Common Mistakes to Avoid
- Cutting the safety edge to “make the gate work.” Bypassing the safety edge is a workaround, not a fix, and it removes the exact protection that keeps the gate from closing on a child or a vehicle. If the edge is failing, diagnose it – don’t disconnect it.
- Adding a remote from a different frequency. Whitney homes with multiple gates often try to pair a neighbor’s spare remote to their own operator. It won’t work on most modern receivers, and trying it repeatedly can lock the receiver for several minutes. Match the brand and frequency before pairing.
- Cleaning the photo-eye with a wet cloth. The lens on most models is plastic and easily scratched. Use a dry microfiber, and aim for the lens, not the housing.
- Swapping a battery for a higher-voltage cell “just to be safe.” Backup batteries on residential operators are spec’d at a specific voltage for a reason. Higher voltage damages the charging circuit. Match the replacement exactly.
- Doing a motor swap without cutting power at the breaker. It sounds obvious, and it happens, because the operator’s own power switch and the actual circuit breaker are not the same thing. Breaker off, meter test, then work.
- Documenting the install after it fails. A wiring diagram produced after the failure has no value to the manufacturer. Document at install, not at claim time.
- Assuming a board is dead when it’s a limit switch. In Whitney heat, a limit switch that’s drifted 10 to 15 degrees past travel mimics a dying board on a diagnostic readout. Two very different repair costs, one confusing symptom.
See the difference
BeforeAfter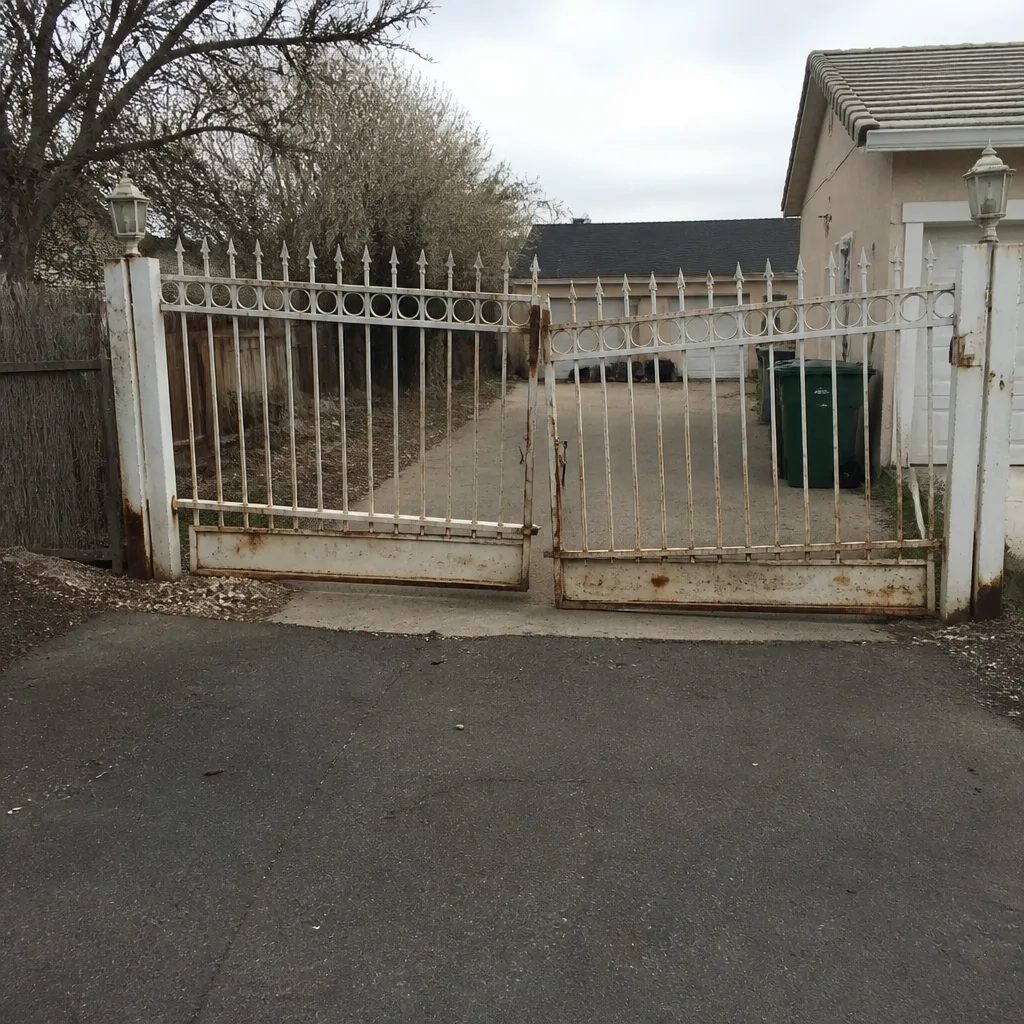 Before
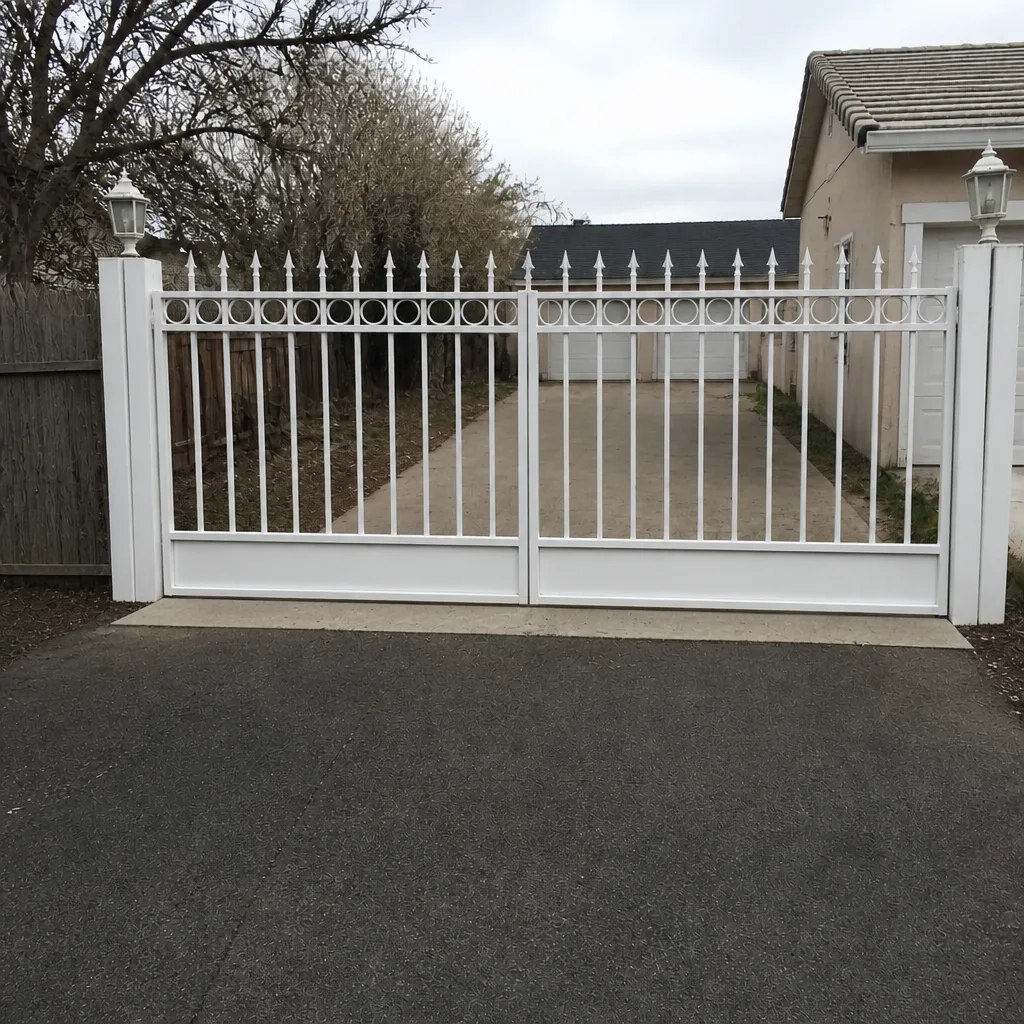 After
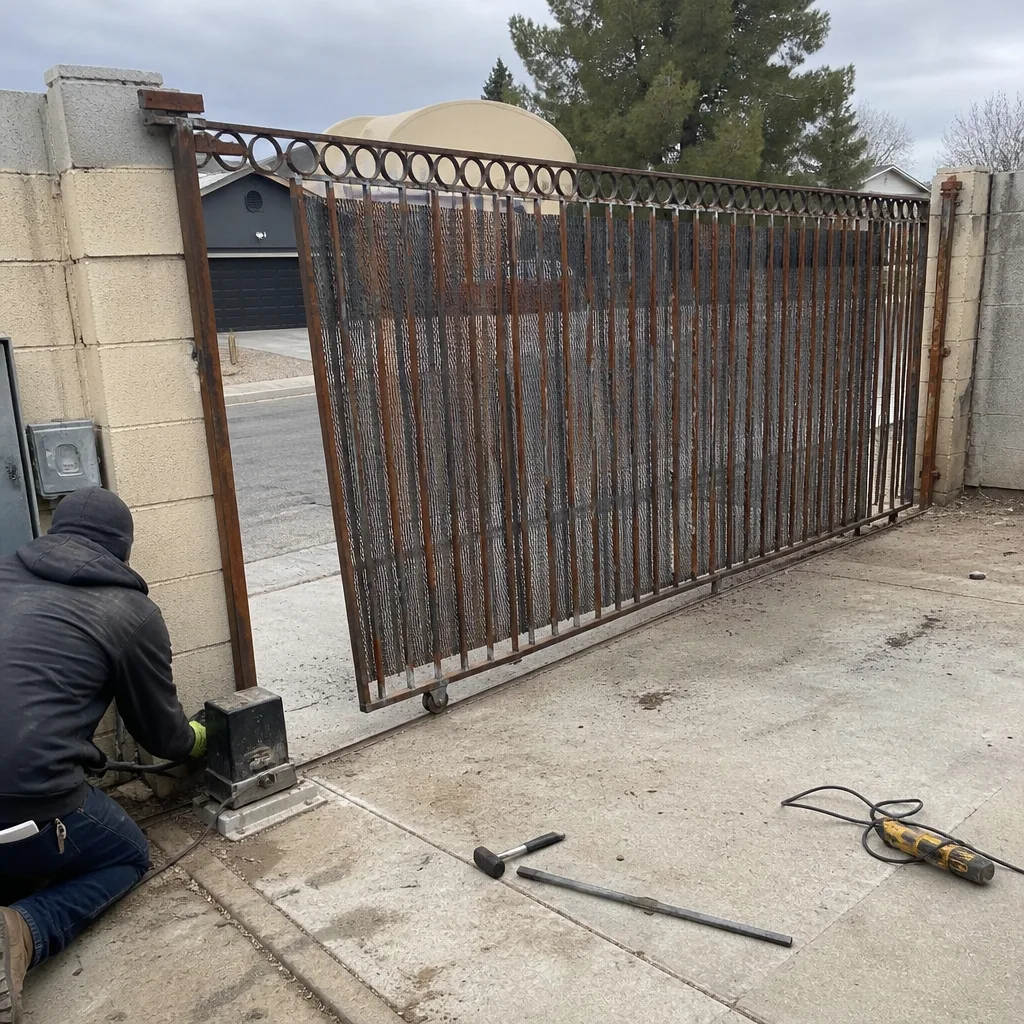 Before
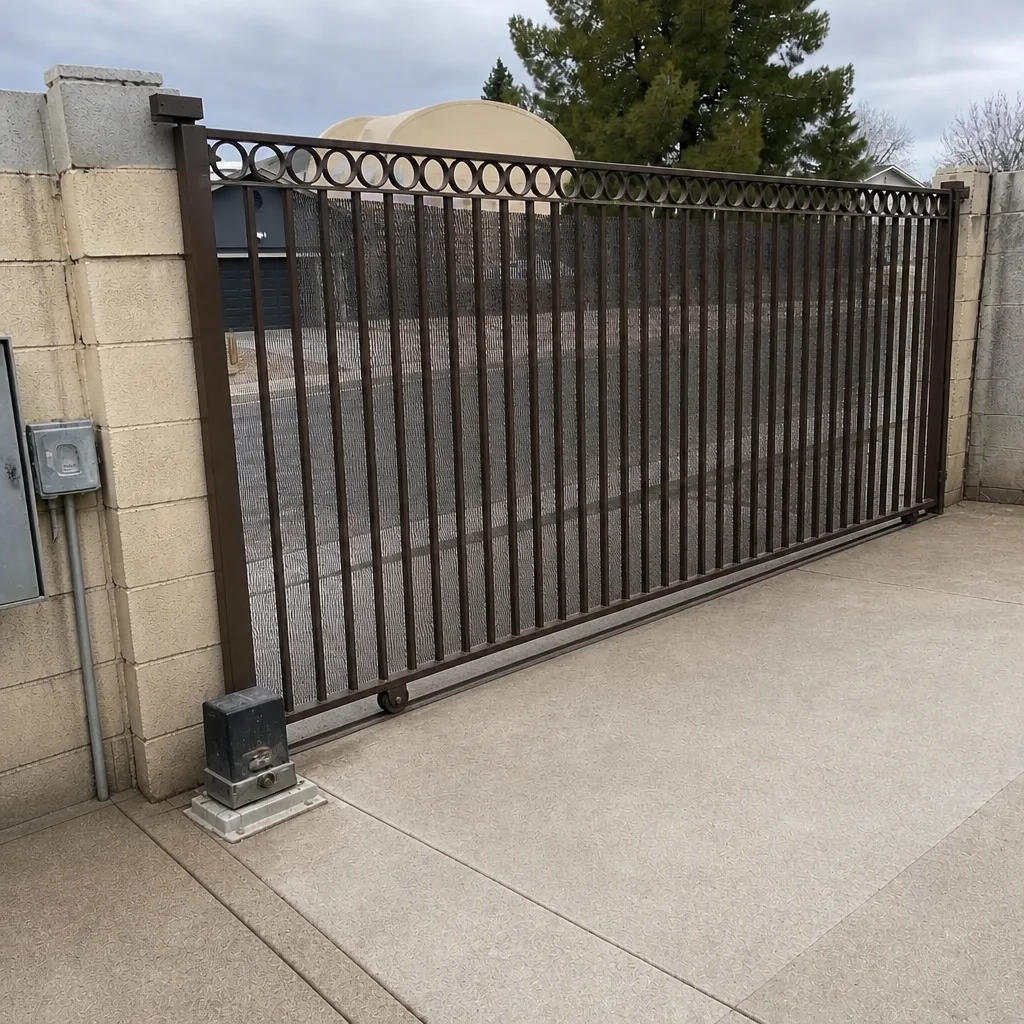 After
When to Call a Professional
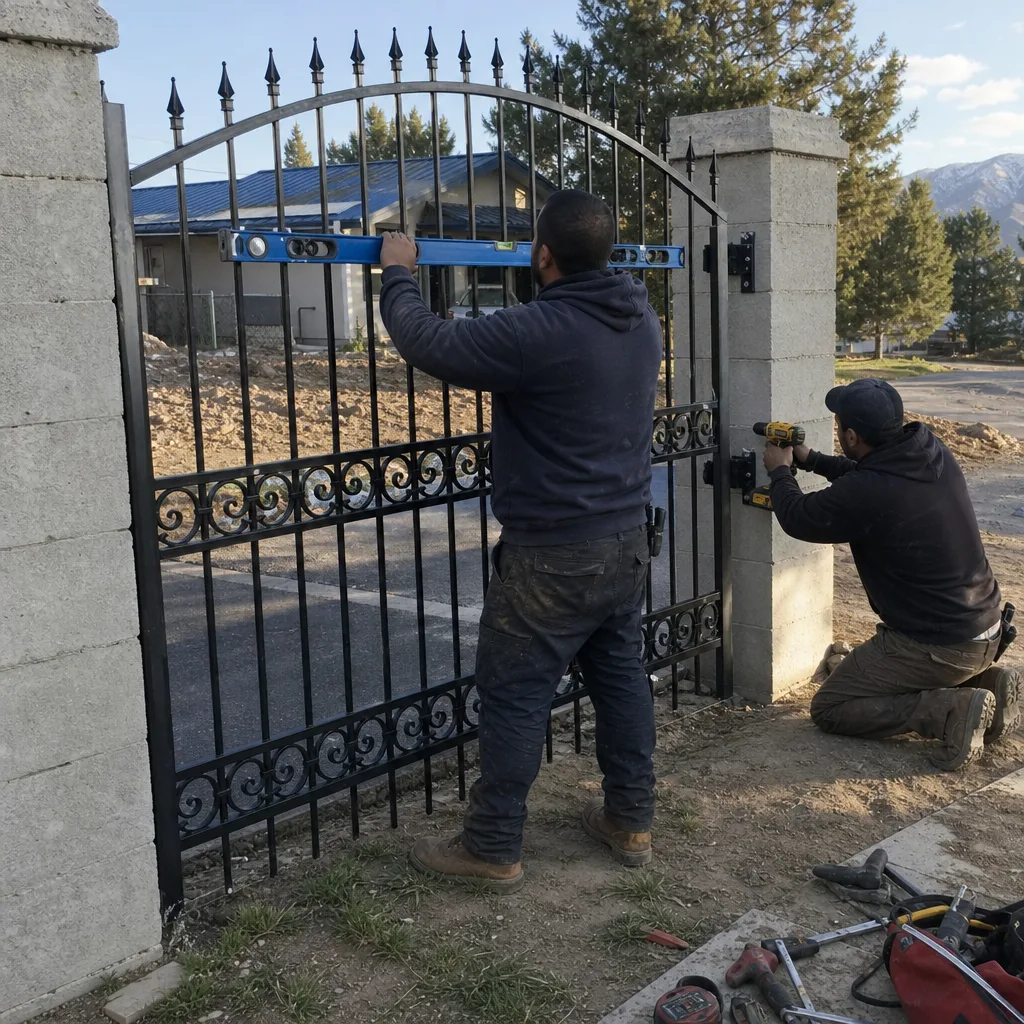
Call a professional any time the work involves wiring inside the operator housing, a control board replacement, buried conduit or loops, or a gate that has reversed or failed to reverse unexpectedly. Call us when you can’t isolate the symptom – when the gate stops mid-travel without a clear trigger, or when two service visits haven’t fixed the same problem. Call us when you’re buying a new motor and want it installed in a way that keeps the warranty intact. And call us when another company has handed you a written estimate you don’t fully trust – we offer a free second opinion, and we’ll tell you which lines are necessary and which aren’t. Vance Gate Repair Whitney offers free estimates in Whitney; call (844) 797-4861 or reach us via the Vance Gate Repair Whitney home page.
Frequently Asked Questions
Yes. Replacing the backup battery on a residential operator is one of the safest DIY tasks on the gate. It’s typically a 10-15 minute job with a screwdriver and a same-voltage replacement cell. Turn off the operator’s power switch, swap the battery, confirm the operator recharges it, and you’re done. Match the voltage exactly – a higher-voltage cell damages the charging circuit.
Technically possible, but only with documented wiring and a licensed installation. Most manufacturers’ warranty clauses require professional installation and reserve the right to request documentation before honoring a parts claim. A homeowner doing their own install without that documentation is exposed to warranty denial even on failures that have nothing to do with the install. If you do the work, produce the diagram and photo set – otherwise the coverage is at risk.
Because the physical installation and the calibration are two different skills. The saw-cut and wire layout is straightforward. The detector head settings require a meter and familiarity with the specific model, and an improperly calibrated loop can register a vehicle as clear when it’s still in the gate’s path, which turns a $200 part into a liability. Call us – we’ll quote the install and calibrate it correctly.
Most residential gate motor replacements in Whitney run between roughly $650 and $1,400 depending on brand, gate weight, and whether the arm bracket and wiring are already in good shape. That range includes the motor, installation, and the documented wiring record. Getting a written price before work starts is the entire point – the number shouldn’t change after the technician is already on the property. Call (844) 797-4861 for an exact quote on your specific gate.
You lose the ability to claim parts coverage, and you lose the next technician’s starting point. When a service call opens a housing with no diagram, the diagnosis has to start from zero – often $200-$400 of billable diagnostic time before a fix is even attempted. The documentation is not paperwork, it’s the difference between two hours of work and twenty minutes.
In most cases, yes. We work on nine major gate automation brands, including LiftMaster, FAAC, BFT, and Linear, and we don’t push replacement when repair is the right answer. Bring the model number from the housing or text us a photo of the operator, and we’ll confirm the brand on the call. If it’s a model we can’t service, we’ll say so before you book a visit – no dispatch fee for a model we can’t help with.
The Bottom Line
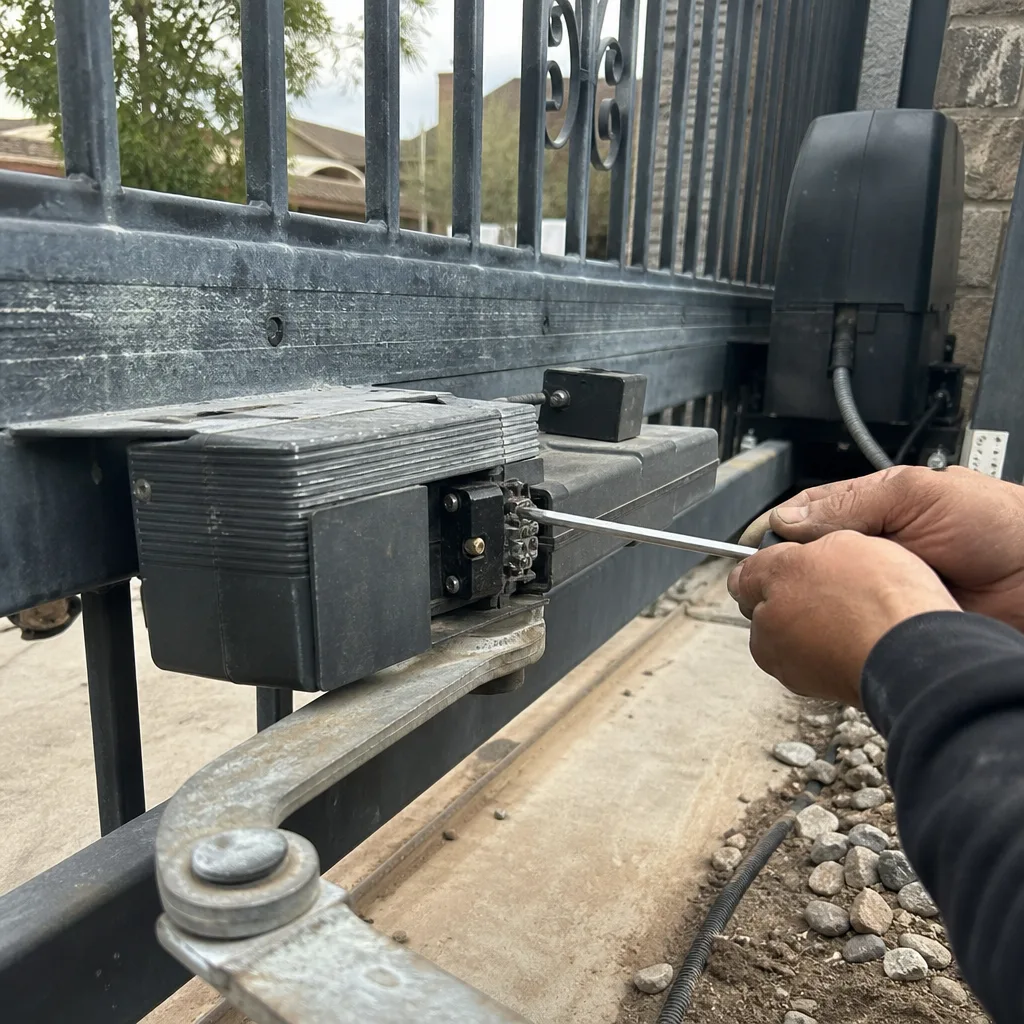
The DIY question for gate motors isn’t a skill question. It’s a documentation question wrapped around a warranty question. Battery swaps, sensor cleaning, remote programming, and manual release are genuinely yours to handle – do them, save the money, learn the operation. Motor wiring, board replacement, buried conduit, and loop detector calibration are the tasks where the second service call eats the savings, and where the warranty clause actually gets enforced. In Whitney conditions, with heat and dust shortening operator life, that second call arrives faster than the manufacturer’s spec sheet assumes. Do the tasks in the left column, document anything that touches the operator, and call us for the rest. We answer 24 hours a day, the price is written before any tool comes out, and we leave you with a photograph of everything we did.
Written by the team at Vance Gate Repair Whitney.