
Last updated November 18, 2026
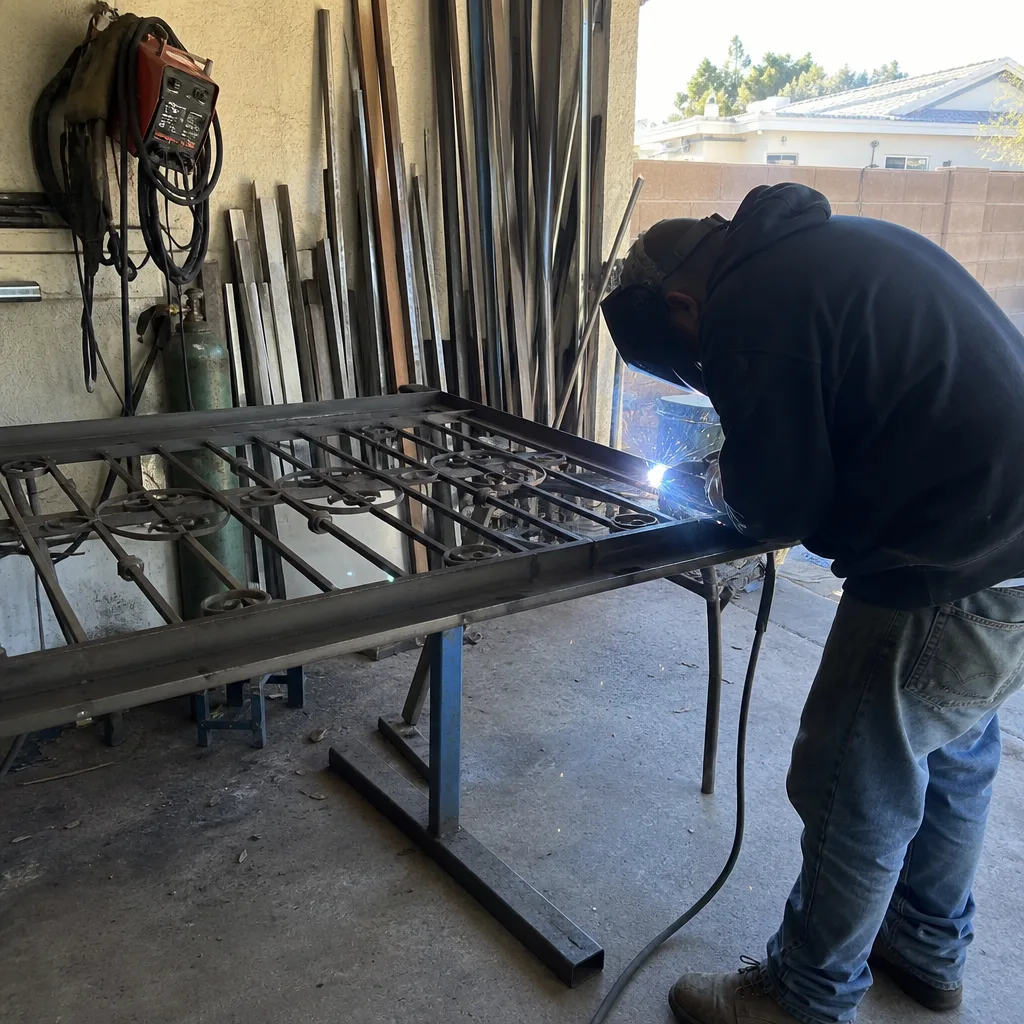
 Wrought iron
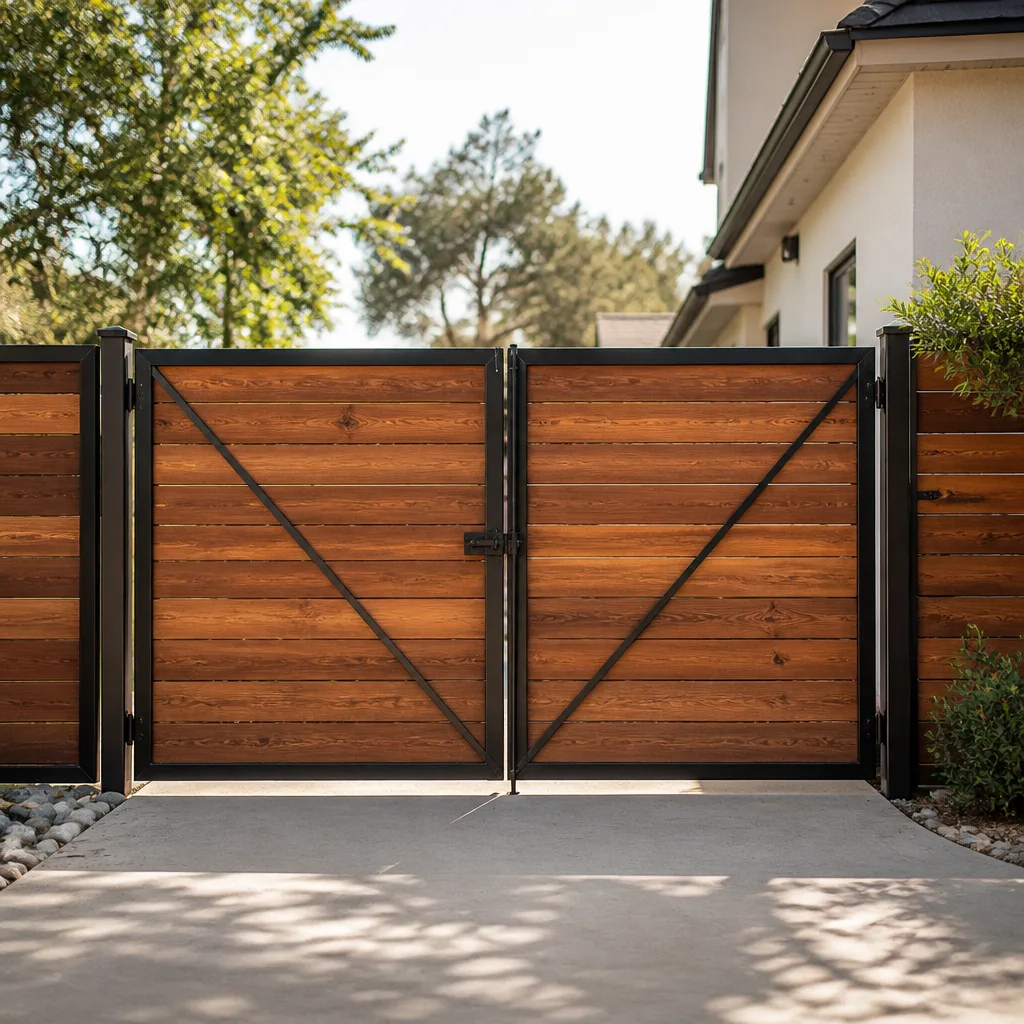 Wood & steel frame
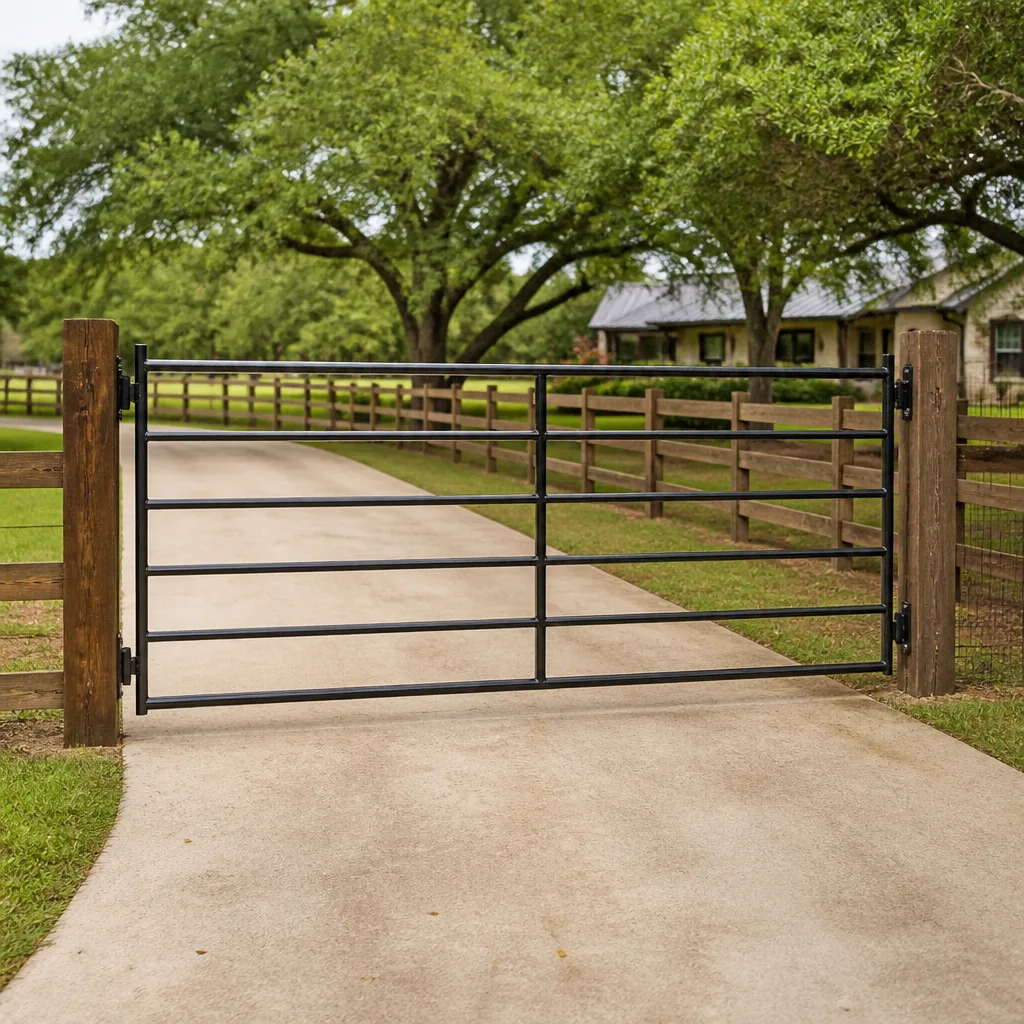 Farm & ranch
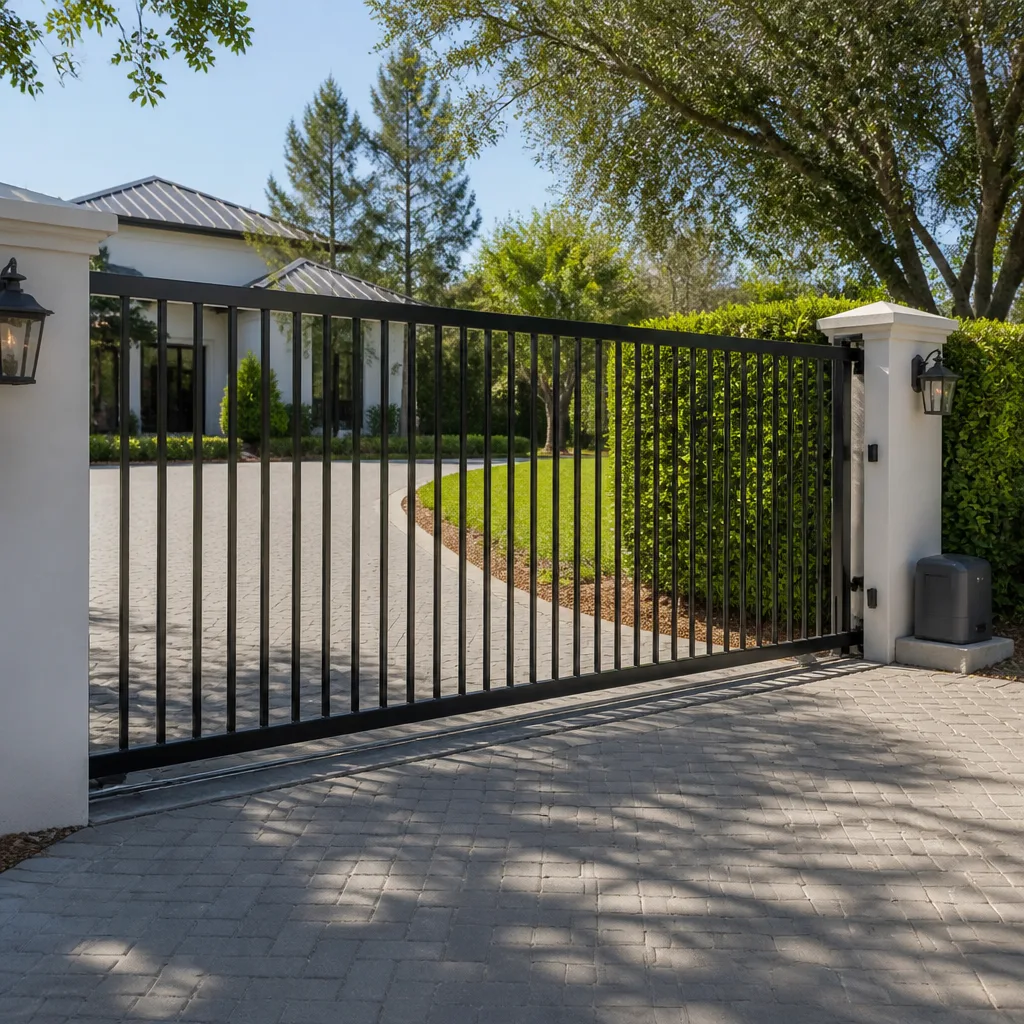 Sliding driveway gates
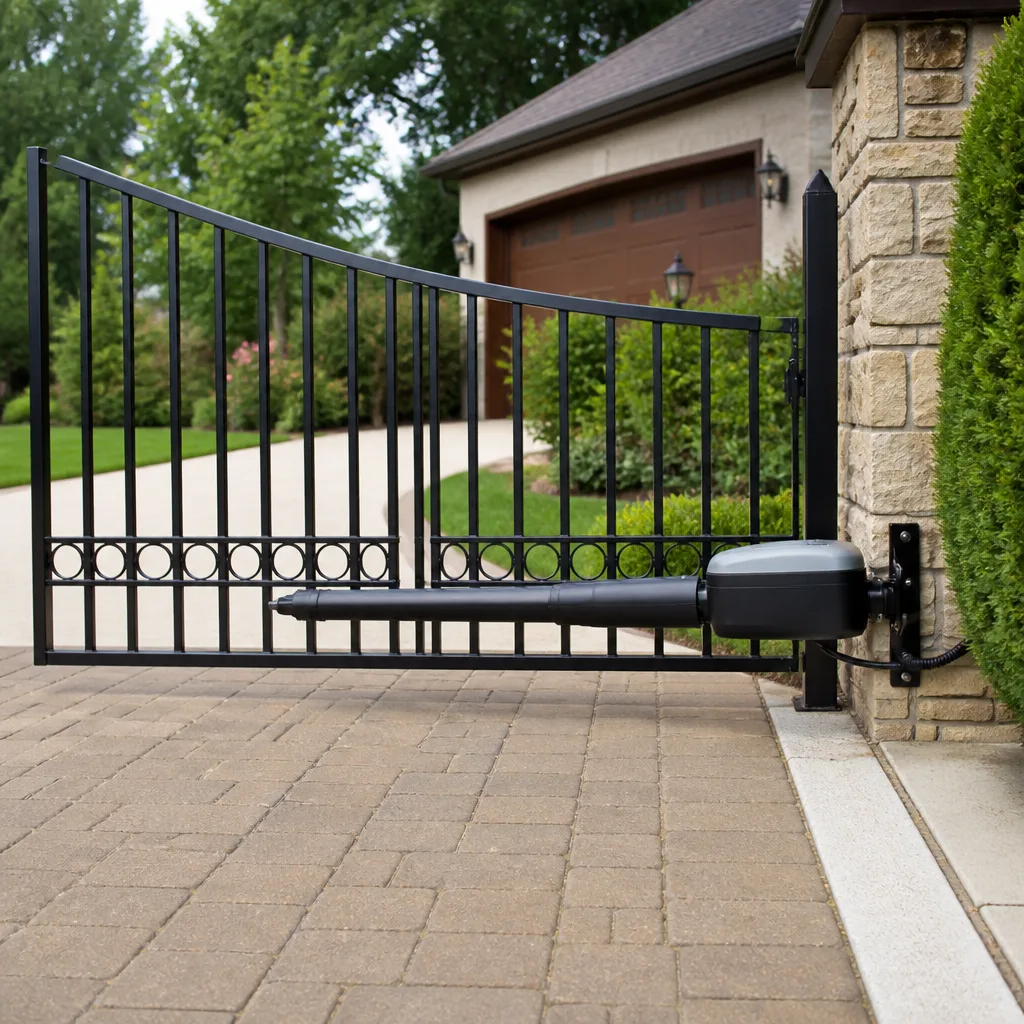 LiftMaster operators
Free on-site gate assessment - hinges, posts, and your LiftMaster or Nice gate operator checked before anything is quoted
The assessment is free and the quote is the invoice.
Get your free estimateDIY vs Professional Gate Installation: What’s Safe to Do Yourself
Here’s the part nobody warns you about: homeowners who install their own driveway gates often do a decent job hanging the gate and then leave behind a documentation void. Six months later a technician opens the operator housing, finds four unlabeled wires, no photos of the original wiring, and no record of where the limit switches were set. That’s a $200 to $400 discovery charge on every future service call, because someone has to trace it all out from scratch. In our experience across Whitney, the install itself is rarely the expensive mistake. The missing paperwork is. This guide breaks down which parts of a gate installation are genuinely homeowner-appropriate, which parts require a licensed electrician in Nevada, and how to protect a DIY install so it doesn’t cost double down the road.
Quick Answer
Hanging the gate leaf, setting posts in concrete, and prepping the site are reasonable DIY tasks for a confident homeowner. Running 120-volt power to the operator, sizing the low-voltage control wiring, calculating torque requirements for the operator arm, and programming safety edges are not – those need a licensed electrician and a trained gate technician. A safe approach is to do the visible prep work yourself and hire out anything that touches power, the operator, or the safety system.
Styles & brands we work with
- Wrought iron
- Wood & steel frame
- Farm & ranch
- Sliding driveway gates
- LiftMaster operators
Table of Contents
- What Nevada Law Actually Requires (And What It Doesn’t)
- Three Places Capable DIYers Underestimate the Job
- What a DIY Install Must Document on Day One
- The Hybrid Approach That Saves Real Labor Cost
- How to Get a DIY Install Inspected Without the Awkwardness
- Common Mistakes to Avoid
- When to Call a Professional
- Frequently Asked Questions
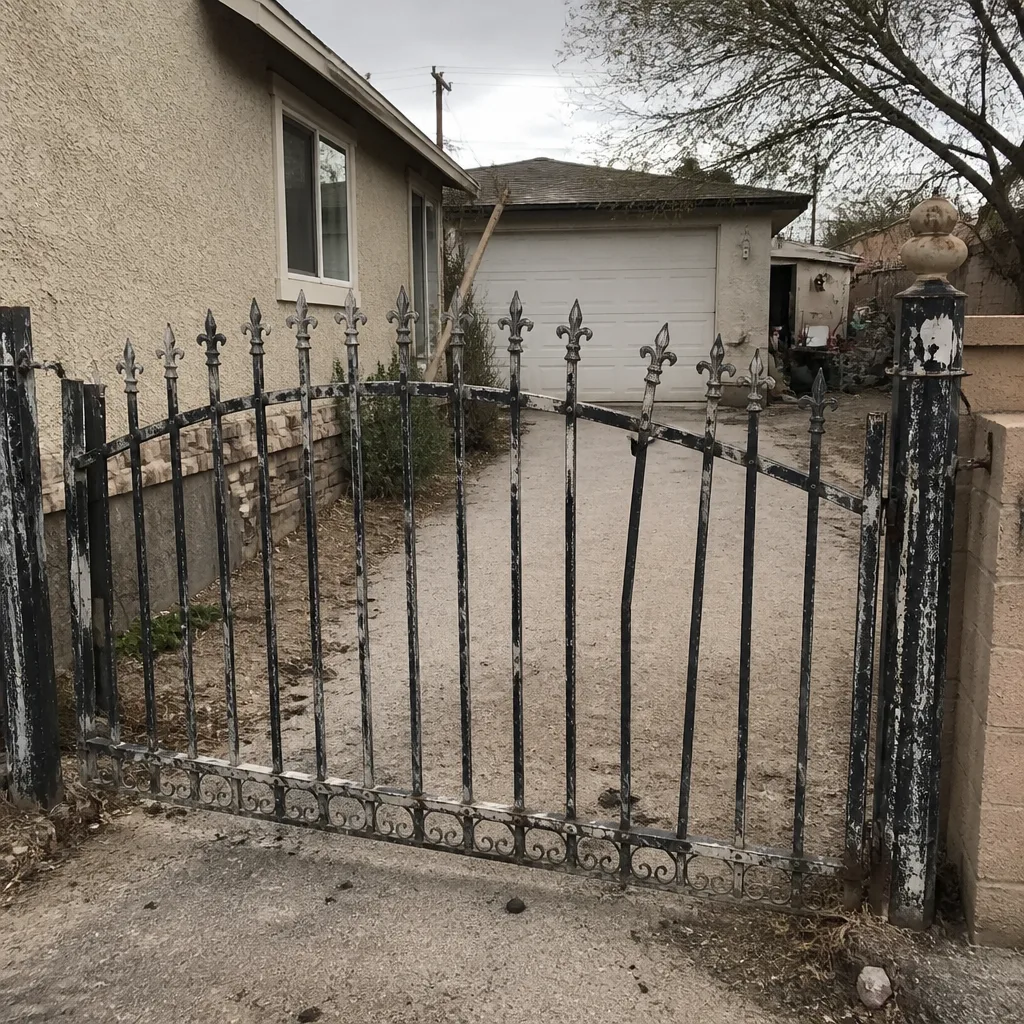 Before
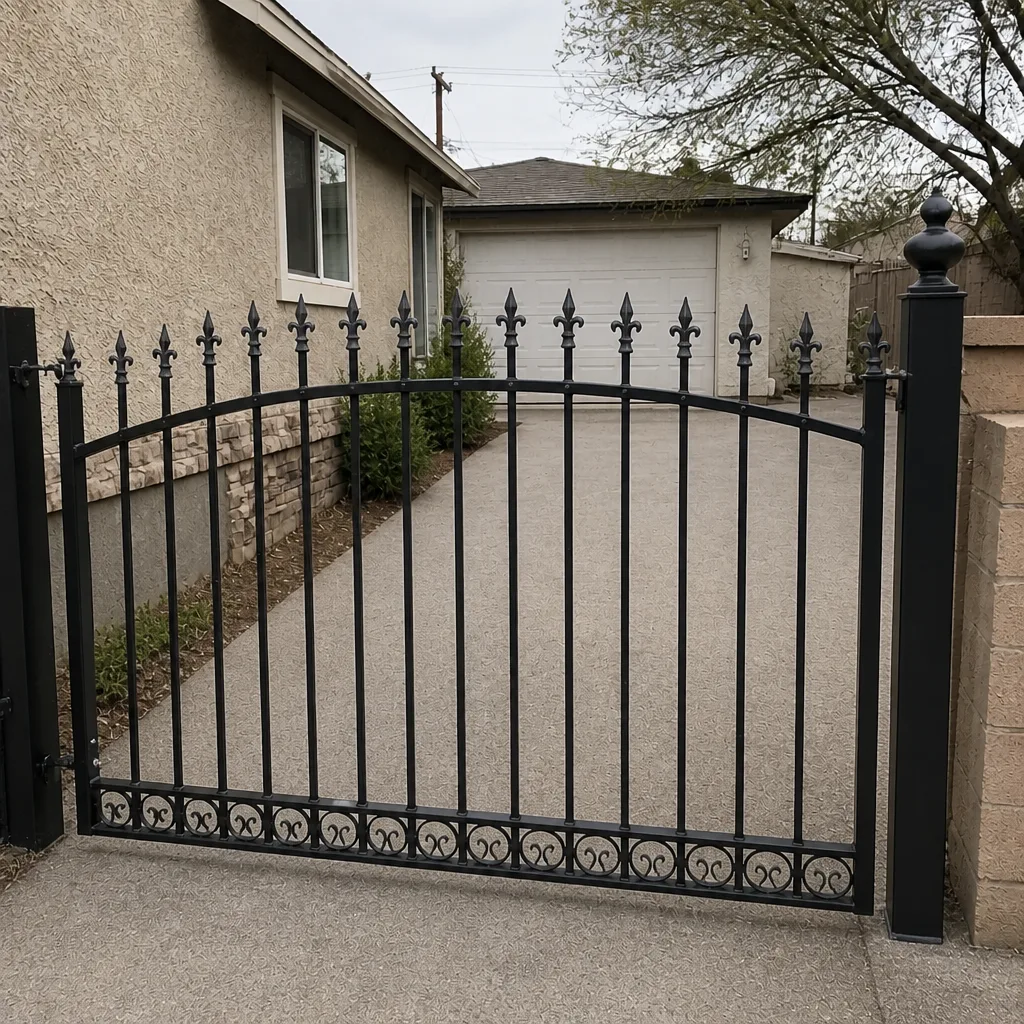 After
What Nevada Law Actually Requires (And What It Doesn’t)
Nevada draws a cleaner line than most states on what counts as electrical work versus general construction, and that line matters the moment you decide to wire a gate operator. Anything that connects to the home’s 120-volt service, including the dedicated circuit that feeds an operator, has to be run by a licensed electrician. Full stop. That’s not a recommendation – it’s a legal requirement, and it’s also what your homeowner’s insurance will look at if the circuit fails and something burns.
What you can do without a license is genuine, useful work:
- Dig footing holes and pour concrete for the gate posts
- Set posts plumb and brace them while the concrete cures
- Hang the gate leaf on the hinges and check its swing
- Trench the conduit run from the house to the operator location (the electrician still pulls the wire)
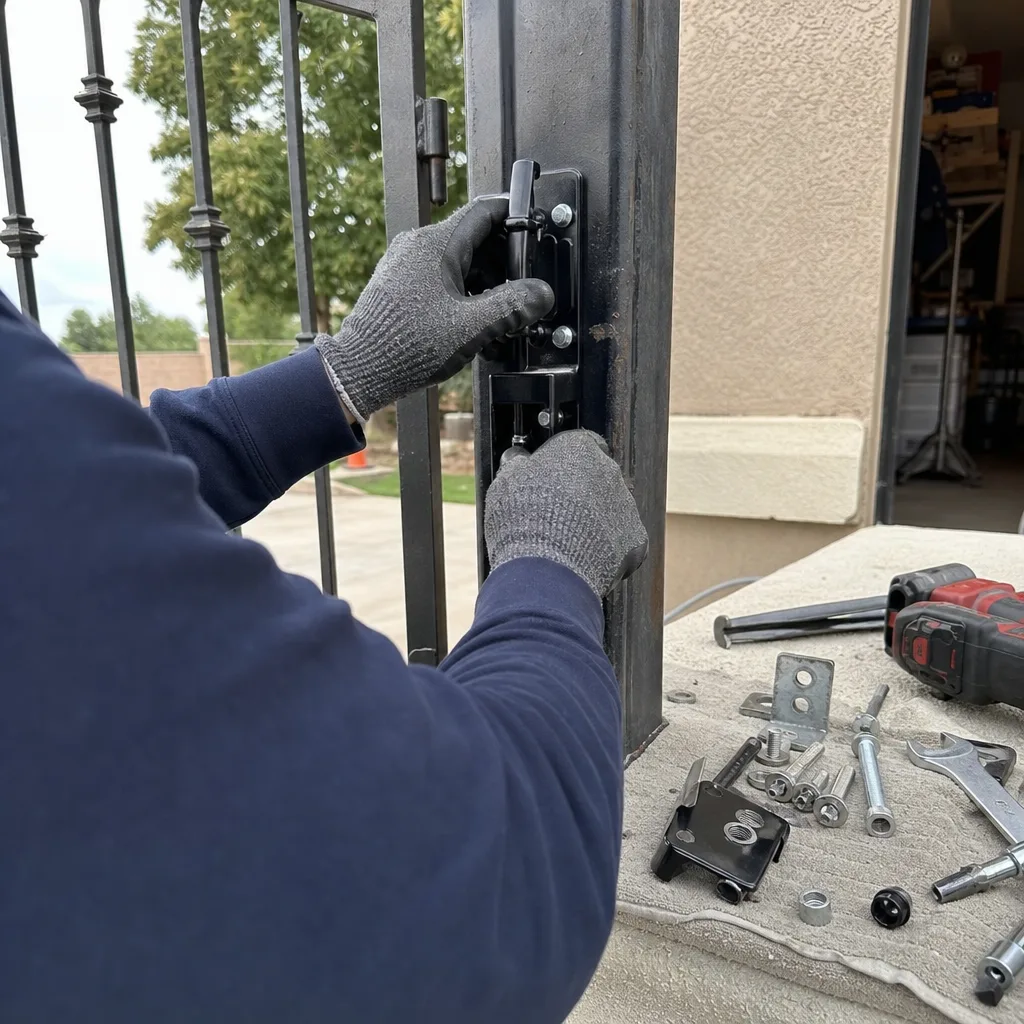
- Mount the operator housing to the post once power is run
- Install the photo-eye and safety-edge hardware, then leave the final wiring and testing to a technician
What you cannot legally do is tie in the operator circuit yourself, even if you’ve watched a dozen videos and feel confident. In Whitney and the surrounding Clark County area, the pull for a gate circuit usually falls under a low-voltage or residential electrical permit, and the inspection happens before the operator gets energized. A qualified electrician signs off on that step. A gate technician signs off on the operator programming and the safety testing. Skipping either signature means the install isn’t actually finished – it’s just switched on.
One more note for Whitney specifically: the local soil conditions on the east side of the valley include stretches of caliche, a calcium-carbonate hardpan that can turn a two-hour post-hole dig into a half-day job with a rented auger or a breaker bar. Budget for that before you commit to a DIY footing schedule.
Three Places Capable DIYers Underestimate the Job
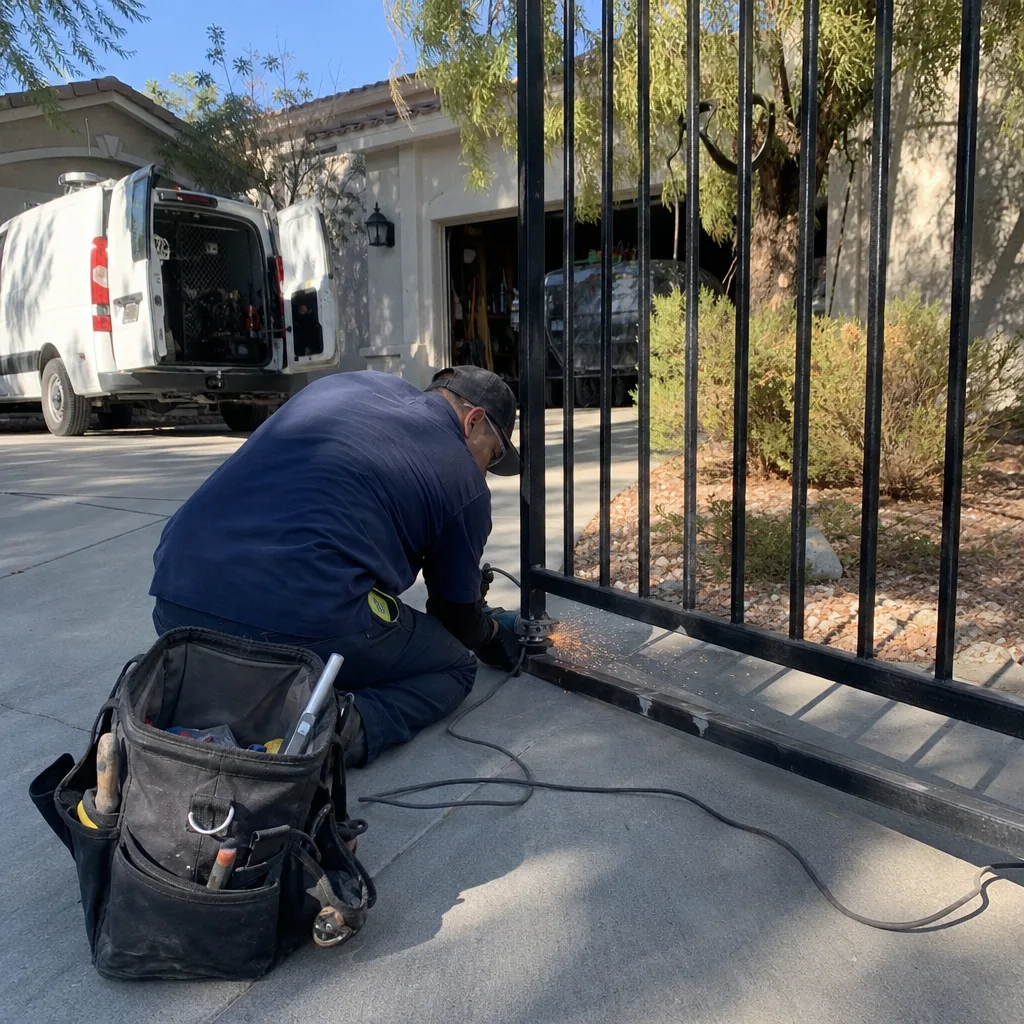
Most people who get into trouble on a DIY gate install are not reckless. They’re competent homeowners who’ve built fences, run irrigation, and done their research. The problem isn’t skill – it’s that gate installation has three specific calculation points where “I’ve done this before” quietly stops being enough.
1. The footing calculation
A swing gate post is not a fence post. It has to resist the torque of the gate leaf swinging open and closed, plus the operator’s force pushing against it on every cycle. The footing depth and diameter depend on the gate’s weight, the width of the leaf, the soil bearing capacity, and whether the post is on the hinge side or the latch side. A 12-foot, 300-pound steel gate needs a different footing than a 6-foot ornamental aluminum one, and if you guess wrong the post leans within a season. Once it leans, the operator’s limit switches drift, the gate drags, and the whole install has to be re-set.
2. The wire sizing
Low-voltage control wiring looks forgiving, but gate operators are sensitive to voltage drop over distance. A run of 18-gauge wire that’s perfectly fine at 50 feet will cause intermittent faults at 200 feet. The wire gauge depends on the operator’s draw, the length of the run, and whether you’re also running safety-edge and keypad circuits on the same conduit. Sizing it wrong doesn’t fail immediately – it fails in a way that’s hard to diagnose, usually in the middle of summer when the operator is working its hardest.
3. The operator programming
Every brand programs differently. A BFT operator uses a different handset and menu structure than a Linear unit; a Ghost Controls DIY-friendly model has its own calibration routine. Getting the force limits right is the part most DIYers miss, and it’s the part that determines whether the gate reverses when it meets a child’s bicycle wheel or crushes it. This is where a trained technician earns their fee, because the programming is quick once you’ve done it a hundred times and agonizing if you’re reading the manual for the first time.
If any of those three feel borderline to you, that’s the honest signal: hire out that piece. It doesn’t mean the whole install has to go to a pro.
What a DIY Install Must Document on Day One
Here’s the divergence that costs homeowners the most money over the life of the gate. Every professional install we perform follows the same documentation habit we brought over from commercial access-control work: before we leave, the homeowner gets a photo log of what was found, what was set, and what was installed. A DIY install almost never produces that record, and the cost shows up later, when a technician on a routine service call has to reverse-engineer the whole install before they can touch it.
If you’re doing any part of the install yourself, produce these five items and leave them in a folder or taped inside the operator housing:
- Wire map with labels. A hand-drawn diagram showing which wire goes to which terminal, labeled at both ends. Blue tape with a Sharpie is enough. The next technician needs to know what’s what without tracing.
- Photos of the original wiring at the operator. Take them before you close the housing. Every terminal. The angles don’t need to be professional, they need to be legible.
- Limit switch readings. Write down the open and close limit positions as set on day one. When the gate drifts six months from now, the technician can compare against the baseline instead of guessing.
- Footing dimensions and concrete date. A simple note: hole diameter, depth, mix used, pour date. Useful for any future post issue.
- Part numbers and model info. The operator model, the safety edge model, the photo-eye model, and the gate leaf weight if you know it. Tape the operator manual to the inside of the housing.
That folder is the difference between a $150 service call and a $450 service call. We’ve walked into Whitney installs where the operator was mounted two inches out of plumb, no diagram existed, and the limit switches had never been recorded – the discovery alone ran 90 minutes before any actual repair started. The install itself was fine. The missing record was the expense.
The Hybrid Approach That Saves Real Labor Cost
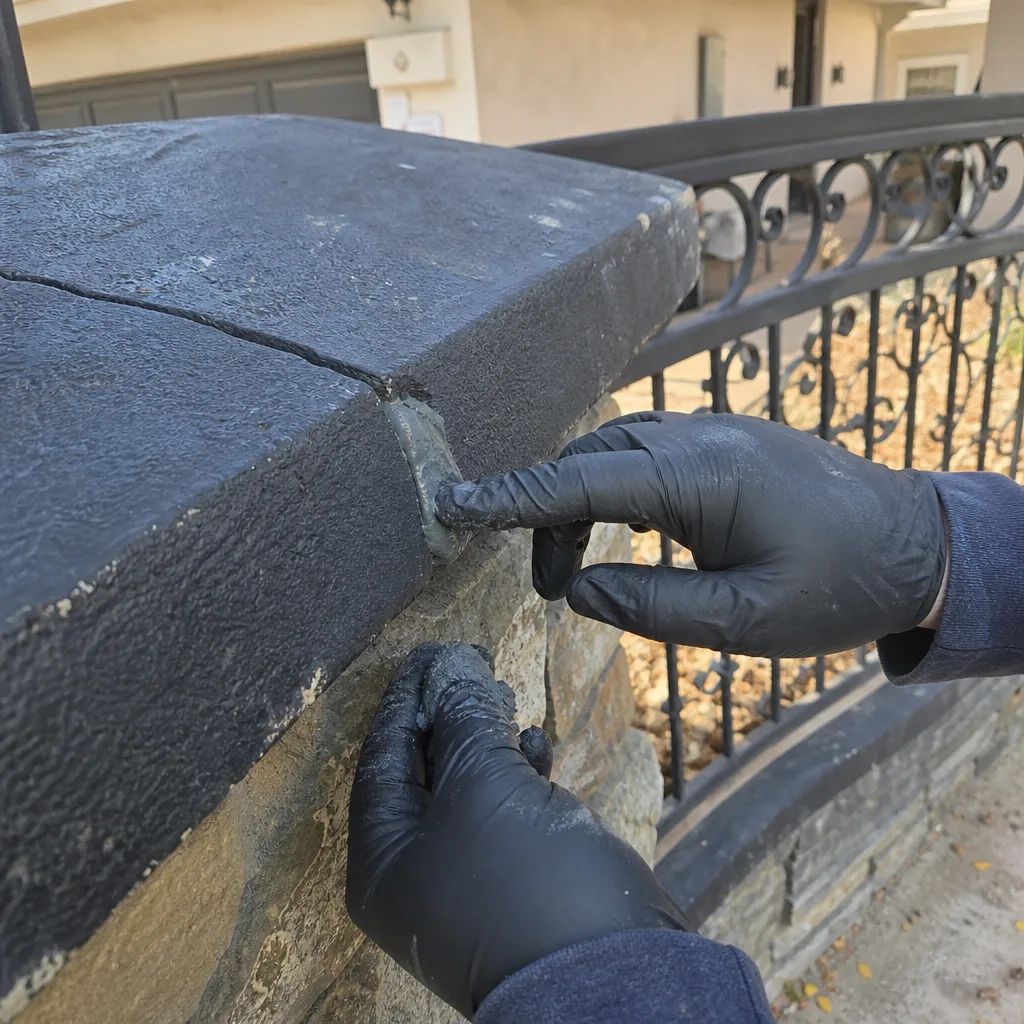
You don’t have to choose between full DIY and full professional installation. The most cost-effective path for a homeowner who wants to keep labor costs down without touching the parts that require a license is a hybrid, and it’s the approach we recommend most often in Whitney.
Here’s how the split typically works:
- You handle: site prep, trenching for conduit, digging and pouring footings, bracing posts during cure, hanging the gate leaf, mounting the operator housing, installing the physical safety-edge hardware
- The electrician handles: the 120-volt circuit from the panel to the operator location, the disconnect, and the permit inspection
- The gate technician handles: low-voltage control wiring, operator programming, force-limit calibration, safety-edge testing, and the documentation record
In practice this can reduce the labor portion of a gate installation by a meaningful margin, because the site work and gate hanging are the physical hours. The technician’s time gets concentrated on the parts that actually need a trained hand, which means you’re paying for expertise rather than shovel work. It also keeps you legal, because the electrical and operator portions are covered by the people licensed to cover them.
What you should not do is hand a technician a fully prepped site without telling them the footing dimensions, the concrete pour date, and how the gate swings under its own weight. For a proper install – scheduled, measured, and priced in writing – see our gate installation service in Whitney, where the scope and the price are documented before anyone breaks ground.
How to Get a DIY Install Inspected Without the Awkwardness
Plenty of homeowners finish a DIY install, feel a low-grade unease about it, and then avoid calling anyone because they don’t want to be told they did it wrong. That avoidance is the expensive choice. A professional inspection of a finished install isn’t a critique – it’s a snapshot, and every good technician will treat it that way. What you’re buying is a document that says what’s working, what needs adjusting, and what the baseline readings are for future reference.
Here’s what an inspection on a DIY gate install should cover:
- Footing and post stability check. Post plumb measured in both directions, gate swing observed under its own weight, no visible settling or lean.
- Force-limit testing. The operator should reverse on contact with a solid obstacle at both the open and close directions. This is the single most safety-critical check and the one most DIY installs get wrong.
- Photo-eye alignment and function. The infrared beam and its reflection should break cleanly and reverse the gate within the manufacturer’s specified distance.
- Safety-edge test. The edge should trigger a reversal when pressed at multiple points along its length, not just the middle.
- Electrical verification. A check that the circuit is properly grounded, the disconnect is accessible, and the operator voltage matches its spec.
- Written report with photos. The output of the inspection should be a document – photos of every adjustment, readings recorded, part numbers listed – not a verbal “looks good to me.”
Ask for the written report before the technician leaves. If a company can’t produce one, that’s your signal to find another company. For standalone repairs found during the inspection, our gate repair service in Whitney handles the fix on the same visit where possible, and our gate motor and opener service in Whitney covers the operator side when the issue turns out to be programming or a failing limit switch.
Common Mistakes to Avoid
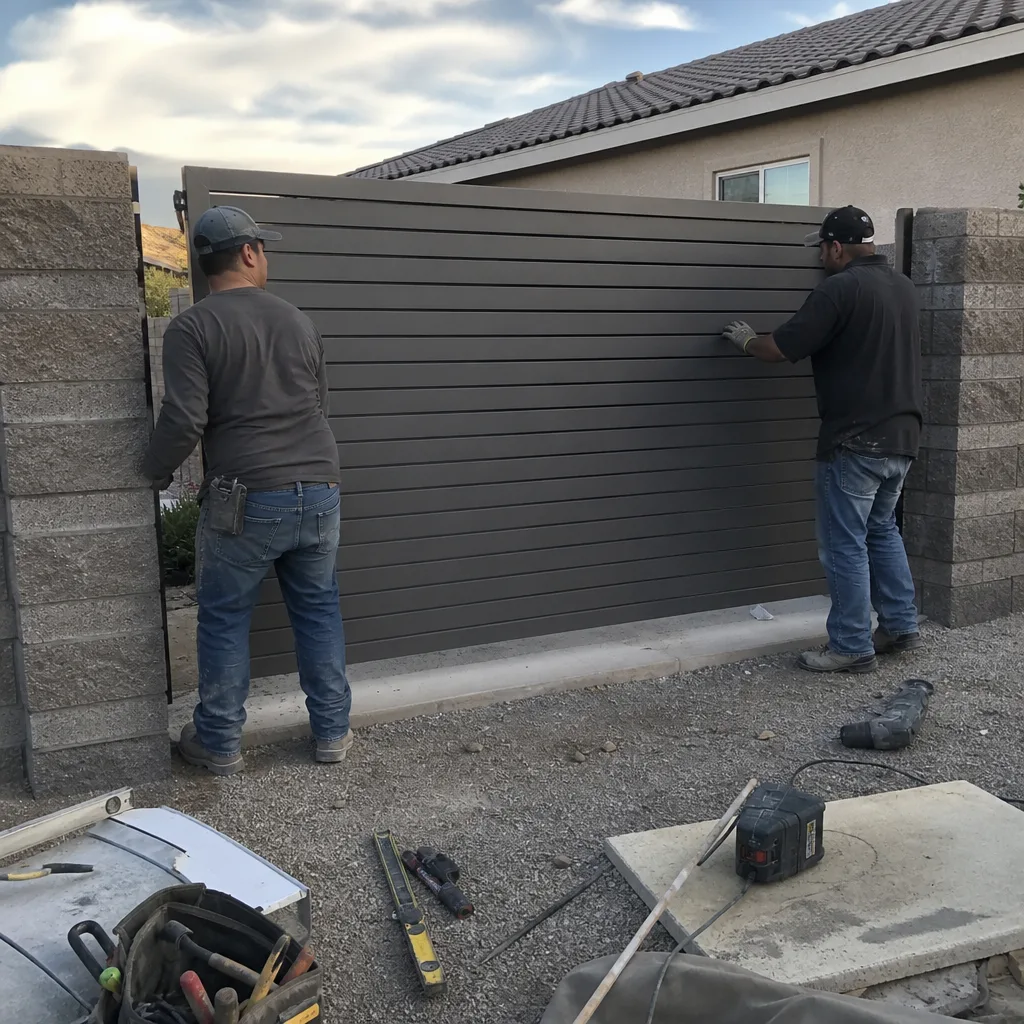
- Tying in the operator circuit without a licensed electrician. It’s not a gray area in Nevada – it’s a permit issue and an insurance issue. If anything goes wrong, the homeowner absorbs the liability the electrician would have carried.
- Guessing at footing size based on fence-post experience. Gate posts carry torque that fence posts don’t. A footing that’s too shallow fails within a season, and re-setting a post after the gate is hung is a bigger job than doing it right the first time.
- Skipping the wire map. An unlabeled low-voltage install can cost $200 to $400 in tracing time on the next service call. Five minutes with tape and a Sharpie prevents that.
- Not recording the limit-switch baselines. When the gate drifts and starts reversing early, a technician needs the original positions to compare against. Without them, they’re re-setting from scratch.
- Cutting the safety edge short to save a wire pull. The edge is only as effective as its full coverage. A gap of a foot at the end of the gate is exactly where a child’s hand ends up.
- Assuming the operator’s factory defaults will work on your gate. Force limits and travel distances need to be calibrated to the specific gate weight and width after installation. Factory settings never match a real driveway.
- Not considering Whitney’s summer heat during wire run planning. Operators work harder in sustained 100-degree-plus conditions, and undersized wire that functions in spring can fault in July. Size the run with margin.
When to Call a Professional
Call a professional for the electrical circuit, for operator programming, for safety-edge installation, and for any install where the footing conditions look uncertain. Call immediately if you’ve already installed a gate yourself and any of the following are true: the gate reverses inconsistently, the operator hums but doesn’t move the gate, the photo-eye has ever failed to stop the gate, or you can’t produce a wire map and don’t know what the limit-switch baselines are. Those aren’t cosmetic issues – they’re the ones that cause injury or a costly re-install. Vance Gate Repair Whitney offers free estimates in Whitney, and a live person answers the phone at any hour. Call (844) 797-4861 and we’ll walk through what you’ve got before anyone commits to a scope.
Frequently Asked Questions
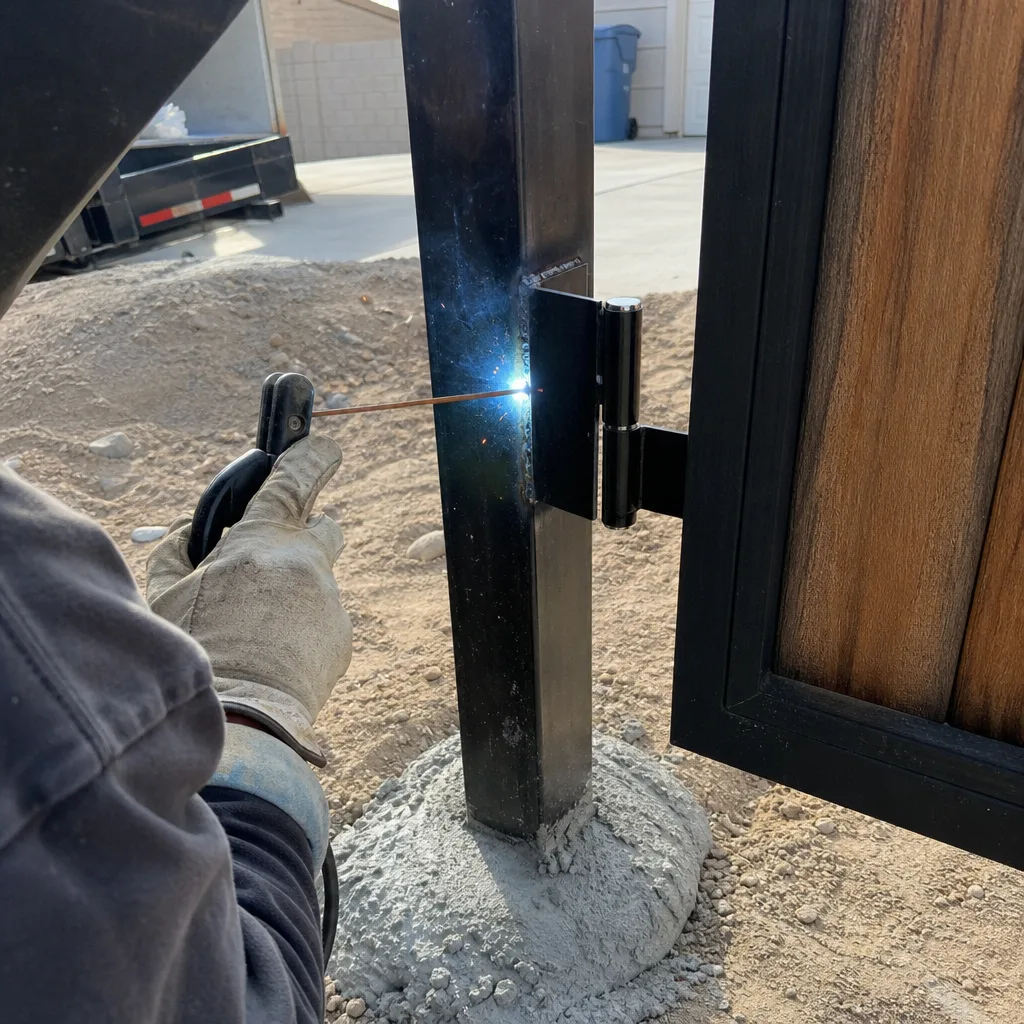
Yes, you can legally install the gate leaf, set the posts, and do the site prep. What you cannot do legally is connect the operator to the 120-volt household circuit or pull the electrical permit – those steps require a licensed electrician in Nevada. The low-voltage control wiring is a gray area that some homeowners handle, but operator programming and safety testing should be done by a trained technician.
The most common repair on a DIY install is the operator programming and safety system, which typically runs $150 to $400 depending on what needs re-calibrating. A footing that has to be re-poured is a bigger job, usually $600 to $1,200 because the gate has to come off, the concrete has to be removed, and everything gets re-set. Call (844) 797-4861 for an exact quote on your specific install – estimates are free.
Stop cycling the gate and call a technician. Intermittent operator faults after a DIY install usually mean a wiring issue (voltage drop, mislabeled terminals, a loose connection) or a force-limit setting that’s calibrated wrong. Running it while it’s faulting can damage the motor or, worse, cause the safety system to fail in a way that doesn’t show up until someone gets hurt. A diagnostic visit gets to the root cause faster than trial and error.
The gate itself usually doesn’t require a construction permit, but the electrical circuit feeding the operator does. That permit is pulled by the licensed electrician, not the homeowner, and the inspection happens before the operator gets energized. Some neighborhoods with HOA rules also have approval requirements on gate style and placement – check with your HOA before you dig footings.
Yes, and this is the approach we recommend most. You handle site prep, trenching, footings, gate hanging, and mounting the operator housing. The licensed electrician handles the 120-volt run. A gate technician handles the low-voltage wiring, operator programming, safety testing, and documentation. This keeps you legal, keeps you safe, and reduces the labor portion meaningfully without touching the parts that require training.
The written record. A professional install ends with a photo log of every adjustment, a wire map, recorded limit-switch baselines, and part numbers documented in the job file. That record is what keeps future service calls fast and cheap. A DIY install without that paperwork can cost $200 to $400 extra on every future service visit, because the technician has to reverse-engineer the whole setup before they can diagnose anything. Call (844) 797-4861 to see what the documentation looks like on a real job.
The Bottom Line
The safe DIY boundaries on a gate installation are the physical work and the site prep. The unsafe boundaries are the electrical circuit, the operator programming, and the safety system. Most capable homeowners can handle the first group well. The mistake isn’t attempting the second group – it’s attempting it without a license or without the documentation habit that protects the install down the road. If you do the hybrid approach, you’ll save real money on labor and still end up with a gate that’s legal, safe, and records-keeping clean. If you’ve already finished a solo install, the smartest move now is a professional inspection with a written report – not to fix what you did, but to document what’s there. Our Vance Gate Repair Whitney home page has the full picture of what we cover, and every job runs under the 365-Day Done Right Promise and the written-price-first Haven Standard.
For a free estimate on any gate installation, inspection, or repair in Whitney, call (844) 797-4861. A live person answers 24/7 – no voicemail, no callback queue. Our technicians have up to 12 years of experience, and every service call ends with a documented photo record in your hands.
Written by the team at Vance Gate Repair Whitney.
See the difference
BeforeAfter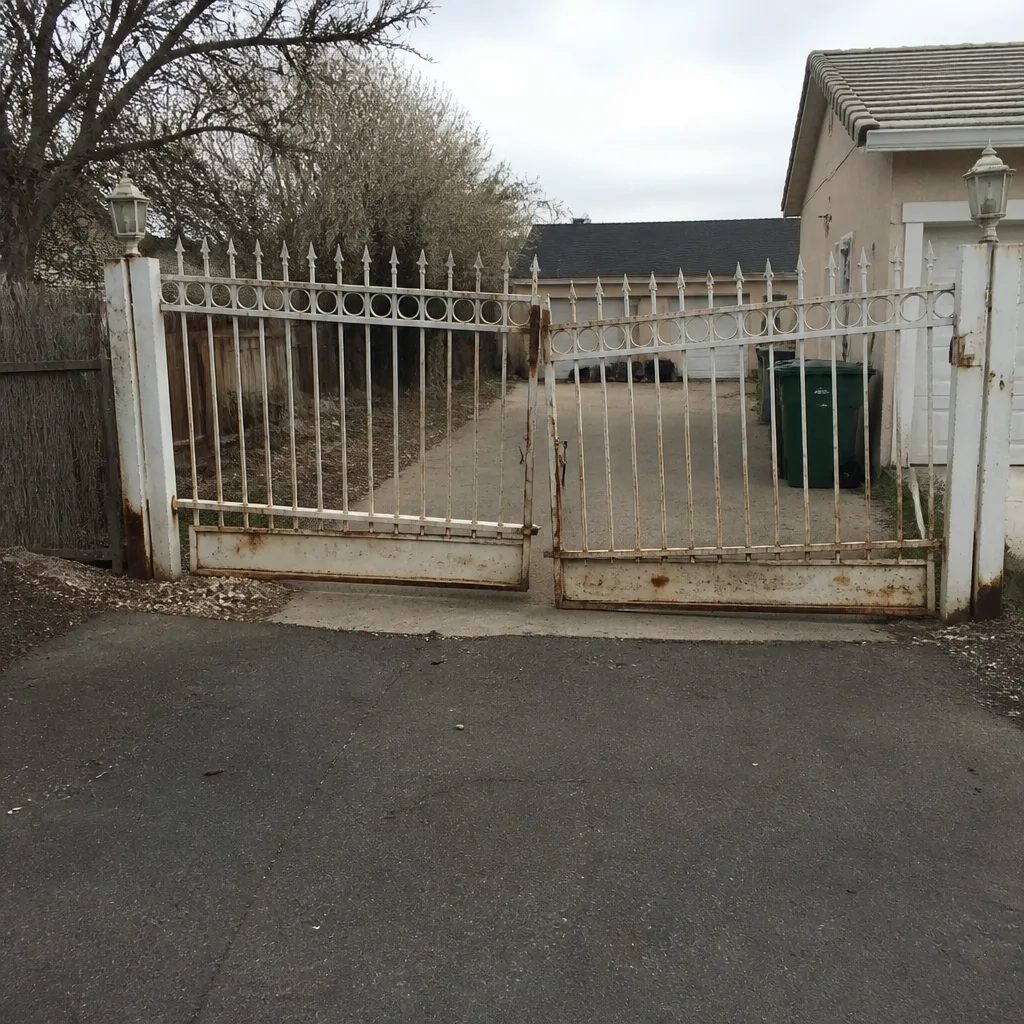 Before
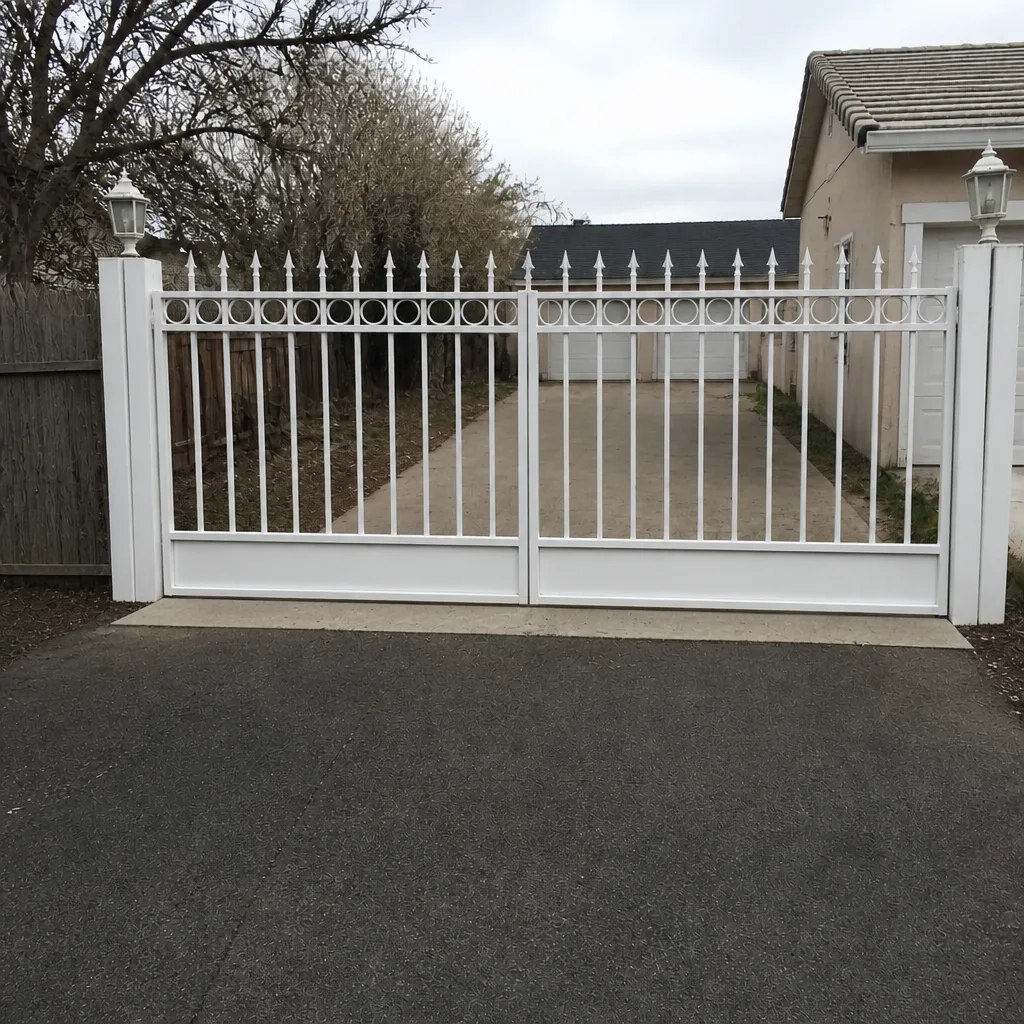 After
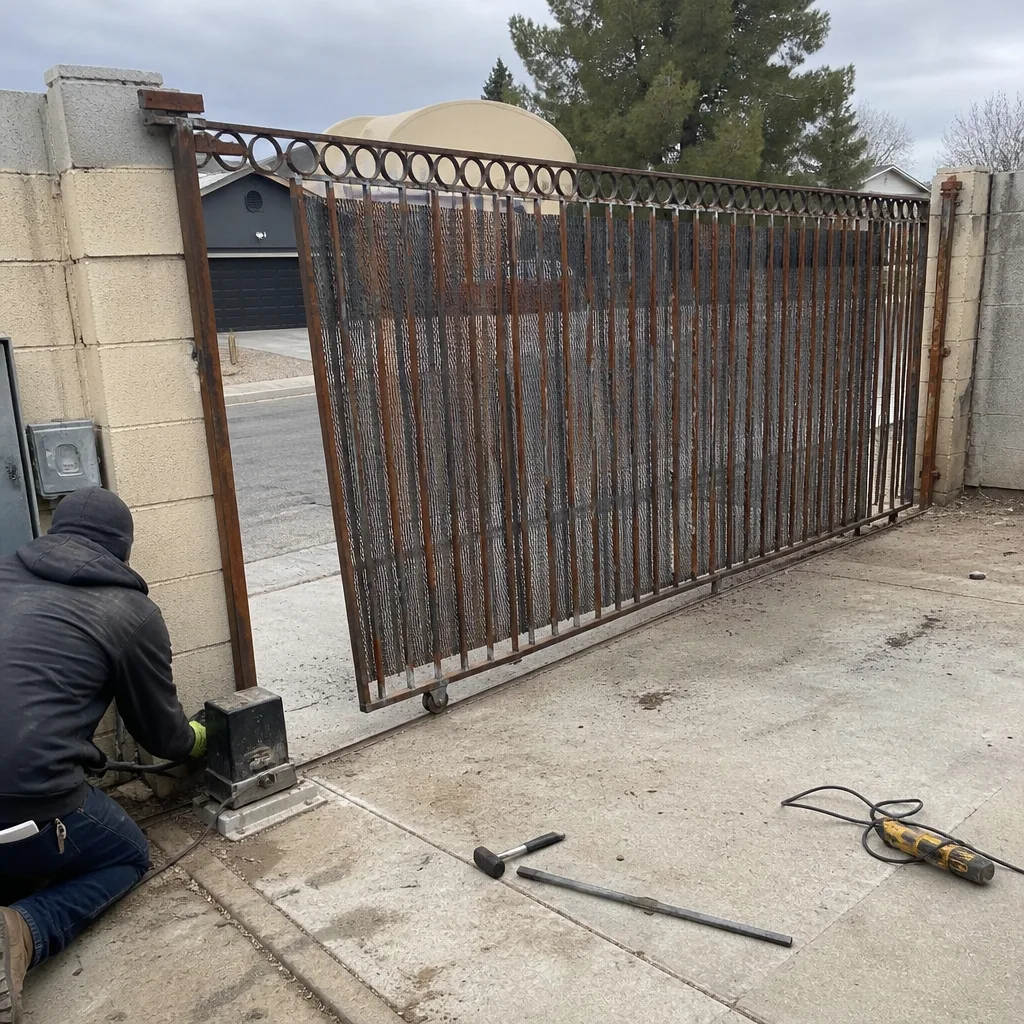 Before
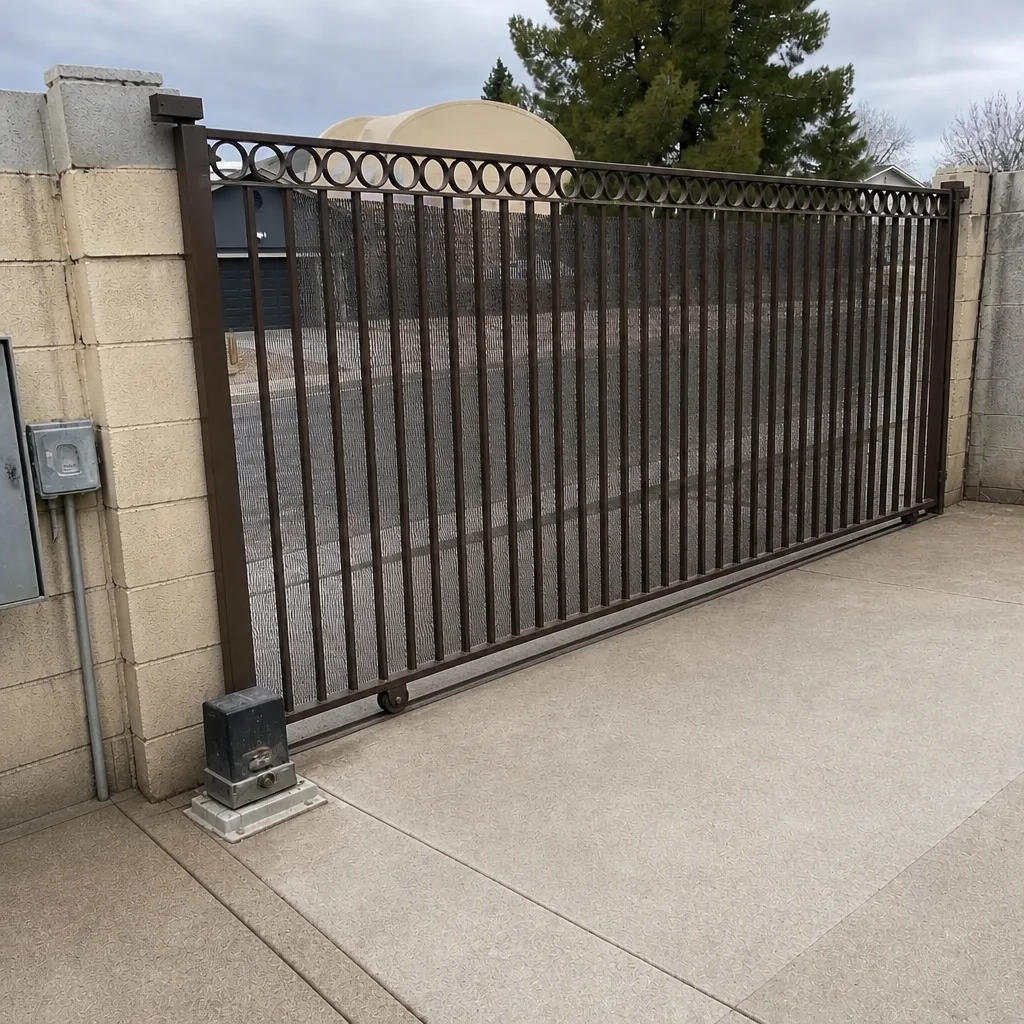 After