
Last updated November 18, 2026
 Wrought iron
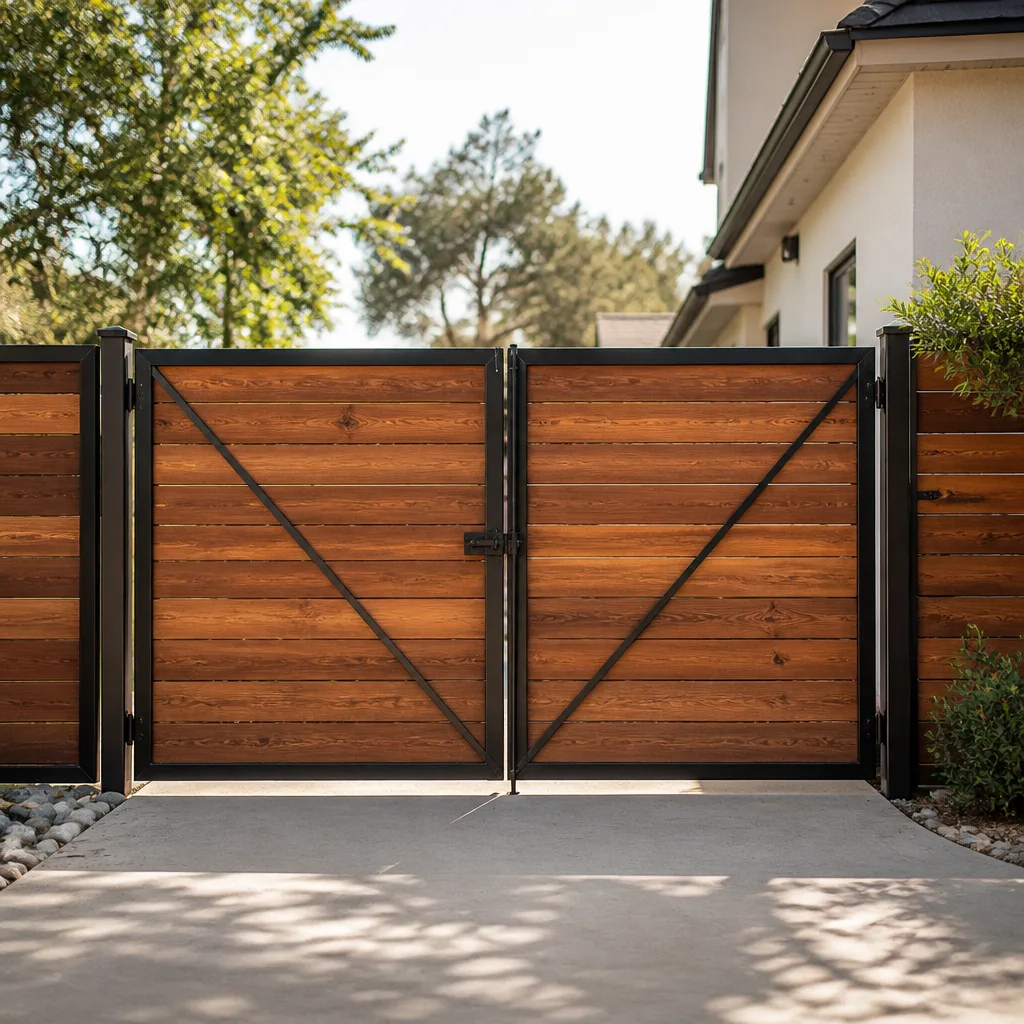 Wood & steel frame
 Farm & ranch
 Sliding driveway gates
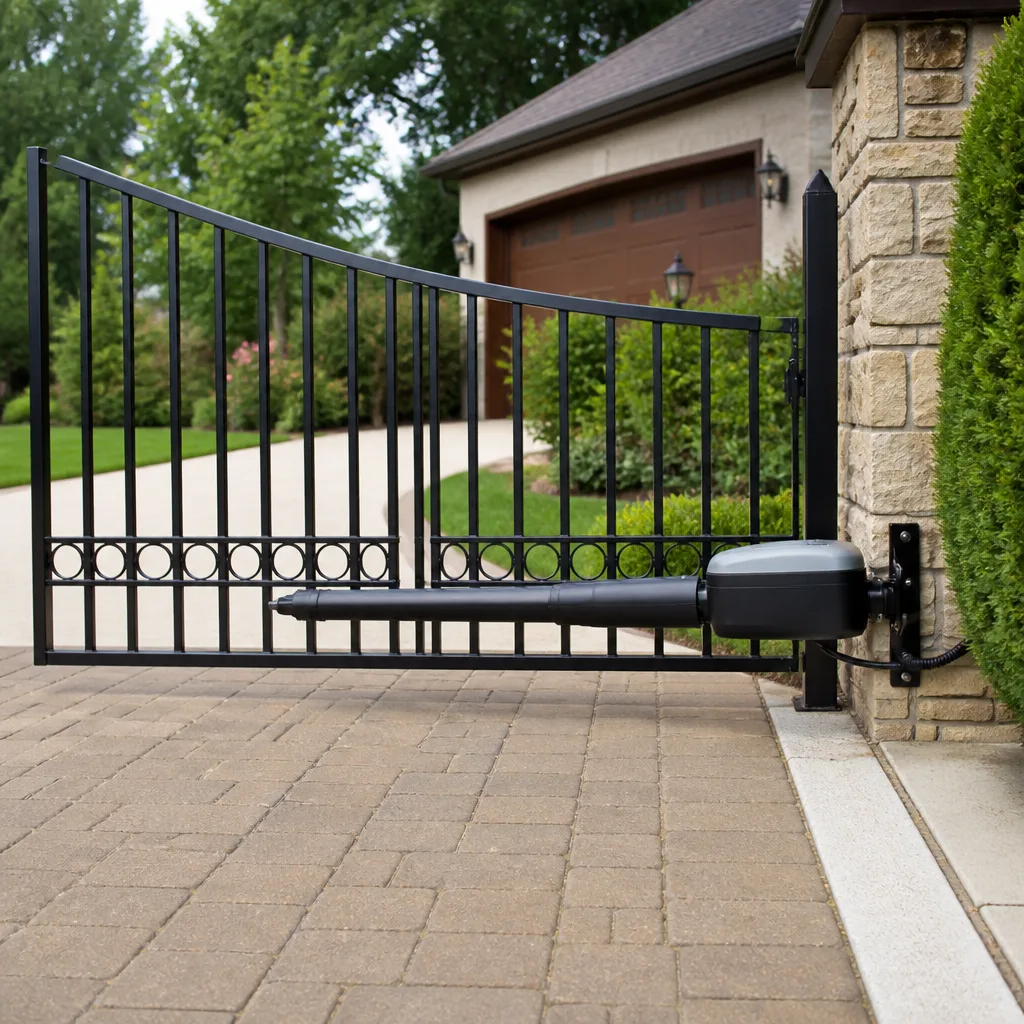 LiftMaster operators
Free on-site gate assessment - hinges, posts, and your LiftMaster or Nice gate operator checked before anything is quoted
The assessment is free and the quote is the invoice.
Get your free estimateGate Repair Troubleshooting: Common Problems and How to Fix Them
A gate that stops mid-cycle is not a motor problem until you’ve ruled out six other things. Most homeowners skip straight to step seven and buy a motor they didn’t need. In our diagnostic work around Whitney, the pattern repeats: an operator gets replaced when a misaligned photo-eye or a loose limit cam was the actual fault. Troubleshooting a gate without measuring anything is just guessing with tools. This guide walks through a fault-first sequence that starts with the cheapest possible cause and works outward: power, obstruction sensor, limit switch, control board, then motor. You’ll learn to read LED blink codes without the manual, the voltage readings that separate a wiring fault from a board fault from a motor fault, and what to document so a technician can skip the first hour of diagnostics if you do end up calling one.
Quick Answer
To troubleshoot a residential gate, test in this order: confirm power at the outlet and the operator’s fuse, check the obstruction sensor (photo-eye) alignment, verify the limit switch hasn’t drifted, then inspect the control board for fault codes, and only then suspect the motor itself. About seven in ten no-start or mid-cycle failures we diagnose in Whitney trace back to power, sensor, or limit-switch problems, not a dead motor.
Styles & brands we work with
- Wrought iron
- Wood & steel frame
- Farm & ranch
- Sliding driveway gates
- LiftMaster operators
Table of Contents
- The fault-first diagnostic sequence
- How to read LED blink codes on common operators
- The voltage readings that isolate the fault
- Why intermittent failures are rarely random
- What to document during a troubleshooting session
- When to call a professional
- Frequently asked questions
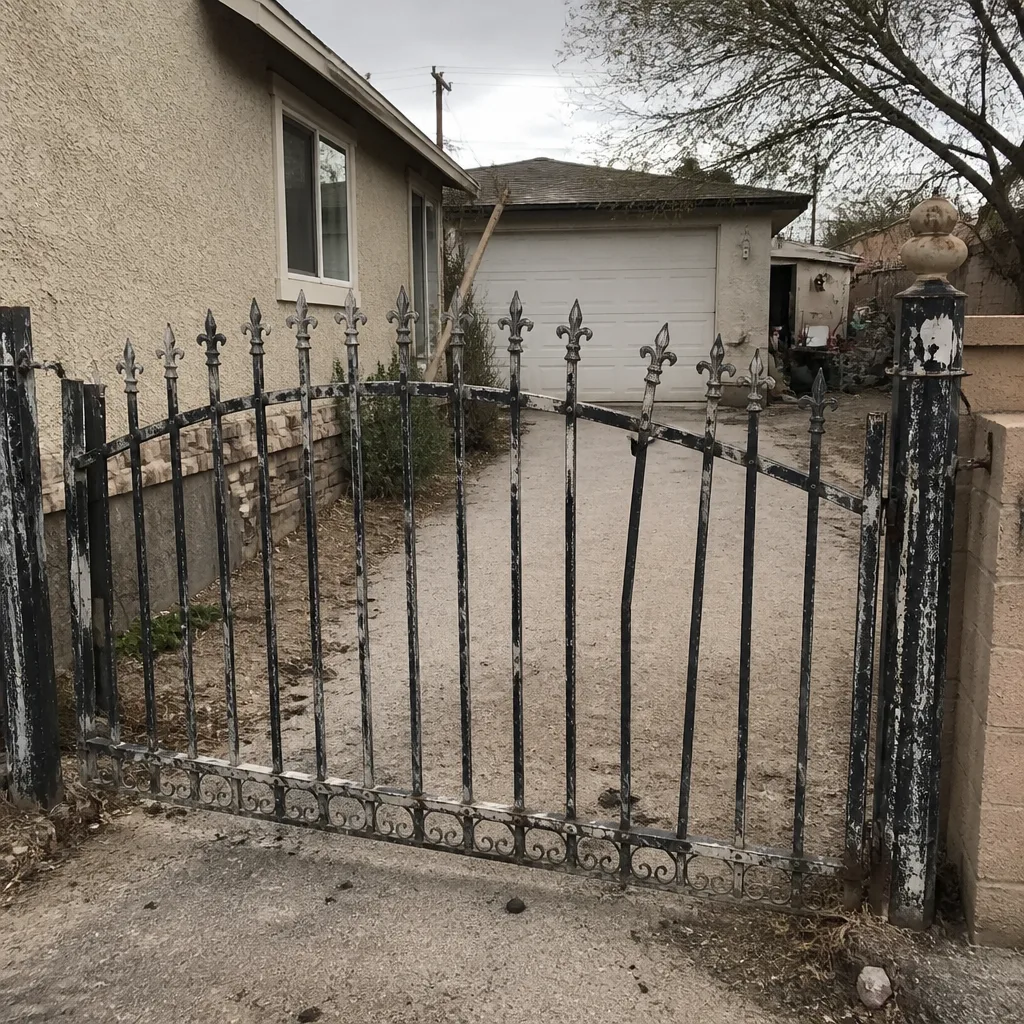 Before
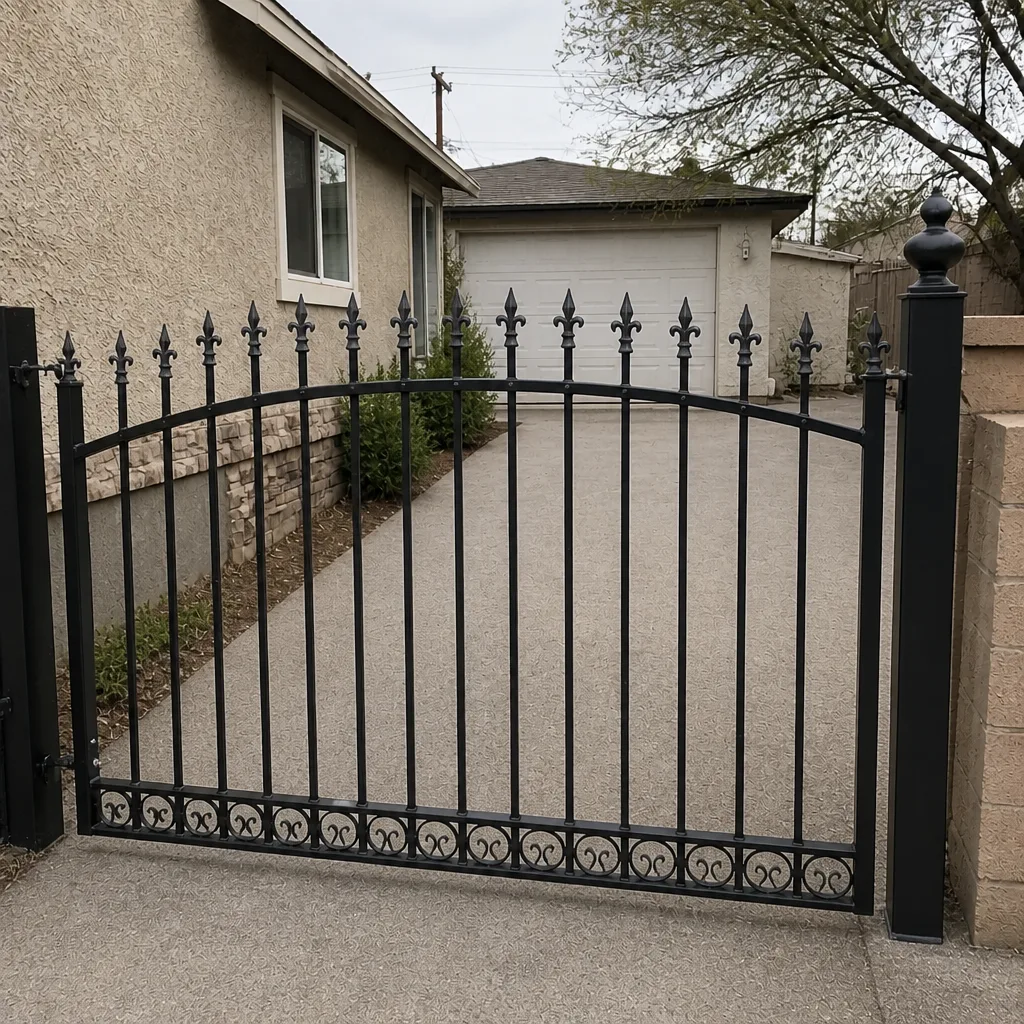 After
The Fault-First Diagnostic Sequence
Work the sequence in order and stop at the first failure. This is the same outward-from-cheapest path our technicians follow in Whitney, and it keeps you from buying parts that weren’t broken.
- Power. Confirm the outlet is live with a tester, then check the operator’s inline fuse or breaker. A tripped GFCI is the single most common cause of a “dead” gate.
- Obstruction sensor. Look for the photo-eye pair (the infrared beam that stops the gate if something crosses its path). If they’re misaligned by even an inch or the lens is fogged, the gate won’t close.
- Limit switch. This tells the operator where open and closed are. A cam that drifted a few degrees will make the gate reverse or stall.
- Control board. Read the fault LED and match it to a blink code. A board showing power in but no output is a board fault, not a motor fault.
- Motor. Only after the four checks above pass clean do you test the motor windings and capacitor.
When the fault reaches the board or motor stage on a swing or slide gate, that crosses into gate motor & opener work in Whitney, and it’s the point where measuring beats replacing. If a gate physically won’t move at all, start instead with the broader gate repair troubleshooting in Whitney approach.
How to Read LED Blink Codes Without a Manual
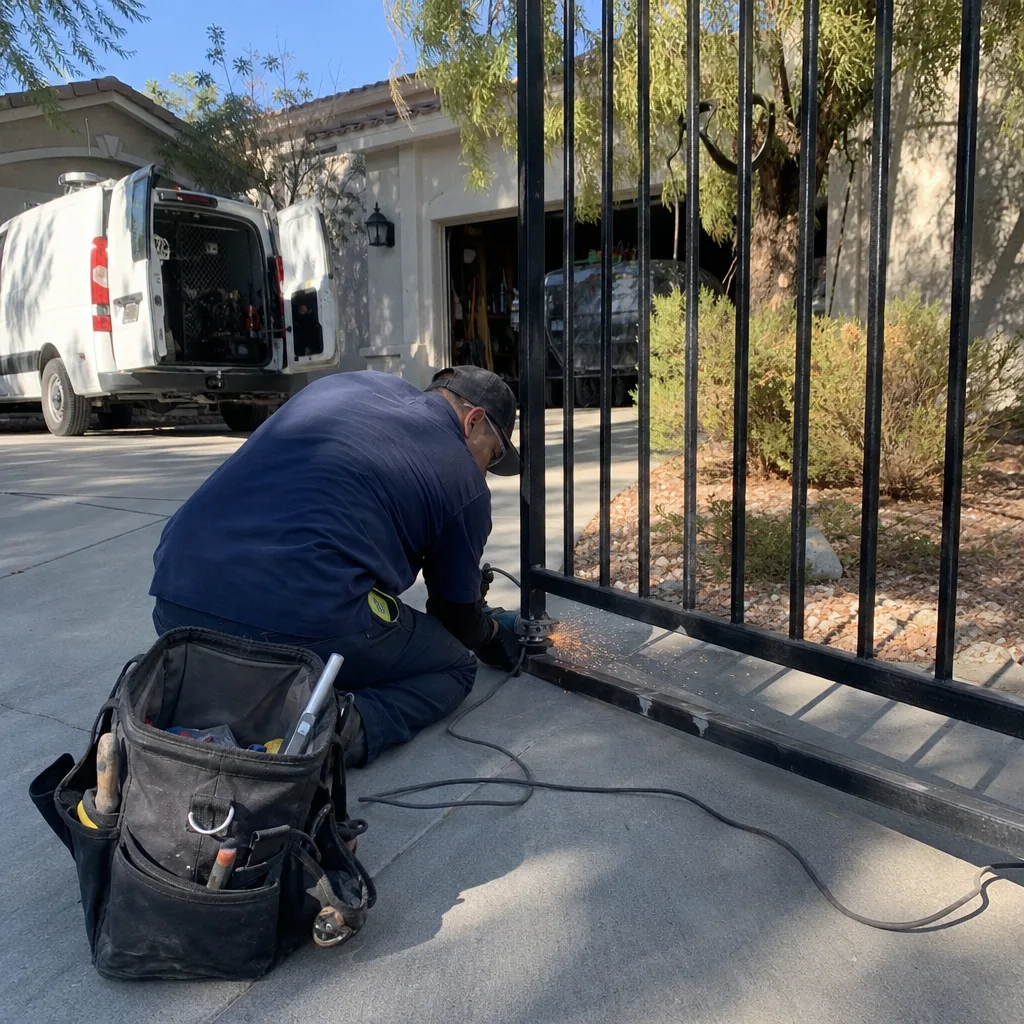
Every residential operator blinks a status LED to tell you why it stopped. You don’t need the manual if you understand the logic: the number of blinks in a pause-separated group maps to a fault category, and the categories run roughly in the same order across brands. Here’s how the three most common residential operators in Whitney report faults:
- Linear (and Linear/OSCO units): a rapid repeating blink usually means the safety reverse sensor is triggered; a slower steady pattern points to a limit or travel fault. Count the blinks between pauses before calling it a motor.
- Viking: these typically signal an obstruction or photo-eye fault with a short double-blink; a longer blink group means the board is in a fault-lock and needs a power cycle to reset before it will move.
- Ghost Controls: the LED often flashes in a diagnostic count, and the count corresponds to whether the arm saw an obstruction, lost a limit, or lost battery voltage. On solar and battery units, a low-voltage blink is common and easily mistaken for a dead motor.
The rule of thumb: blinks that repeat fast and evenly are almost always the safety sensor. Blinks that come in a distinct counted group are board-coded faults. Write the count down – that number is exactly what a technician needs to skip the guesswork, and it’s the kind of reading we log on every Whitney job.
The Voltage Readings That Isolate the Fault
A multimeter turns a guess into a fact. Three readings tell you where the failure lives. Take them with the operator powered and the gate commanded to move, and record each one.
- At the outlet and the operator’s power terminals: you should read full line voltage (roughly 110 to 120 volts on standard residential AC). If the outlet reads fine but the operator terminals don’t, the fault is the fuse, breaker, or wiring between them – not the board, not the motor.
- At the control board’s motor-output terminals: if you have good line voltage in but zero volts out when the gate is commanded, the board isn’t sending power. That’s a board fault.
- At the motor leads: if the board is outputting voltage but the motor doesn’t turn, check the motor winding resistance and the start capacitor. A failed capacitor is a common, inexpensive cause of a motor that hums but won’t move.
That sequence – line in, board out, motor leads – separates a wiring fault from a board fault from a motor fault in about ten minutes. It’s the difference between a $20 capacitor and a motor you didn’t need. If the readings land on a board or motor, that’s when a documented opener diagnostic is worth the call.
Why Intermittent Failures Are Almost Never Random
If your gate works all week and then fails every Tuesday, something environmental is triggering it. Intermittent failures aren’t random – they’re conditional, and the condition is usually repeatable if you look for it. In our experience around Whitney, the triggers cluster around a few predictable causes:
- Heat and sun angle. Afternoon sun on a photo-eye can trip the safety beam; the gate fails at the same time each day and works fine in the evening. Metal gates and operators also expand in the desert heat, shifting a limit cam a degree or two.
- Cold mornings and battery voltage. Solar and battery-backed units sag in voltage on a cold morning, throwing a low-voltage fault that clears once the panel charges.
- Wind and gate sag. A gate that’s dropped a quarter inch can drag its roller or catch the operator arm only when wind pushes it against the frame.
- Moisture in a connector. A corroded limit-switch or sensor connector fails when humidity rises and recovers when it dries.
- Voltage dip from a shared circuit. If the operator shares a circuit with a pool pump or AC unit, it faults only when the other load kicks on.
Find the pattern – time of day, weather, what else runs at that moment – and you’ve found the fault. Write it down the day it happens, not a week later when you’ve forgotten which Tuesday it was.
What to Document During a Troubleshooting Session
The most useful thing a homeowner can hand a technician is a written and photographed record of what the gate did and when. It’s the difference between paying for an hour of rediscovery and paying for the actual repair. Document these five things:
- The exact symptom and time. “Stopped halfway open at 7:40 a.m., would open but not close after that” beats “gate is broken.”
- Blink-code counts. Photograph or write the number of LED blinks and whether they were fast or grouped.
- Photos of the operator, board, and sensor mounts. A clear photo of the photo-eye alignment and the limit cams saves diagnostic time.
- Voltage readings at the outlet, board output, and motor leads if you took them.
- Recent changes. New landscaping, a bumped sensor, a power outage, or a recent storm – anything that changed the day the trouble started.
This is the same evidence habit our technicians work to. Every Vance visit leaves a documented photo record of what was found, what was set, and what was installed – wiring diagrams and limit-switch readings included – so no future technician has to guess. When you bring your own notes, you’re doing the first part of that work yourself.
See the difference
BeforeAfter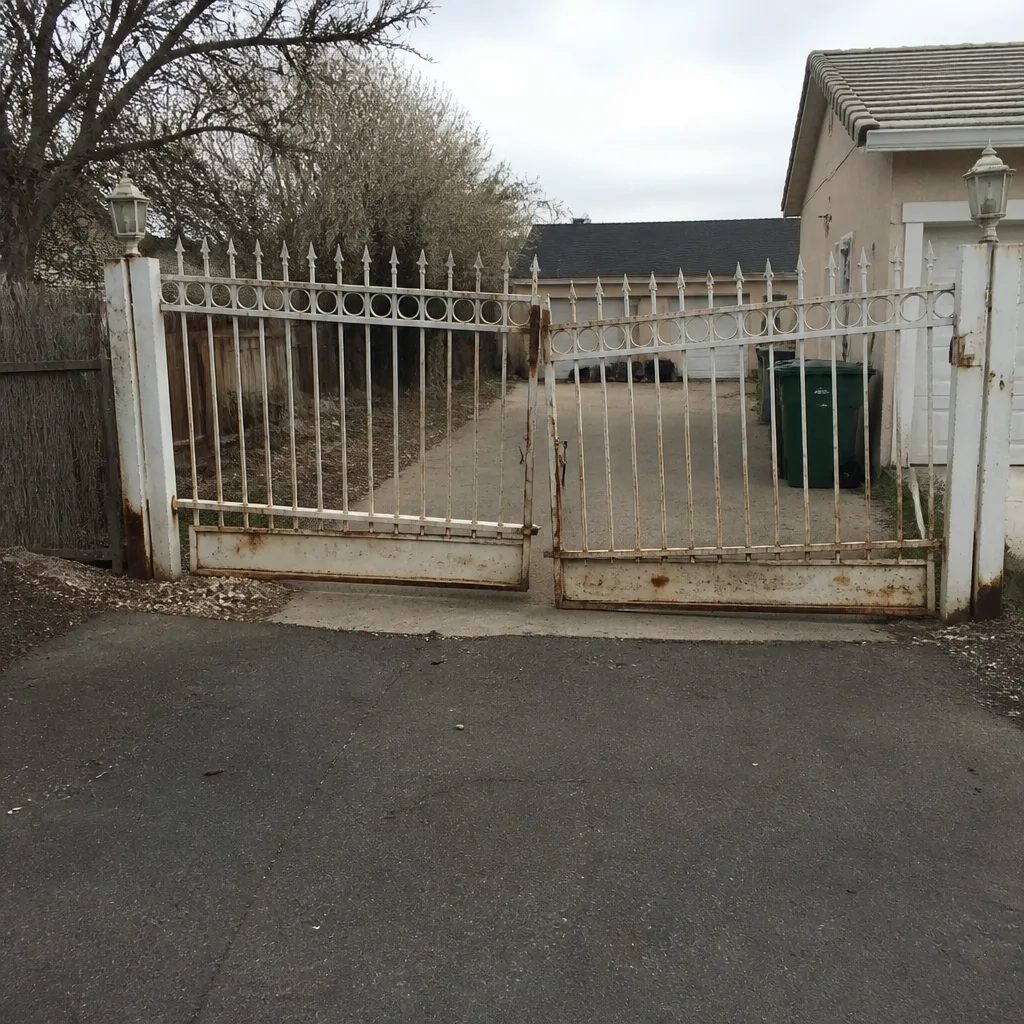 Before
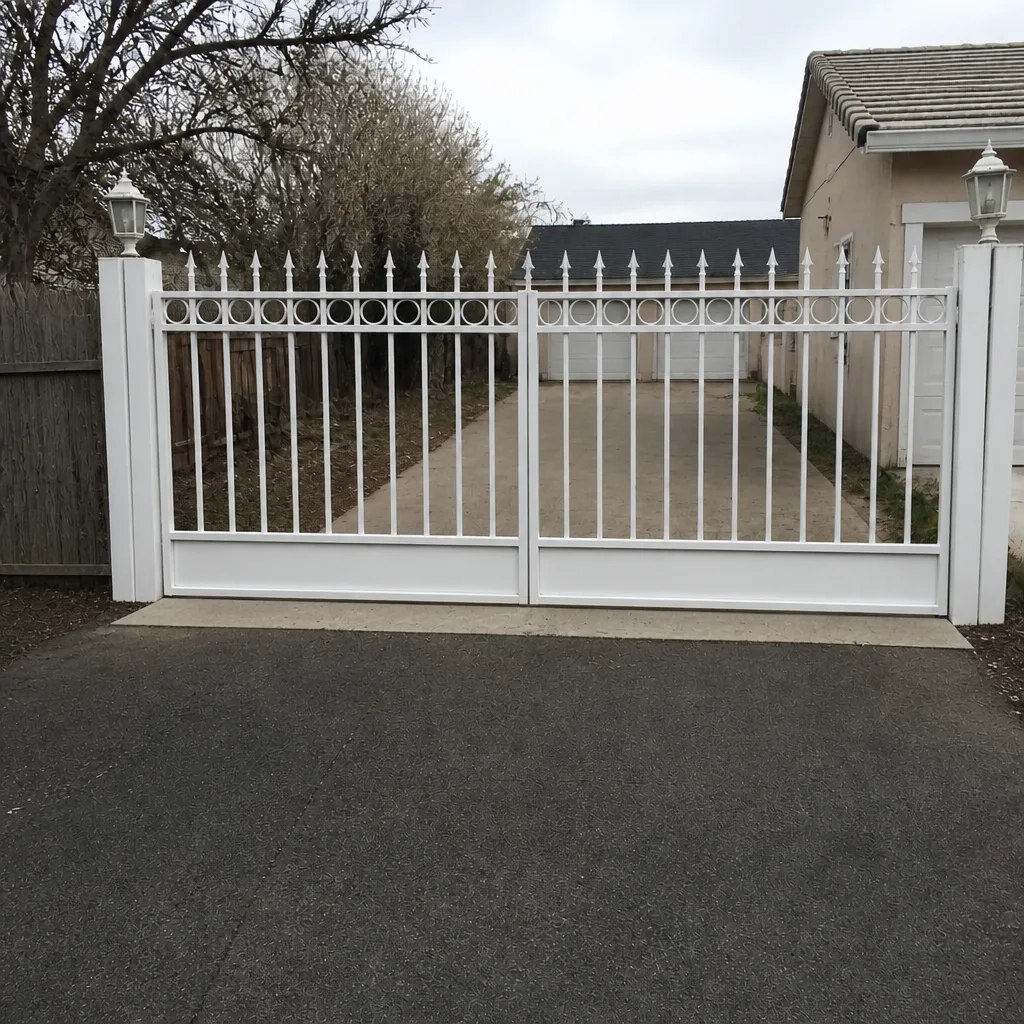 After
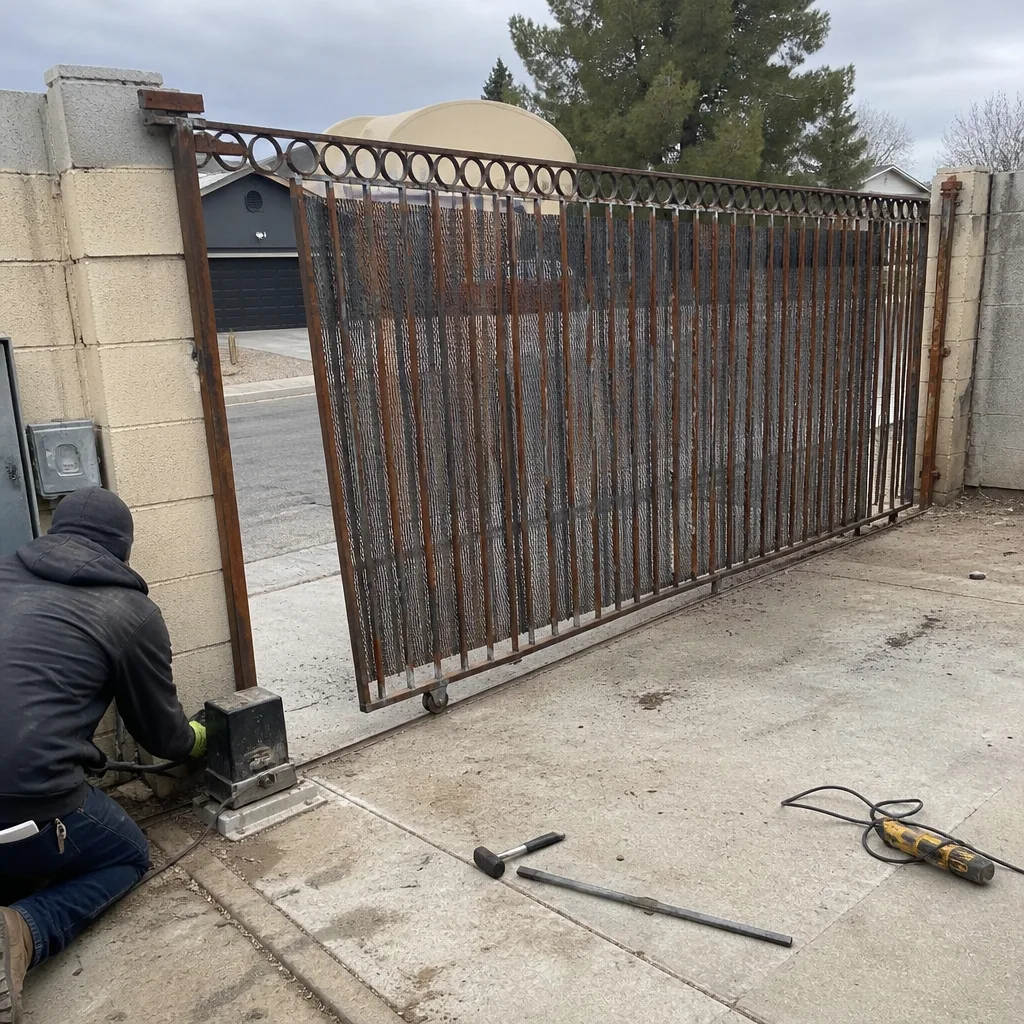 Before
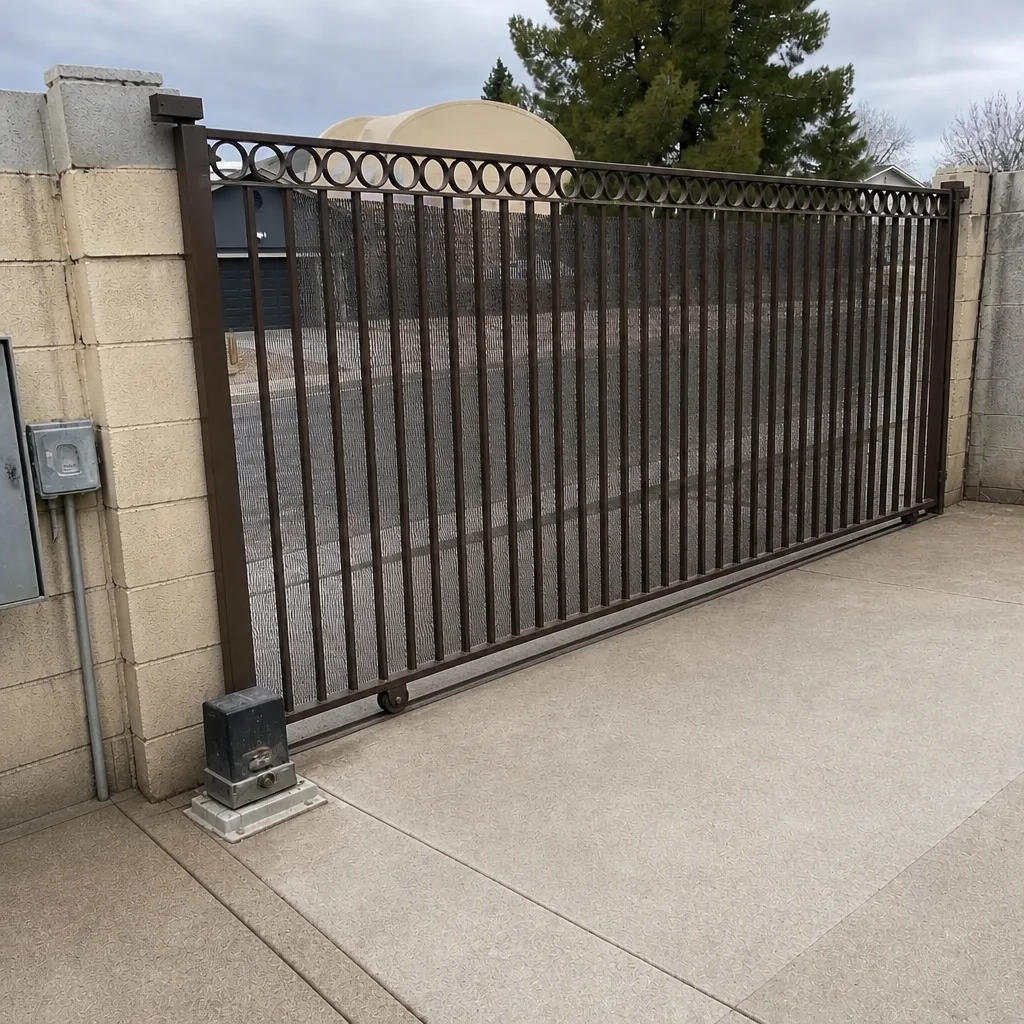 After
Common Mistakes to Avoid
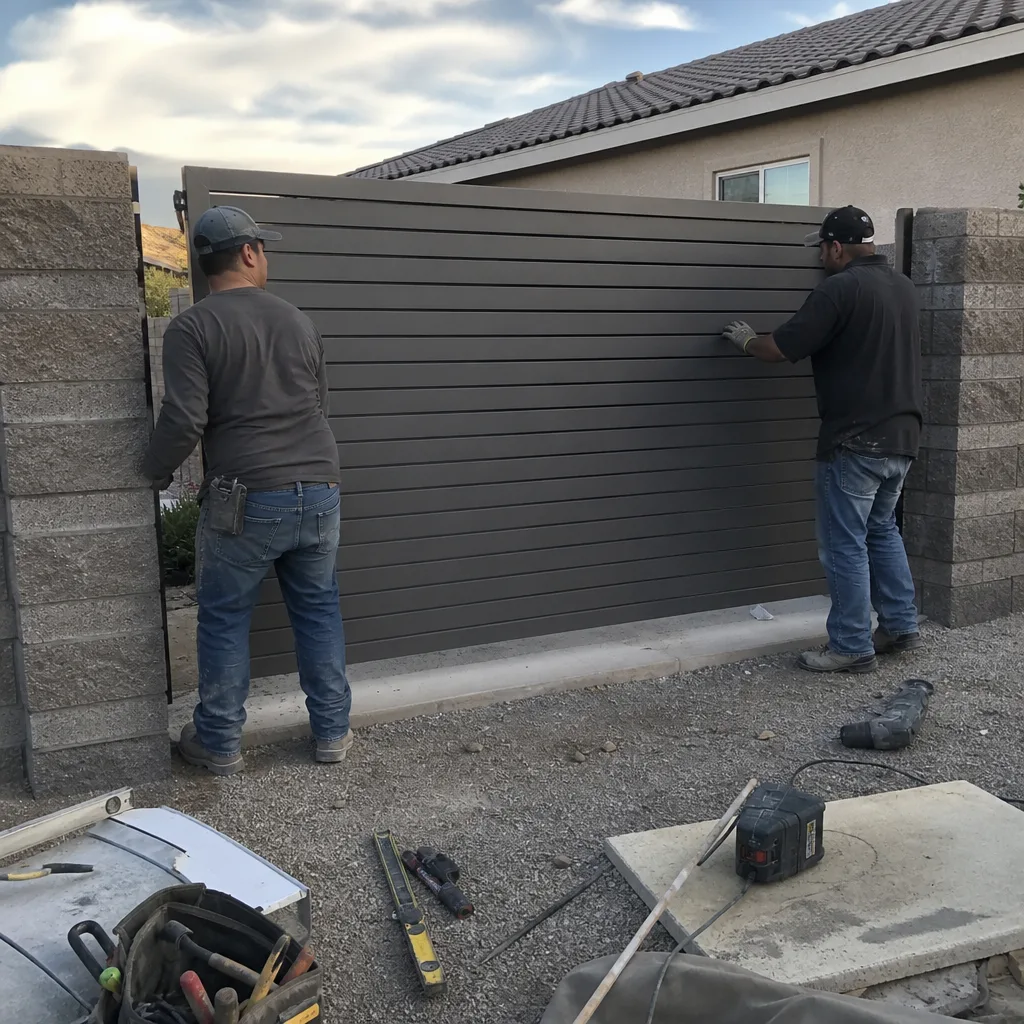
- Replacing the motor first. A dead-motor diagnosis is the last step, not the first. In Whitney, we regularly find a working motor behind a misaligned sensor the homeowner never checked.
- Assuming a tripped breaker means a dead operator. A GFCI that keeps tripping is usually telling you about a wiring or moisture problem, not the motor. Reset it once; if it trips again, investigate the cause.
- Force-opening a gate with a stuck limit. Overriding a stalled arm can strip the operator gearbox or bend the arm bracket, turning a small fix into a motor replacement.
- Trusting a solar unit’s “dead battery” at face value. Ghost Controls-style solar operators often read low voltage only because the panel is shaded or dirty; clean the panel before you buy a battery.
- Troubleshooting in the rain or wet conditions. Water on a live board or connector gives false readings and is a shock risk. Dry it off and start again.
- Not writing down the blink code. The code clears on the next power cycle. If you don’t record it, you’ve thrown away the single best diagnostic clue.
- Ignoring a gate that has dropped or sagged. A quarter-inch of hinge sag in Whitney’s heat is often the real reason an operator arm stalls, and it’s missed entirely if you only look at the motor.
When to Call a Professional
Call a professional when the fault reaches the control board or motor, when you’re working around line voltage, or when the gate is heavy enough that a sudden release could hurt someone. Any high-tension arm, spring, or counterweight that fails under load is genuinely dangerous, so don’t put your hands in the linkage to “feel” for the problem. Also call if the fault is intermittent and you can’t isolate the trigger – that’s often a connector or board fault that needs a meter and a trained eye. Vance Gate Repair Whitney offers free estimates in Whitney and a free second opinion on any written estimate you’ve gotten from another company. Call (844) 797-4861.
Frequently Asked Questions
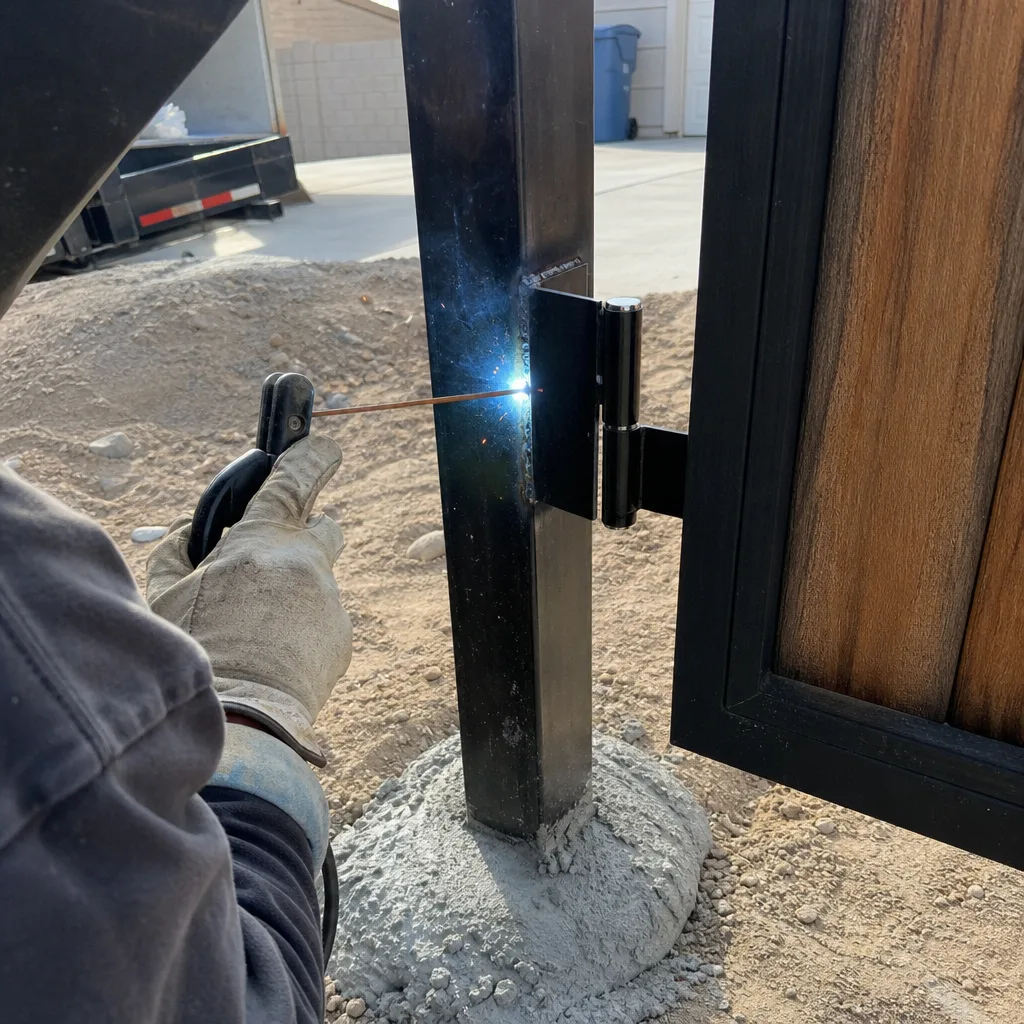
Most residential gate repairs in Whitney run somewhere in the hundreds of dollars depending on the fault – a sensor realignment or limit-switch reset sits at the low end, while a control board or motor replacement sits higher. We give you the flat price in writing before any work starts, so there’s no surprise invoice at the end. Call (844) 797-4861 for an exact quote.
A gate that won’t close is a safety and security concern we treat as urgent, and we do same-day repair on diagnosing faults like yours. A live person answers the phone around the clock, so call (844) 797-4861 and we’ll get a name and photo of your technician to you before arrival.
No – intermittent gate failures are almost never random. They’re triggered by heat, sun angle on the photo-eye, cold battery voltage, wind, or moisture, and they repeat under the same conditions. Track the time of day and weather when it happens, then call (844) 797-4861 so we can match the pattern to the fault.
The number of blinks between pauses tells you the fault category – fast even blinks usually mean the safety sensor, grouped blinks point to a board fault. On Linear, Viking, and Ghost Controls units the logic is the same. Write the count down before you power-cycle, then call (844) 797-4861 and read it to us.
Repair first – a motor is only dead once power, sensor, limit, and board checks all pass clean and the windings or capacitor fail. Since we service nine major automation brands, including Linear, Viking, and Ghost Controls, we can work on the motor already on your property rather than steer you to a replacement. Call (844) 797-4861 for an honest read.
Yes. Every completed repair is covered by our 365-Day Done Right Promise – if it isn’t right within that year, we make it right at no additional charge. You also get a written price before work begins and a photo record when we leave. Call (844) 797-4861 to schedule.
The Bottom Line
Troubleshooting a gate is a sequence, not a guess. Work power, then obstruction sensor, then limit switch, then control board, then motor – and stop at the first thing that fails. Read the blink code before it clears, take three voltage readings, and write down what the gate did and when. Those notes are the difference between a cheap fix and a motor you didn’t need. If the fault crosses into the board or motor, or the gate is heavy enough to be dangerous, that’s the moment to bring in a trained technician rather than force it.
If you’re in Whitney and the sequence has led you to the board or motor, don’t replace anything yet. Call Vance Gate Repair Whitney at (844) 797-4861 for a free estimate – you get a flat written price before any work starts, a background-checked technician whose name and photo reach you before arrival, and a documented photo record when the job is done.
Written by the team at Vance Gate Repair Whitney.