
Last updated November 18, 2026
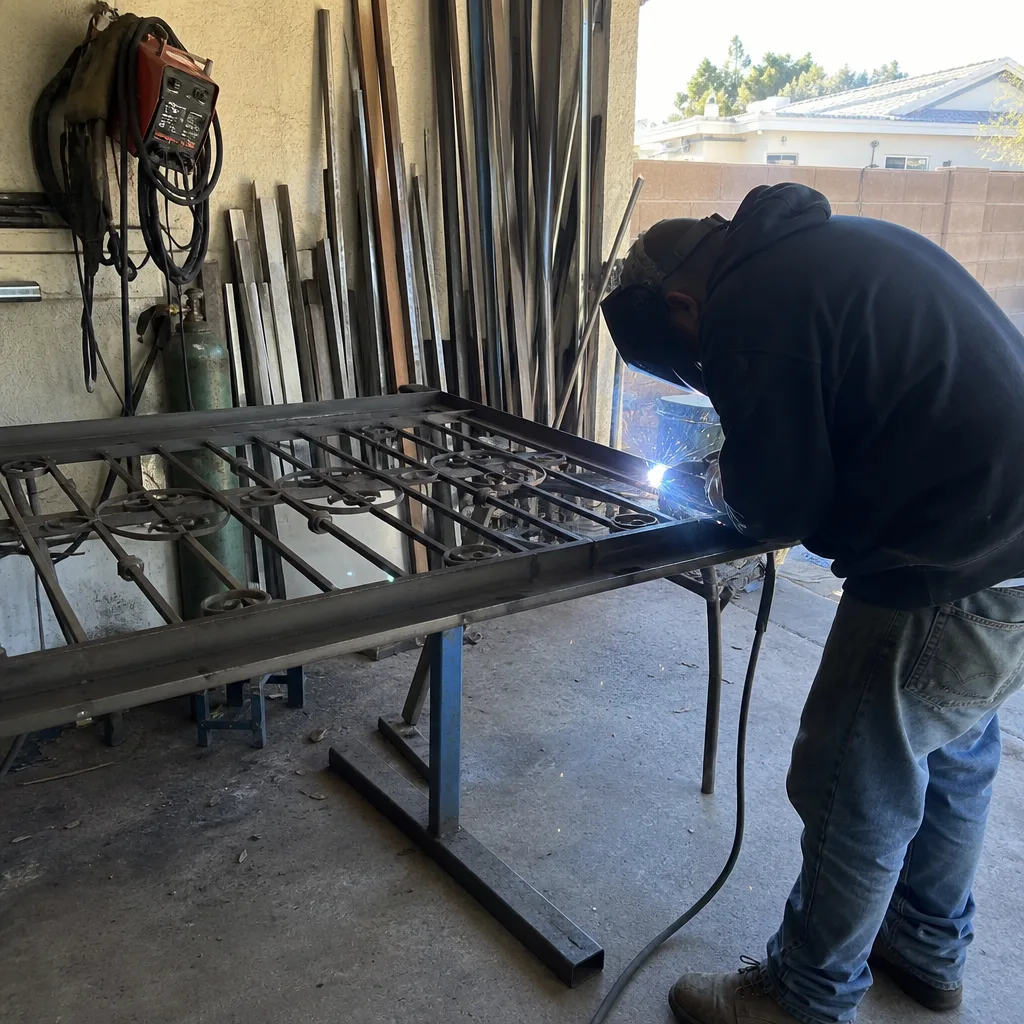
 Wrought iron
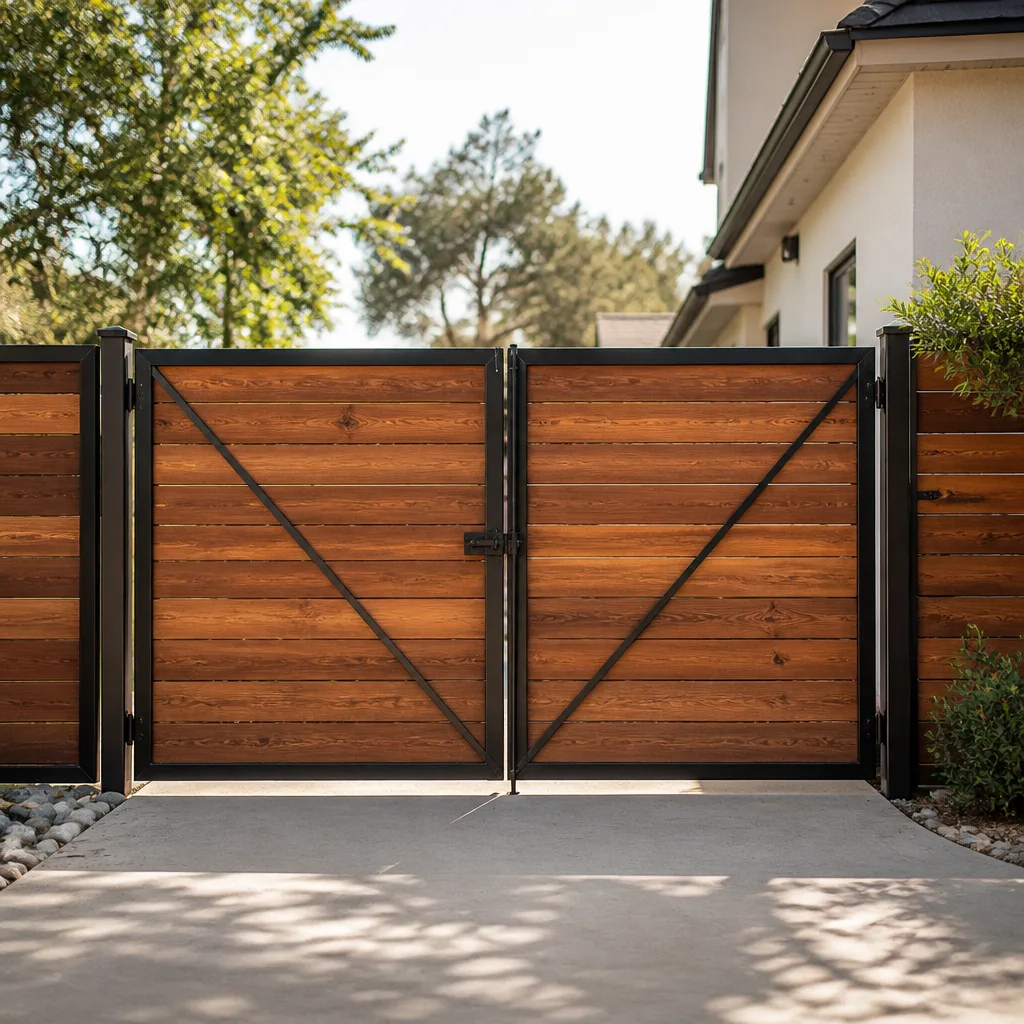 Wood & steel frame
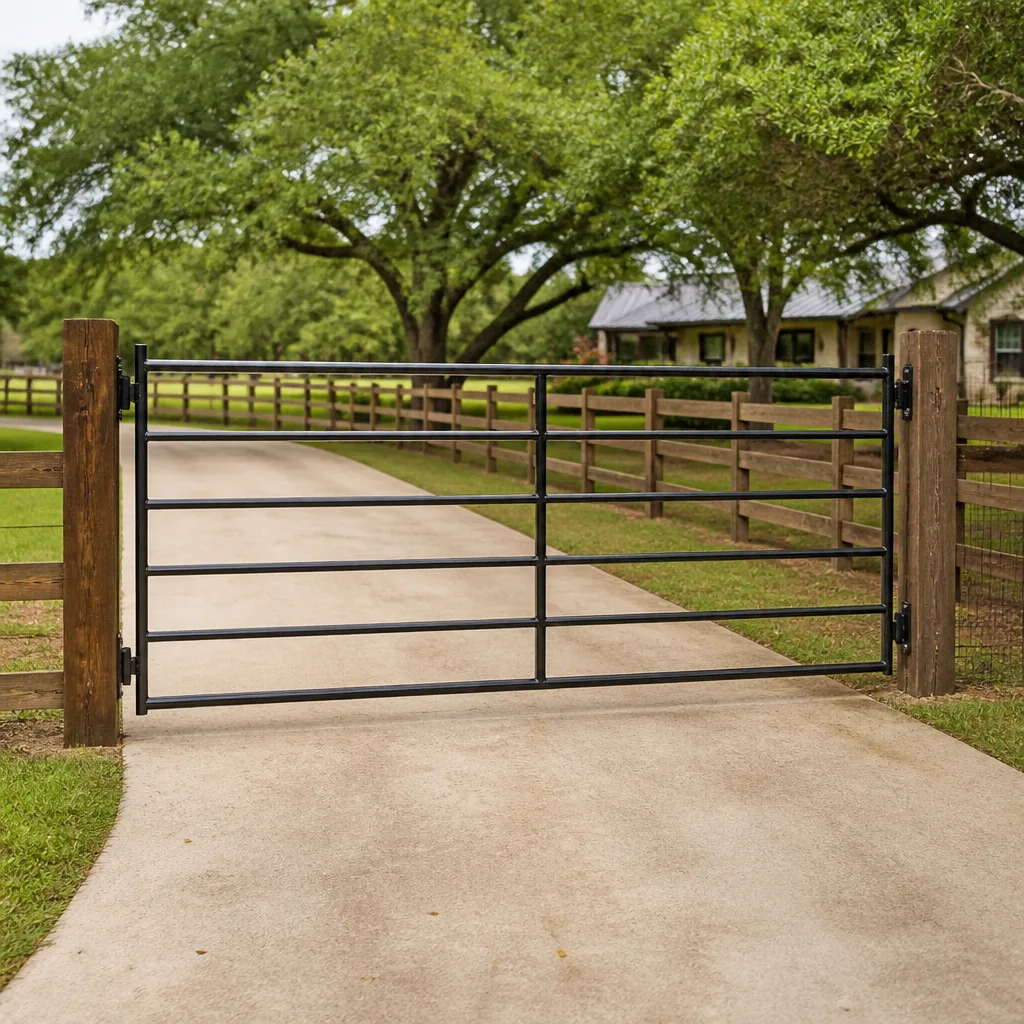 Farm & ranch
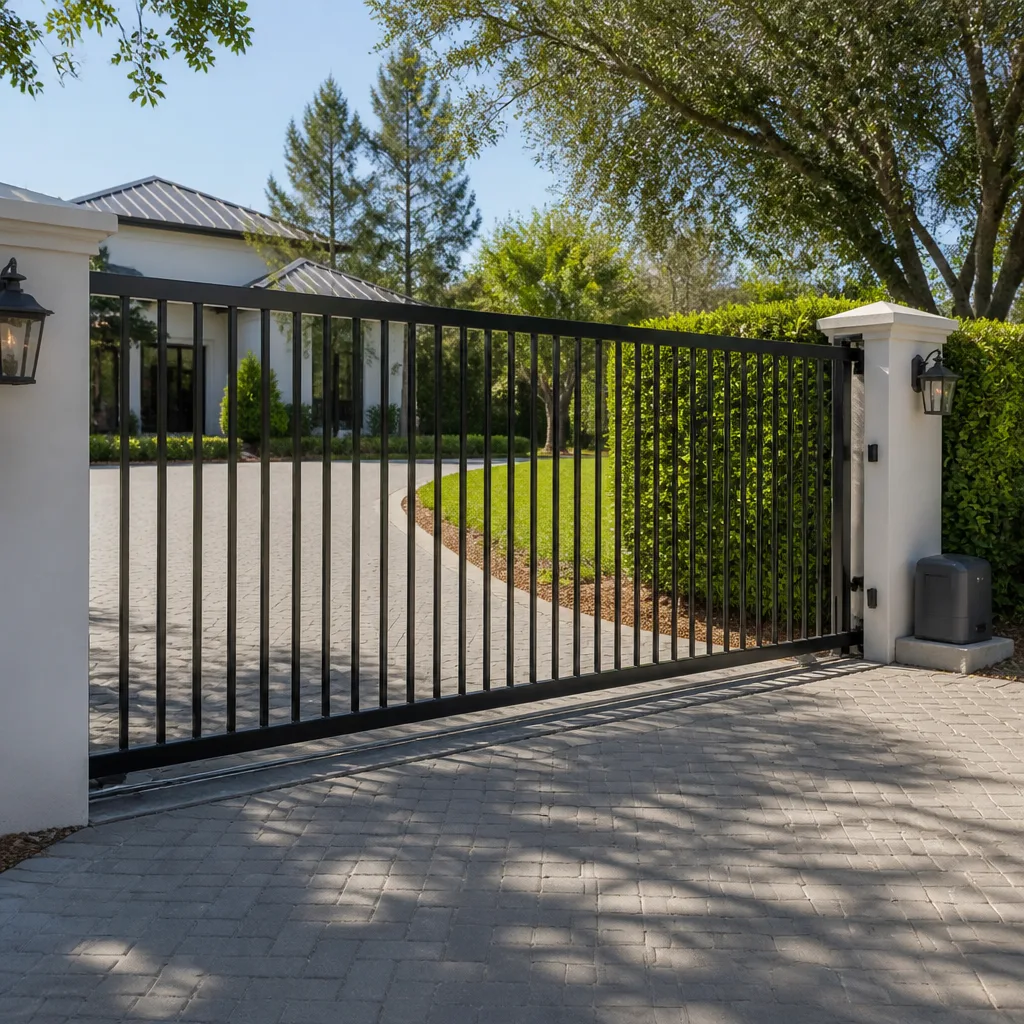 Sliding driveway gates
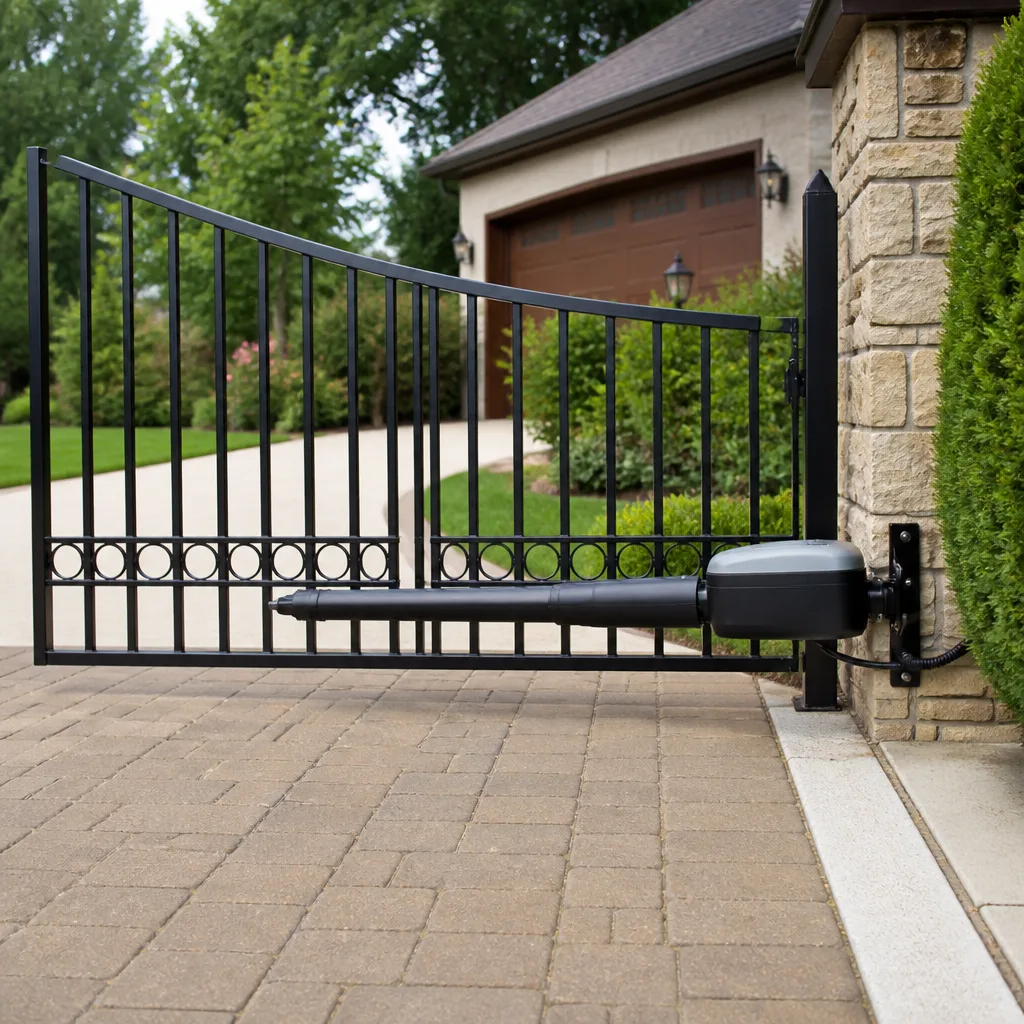 LiftMaster operators
Free on-site gate assessment - hinges, posts, and your LiftMaster or Nice gate operator checked before anything is quoted
The assessment is free and the quote is the invoice.
Get your free estimateDIY vs Professional Gate Access Control: What’s Safe to Do Yourself
Reprogramming a gate code is DIY. Rewiring the loop detector because the code stopped working is not, and confusing the two is how a $40 keypad reset turns into a $900 control-board replacement. We see this exact mistake play out on properties across Whitney more often than any other. The line between what you can safely handle and what needs a trained technician isn’t drawn by how handy you are. It’s drawn by whether the fix requires opening a licensed low-voltage circuit or whether it sits entirely on the user-interface layer. This guide walks through both layers, names the five access-control tasks where a do-it-yourself attempt most commonly creates a secondary failure, explains what Nevada’s low-voltage licensing rules mean for your liability, and gives you one decision rule you can apply before you pick up a screwdriver. By the end you’ll know precisely where the safe DIY line sits on your own gate in Whitney.
Quick Answer
On gate access control, most homeowners can safely handle the user-interface layer: changing entry codes, adding or deleting keypad users, pairing a phone app, and replacing remote batteries. Anything that requires opening the control box, reading a wiring diagram, calibrating a loop detector, or reconfiguring a relay belongs to a licensed professional. The dividing line is the circuit board, not your confidence level. If the fix means the enclosure comes off, it’s a technician’s job.
Styles & brands we work with
- Wrought iron
- Wood & steel frame
- Farm & ranch
- Sliding driveway gates
- LiftMaster operators
Table of Contents
- What counts as the user-interface layer
- What counts as the control layer
- The five DIY tasks that create secondary failures
- How to safely factory-reset a keypad
- Nevada low-voltage licensing and homeowner liability
- The decision rule: if it needs a wiring diagram, it needs a technician
- Why Whitney conditions change the equation
- When to call a professional
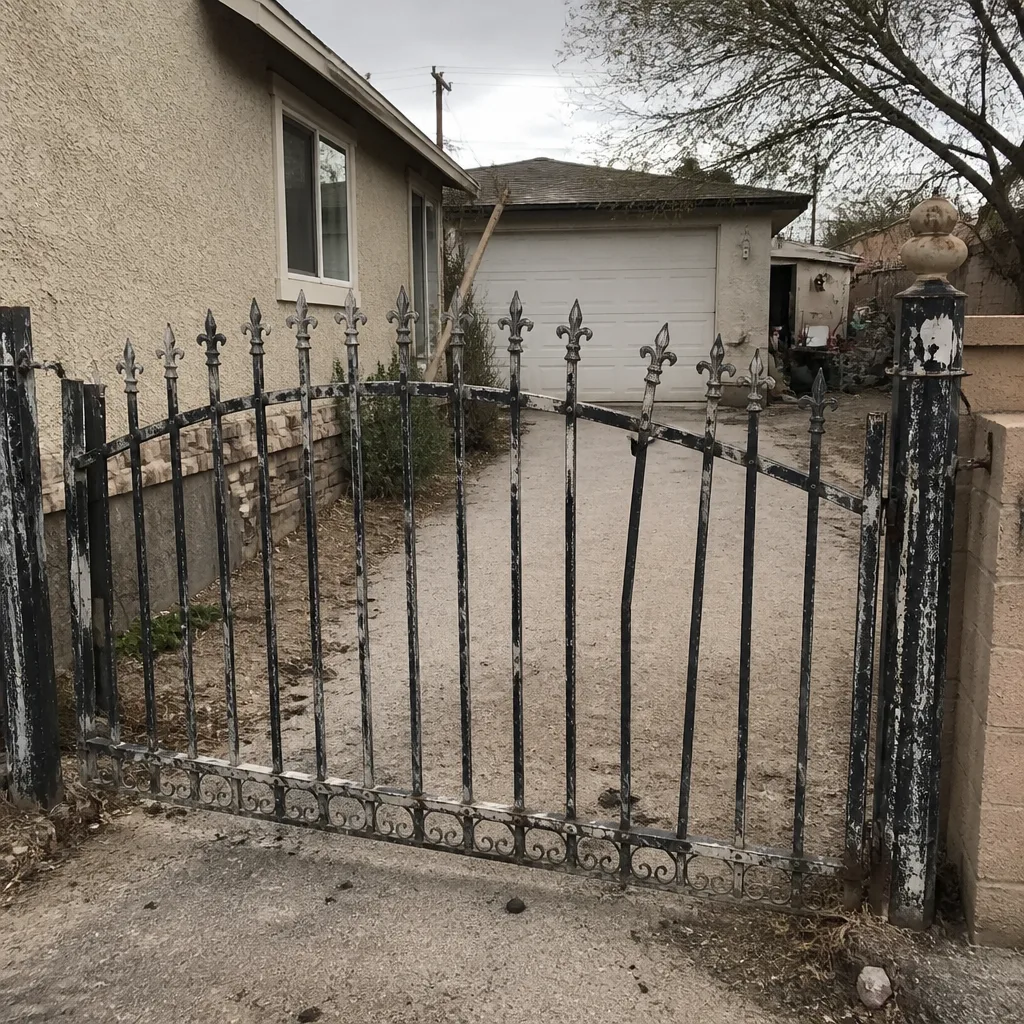 Before
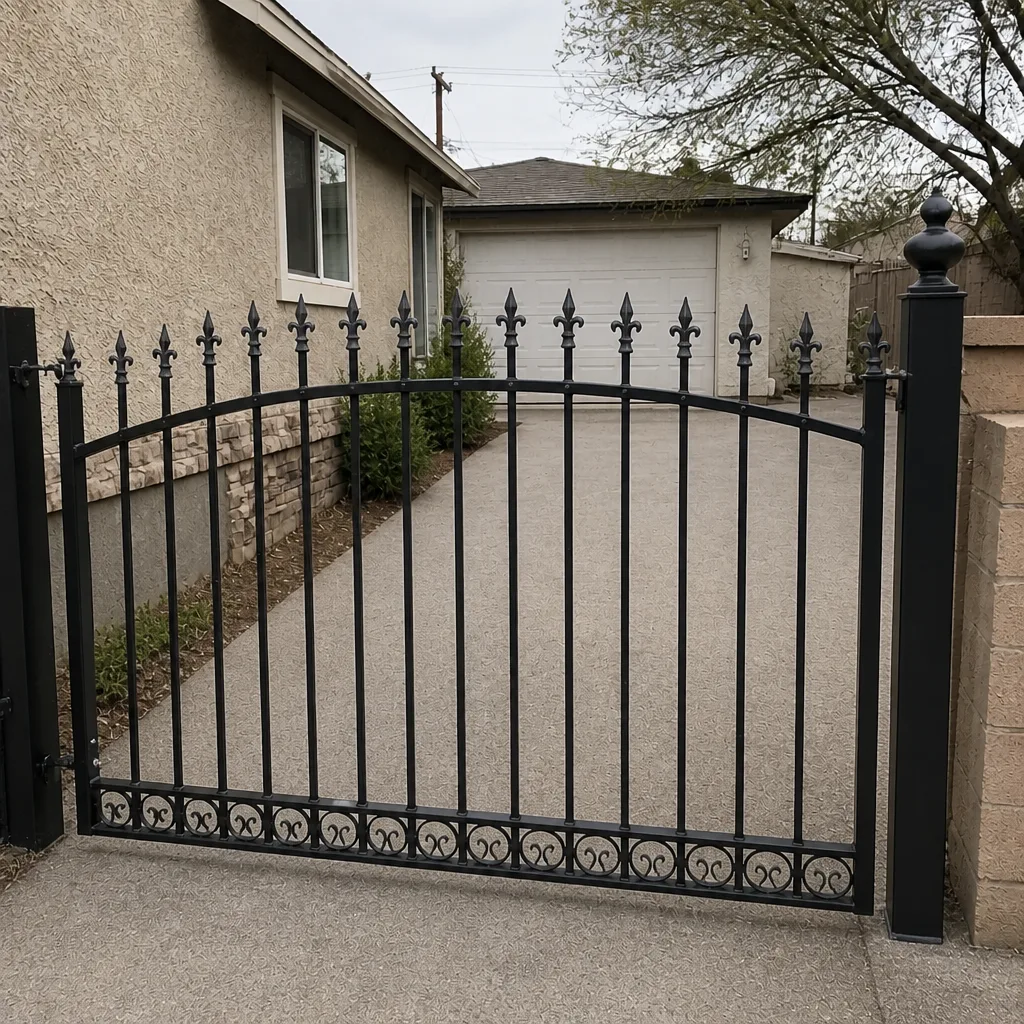 After
What Counts as the User-Interface Layer
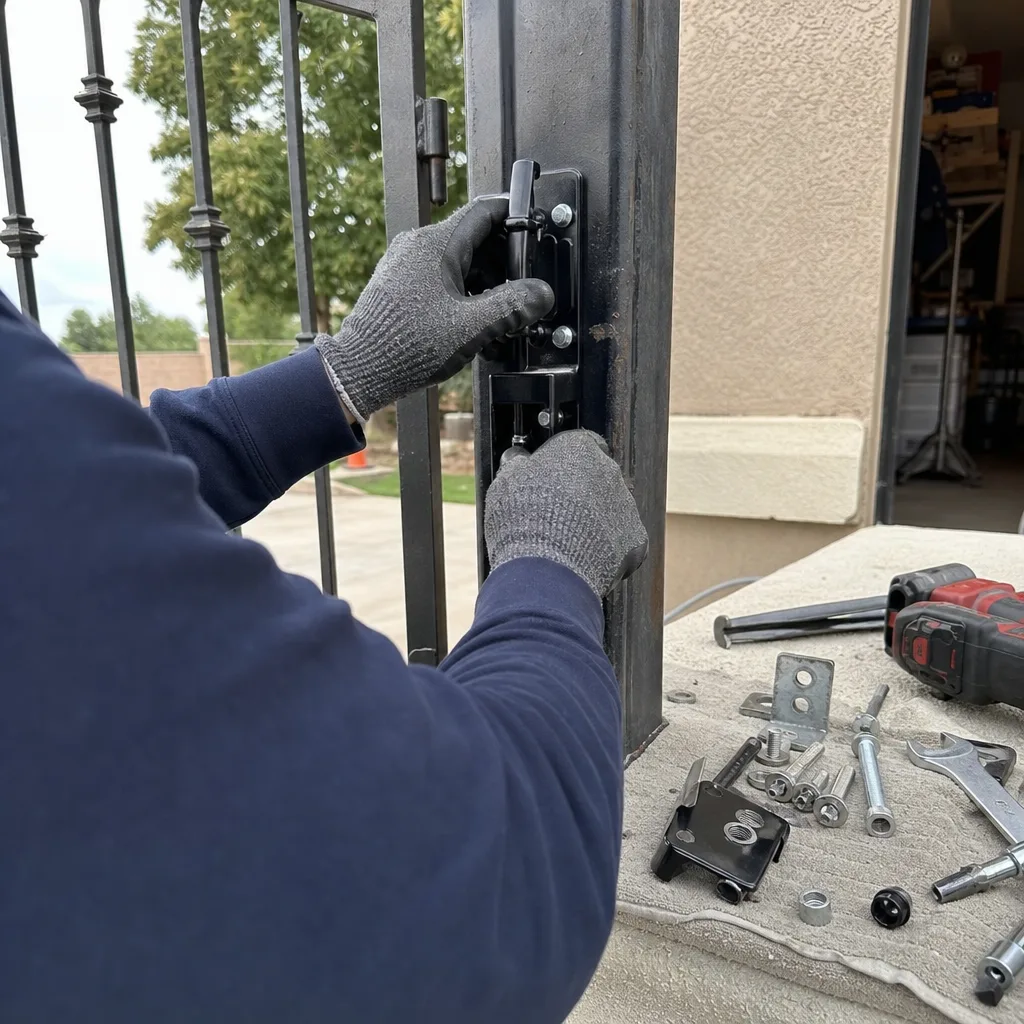
The user-interface layer is everything the gate lets a person touch, either physically or through an app, without exposing the electronics that run the motor. It’s the surface of access control: the keypad on the post, the remotes in your car, the fob on your neighbor’s keyring, the phone app that opens the gate from the driveway. You interact with this layer every day, and almost all of it is fair game for a homeowner with the manual in hand.
Concrete examples of the user-interface layer:
- Changing the four- or six-digit master code on a keypad.
- Adding or deleting a specific user code, which is what you do when a contractor stops working for you.
- Pairing a smartphone app to a Wi-Fi-enabled operator, or unpairing an old phone you no longer use.
- Replacing the battery in a remote or a key fob.
- Setting a temporary “one-time use” code for a delivery or a guest, if your keypad supports it.
- Locking or unlocking a keypad’s programming mode from the face of the unit.
None of these require breaking a seal, removing the cover from the operator housing, or touching a terminal. They also don’t void anything. On the DoorKing and LiftMaster keypads we service most often, the user manual spells out every one of these operations in a few pages, and the manufacturer expects the homeowner to run them. If the manual was lost, most brands publish the current PDF on their website, and we’ll point you toward the right model number if you call.
The user-interface layer has one real risk: leaving a code active that shouldn’t be. When a tenant moves out or a housecleaner stops coming, deleting their code is a DIY task worth doing the same day. That’s the kind of task we encourage people to handle themselves.
What Counts as the Control Layer
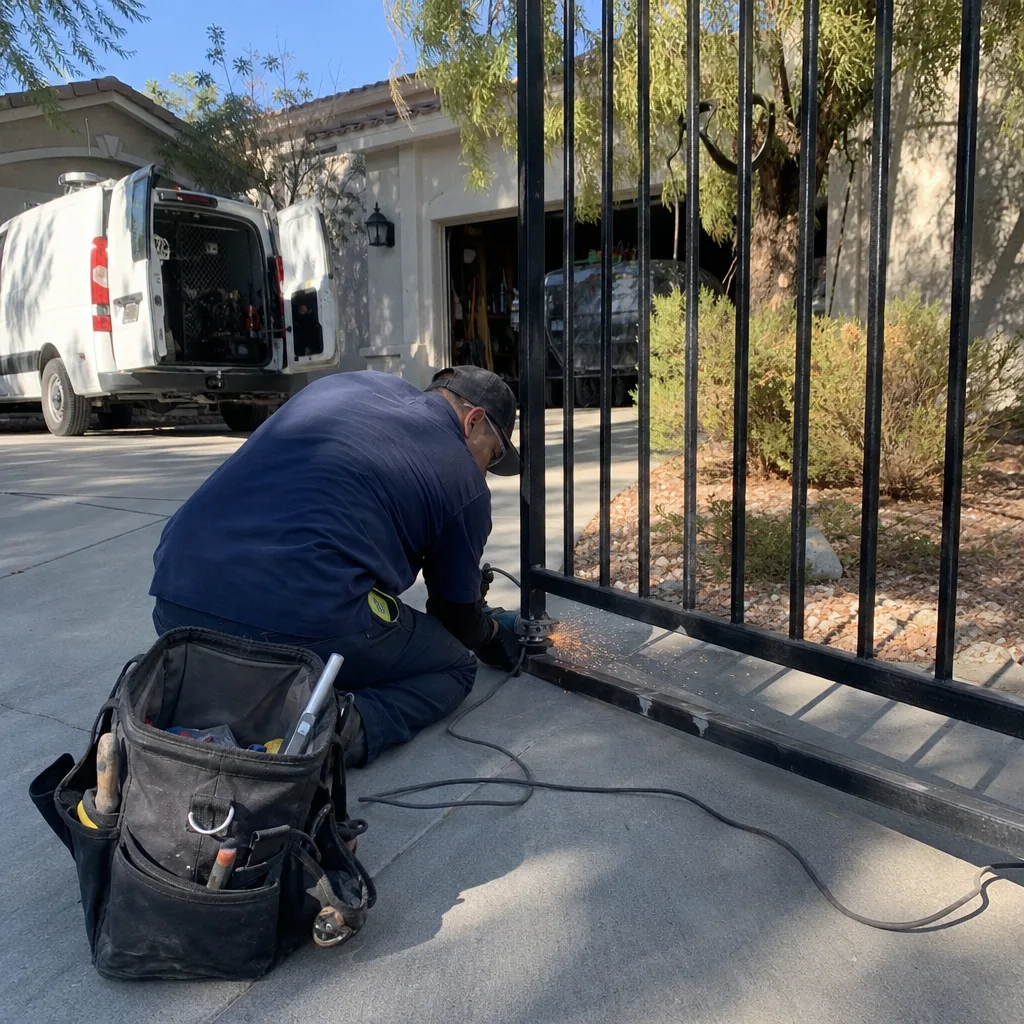
The control layer is everything behind the keypad face: the printed circuit board, the terminal strip where every wire lands, the relays that decide whether the gate opens or stays shut, the safety edges, and the loop detector buried in the driveway that tells the gate a car is there. This is a licensed low-voltage electrical system, and it’s where the real money lives.
The control layer includes:
- Terminal wiring between the keypad, the operator, the safety edges, and the loop.
- Relay configuration, which sets which input triggers which output. A single wrong jumper can make the gate behave backwards.
- Loop detector calibration, which involves tuning sensitivity so the gate can tell a bicycle from a truck.
- Safety-edge alignment, which is both a code requirement and the difference between a gate that stops and a gate that doesn’t.
- Fuse replacement inside the operator housing, which sounds simple until the reason the fuse blew turns out to be a short you didn’t know about.
The gap between the layers is bigger than it looks from the driveway. A client in Whitney called us after her gate keypad stopped accepting codes. She’d tried reprogramming the keypad three times, following the manual correctly each time. The actual problem was a misaligned photo-eye (the infrared beam that stops the gate if something crosses the path) that had drifted about two inches when the post settled. The keypad was fine. Her codes were never the issue. This is exactly the pivot we see most: a symptom that lives on the user-interface layer, caused by a fault on the control layer. When you misdiagnose that pivot and force a workaround on the keypad, you’re pushing buttons to fix a beam.
The Five DIY Tasks That Create Secondary Failures
Not every DIY attempt on a gate fails. The problem is the failures that don’t fail cleanly. A bad repair on a control layer doesn’t just not work; it commonly takes out something adjacent. These are the five we’ve watched do the most damage. Every one of them costs more than the original repair would have.
- Rewiring a loop detector without recalibrating it. A loop detector is a wire coil set into the driveway. It reads metal via an induced field, and the detector board has to be tuned to the size and height of the loop. If you rewire the loop and don’t recalibrate, you get ghost openings (the gate opens when no one’s there) or phantom closures (the gate shuts on a car). Fixing that costs more than the loop install did, because now we’re diagnosing a moving target.
- Replacing a keypad on live terminals without killing power. We’ve seen three separate gate boards in Whitney with blown input protection because someone swapped a keypad and let the supply wire brush the ground lug. The keypad was $60. The board was $600.
- Adjusting safety-edge sensitivity to make the gate “work again.” When a safety edge keeps tripping, the temptation is to widen the tolerance so it stops complaining. That removes the exact thing that protects a child from being caught. It also voids most manufacturers’ warranty language on the operator.
- Jumper-wiring a new remote receiver into an existing operator. Mismatching which terminal is common and which is normally-open will physically backfeed the operator’s logic board. Sometimes it works for a week. The secondary failure arrives after the holiday weekend.
- Flipping a dip switch to match a neighbor’s remote. This is a real thing people do. The result is usually a gate that opens for the wrong property, or a code collision that randomly locks out the correct remotes. Sorting it out requires reading the operator manual page by page.
The pattern is the same in every case: the homeowner fixes the thing they can see and doesn’t realize they’ve now created a fault on the thing they can’t. On a LiftMaster or Elite board especially, the electronics downstream of an input don’t match the cost of the parts you’re actually working on.
How to Safely Factory-Reset a Keypad
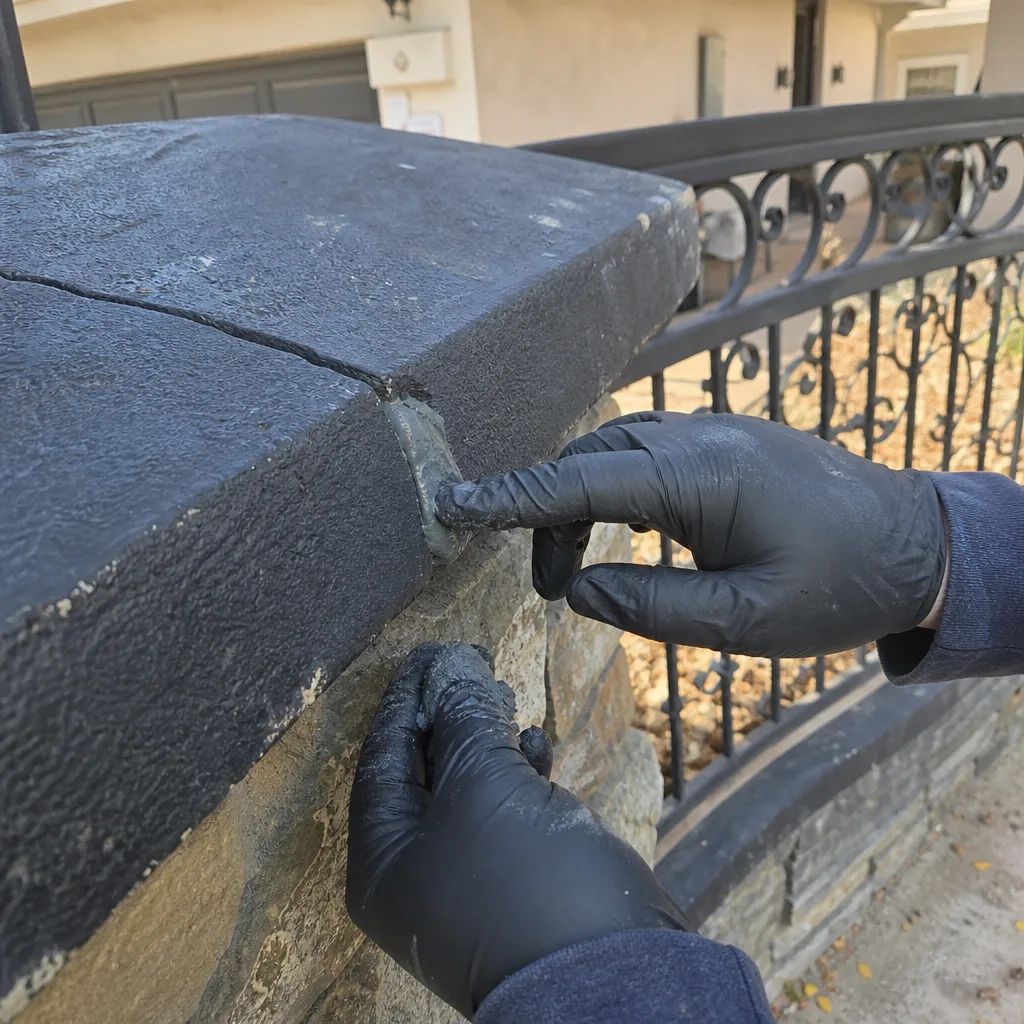
A factory reset is the most common legitimate DIY task on gate access control, and it’s the one we’re most often asked to explain over the phone. It’s safe when the scope stays on the keypad face: erasing user codes and restoring the manufacturer defaults. It’s not safe when the reset requires opening the operator housing. Here’s the safe sequence, using the general approach that covers most DoorKing and LiftMaster keypads. Check your specific manual before you start, because the button locations differ by model.
- Write down every code you still need before you erase anything. A reset wipes all of them, including yours. Most people forget this step.
- Open the keypad access door only. Not the operator housing. If the reset procedure requires removing the operator cover, stop and call us. You’re on the control layer now.
- Enter the master code, then press the programming button (usually labeled P or PROG, and usually recessed behind the face). The keypad will flash, beep, or both to confirm it’s in programming mode.
- Follow the manufacturer’s reset sequence for your model. On many units this is a specific button hold for a set number of seconds, or a code entry like “9 9 9 9 #” followed by the reset key. Confirm the exact step from the manual. Don’t guess.
- Wait for the full reset chime or the LED to return to its resting state, then re-enter your master code and each user code you want back. Test with the gate in manual mode if the operator has that option. If you can avoid cycling the gate with a car in the path, do.
- Test from the keypad, then from a remote. If the keypad works but the remotes don’t, stop. You’ve created a receiver problem, and that’s control layer.
Two rules keep this safe. First, power to the keypad stays on unless the manual explicitly says to cut it. Second, if the reset doesn’t work on the first try, don’t run it twice. A factory reset that fails is a diagnosis, not a fix. A second attempt usually just locks the keypad out. If you see that pattern, you’re looking at a control-layer fault wearing a user-interface mask, and it’s time to book a service visit.
Nevada Low-Voltage Licensing and Homeowner Liability
Nevada treats gate access-control wiring as low-voltage electrical work, and low-voltage work on a gate operator is licensed for a reason. It connects to line voltage at the operator, it drives the safety devices that protect people from a moving barrier, and it can be inspected. A homeowner can work on their own property in many cases, but there’s a liability layer most people don’t consider until something goes wrong.
Here’s the practical shape of it. If an unlicensed wiring change precedes an injury on your gate, the insurance adjuster’s first question is who made the change and whether the device was installed to code. A documented, licensed install answers that question in one sentence. An undocumented homeowner fix does not. In our experience in Whitney, the issue that actually surfaces is safety-edge defeat, because a gate owner who’s frustrated with nuisance trips will sometimes disable the edge. If a guest or a worker is injured by a gate whose safety edge was disabled, that’s not a warranty question, it’s a liability question, and the property owner is standing on the wrong side of it.
Nevada’s low-voltage licensing requirements also apply to the business doing the work, not just the individual. A licensed gate contractor carries the insurance and the bonding that a homeowner’s policy needs to point to when a repair goes sideways. That’s a big part of why we insist on the documentation side of every job: our techs photograph every adjustment, log every limit-switch reading, and leave a written record of which part numbers went in. If a future technician, an inspector, or an insurer asks what happened, that record is the answer.
The layer that keeps this simple is the one you already know: the keypad face is yours. The terminal strip is ours. That line is a legal and safety line, not a sales pitch.
The Decision Rule: If It Needs a Wiring Diagram, It Needs a Technician
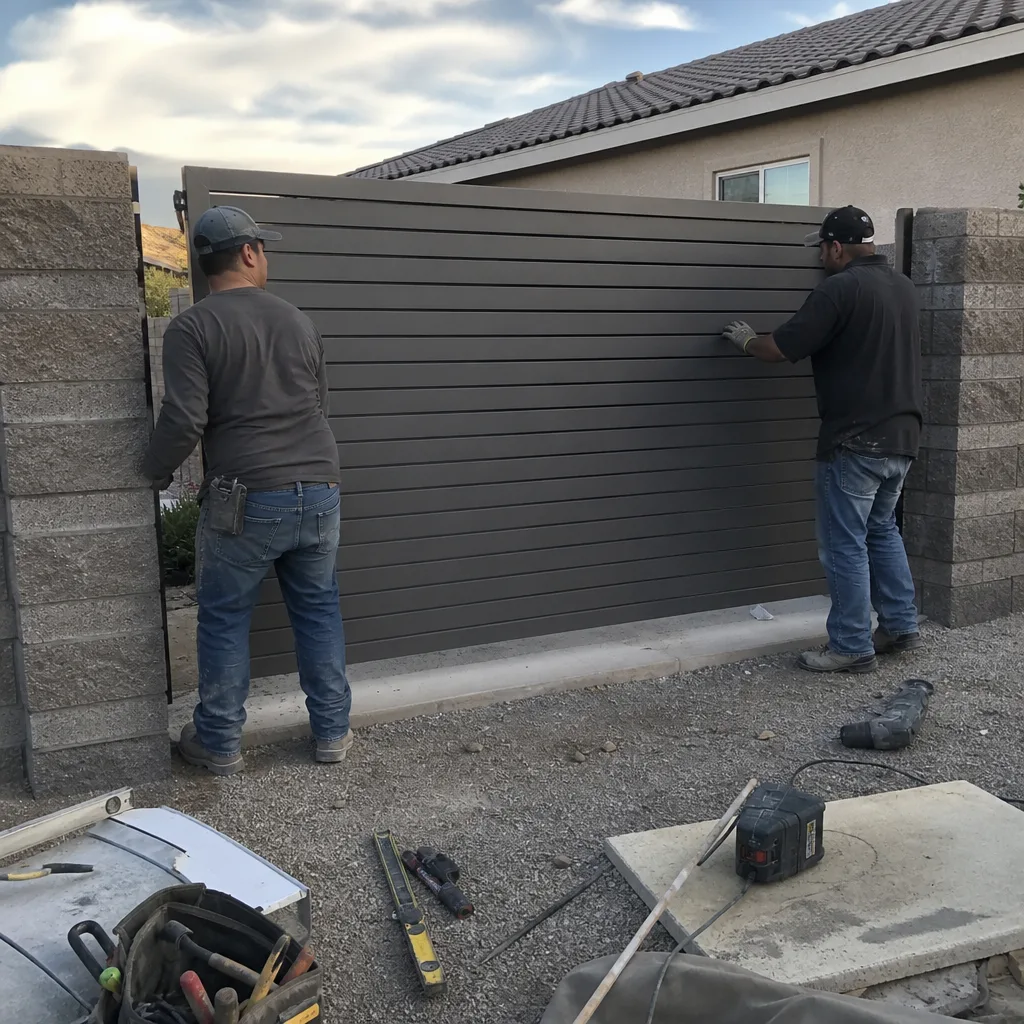
We give one decision rule to every homeowner who calls us with a gate access-control problem, and it’s the single most useful thing in this guide. If the fix requires reading a wiring diagram, it requires a technician. That’s it. No exceptions, no “just this once.” The diagram is the dividing line between you and a licensed low-voltage professional because the moment you’re looking at a diagram, you’re looking at the interconnections between the parts of the system. The interconnections are what fail in a secondary way.
Here’s what the rule looks like in practice. A code change is a decision-rule “no.” You’re not looking at a diagram. A remote re-pair is a “no.” You’re pressing buttons and watching an LED. A keypad factory reset is a “no,” as long as you stay on the keypad face. A limit-switch adjustment is a “yes.” You’re reading a travel specification and setting a physical stop. A loop detector recalibration is a “yes.” A relay swap is a “yes.” Any time the operator housing has to be opened, it’s a yes.
The rule is deliberately blunt because the failure mode isn’t the confident DIYer, it’s the cautious one. The confident DIYer usually asks us to come fix the secondary damage. The cautious one tries the fix on the safe side of the line, then tries the fix one step over the line, then gives up and calls us after two weeks of symptoms. The rule is designed to stop the second attempt, not the first.
If you have to decide between guessing and confirming, confirming is free. We do free second opinions on any written estimate you bring us from another company; you hand us the paperwork and we’ll read it through at no charge. That’s Haven Standard Clause 1 in action: written price before work, no exceptions.
Why Whitney Conditions Change the Equation
Whitney sits in the Las Vegas Valley, and the conditions here put specific stress on gate access-control hardware. The swing from triple-digit summer afternoons to cool winter mornings moves metal more than most of the country sees. That movement is exactly what shifts a photo-eye out of alignment or drifts a limit switch off its set point. A gate that was perfectly calibrated in April often needs a limit-switch reading re-verified by September. If you’ve noticed your gate letting a car through when it shouldn’t, or catching a car it should be letting through, the cause is often not the electronics. It’s the frame and the post moving around them.
Dust is the other local factor. Driveway grit in this valley works its way into keypad gaskets and operator enclosures faster than in wetter climates. A keypad that fails intermittently in Whitney is often a keypad with grit in the contact area, not a keypad that needs replacing. We see this most on properties where the gate faces an unpaved lot or a construction entrance. When you factor in summer heat radiating off the gate steel, keypad surface temperatures get high enough that some LCD displays slow or disappear for a few seconds, which reads as a dead keypad to a homeowner. It’s usually not.
None of this changes the DIY line. It does raise the stakes on getting the safety-edge and loop settings verified on a schedule rather than waiting for a fault. A quick check of the gate’s cycle behavior once a season is a cheap habit. A gate that’s been tripping the safety edge for a month is a call to us, because what’s usually happened is the edge has been defeated on the operator and nobody’s noticed.
Common Mistakes to Avoid
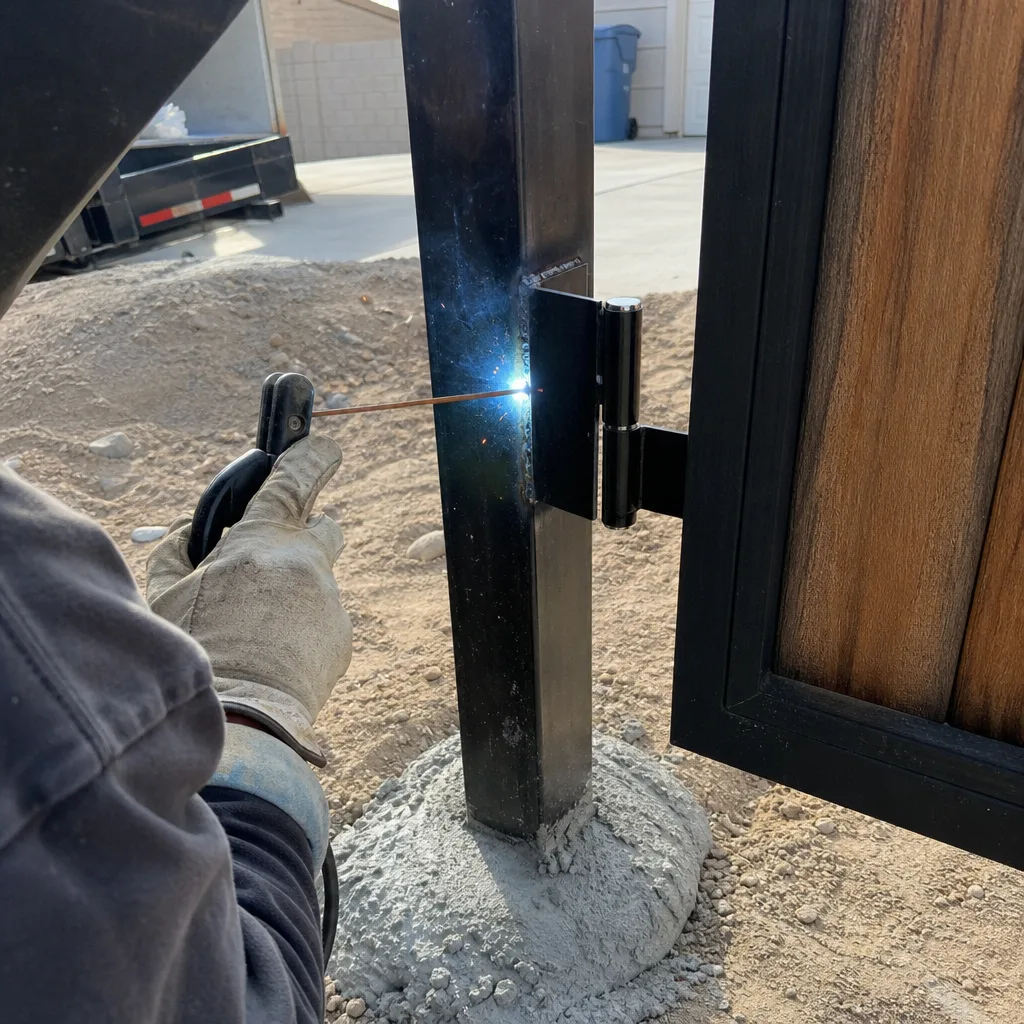
- Assuming a symptom and a cause are on the same layer. A keypad that stops working is a control-layer problem roughly as often as it’s a user-interface one. Test the safe side first before you conclude the keypad died.
- Opening the operator housing to “have a look.” The interior of a gate operator holds line voltage terminals alongside low-voltage ones, and the safety edges are wired through there. A look is not free. Every year we service Whitney boards where a look became a short.
- Widening safety-edge sensitivity to stop nuisance trips. This disables the exact device that protects a child or a pet from being caught. The right move is calibrating the edge, not deadening it.
- Rewiring a loop detector and skipping the recalibration. A rewired loop will “work” in the sense that the gate opens. It won’t work in the sense of opening for the right vehicle, and the secondary failure is often a month later.
- Running a keypad factory reset twice. If the first reset fails, a second attempt usually locks the keypad out and adds a diagnostic problem to the original one. One attempt, then call.
- Buying a replacement operator before confirming the wiring. On a Mighty Mule or a Linear, the operator is often fine and the wiring between keypad and operator isn’t. Fixing the wiring is a fraction of the cost of replacing the motor.
- Trusting a verbal estimate. In our experience the most expensive gate repairs in Whitney are the ones that start with an estimate nobody wrote down. A written price before work starts is what lets you hold anyone, including us, to a number.
When to Call a Professional
Call us when the fix requires opening the operator housing, reading a wiring diagram, calibrating a loop detector, reconfiguring a relay, or touching the safety edges. Call us when a keypad reset fails on the first attempt, when one remote works and another doesn’t, or when the gate opens or closes without a command. Call us when the gate has been tripping its safety edge for more than a few days, because that usually means the edge has been defeated and the gate is cycling without its primary protection. Call us before you buy a replacement operator. On nine gate-automation brands, including LiftMaster, DoorKing, Elite, and Mighty Mule, repairing what’s already on the property is usually the cheaper answer than replacing it. Gate motor and opener service in Whitney covers the full repair scope. Vance Gate Repair Whitney offers free estimates in Whitney, call (844) 797-4861 and a live person will answer at any hour. If you already have a written estimate from another company, bring it in and we’ll review it free.
Frequently Asked Questions
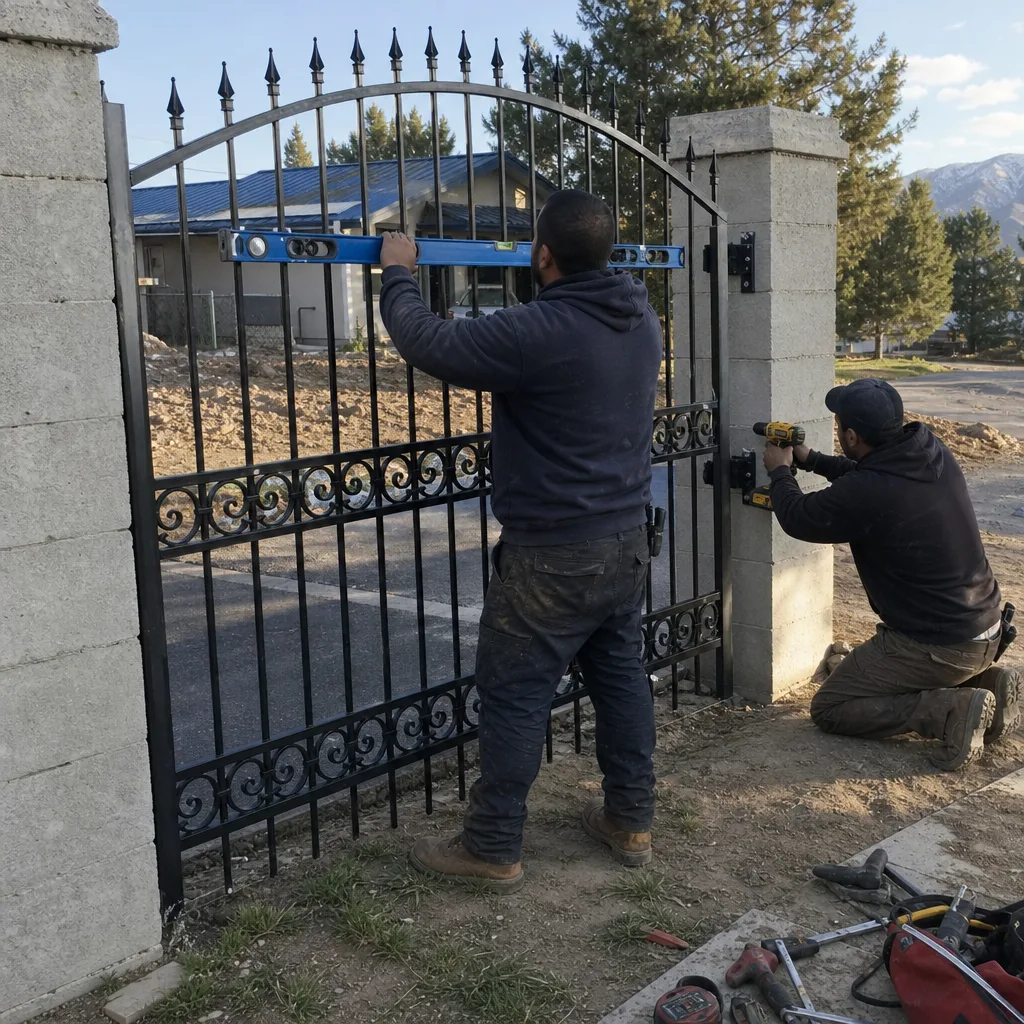
You can reprogram your own gate keypad in almost all cases, as long as the work stays on the keypad face and doesn’t require opening the operator housing. Changing master codes, adding user codes, deleting a code when a contractor leaves, and pairing a phone app are all homeowner-level tasks. The moment the fix calls for a wiring diagram or the operator cover comes off, that’s a technician’s job. Call (844) 797-4861 if you’re not sure which side of that line you’re on.
In Whitney, a keypad code reset runs a low one-time service call charge, a keypad replacement more, and a control-board or loop detector repair more still. Exact price depends on brand, whether the arm bracket and wiring are intact, and how much diagnostic time the fault takes. We write the flat price down and hand it to you before any work starts, so the number you agree to is the number you pay. Call (844) 797-4861 for a written estimate; it’s free.
Yes. In Whitney the most common cause of a gate keypad that rejects codes is a misaligned photo-eye, not a failed keypad. The post moves as the ground shifts, the beam drifts a couple of inches out of line, and the operator refuses to open, which a homeowner reads as a keypad fault. A second common cause is a limit switch that has drifted out of its set position. Both are control-layer faults, and both show up as user-interface symptoms.
Nevada treats gate access-control wiring as licensed low-voltage electrical work. A homeowner can make many changes on their own property, but if an unlicensed change precedes an injury on your gate, your insurance adjuster will treat that as a liability question rather than a warranty one. The safer posture is to keep everything that touches the terminal strip on a licensed contractor’s side of the line. The keypad face remains yours.
Often, yes. Repair visits on keypads, photo-eyes, limit switches, loop detectors, and motors are usually scheduled the same day in Whitney when we have parts for the brand. New gate installation and operator replacement are measured, ordered, and scheduled rather than same-day, because the price depends on parts on the property. Call (844) 797-4861 and we’ll tell you what’s realistic for your address; the written estimate is free either way.
Yes. On new installs and operator replacements we handle the power run, the safety-edge alignment, the loop detector calibration, and the written documentation of the wiring at the operator. If you’re already working with another company on an estimate, gate installation in Whitney covers the full install scope, and we’ll review their written estimate at no charge before you commit.
The Bottom Line
The DIY line in gate access control isn’t your skill level, it’s the layer. The user-interface side, meaning codes, fobs, app pairing, and keypad factory resets, is yours to run, and doing it yourself is often the cheapest and fastest path. The control side, meaning board wiring, relay configuration, loop detector calibration, and safety edges, belongs to a licensed low-voltage professional, and skipping that step is how a small fix becomes a board replacement. If you’re reading a wiring diagram, you’ve already crossed the line. Call Vance Gate Repair Whitney at (844) 797-4861 for a free written estimate before you start. Every job is priced in writing before a tool comes out, and every visit leaves a photographed record of what was found and what was changed.
To see the full home-service picture of what we do, start at the Vance Gate Repair Whitney home page, and if you suspect your gate needs a straightforward repair rather than an access-control fix, gate repair in Whitney is the right page for the scope.
Contact
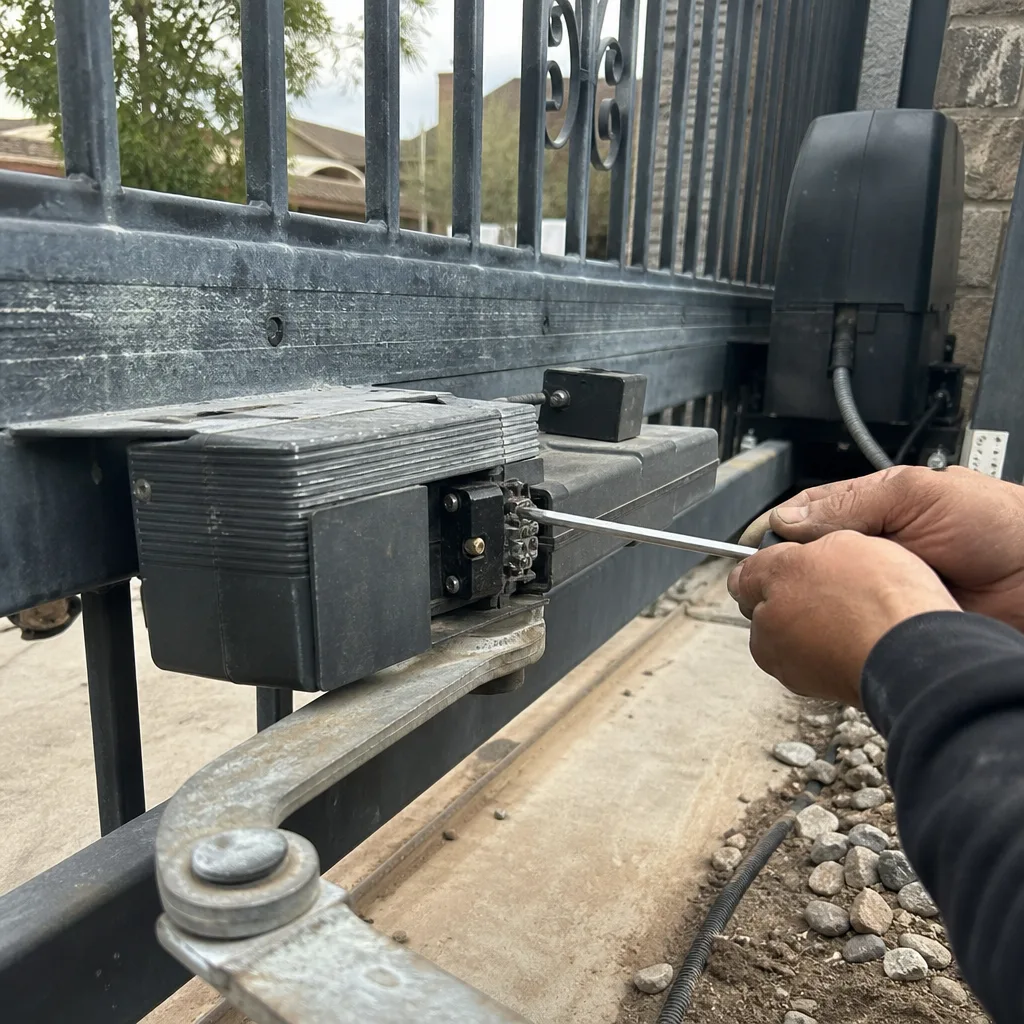
If your gate is doing something you can’t explain on the safe side of the line, call (844) 797-4861 for a free estimate. A live person answers at any hour, the written price is in your hands before any work starts, and every repair carries the 365-Day Done Right Promise. That’s The Haven Standard: the price in writing, the evidence on every job, and the repair made right if it isn’t.
Written by the team at Vance Gate Repair Whitney.
See the difference
BeforeAfter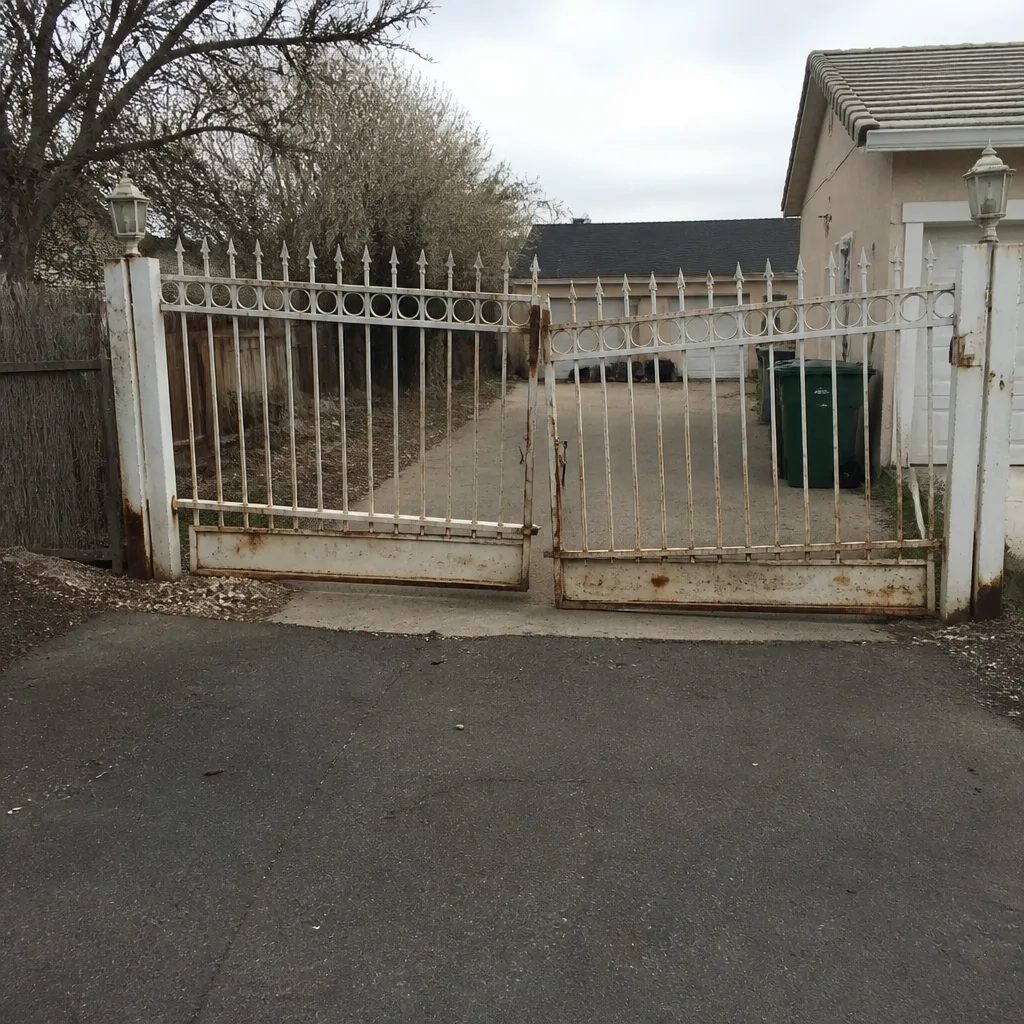 Before
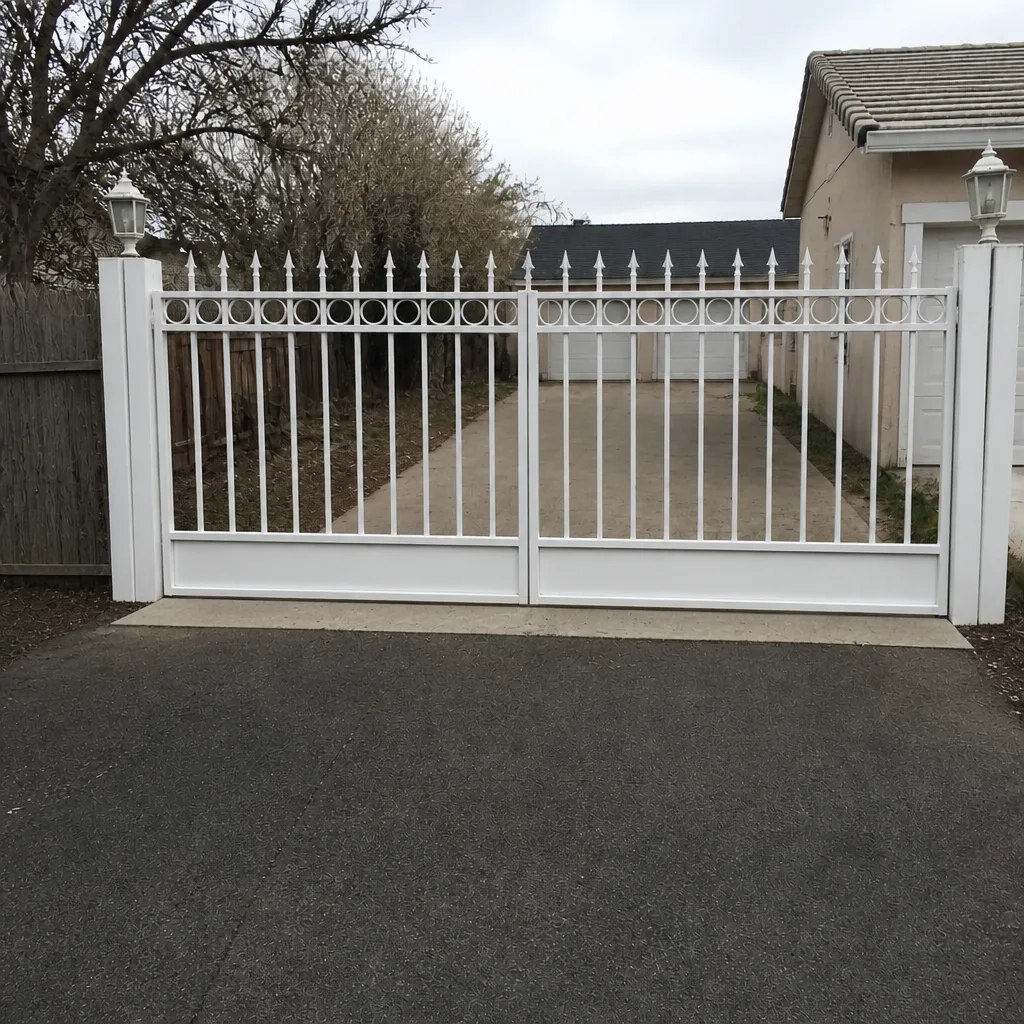 After
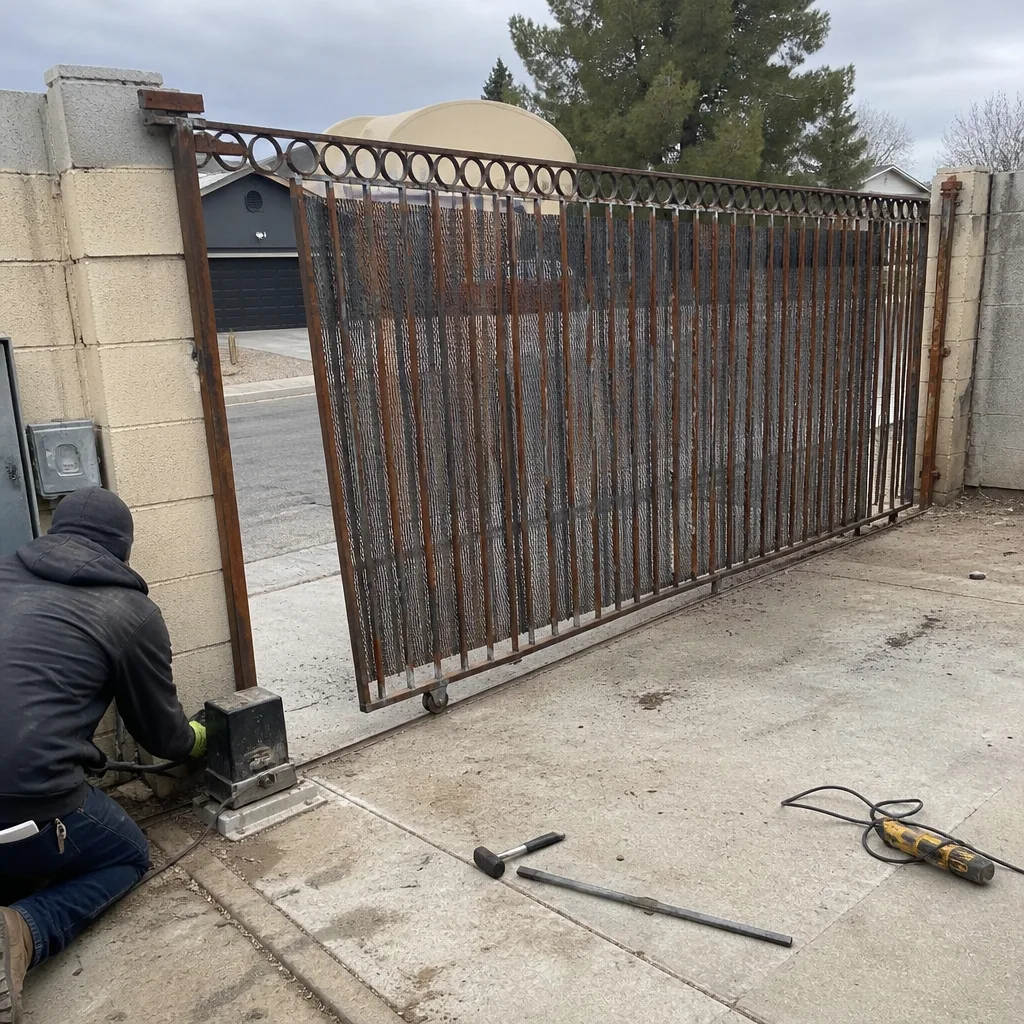 Before
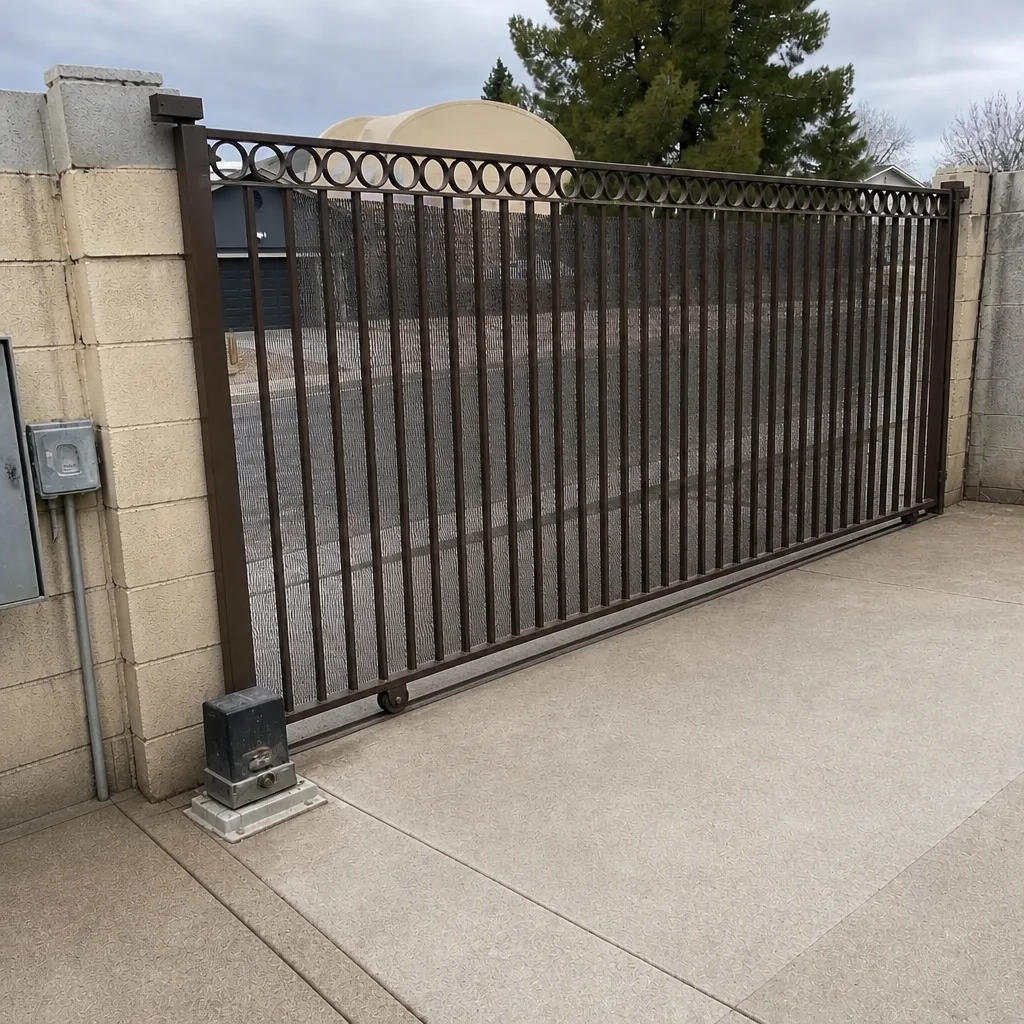 After