
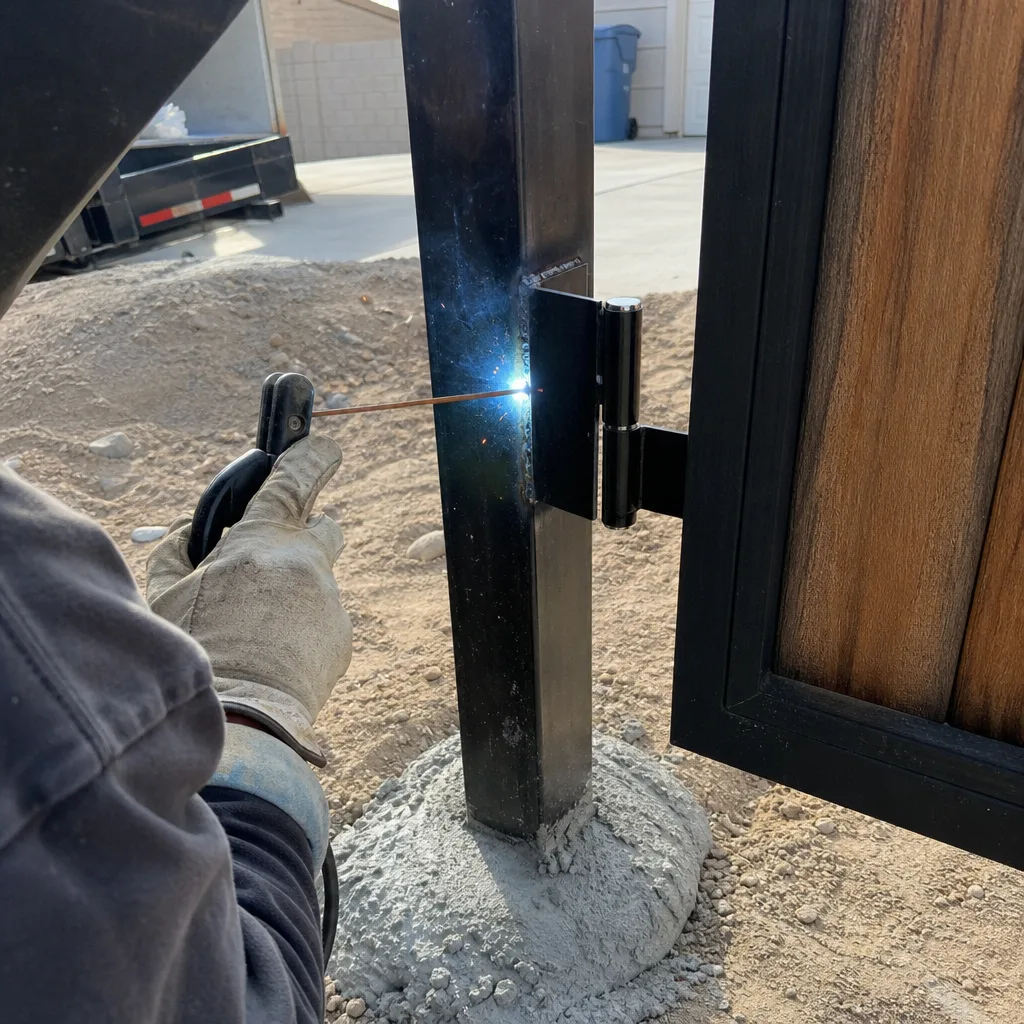
Last updated November 18, 2026
 Wrought iron
 Wood & steel frame
 Farm & ranch
 Sliding driveway gates
 LiftMaster operators
Free on-site gate assessment - hinges, posts, and your LiftMaster or Nice gate operator checked before anything is quoted
The assessment is free and the quote is the invoice.
Get your free estimateGate Parts & Welding Troubleshooting: Common Problems and How to Fix Them
A gate that grinds when it closes isn’t a latch problem. It’s almost always a hinge problem that the latch is currently absorbing – and replacing the latch without touching the hinge restarts the same failure sequence a few months later. That pattern shows up on driveway gates across Whitney more often than any other. Over the years our technicians have pulled apart gate hardware failures where a homeowner had already paid for two latch replacements before anyone looked at the sag above them. This guide is about tracing a symptom back to its structural origin: what actually causes sag, grind, fail-to-latch and post movement, how to tell a cosmetic weld crack from a load-bearing one, the three field-weld mistakes that fail quietly, and how to photograph a problem so a technician can diagnose it in ten minutes instead of an hour.
Quick Answer
Most gate structural problems in Whitney trace back to one root cause wearing three disguises: a failing hinge produces a sag, the sag produces a latch misalignment, and the misalignment overloads the operator. Fix the visible symptom alone and the chain restarts. Diagnose in reverse order – post, then hinge, then latch, then operator – and you fix it once. Welding repairs on a load-bearing gate frame are not a homeowner job; a cosmetic weld can be identified safely, but structural welds belong to a trained welder.
Styles & brands we work with
- Wrought iron
- Wood & steel frame
- Farm & ranch
- Sliding driveway gates
- LiftMaster operators
Table of Contents
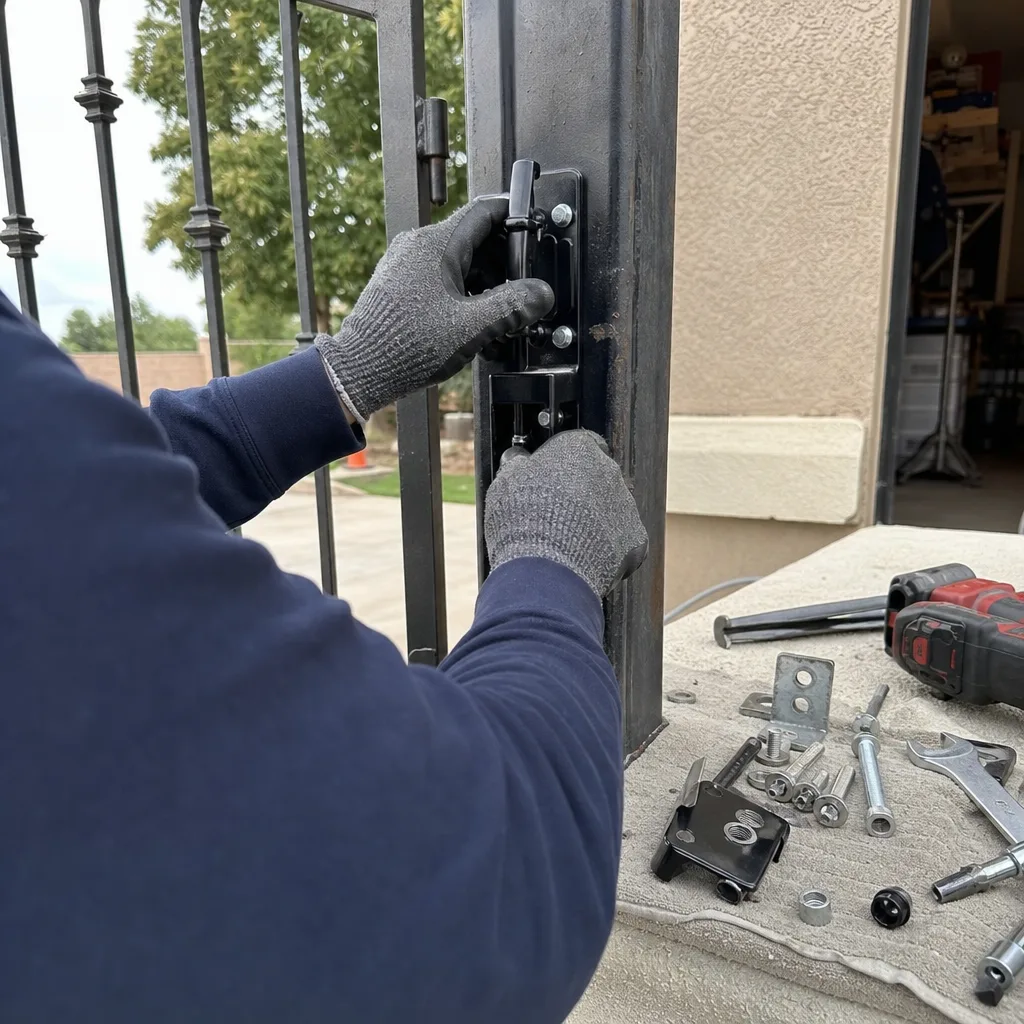
- The Cause-Chain Method: Diagnose Backward, Repair Once
- Symptom-to-Cause Map: Sag, Grind, Fail-to-Latch, Post Movement
- How to Tell a Cosmetic Weld Crack From a Load-Bearing One
- Three Field-Weld Mistakes and How Each One Fails
- Hinge Shims: When They Work and When They Hide a Problem
- How to Photograph a Gate Problem Before You Call
- Why Whitney Conditions Stress Gate Hardware
- Repair, Re-Weld or Replace: Making the Call
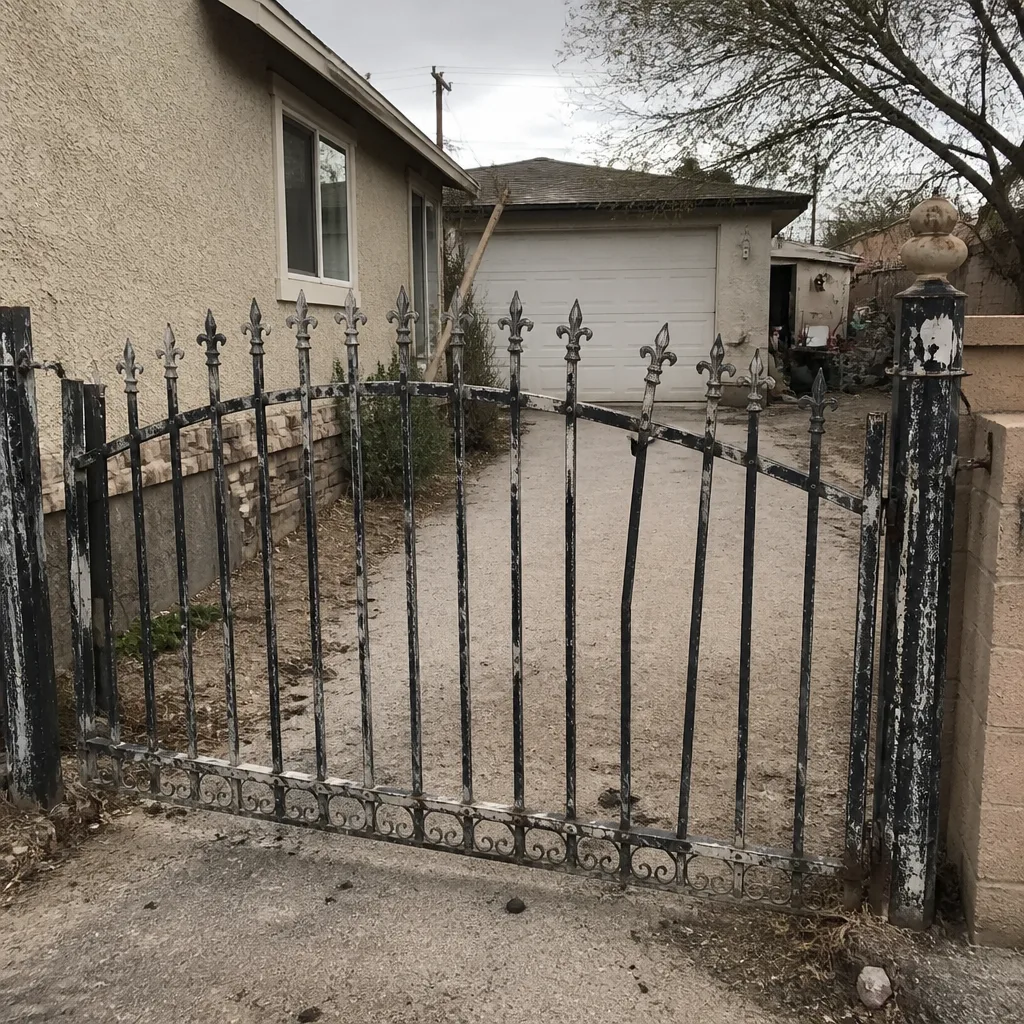 Before
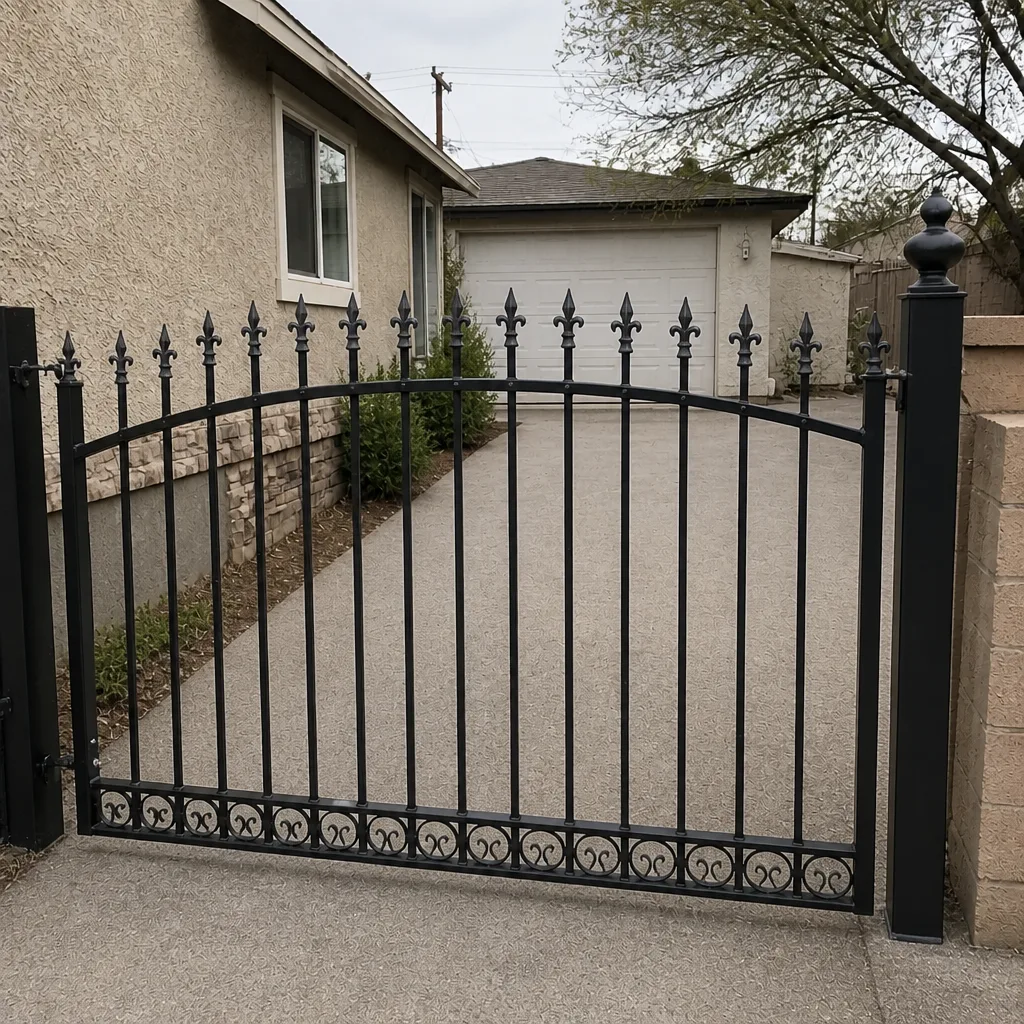 After
The Cause-Chain Method: Diagnose Backward, Repair Once
Repeat service calls almost always come from fixing the symptom closest to the noise. A gate that grinds is expressing a problem three steps upstream. The way we work is to trace the chain in reverse before touching anything.
The typical chain on a residential swing gate looks like this:
- Hinge wear or a loosened hinge plate lets the gate leaf drop a few millimetres.
- The sag tilts the leaf out of plumb, so the leading edge sits lower and further from the strike post.
- The latch no longer lines up, so it catches on the edge, drags, or misses entirely.
- The operator strains because it’s now pushing a leaf that has to overcome latch resistance and hinge friction at the same time.
The reason this matters for your wallet: a latch replacement is a small job. A hinge rebuild is a mid-sized one. An operator that’s been fighting a dragging leaf for a year can burn out a control board or a gear set – and that’s where the big bill lands. On a LiftMaster or FAAC swing operator, the motor itself is usually fine; it’s the constant overload that shortens the life of the electronics. So the cheapest repair in the chain is the one closest to the root, not the one closest to the noise.
If you want the door-to-door version of this diagnosis done properly, our Gate Repair in Whitney service covers exactly this – trace the chain, document it, fix the cause. Under the Haven Standard, every visit includes a photographed record of what we found, what we set, and what we replaced, so the next person looking at the gate starts from evidence rather than a guess.
Symptom-to-Cause Map: Sag, Grind, Fail-to-Latch, Post Movement
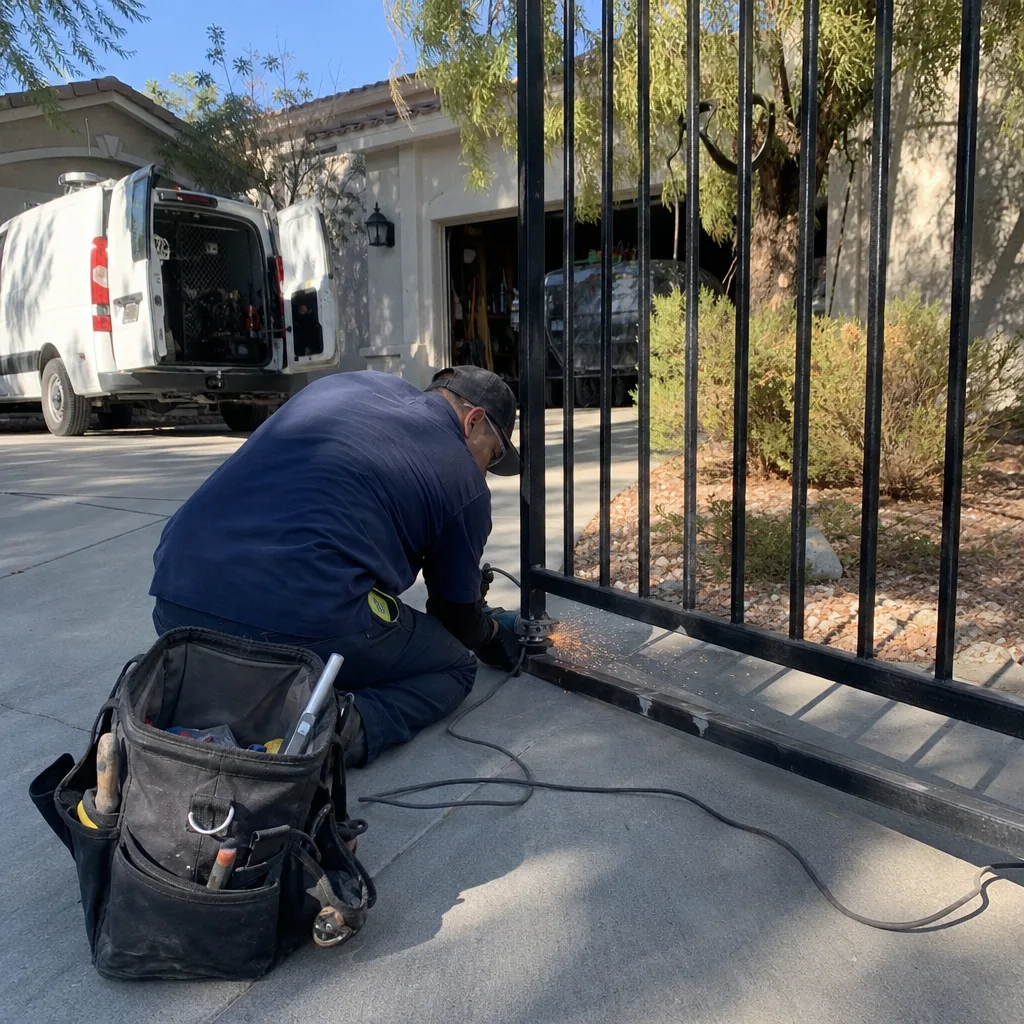
If you’d rather not work backward from first principles, match the symptom to the likely structural origin. This table is the shortcut version – read across to find what’s really going on.
- Sagging leaf (leading edge drops): Hinge wear, a loosened top hinge plate, or a post that has begun to lean. On welded frames, check the hinge-to-frame welds before blaming the hinges themselves.
- Grinding when the gate closes: Leaf dragging on the ground or on the latch. Origin is almost always the sag above – a grind at the latch is a hinge problem in disguise.
- Fails to latch: Strike post has moved, the latch is worn, or the leaf has tilted enough that the latch tongue no longer enters the keeper. Measure the gap at top and bottom before ordering a latch.
- Post movement (gate feels loose at the pivot): Footing or anchor issue. A post that rocks even a few millimetres at the base moves the entire gate geometry. This is the one symptom you should not ignore – keep operating a gate on a moving post and the frame welds start to fatigue.
- Operator runs but gate doesn’t move: Usually a stripped gear or a disengaged manual release, not a structural problem. Worth checking the release lever before assuming the motor is gone.
In Whitney, we see quite a lot of post movement on gates set into decomposed granite and caliche-adjacent soils where the footing was undersized for the leaf weight. A heavy steel gate on an eight-inch footing in that ground will rock within a couple of seasons. That’s the kind of thing a photograph of the base, taken at the right angle, tells a technician straight away. If you suspect the operator is the problem rather than the frame, our Gate Motor & Opener in Whitney page covers the electrical side in the same diagnostic spirit.
How to Tell a Cosmetic Weld Crack From a Load-Bearing One
A crack in a weld is either telling you the joint is failing, or it’s a surface artifact from paint, a previous touch-up, or thermal stress that isn’t carrying load. Getting this wrong in either direction is expensive: ignore a load-bearing crack and a gate can drop or swing loose; treat a cosmetic crack as structural and you’ll pay for a re-weld you didn’t need.
Here’s the safe test a homeowner can actually perform. It involves no tools on the weld itself, just observation and a gentle check:
- Locate the crack precisely. Note whether it runs along the toe of the weld (where the bead meets the base metal) or through the middle of the bead. Toe cracks on a hinge or pivot weld are the ones to worry about.
- Check for rust bleed. A crack that has been open a while will show a fine rust line running out from under the paint, or a shadow line. Cosmetic surface crazing in paint usually doesn’t have that depth.
- Do the gentle movement check. With the gate in manual release and the operator disengaged, close the gate and apply light hand pressure at the crack location – not a shove, just enough to feel. If you can see the two sides of the crack move relative to each other, it’s load-bearing. Do not repeat this at force; one light check is enough.
- Confirm with a magnet. Run a small magnet across the joint. A crack through the weld will read differently from solid steel beside it. Quick, safe, no damage.
If any of those checks suggests a load-bearing crack – especially on a hinge, pivot, or post-to-frame weld – stop operating the gate and have a trained welder look at it. A gate that drops or swings unexpectedly is a genuine injury risk, and household tools aren’t the answer here. The safe division is: you can identify, a trained welder repairs.
When a crack is on a joint we can also tie into the gate’s history, the documentation habit matters. A photograph of the same joint taken two years earlier tells a technician whether the crack is new or has been growing slowly. That’s the kind of record that turns a guess into a diagnosis.
Three Field-Weld Mistakes and How Each One Fails
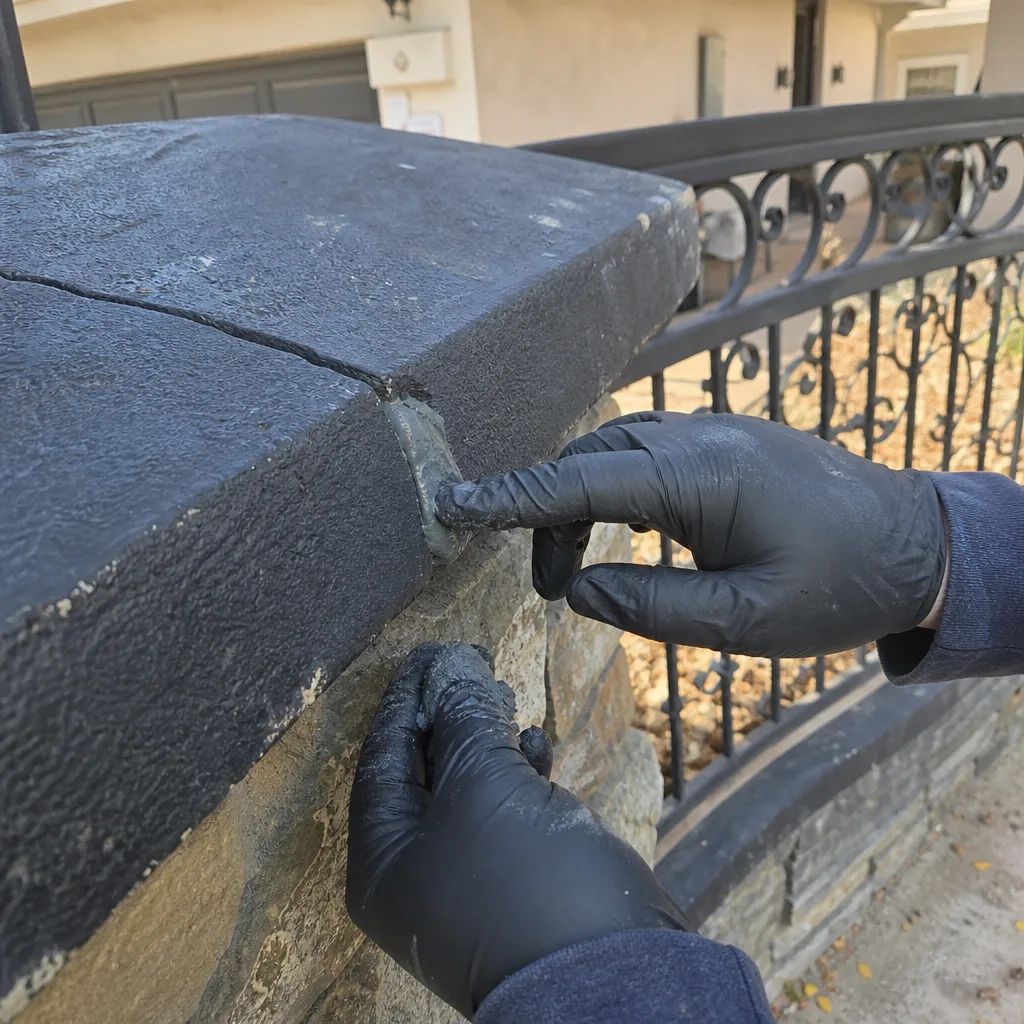
Most gate weld failures we’re called out to weren’t caused by the gate – they were caused by the last repair. The three culprits repeat across brands and frame types, whether the gate is a Mighty Mule kit build or a fabricated steel frame on a BFT operator. Here’s what each one is and how it eventually lets go.
1. Undercut bead. Undercut is where the arc has eaten into the base metal alongside the bead without filling it back in, leaving a groove. It looks like a neat weld at a glance because the bead is there. The problem is the base metal is now thinner than it was designed to be at the exact point where the load concentrates. It fails over time as fatigue cracks start along the undercut groove, usually on hinge welds where flexing is constant. A gate with undercut on the hinge welds can look fine for a year and then crack during a normal open/close cycle.
2. Inadequate penetration. This is a weld that sits on top of the joint instead of fusing into it. It passes a visual inspection – clean bead, no obvious defect – but the two pieces of metal were never actually joined. It fails when a load it wasn’t fused for is applied, and it fails suddenly rather than gradually. On a gate, that means a hinge pulling away from the frame in a single event rather than sagging first. This is the one that most often gets missed because there’s nothing visible to see.
3. Wrong filler rod for the base metal. Welding steel to steel with the wrong filler, or welding dissimilar metals without understanding the compatibility, produces a joint that may pass initial inspection and then fail from a different mechanism – typically corrosion or a metallurgical mismatch that cracks under thermal cycling. In Whitney’s climate the corrosion angle is real: the desert temperature swing alone cycles metal hundreds of times a year, and the wrong filler accelerates the failure at the joint.
The consistent lesson across all three: a weld that looks finished isn’t the same as a weld that is finished. If you’ve had a gate re-welded and it’s back to grinding or sagging in the same spot within a year or two, the weld itself is worth suspecting before the hardware.
Hinge Shims: When They Work and When They Hide a Problem
A hinge shim is a thin spacer – often steel or a hardened polymer – slipped between the hinge and the gate frame or post to correct alignment. It’s a legitimate part of the trade and, used correctly, it’s the cheapest fix available for a slightly out-of-plumb leaf.
Shims are appropriate when:
- The hinge hardware is sound and the plate is tight, but the leaf sits a couple of millimetres low or off-angle.
- The gap between leaf and post has changed slightly after a post has settled and stopped settling.
- You’re correcting a manufacturing tolerance on a new gate, not compensating for wear.
Shims are masking a problem when:
- The hinge pin or bushing is worn. Shimming a worn hinge just moves the play somewhere else; it’ll loosen again within months.
- The post is still moving. A shim won’t hold alignment on a footing that’s still settling, and you’ll be re-shimming every season.
- You need more than a small correction. If the shim stack gets thick, the hinge geometry is wrong enough that the load is now going somewhere it shouldn’t.
This is where we’ve seen homeowners pay twice. A shim gets fitted to cure a grind, the grind goes away for six months, and the real cause – a worn top hinge bushing – is still working away underneath. The honest approach is to shim only after confirming the hardware is sound and the post is stable. If a technician reaches for shims without checking the hinge pin and the post footing first, that’s the repeat call waiting to happen. When we fit a shim, it goes in the photo record with the measurement before and after, so the next visit starts from the number rather than a fresh guess.
How to Photograph a Gate Problem Before You Call
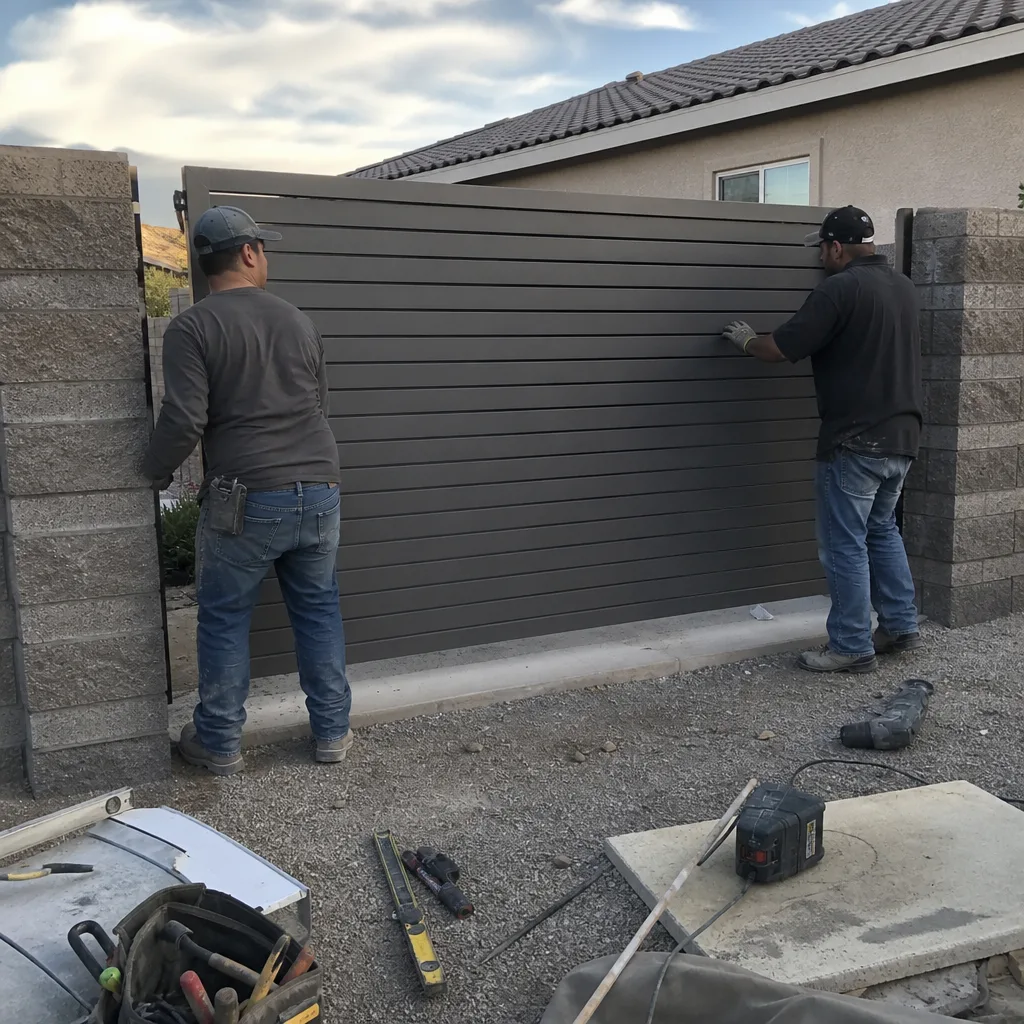
The single biggest factor in how fast a gate gets diagnosed – and how accurate the first visit’s scope is – is what you can show the technician before they arrive. These six shots take about two minutes and typically cut the diagnosis call from an hour to ten minutes.
- The full gate, both closed and open. One wide shot from the driveway side, one from the street side. It gives the technician leaf weight, frame type and post configuration at a glance.
- The problem area close up. If it’s grinding, photograph the contact point. If it’s a crack, photograph the joint and a second shot with a coin or ruler beside it for scale.
- The top hinge and the bottom hinge, individually. These are where sag originates and most diagnoses live. Photograph each with the gate closed.
- The post base. Get down at ground level and photograph where the post meets the footing or anchor. Post movement is the most common structural cause and it’s invisible in a top-down photo.
- The latch and strike post. Photograph the gap at the top and bottom of the strike. Even a phone photo holds enough scale for a technician to estimate the misalignment.
- The operator, with any labels visible. Photograph the motor housing and control box. Brand and model tell us which parts are available and how a particular unit – a FAAC, a LiftMaster, a BFT – handles overload. That saves a separate visit.
This is exactly the documentation discipline we carry on every visit. It’s why under Clause 4 of the Haven Standard, every job leaves a photographic record of what was found, what was adjusted and what was installed. You should expect no less when a technician arrives – and if they don’t offer it, ask. A written scope and a photo record are the difference between a repair you can track and a repair you have to trust.
Why Whitney Conditions Stress Gate Hardware
Gate hardware that lasts twenty years on the coast can fail in five in Whitney. The local climate is a quiet factor that most gate owners never connect to their hardware problems, and it’s worth naming.
The temperature swing is the big one. Whitney sees hot summer days and genuinely cool winter nights, and that daily cycle expands and contracts metal hundreds of times a year. Welded joints and hinge pins that were fine when installed develop fatigue over that kind of cycling faster than in a temperate climate. It’s why toe cracks appear on hinge welds here that you wouldn’t see on the same gate in a milder region.
The soil is the second factor. Much of the Whitney ground is decomposed granite, caliche and sand – soils that shift with moisture and don’t hold a footing with the same grip as clay or compacted loam. A post that would be perfectly stable on a solid footing can rock slightly after a wet winter and a dry summer. That’s why post movement turns up so often on the symptom map here. The third factor is the wind and dust that gets into hinge pins and operator housings, accelerated by the open, exposed plots common on the outer edges of Whitney. Hinges that get grit in them wear faster, and grit in a gate operator’s travel limits causes drift.
None of this is a reason to replace a gate. It’s a reason to check the post footing and the hinge welds on a schedule and to photograph them so you can see change over time. If you’re chasing a structural problem and want a fresh professional eye, a Vance Gate Repair Whitney home service visit starts with a documented inspection rather than an estimate off the top of the head.
Repair, Re-Weld or Replace: Making the Call
Once you’ve traced the cause, the remaining question is scope. Repair, re-weld and replacement each have a legitimate place, and the decision is more about the frame than the hardware.
- Repair (hardware only) is the right call when the frame and post are sound and the problem is hinges, latch, bushing or shim. This is the cheapest and most common outcome.
- Re-weld is appropriate when a load-bearing joint has cracked but the surrounding metal is sound and thick enough for a proper weld with correct penetration and filler. A good welder will tell you if the frame is weldable or if the metal has fatigued past it.
- Replace comes into play when the frame itself is corroded through, the post footing can’t be stabilised economically, or the gate design has been repeatedly welded back together in the same spot. In that case you’re not repairing the gate – you’re managing a growing list of failures, and a fresh install is cheaper over its life.
Where we push back hard is steering a homeowner toward replacement when the operator and frame are fine and the failure is a hinge and a weld. If you’re weighing it up, our Gate Installation in Whitney page sets out what a proper install looks like, so you can compare it honestly against a repair quote you’ve been given. Bring the written estimate from any other company and we’ll review it at no cost – a free second opinion is part of how we work, and it’s the honest way to answer a “replace or repair” question.
Common Mistakes to Avoid
- Replacing the latch before checking the hinge. A latch that won’t catch is usually reporting a hinge problem above it. New latch, old sag – the failure returns.
- Shimming a hinge that’s already worn. A shim on a worn bushing just relocates the play. Check the pin and the post first.
- Welding over a crack without cutting it out. A crack that gets welded shut with the crack line still inside it reopens under the same load. The joint has to be prepared properly first.
- Assuming a clean, painted weld is a sound one. Undercut and inadequate penetration both pass a visual check. That’s the whole reason they fail later.
- Ignoring a post that rocks by a few millimetres. Small movement at the base becomes a huge change in gate geometry, and it fatigues the frame welds that hold everything together.
- Repainting over rust bleed at a joint. In Whitney, a rust line running from a weld is a strong signal the crack is open and working. Paint hides it and the crack grows.
- Running an overloaded operator for months. If the gate is dragging, the operator is fighting it. That strain is what kills control boards and gear sets on an otherwise healthy motor.
See the difference
BeforeAfter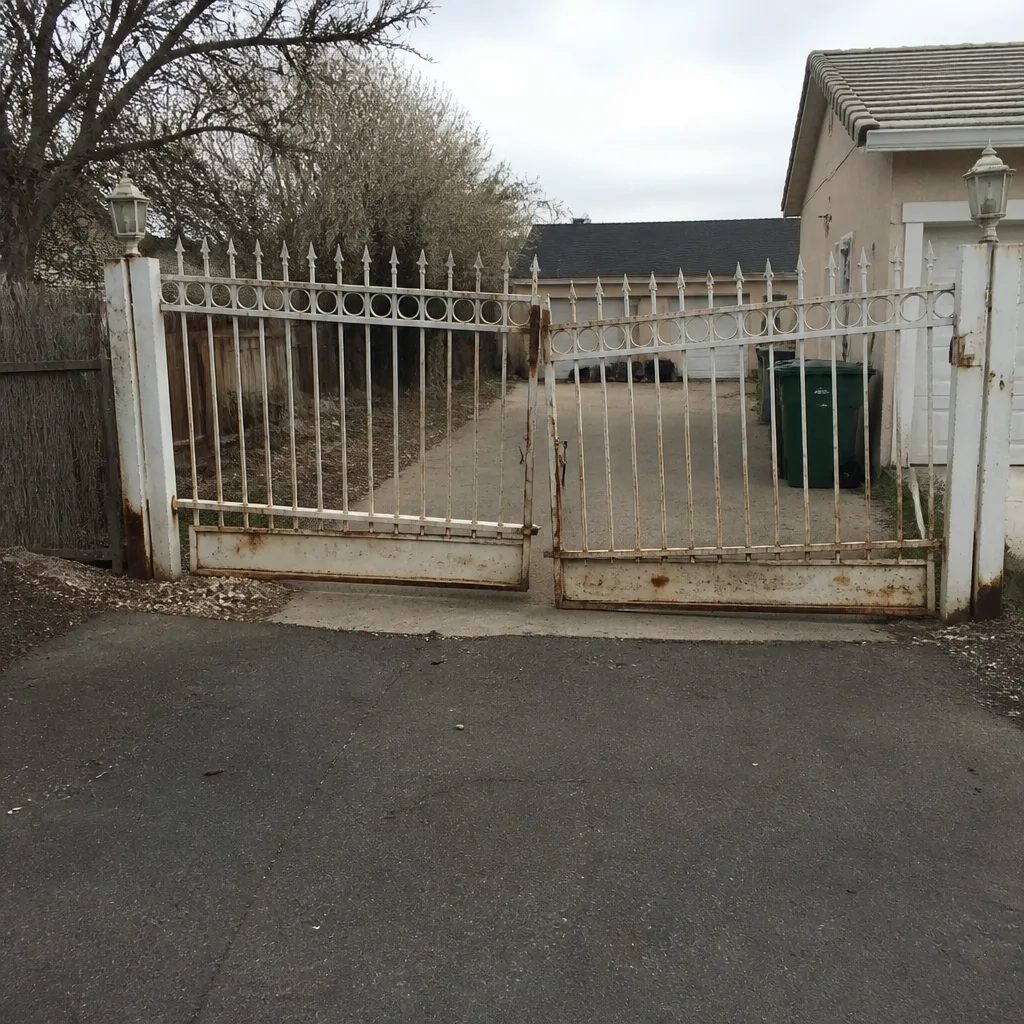 Before
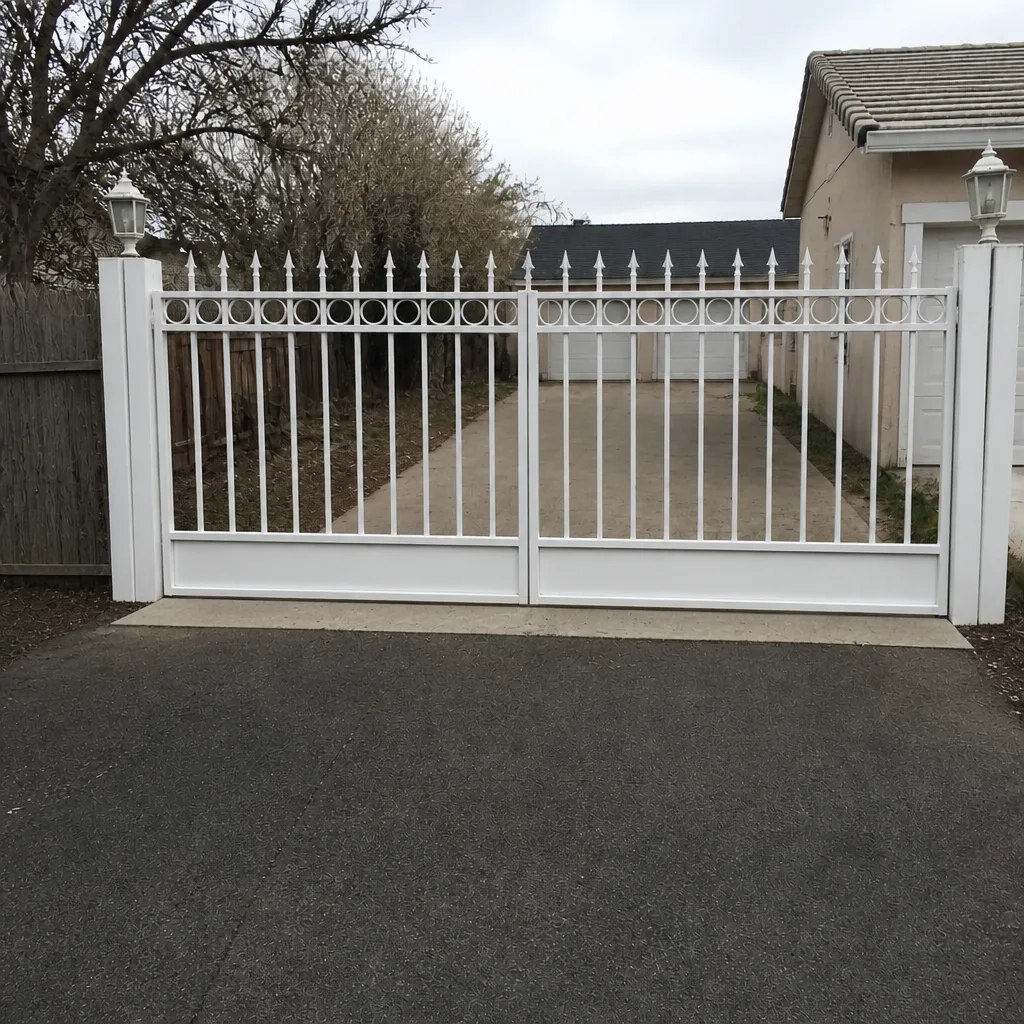 After
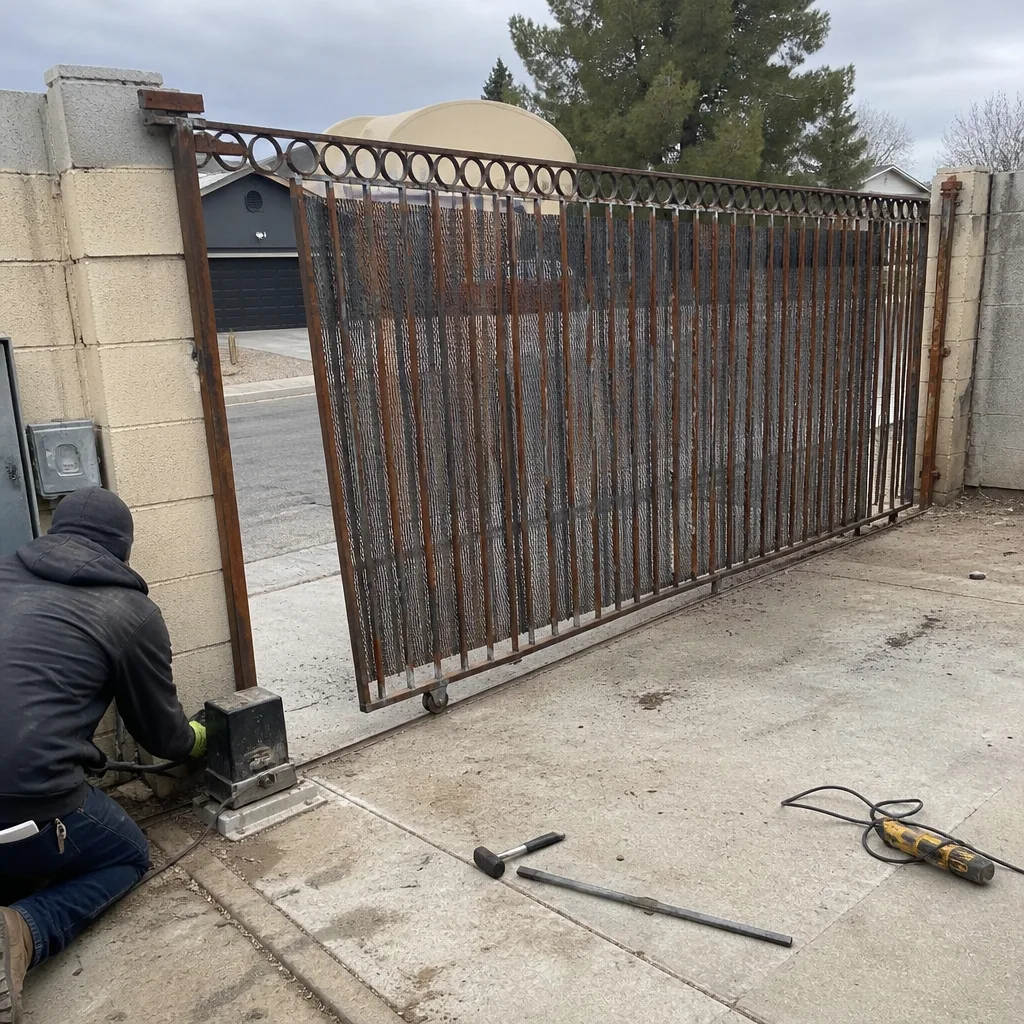 Before
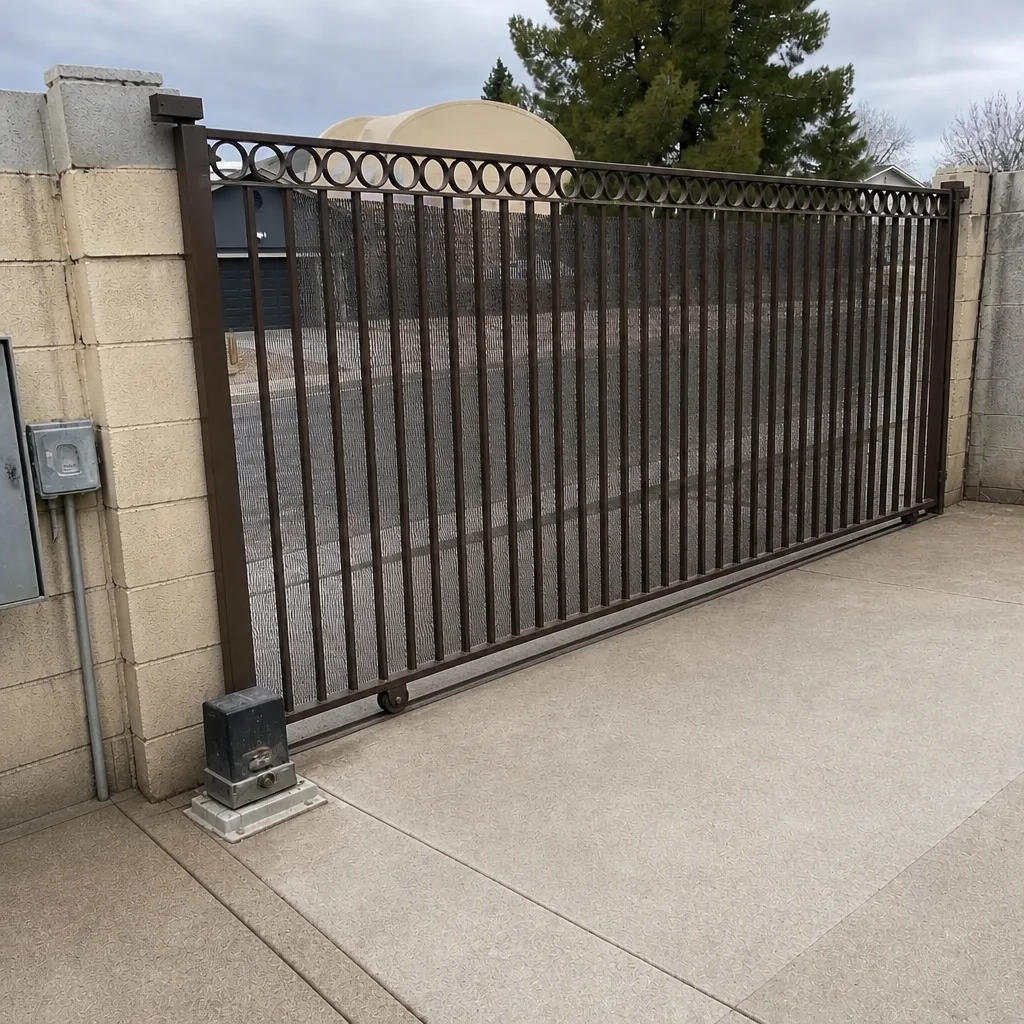 After
When to Call a Professional
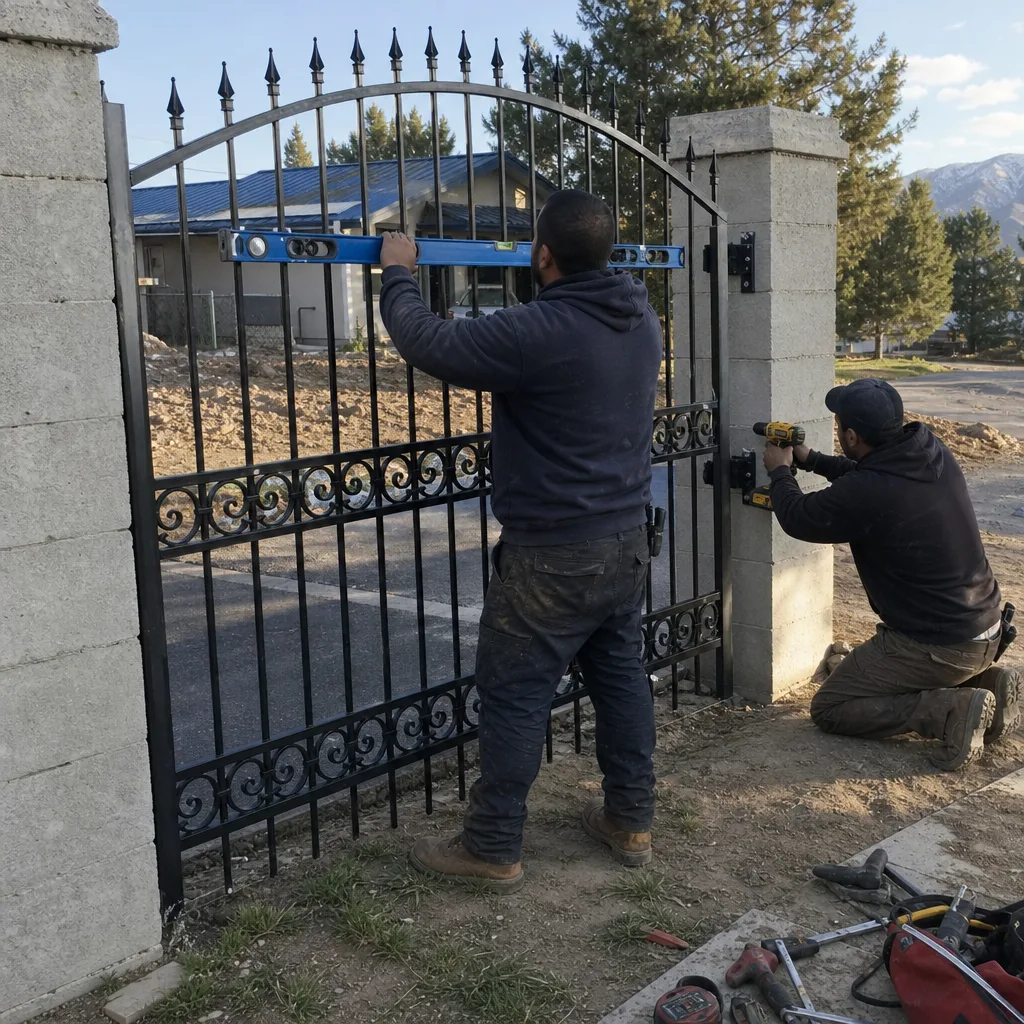
Call a professional if you’ve found a load-bearing weld crack, a post that moves at the base, a hinge plate that’s coming away from the frame, or an operator that has been dragging the gate for weeks. These aren’t symptoms you can safely defer – a gate that drops or swings unexpectedly is a genuine injury risk, and structural welding on a load-bearing gate frame is not a household job. Cosmetic cracks, hardware swaps, shims and operator resets are on the safe side of the line. Anything that involves the frame, the footing or a load-bearing weld belongs to a trained welder. Vance Gate Repair Whitney offers free estimates in Whitney – call (844) 797-4861 for a written scope before any work starts.
Frequently Asked Questions
Almost always because the leaf has dropped slightly on a worn or loosened hinge, and the latch or the gate edge is now dragging on contact. The grind is the symptom; the hinge is the cause. Replacing the latch without checking the hinge restarts the same failure. Call (844) 797-4861 for an exact diagnosis – estimates are free.
It depends on where it is. A crack at the toe of a hinge, pivot or post-to-frame weld is load-bearing and should be treated as a genuine safety issue – stop operating the gate and get a trained welder to inspect it. A crack in paint or a non-structural brace is usually cosmetic. Use the gentle movement check and a magnet to tell them apart, and err on the side of professional inspection.
We’d advise against it. A hinge weld carries the full weight and swing load of the leaf, and the three field-weld mistakes – undercut, inadequate penetration, wrong filler – mostly pass visual inspection and fail later, sometimes suddenly. A gate dropping under load is a real injury risk. A trained welder with the right filler for the base metal is the safe choice.
Most gate weld repairs we see in Whitney run from around $150 for a single cosmetic joint to $400 or more for a load-bearing hinge weld that needs preparation and re-beading, depending on access and whether the gate needs a controlled re-hang. The exact price is quoted in writing and agreed before any work starts, so the number is settled up front. Call (844) 797-4861 – estimates are free and the written price is handed over before a tool is picked up.
With the gate in manual release and the operator disengaged, close the gate and look at the base of the post where it meets the footing. Get down at ground level and watch for movement while you apply very light hand pressure to the post. Any visible rock means a footing issue, and that changes the whole repair scope. Photograph the base first – it’s the shot a technician needs.
Six shots do it: the full gate closed and open, the problem area close-up with a coin or ruler for scale, each hinge individually, the post base at ground level, the latch and strike gap, and the operator with any brand labels visible. That set cuts the diagnosis call from an hour to ten minutes and lets a technician arrive with the right parts and the right scope. Call (844) 797-4861 with the photos in hand.
The Bottom Line
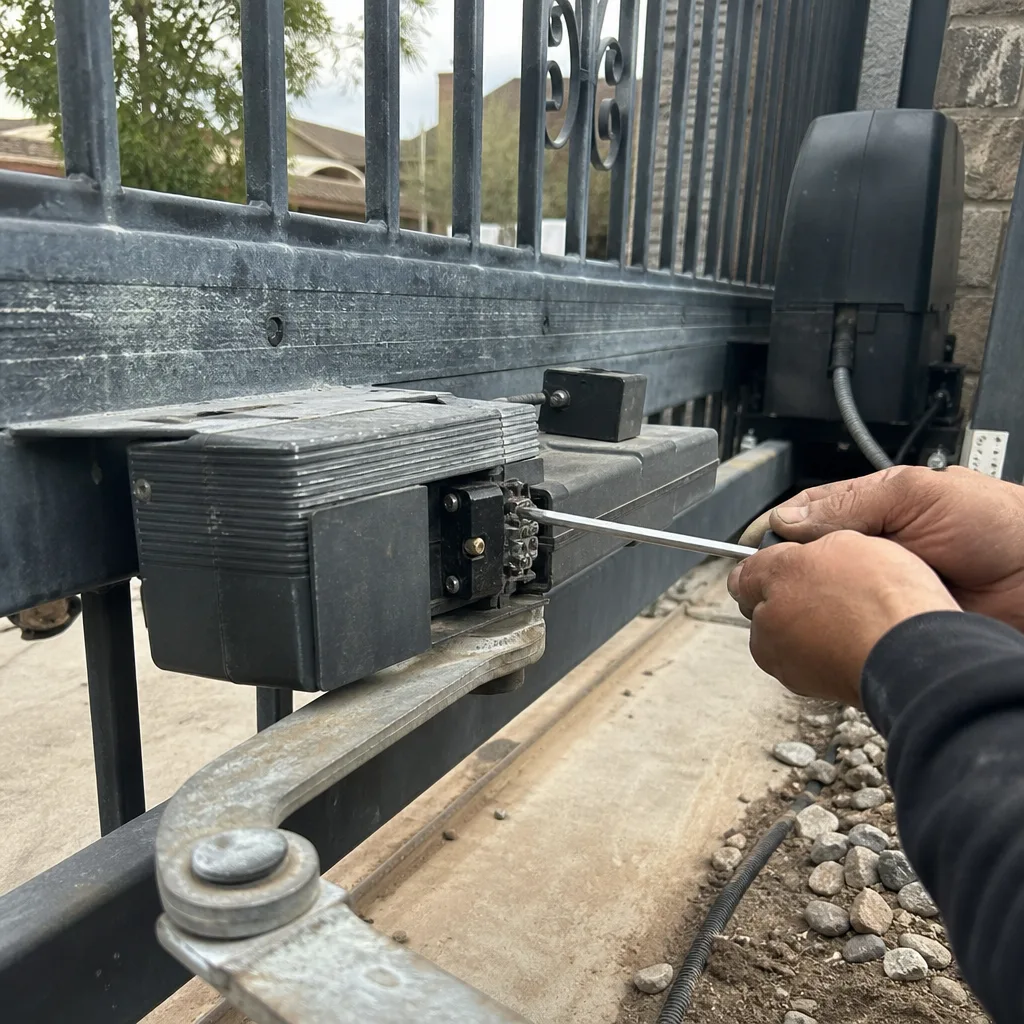
Gate problems in Whitney are usually a chain, not a single fault: a hinge wears, the leaf sags, the latch drags, the operator overloads. Diagnose backward from the noise and you fix it once instead of three times. Confirm a weld crack is load-bearing before you do anything else, and leave structural welding to a trained welder. Photograph the problem properly before you call, and expect a written scope and a documented record of the visit from whoever turns up. Vance Gate Repair Whitney works to exactly that standard – written price before the work, photographed record after it, and the 365-Day Done Right Promise behind every repair. Call (844) 797-4861 for a free estimate.
Written by the team at Vance Gate Repair Whitney.