
Last updated November 18, 2026
 Wrought iron
 Wood & steel frame
 Farm & ranch
 Sliding driveway gates
 LiftMaster operators
Free on-site gate assessment - hinges, posts, and your LiftMaster or Nice gate operator checked before anything is quoted
The assessment is free and the quote is the invoice.
Get your free estimateGate Parts & Welding Warning Signs Every Homeowner Should Know
Scale forming at a weld seam isn’t rust. It’s a gap that’s moving. Rust sits on the surface of the metal and stays there; scale at a weld joint means the joint is flexing under load, which means the weld has already partially failed. Most homeowners in Whitney walk past that crusty seam every morning and read it as “just some corrosion.” It isn’t. This guide names exactly what to look for during a five-minute monthly walk-around, the four physical checks that catch a $200 weld repair before it turns into a $1,400 post replacement, and the one sign that means stop moving the gate right now.
Quick Answer
The warning signs of gate parts and welding trouble are scale or cracking at a weld seam, wobble at the hinge points, a gate that has dropped out of level, a latch that no longer lines up, and a pop or clunk under load instead of a clean swing. Surface rust is usually cosmetic, but scale at a weld joint, hinge wobble, and any popping sound mean the structure is moving and needs a professional inspection. Full hinge-weld separation is a stop-operating-now condition.
Styles & brands we work with
- Wrought iron
- Wood & steel frame
- Farm & ranch
- Sliding driveway gates
- LiftMaster operators
Table of Contents
- Surface Corrosion vs. Weld-Seam Scale: How to Tell Them Apart
- The 5-Minute Monthly Gate Inspection: Four Physical Checks
- What Gate Sag Measurement Tells You About Hinges vs. Posts
- Sound Warnings: Squeaks, Pops, and Clunks Under Load
- The One Warning Sign That Means Stop Operating the Gate Today
- What a Failing Weld Does to Your Gate Operator
- What Whitney’s Desert Climate Does to Gate Parts and Welds
- Parts That Wear First and How to Spot Them
 Before
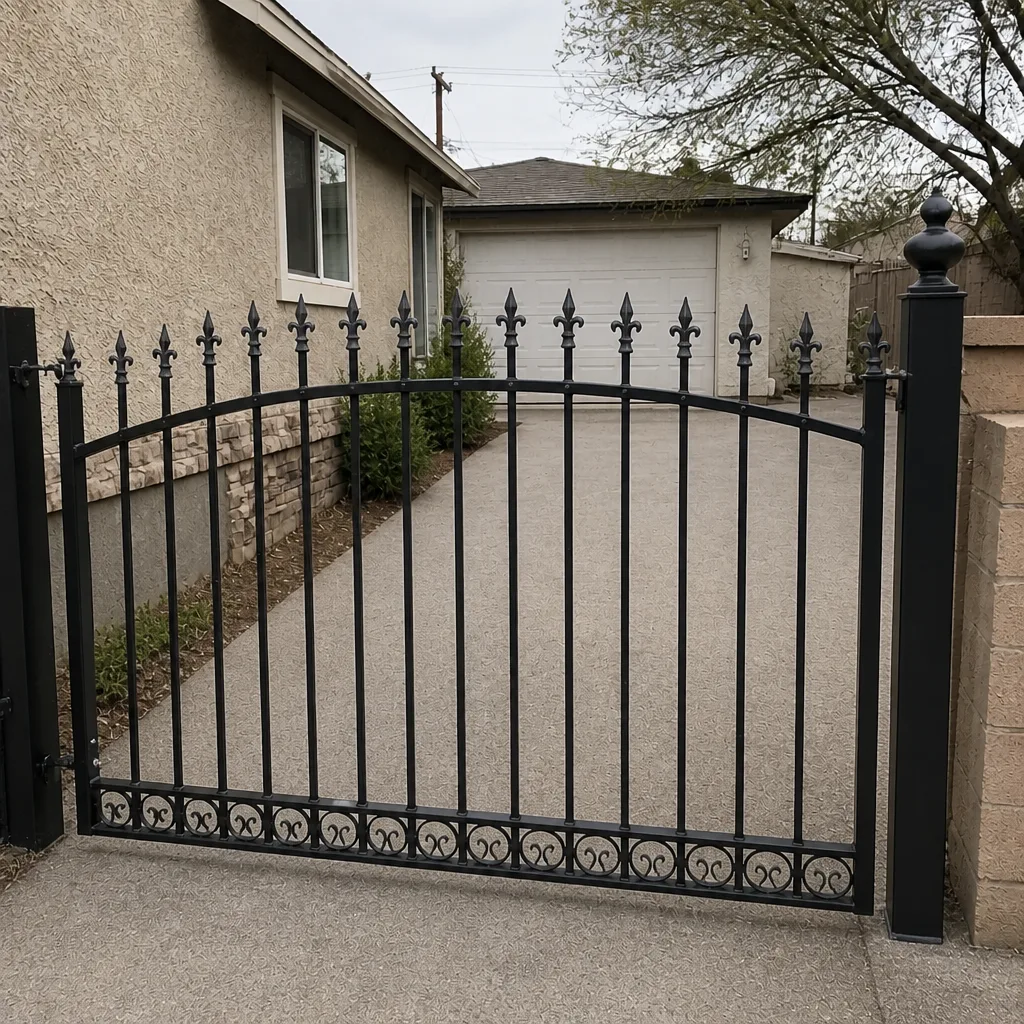 After
Surface Corrosion vs. Weld-Seam Scale: How to Tell Them Apart
Here’s the distinction that matters, and it’s the one almost nobody explains. Surface corrosion is what most people picture when they hear “rust.” It’s a reddish-brown flaking or a chalky orange bloom on the flat faces of the metal, the rails, the pickets, the post bodies. It sits on top of the steel. You can usually scuff it with a wire brush and find solid metal underneath. On a Whitney gate, most surface corrosion comes from occasional overnight moisture and the fine desert dust that settles into horizontal surfaces and holds a little damp against the steel.
Scale at a weld seam is different, and it looks different once you know what you’re seeing. It appears as crusted, raised, gray-brown plaques sitting right on the line where two pieces of metal were joined, especially at the hinge stile, the bottom rail corners, and any joint that carries weight. That plaque is oxide forming in a fissure. The reason it’s raised and crusty rather than flat is that the metal underneath is opening and closing microscopically as the gate loads and unloads with every swing. Rust on a solid surface can’t form a gap; scale in a moving joint can, because the gap is already there.
- Surface corrosion: flat, powdery, reddish, on the faces of the metal. Cosmetic. Monitor it.
- Weld-seam scale: raised, crusty, gray-brown, confined to the joint line, sometimes with a hairline crack running alongside it. Structural early failure. Get it inspected.
- The test: run a fingernail across the joint line. If your nail catches in a crack or drops into a fissure beside the weld bead, the joint is moving. Surface rust won’t catch a nail.
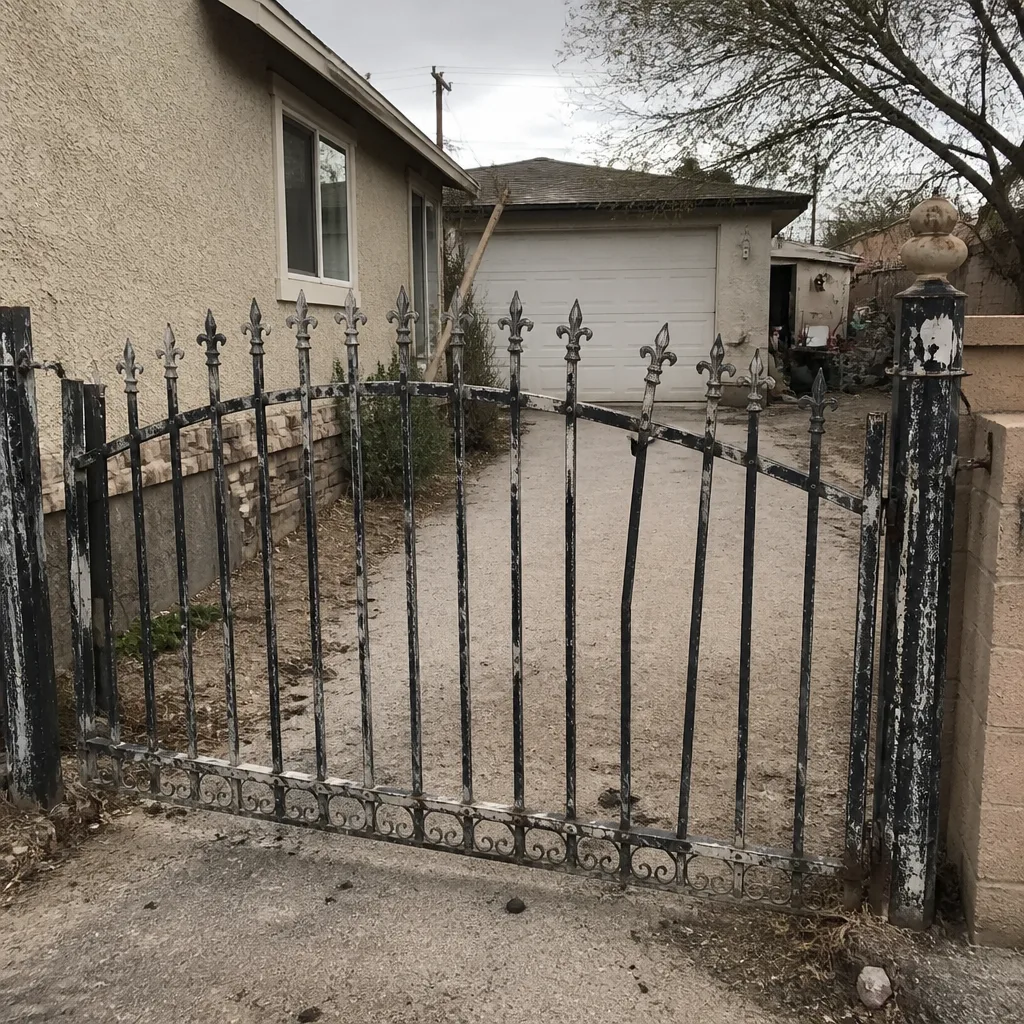
If a weld seam is scale-crusted and the metal around it looks stretched or sunken, that weld has likely been failing for a while. We’ve photographed exactly this seam on Whitney gates where the homeowner had been treating it as “just rust” for a year. When the seam is caught early, our Gate Repair in Whitney work is a weld cleanup and re-weld, not a stile replacement.
The 5-Minute Monthly Gate Inspection: Four Physical Checks
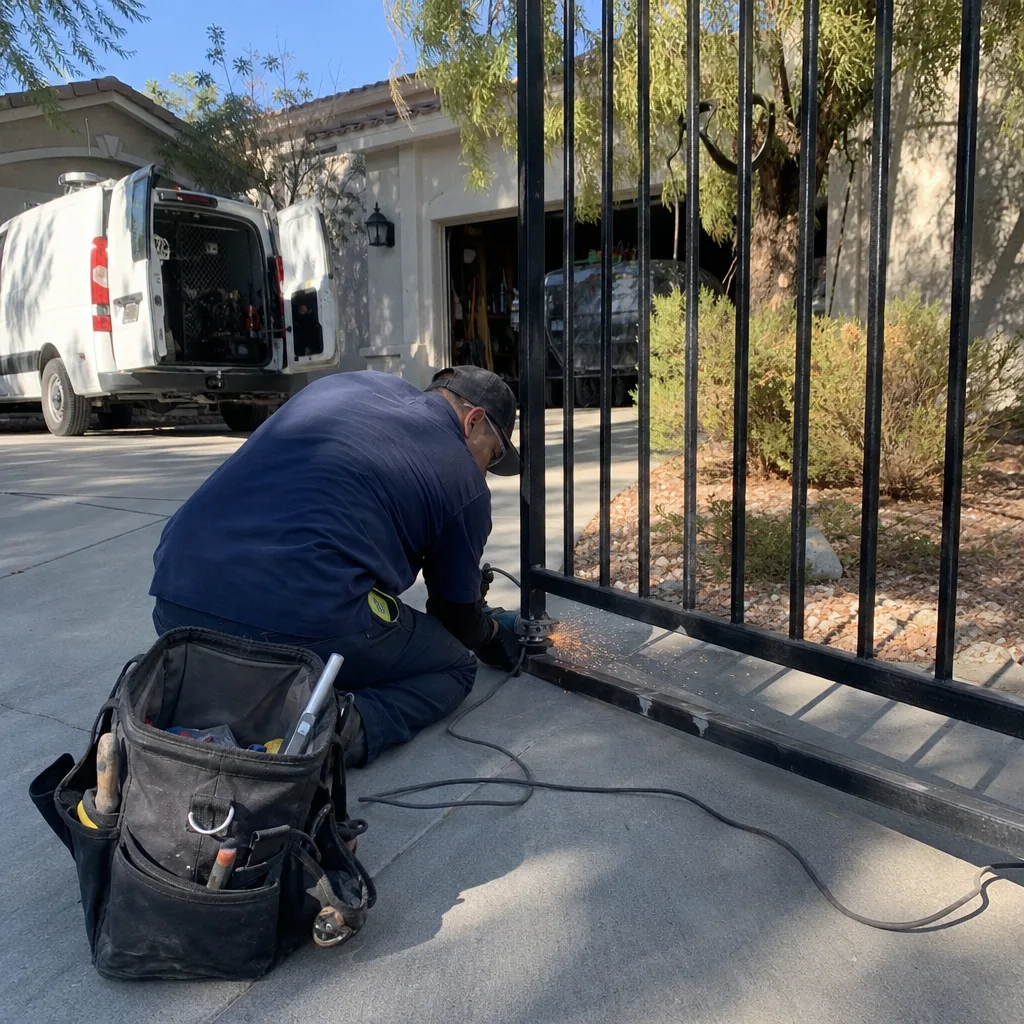
Set a reminder and walk the gate once a month. Five minutes, four checks, done before your coffee goes cold. This is the habit that catches structural problems while they’re still repairs. Do it in this order, because each check tells you something the next check confirms.
- Lift test at the free end. With the gate closed and the operator disengaged (or the gate latched), grip the free end of the gate and lift it straight up. A healthy gate moves less than a quarter inch. If it lifts half an inch or more, the hinge or the hinge weld is worn. Write down what you felt.
- Latch alignment check. Look at where the gate latch or the receiver lines up. Same height on both sides? A gate that’s dropped will show the latch sitting low on the free side. If you can see daylight between the latch and receiver that wasn’t there last month, the gate has moved.
- Hinge-point wobble test. With the gate still, grip it near each hinge and push and pull gently side to side. Any perceptible slop at the hinge pin, bracket, or where the bracket meets the stile is a worn part or a loosening weld. Note which hinge.
- Post-base visual. Look at the ground where each hinge post meets the slab or footing. Hairline cracks radiating from the post base, a post that has tipped slightly out of plumb, or a gap opening between the post plate and concrete all point to a footing issue, not a hinge issue. This matters more than people think.
None of these four checks asks you to loosen anything, climb anything, or touch a weld. They’re observations. The whole point is a baseline. When we run these on a Whitney gate under the Haven Standard, the technician photographs the results so the next visit has something to measure against. A written record from last month beats a vague memory of the gate feeling fine.
What Gate Sag Measurement Tells You About Hinges vs. Posts
Sag measurement is the single closest thing to a diagnostic a homeowner can take on their own. Here’s how to establish a baseline, and what the change over six months means.
How to measure: close the gate fully. From the free end of the gate, measure the distance from the bottom of the gate to the ground (or to a fixed mark on the driveway). Use a tape measure, take it at a consistent spot, and note the number. Do it three times and average. Write the number and the date on a piece of tape on the inside of the post. That’s your baseline.
How to read change over six months: a healthy gate should hold its baseline. If the free end has dropped a quarter inch over six months, that’s a hinge or hinge-weld problem – a worn pin, a loosening bracket, or a weld starting to flex. If the free end has dropped the same amount but the top of the gate is going out of plumb or the hinge-side post has started leaning, that’s a post or footing problem. Both show up as sag on the far end, but only one of them responds to a hinge fix, and treating a footing problem with a hinge adjustment is where homeowners get burned on a repeat repair.
- Consistent sag at the free end, post plumb: hinge side. Likely a worn hinge or a hinge weld.
- Sag plus the post leaning or the base cracking: post side. Likely a footing issue that needs to be dug and reset.
- Sag that gets worse with the gate open: the joint at the hinge is loose. Get it looked at promptly.
A sag that changes more than roughly a quarter inch over six months is worth a call. Bring your tape measure numbers. Our gate motor and operator techs also look at sag during any Gate Motor & Opener in Whitney service visit, because a motor is only as reliable as the gate it’s moving.
Sound Warnings: Squeaks, Pops, and Clunks Under Load
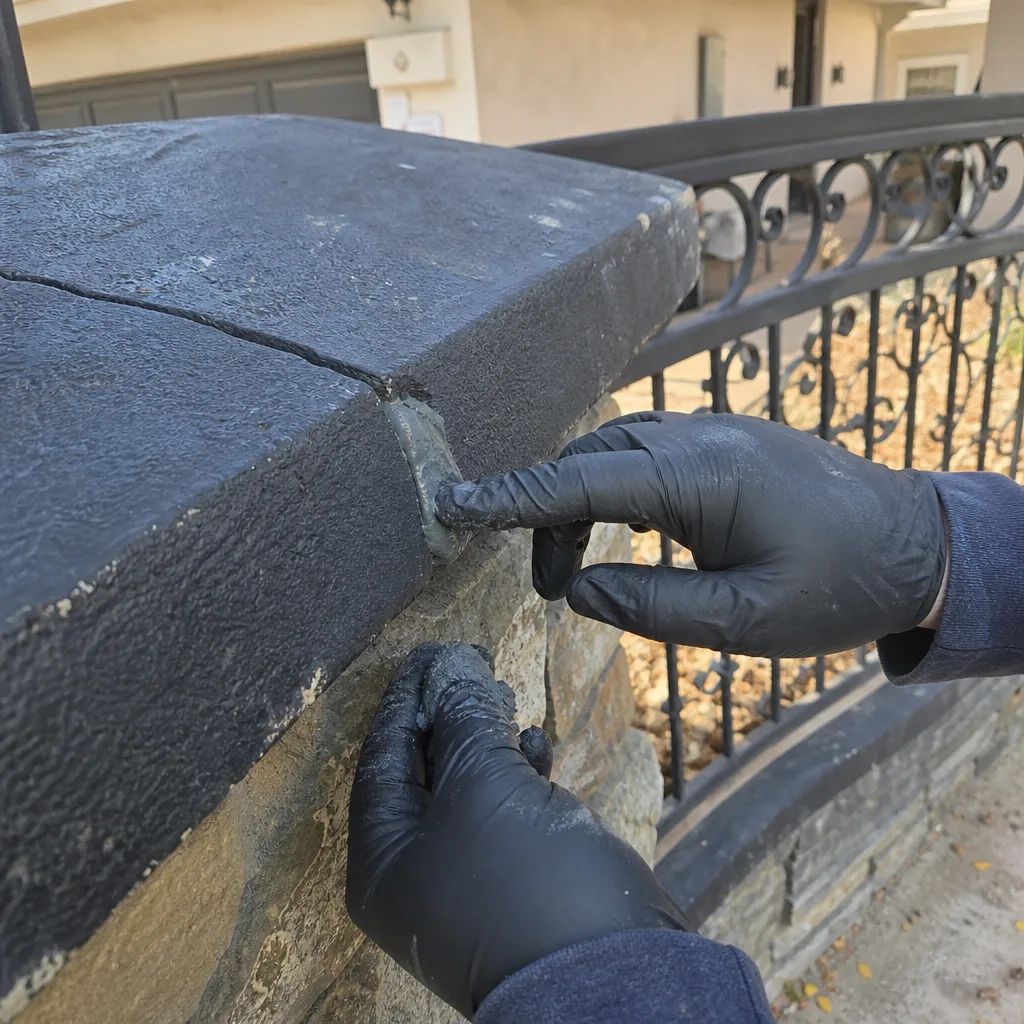
Gates talk. The trick is knowing which sound is innocent and which one is a warning.
A squeak is friction at a moving surface: a hinge pin, a latch, or a roller. It’s usually the cheapest thing on the gate to fix and the safest to defer for a few days. Lubricate the pivots with a dry or light-duty lube and see if it quiets down. If the squeak comes back within a week or two, the pivot is worn and it’s time for a service.
A pop or clunk under load is different, and this is where we see homeowners make the mistake. A pop happens when a joint that is supposed to be rigid shifts against itself, then snaps back into place. You’ll hear it as the gate swings through a particular point, often at the hinge or at the bottom rail where the weight is highest. On an automated gate, you may also hear it as a clunk when the motor reverses at the end of a travel cycle. A pop is the audible companion of weld-seam scale: the joint is moving. Don’t chase it with grease. Get it inspected.
We’ve listened to a lot of gates in Whitney. The clean-lantern squeak is fine. The pop under load, especially one that appeared recently and repeats at the same point in the swing, is the one to act on. Our technicians have up to 12 years of experience with this exact pattern, and the difference between a lubed hinge and a joint that needs a weld is usually about thirty seconds on the phone once you describe it.
The One Warning Sign That Means Stop Operating the Gate Today
Full hinge-weld separation is the stop-operating-now condition. That’s when the weld that attaches the hinge bracket to the gate stile has cracked all the way through, and the hinge is no longer carrying the gate’s weight the way it was designed to. It often starts as scale and a faint hairline, and it finishes as a visibly cracked seam with the hinge bracket sitting slightly angled, sometimes with daylight visible through the joint.
When that happens, every swing does two things at once. First, the gate frame is carrying load through the wrong members – the stile has to take stress it was never designed to take, and the frame tends to twist. Second, the operator is doing work it wasn’t sized for. An operator that has been tuned to move a balanced gate is now dragging a leaning one, and that stress lands on the gear teeth, the limit switches, and the motor. We’ve seen a cracked hinge weld take out a Viking or BFT operator that was otherwise in good health. Turning the motor off and disengaging the arm is the right move, and then a call.
- Do: stop using the gate, engage the manual release if there is one, and leave a note for other household members.
- Do: take a photo of the cracked weld seam and the hinge from a couple of angles. It speeds up the estimate.
- Don’t: try to weld it yourself. Gate stiles are structural, the weld needs proper prep and proper penetration, and the frame has to be checked for twist after the weld is made. This is one of those jobs where the wrong approach makes the problem more expensive.
What a Failing Weld Does to Your Gate Operator
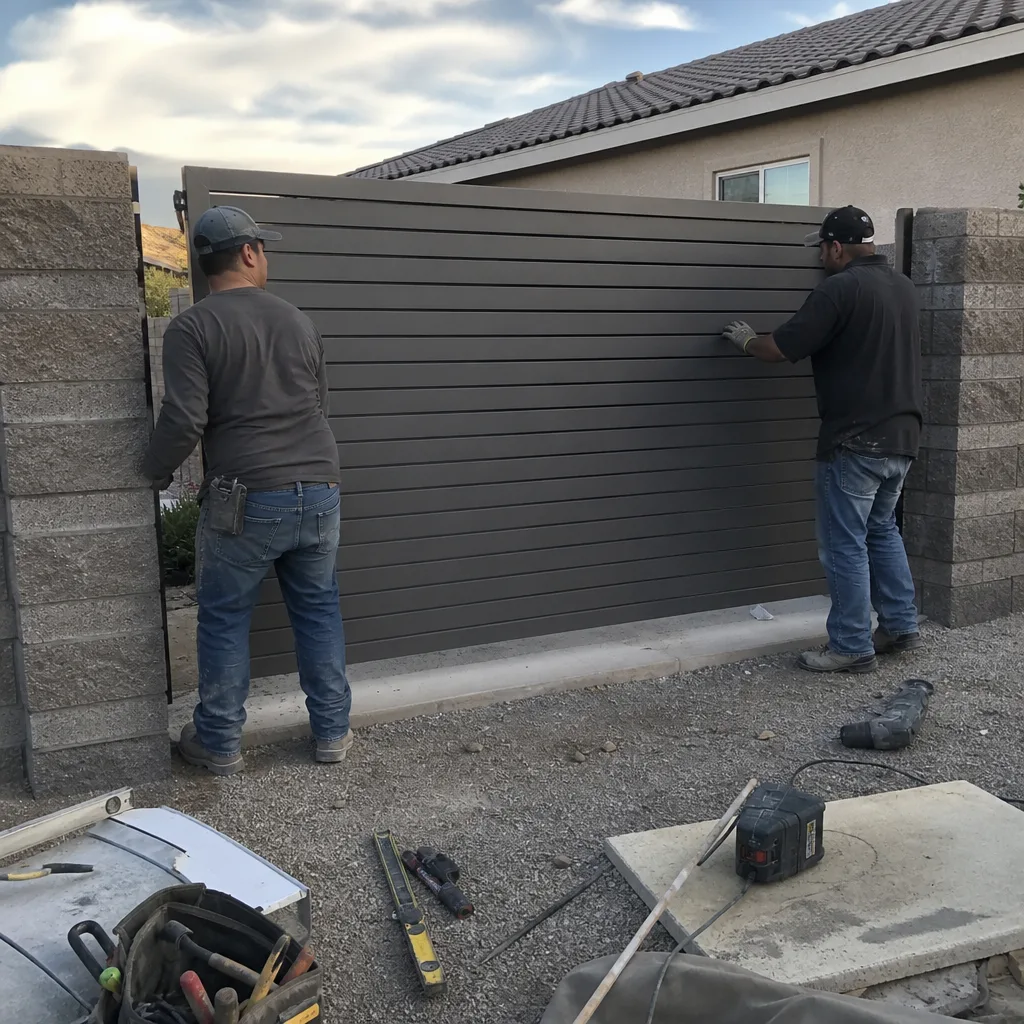
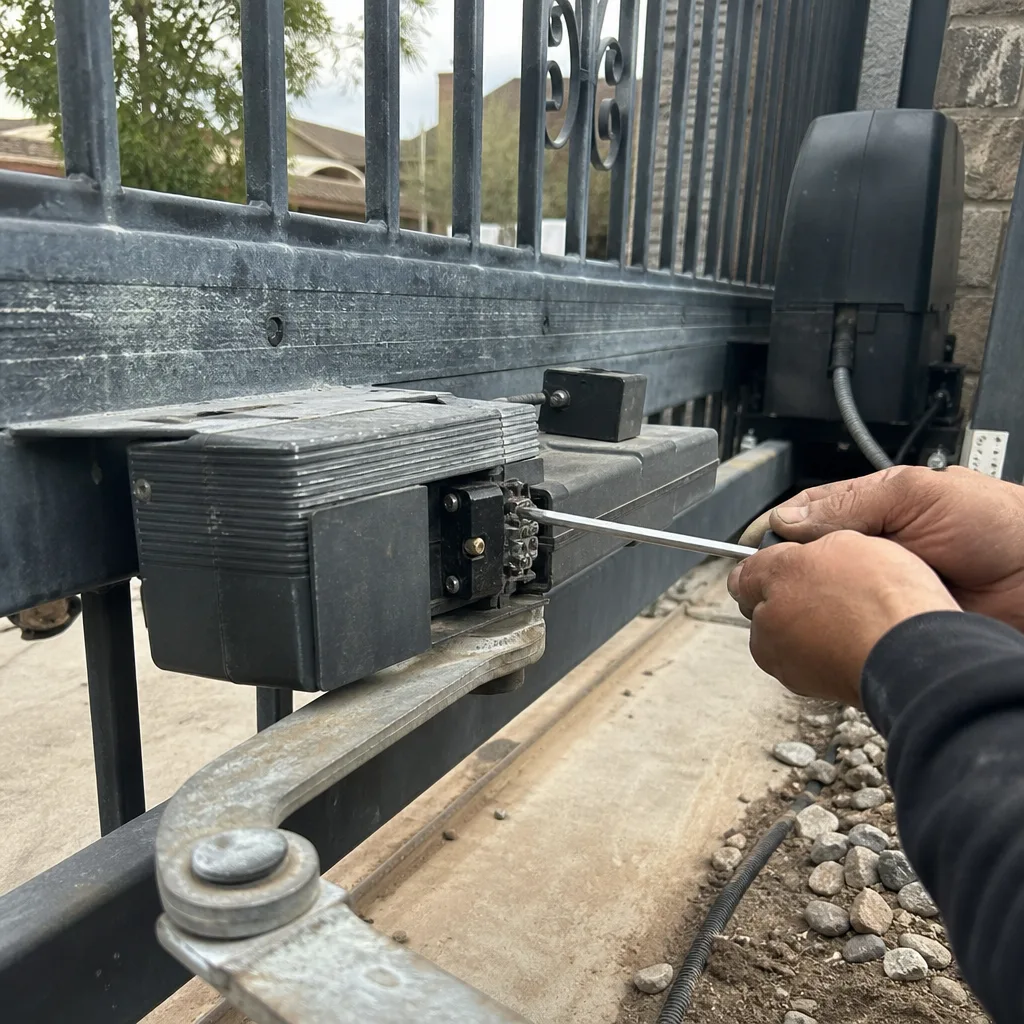
The operator is the innocent bystander in a weld failure. It’s sized to move a gate that swings on healthy hinges. When a weld seam starts to give, the gate doesn’t swing cleanly through its arc anymore; it drags, hitches at the failing hinge, and loads the motor harder on every cycle. On a swing operator, the arm fights the frame; on a slide operator, the track and rollers take the extra stress. The motor that was matched to the gate is now oversized-and-a-half.
What homeowners notice first is usually operator symptoms, not gate symptoms. The gate reverses randomly. The opener strains or hums at one specific point in the swing. The remote starts needing a second press. The limit switches drift and the gate over-travels before it stops. On a Linear or a Ghost Controls unit in particular, we’ve seen a barely-visible hinge-weld issue present as a “motor problem” that went away entirely once the weld was re-done and the gate was back in plumb. The motor was fine. The gate was loading it.
That’s why our operator service always starts with the gate, not the unit. If you call us about a balky motor, we’ll check the weld seams and the hinge play before we touch the operator, and we’ll tell you plainly if the operator is actually at fault. If it is, we work on all the common brands – LiftMaster, FAAC, BFT, Linear, Viking, Ghost Controls, DoorKing, Elite, and Mighty Mule – so we don’t steer you toward a replacement you don’t need.
What Whitney’s Desert Climate Does to Gate Parts and Welds
Whitney’s swings between dry summer heat and the occasional winter rain or overnight moisture, and the desert dust that settles into every horizontal surface on the gate holds that moisture against the metal. The result is uneven wear. The bottom rail and any weld seam low on the gate sees more moisture than the top, and the hinge stile collects dust that traps water against the weld bead. That combination is why, in our experience, weld-seam scale on a Whitney gate is most often found at the bottom rail corners and the lower hinge bracket, not up top. It’s also why daily shade vs. full-sun exposure changes how fast a given seam corrodes.
The desert heat adds a second factor. Metal expands in the afternoon and contracts at night, and any joint that is already loose will widen the gap when the metal is hot. A gate that looks fine at 9 a.m. can show a visible crack at 2 p.m., and homeowners look at the same gate at the same time every day and never see the change. We recommend the monthly walk-around happen at a different time of day than the last one, at least once a quarter, so the temperature cycle doesn’t hide the seam.
If you’re planning a full Gate Installation in Whitney, we spec the steel gauge and the weld prep for the climate, and we document the seams photographically so the next inspection has something to compare against.
Parts That Wear First and How to Spot Them
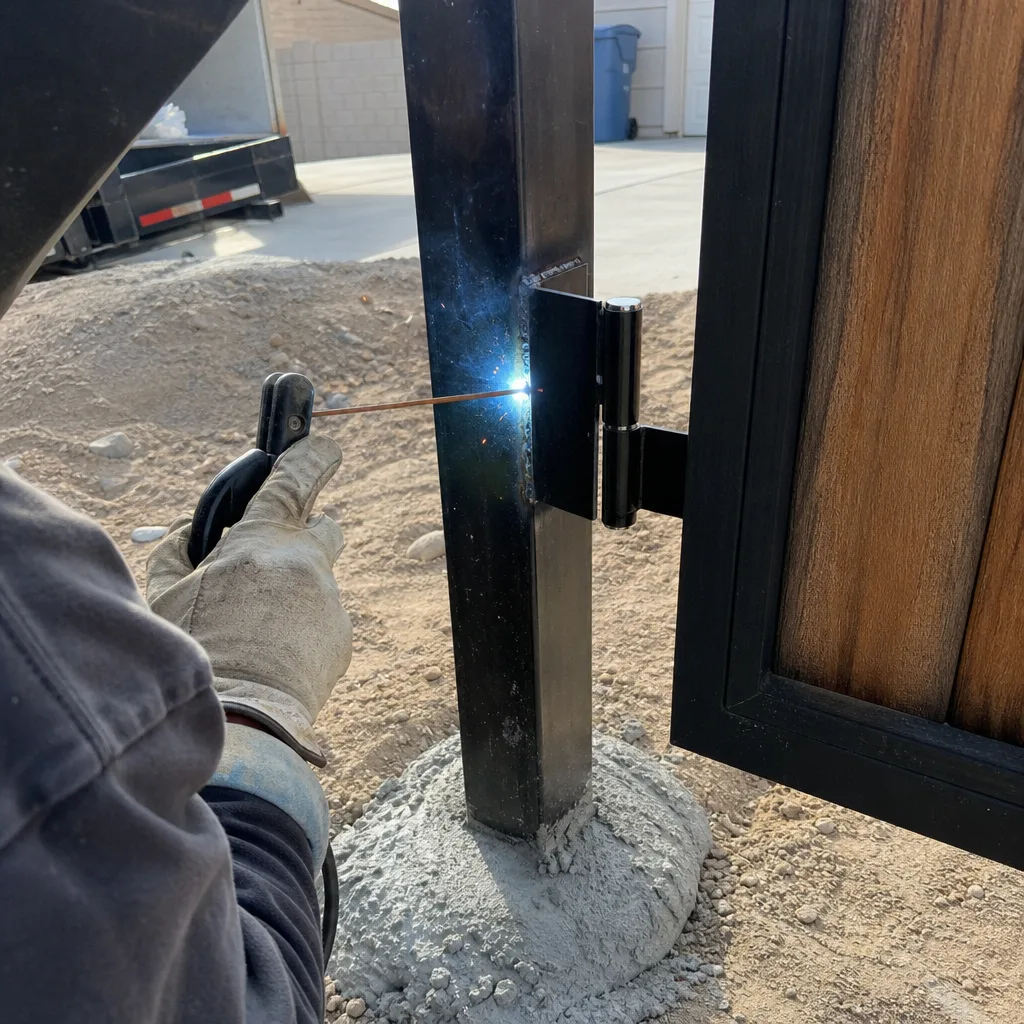
The parts that fail first are predictable. You don’t need to know every model number – you need to know where to look.
- Hinge pins and bushings: the moving surface inside the hinge. Wobble at the hinge and a squeak that comes back after lubrication are the signs. Worn bushings let the gate sag at the free end.
- Hinge brackets and their welds: the welded joint between the bracket and the stile. Scale, a hairline crack, or the bracket sitting angled is the sign. Full separation is a stop-operating condition.
- The bottom rail and its corners: the lowest weld seams on the gate. Crusty scale, stretched metal, or a crack at the corner weld is the sign. This is where Whitney moisture does its work.
- The latch and receiver: the alignment of the striker. A latch that needs a lift or a shove to catch usually means the gate has dropped, not that the latch is broken.
- The post footings: the ground line where the post meets the slab. Cracks radiating out, a post tipping out of plumb, or a gap at the base plate are the signs.
- The operator’s limit switches and arm bracket: the setting that tells the motor where to stop. Over-travel, short-travel, or a bracket that has shifted on the gate are the signs. These are usually set during service and documented.
One part we don’t advise homeowners to touch is the spring or counterweight system on a self-closing gate. It stores energy, and the forces involved can hurt someone who is working without the right tools. If your gate is hard to push or slams shut, that’s a professional inspection, not a weekend job.
Common Mistakes to Avoid
- Treating weld-seam scale as cosmetic rust. A wire brush and a coat of paint will just hide the fissure; the joint will keep moving underneath it, and the repair will be more expensive later.
- Greasing a gate that pops. Lube quiets a squeak; it won’t fix a clunk. Chasing a structural movement with grease just delays the diagnosis.
- Assuming a sag is always a hinge. In Whitney, a lot of “sag” that shows up on the free end is a footing issue, and adjusting hinges on a shifting post means you’ll be back in three months.
- Continuing to run an automated gate with a cracked hinge weld. This is the expensive one. The operator often pays for the delay with a motor or limit-switch failure.
- Taking the word of a verbal estimate. If a gate repair quote doesn’t itemize the weld, the parts, and the photos, you have no way to compare it to the next one. The Haven Standard exists so the price is on paper before a tool comes out.
- Skipping the baseline. Without a tape-measure baseline and a photographed seam, “the gate feels fine” is the entire record, and the next technician has to rediscover the problem from scratch.
- Hiring a welder who has never worked on a gate. Gate steel is structural and the welds need to be re-checked for frame twist after the work. A general welder is the right call for a patio railing, not always for a hinge stile under load.
See the difference
BeforeAfter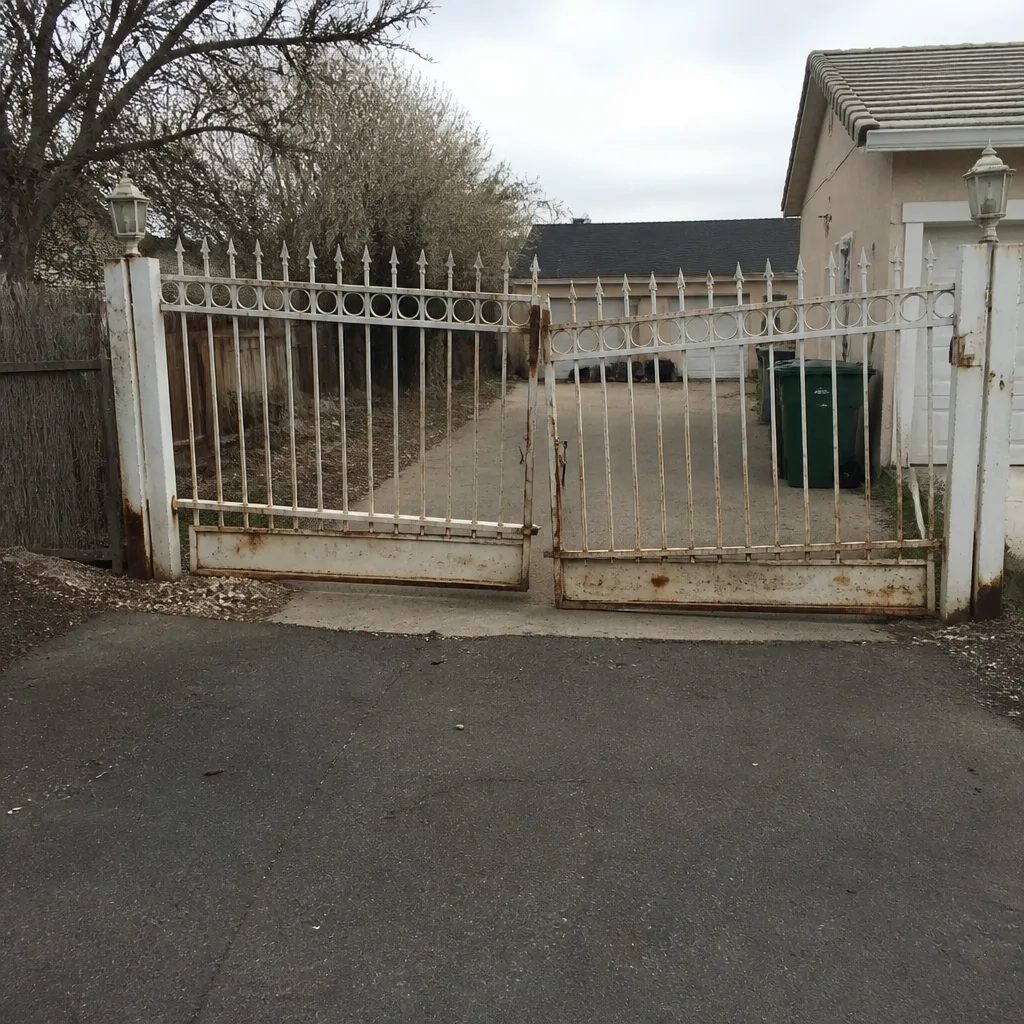 Before
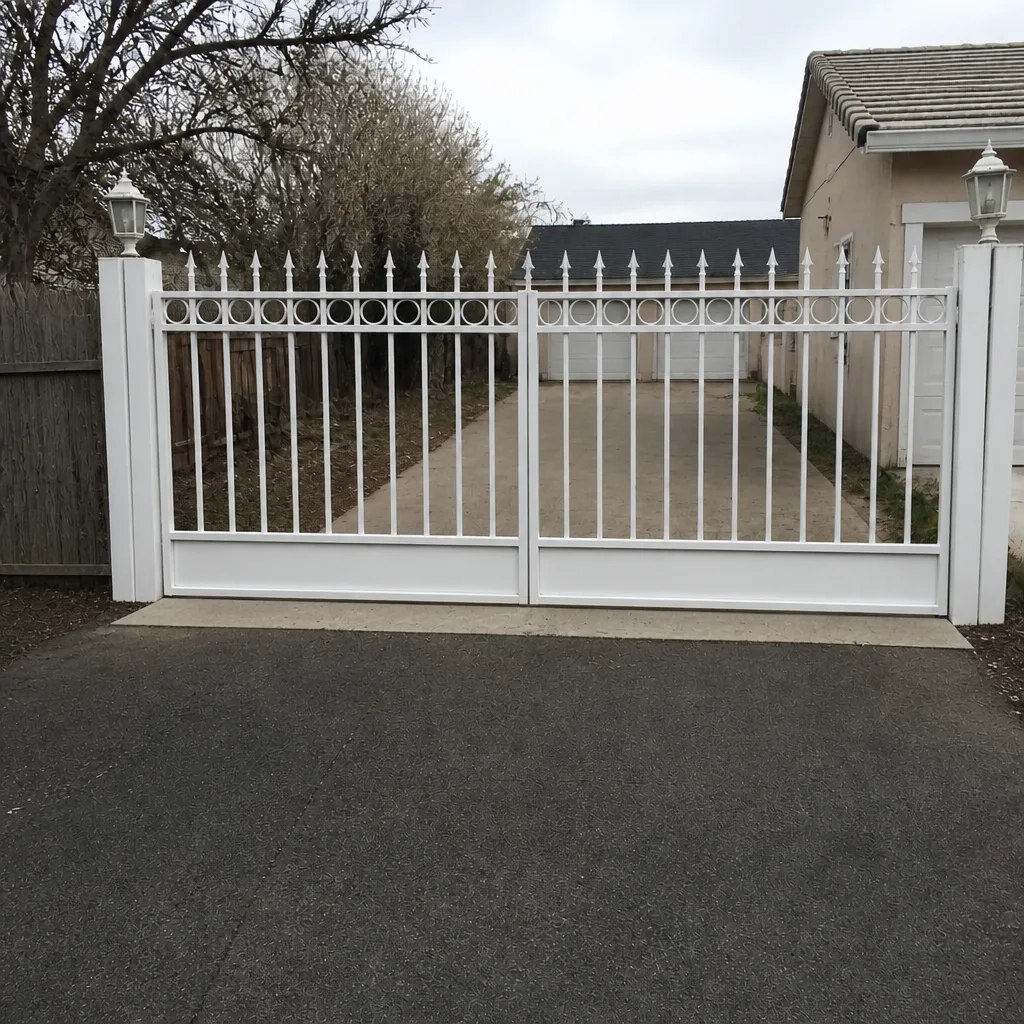 After
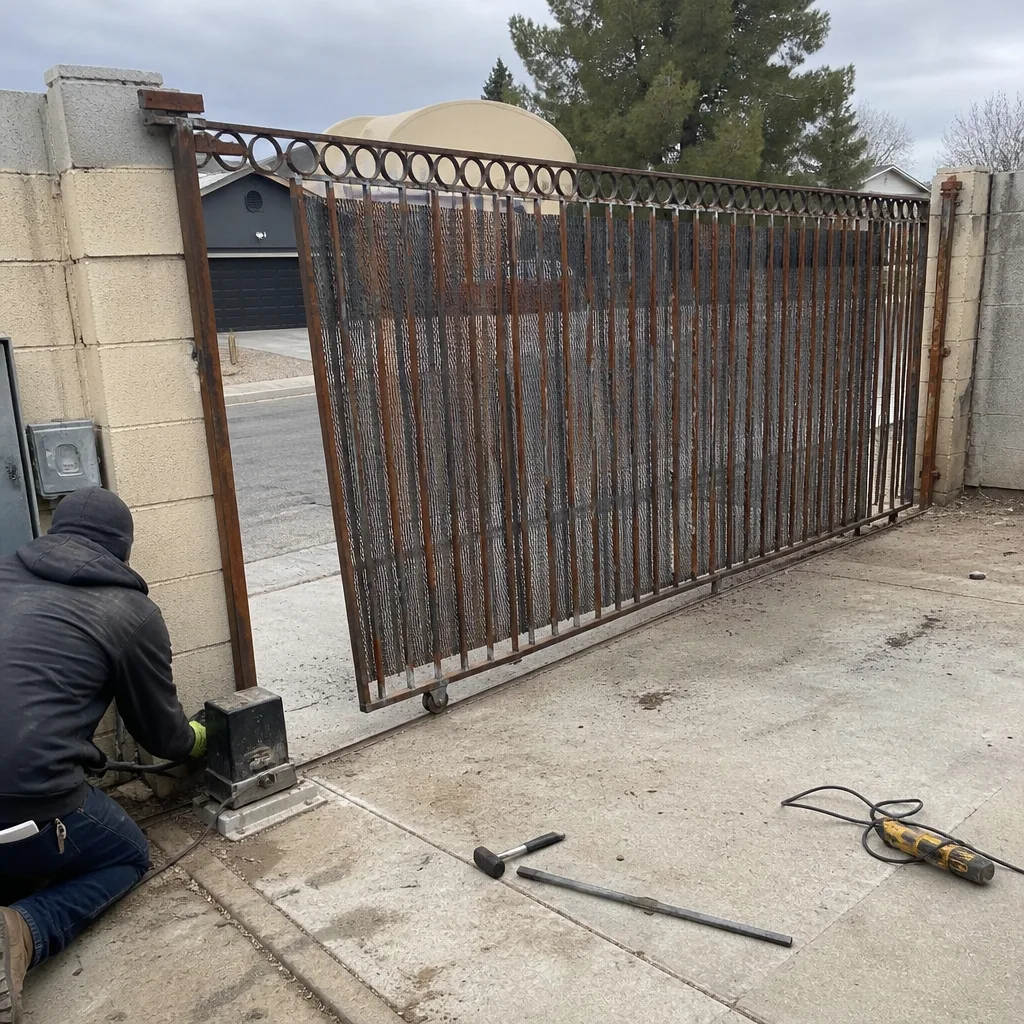 Before
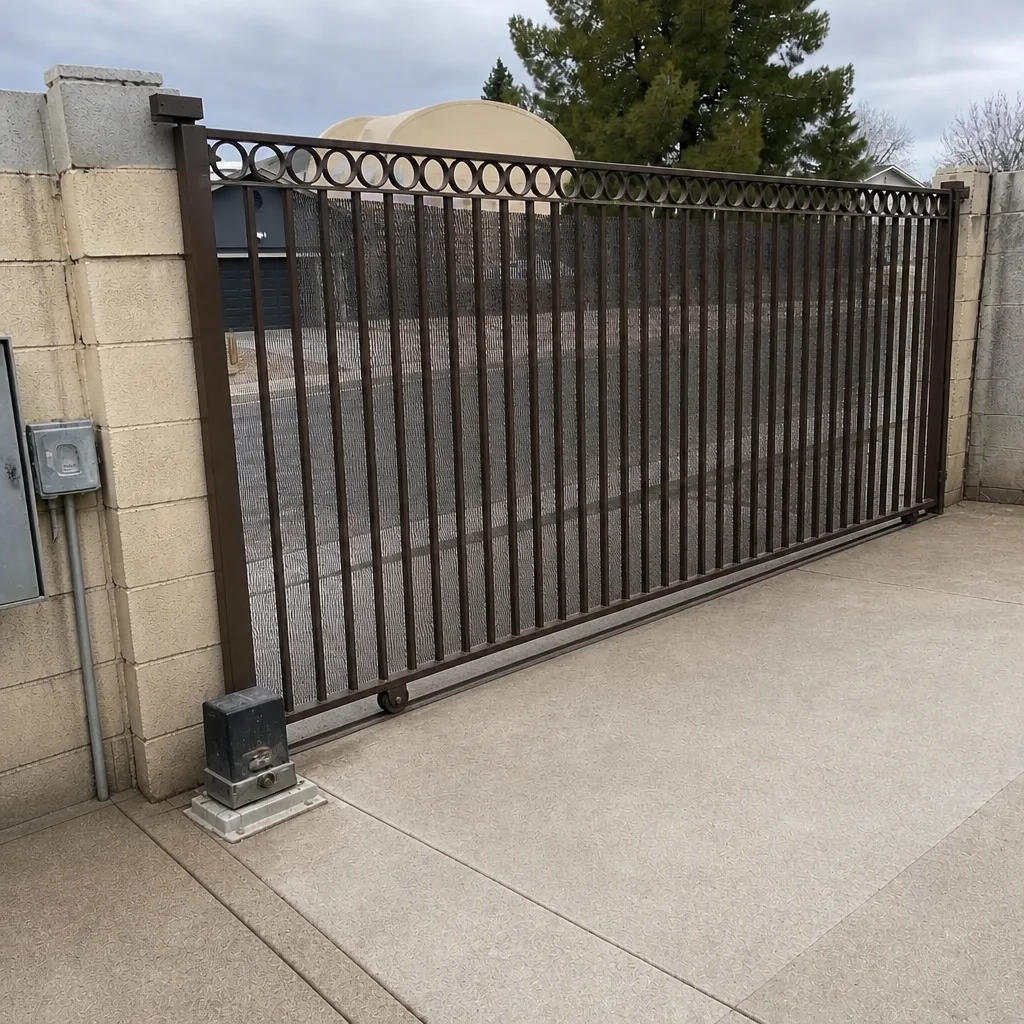 After
When to Call a Professional
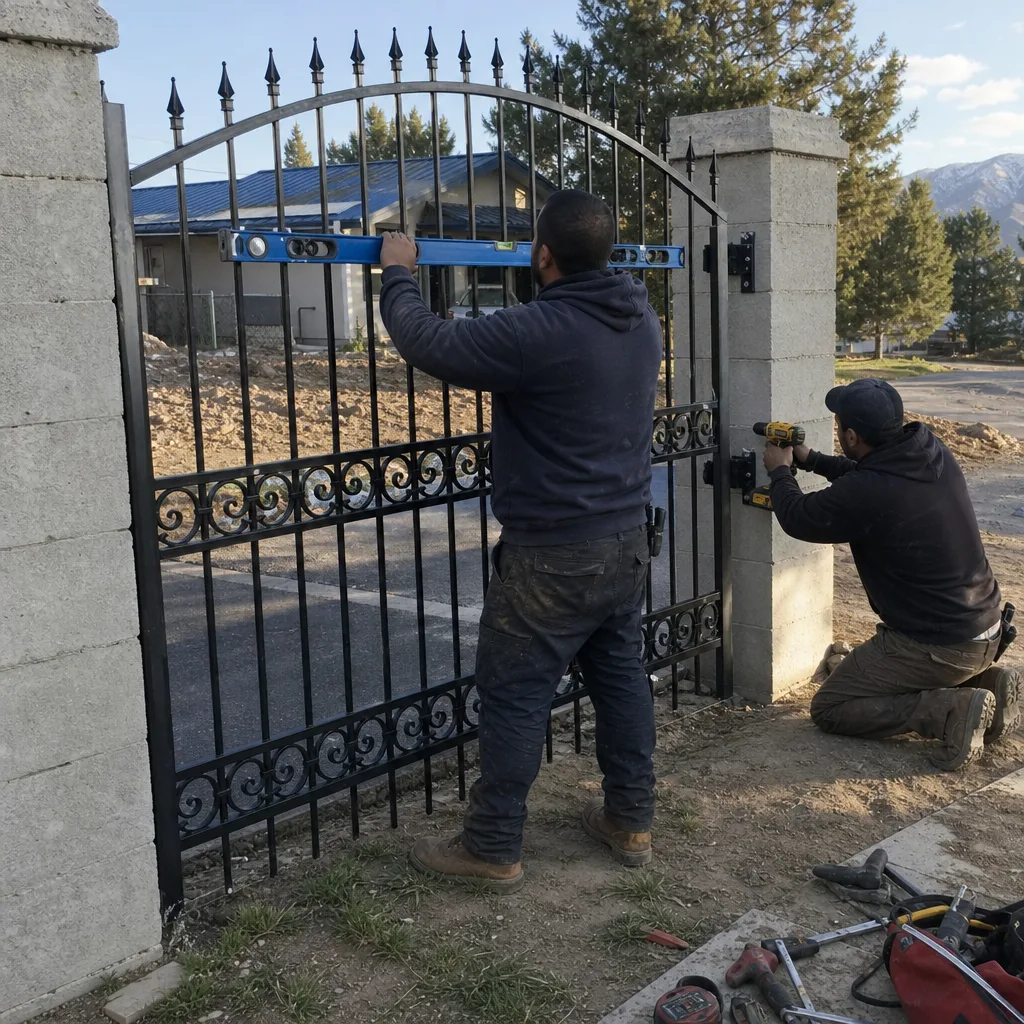
Call a professional when you find scale or a hairline crack at a weld seam, when your lift test moves the free end more than a quarter inch, when the gate pops or clunks under load, when the latch no longer lines up, or when a post has tipped or the base has cracked. Any of those is a structural signal, and each one gets more expensive with time. A weld re-done in the early stage is a routine repair; a stile or a post replacement after a failure is not.
Vance Gate Repair Whitney offers free estimates in Whitney. Every estimate comes with a written scope and a written price before any work begins, and every completed visit leaves a photographic record of what was found and what was set. Call (844) 797-4861 and a live person will answer, day or night. If you already have a written estimate from another company, bring it in – we’ll review it for free, second opinion, no cost, no obligation.
Frequently Asked Questions
Surface rust is flat, reddish, and sits on the faces of the metal; scale at a weld seam is raised, crusty, gray-brown, and confined to the joint line. Run your fingernail across the seam – if it catches in a crack or drops into a fissure, the joint is moving and structurally at risk. If it doesn’t catch, it’s surface corrosion and can be monitored. Call (844) 797-4861 for an exact assessment – estimates are free.
Most weld seam repairs we see run in the low-to-mid hundreds of dollars when they’re caught early, and climb toward the low four figures if a stile, post, or hinge bracket needs to be replaced after the weld has failed completely. The exact number depends on the steel and access. The written price is delivered before any work starts, so there are no surprises. Call (844) 797-4861 for an exact quote – estimates are free.
On repair and emergency calls, we aim to get a technician to you the same day, and a live person answers the phone around the clock, so you’re not leaving a message. If a hinge weld has fully separated, stop operating the gate now and call. Estimates are free and there’s no charge for the call. Reach us at (844) 797-4861.
No. A hinge stile is structural, the weld needs proper prep and full penetration, and the frame has to be checked for twist after the repair. A weld that looks fine from the outside can leave the joint moving underneath. Our technicians have up to 12 years of experience on gate steel and document the weld and the surrounding frame before we call the repair done. Call (844) 797-4861 for an exact quote – estimates are free.
Once a month, and it should take about five minutes. Run the lift test at the free end, check the latch alignment, wobble-test each hinge, and look at the ground line at each hinge post. Once a quarter, do the walk-around at a different time of day so the metal expansion doesn’t hide a seam. Call (844) 797-4861 if anything fails and we’ll get you a written estimate, free.
Yes. We work on nine of the major gate automation brands, including LiftMaster, FAAC, BFT, Linear, Viking, Ghost Controls, DoorKing, Elite, and Mighty Mule, so the goal is to work on the motor that’s already on the property rather than steer you toward a replacement. A photo of the control box and the operator arm is usually enough for us to identify it. Call (844) 797-4861 for an exact quote – estimates are free.
The Bottom Line
The gate problem that gets expensive is the one nobody named early. Scale at a weld seam, a quarter-inch change in your sag measurement over six months, a pop under load, a latch that stops lining up – each of those is visible and audible long before the gate fails. Five minutes a month with a tape measure, a fingernail, and a walk from the hinge post to the free end is all the early warning you need. Full hinge-weld separation is the one sign that means stop operating the gate and call. Everything else is a fixable repair when it’s caught while it’s a repair. If you’re reading this from Whitney and any of the checks above left you uneasy, we’d rather look at it now.
Contact
Call (844) 797-4861 for a free estimate. A live person answers around the clock. Every Vance Gate Repair Whitney estimate arrives with a written scope and a written price before a tool comes out, every visit leaves a photographed record of what we found and what we set, and every completed repair is backed by the 365-Day Done Right Promise: one full year for us to make it right at no additional charge. That’s the Haven Standard, and it applies to every gate we touch in Whitney. For broader context on what we handle, see the Vance Gate Repair Whitney home page.
Written by the team at Vance Gate Repair Whitney.