
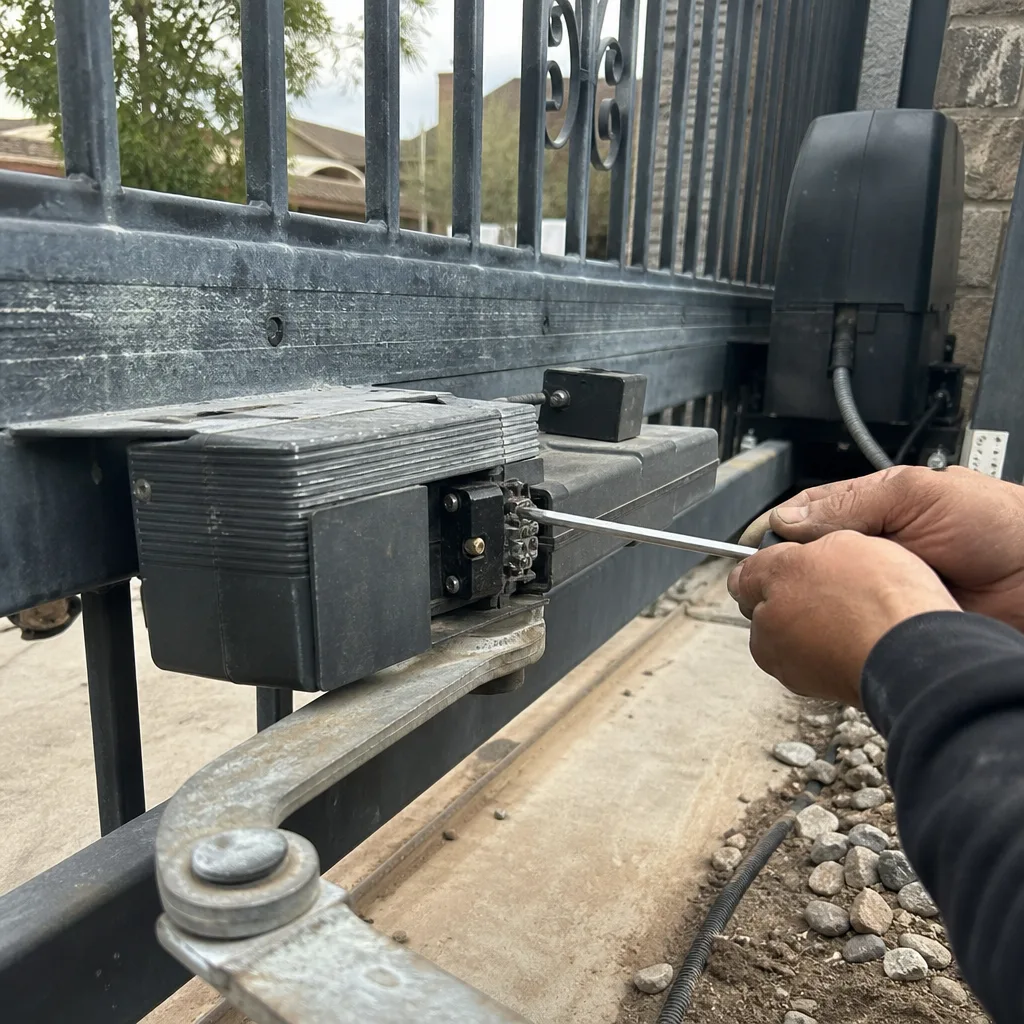
Last updated November 18, 2026
 Wrought iron
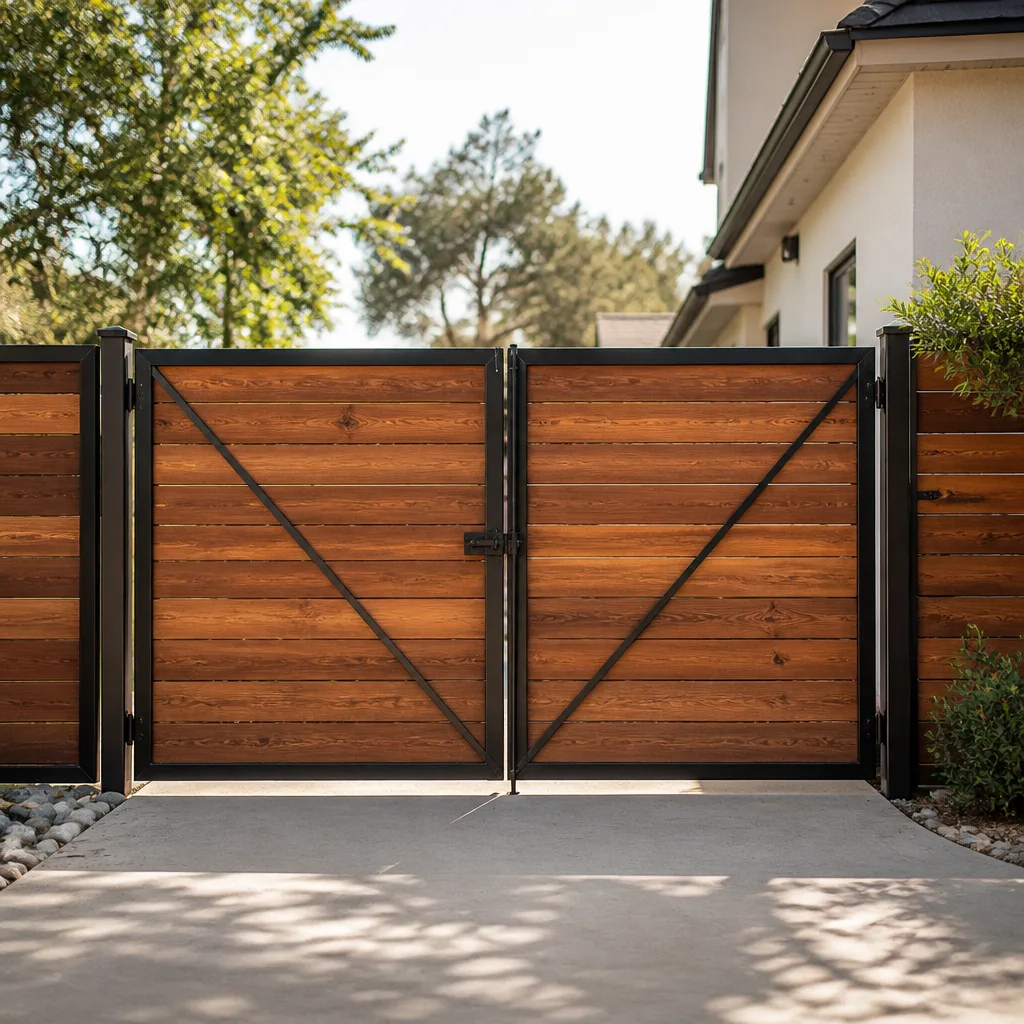 Wood & steel frame
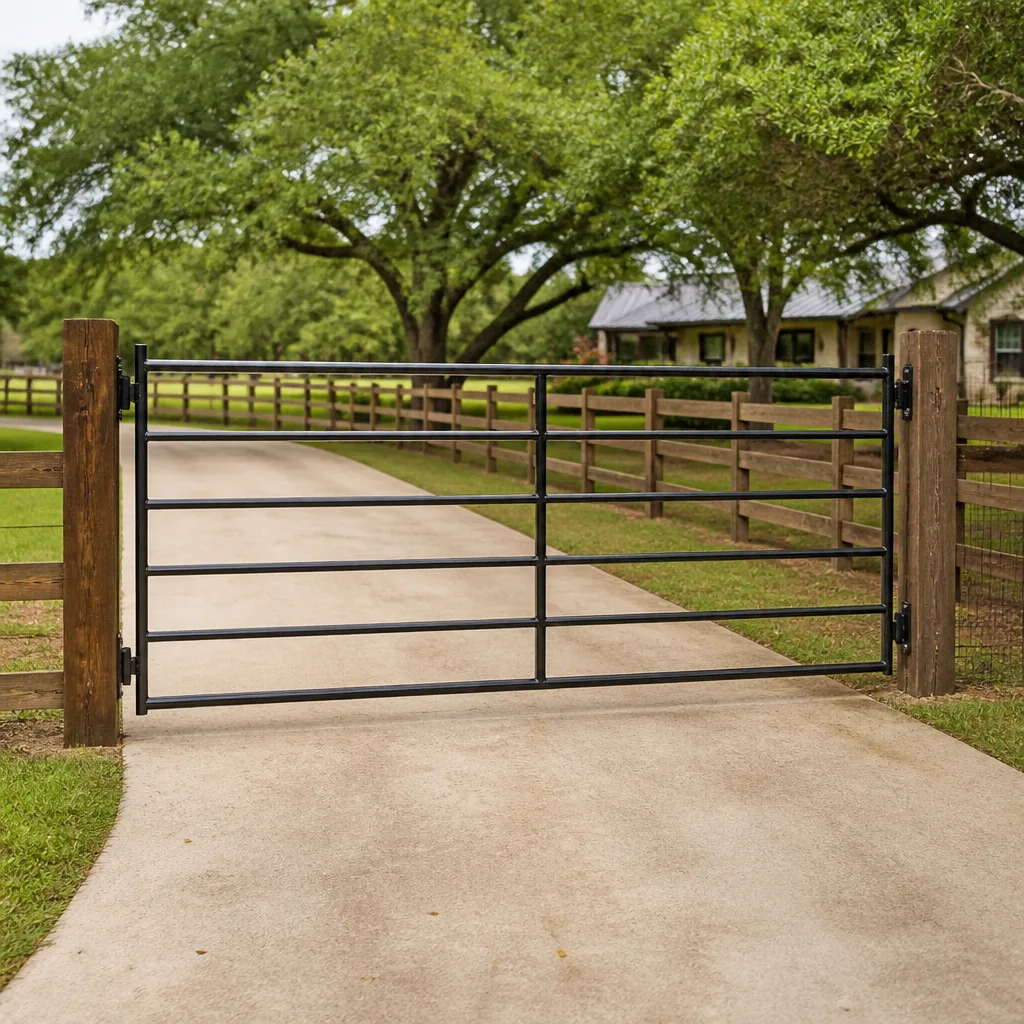 Farm & ranch
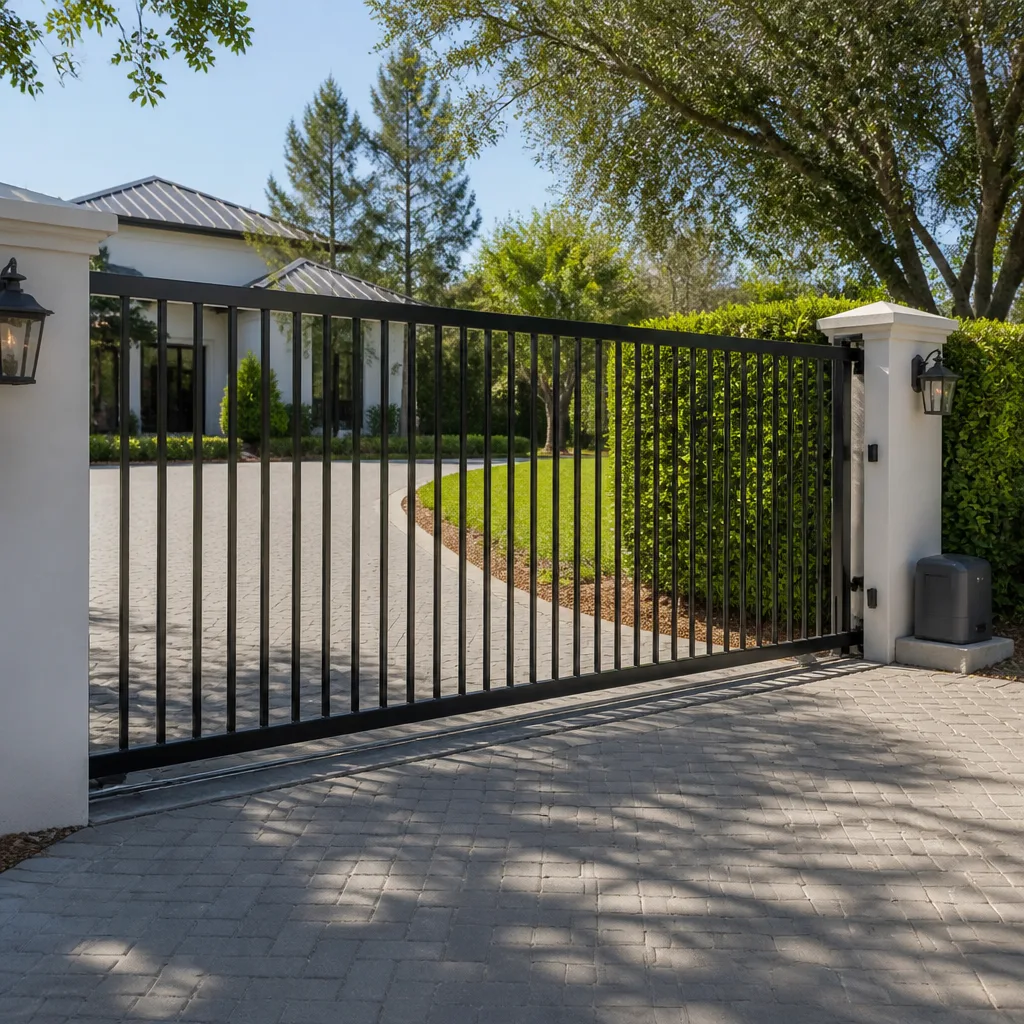 Sliding driveway gates
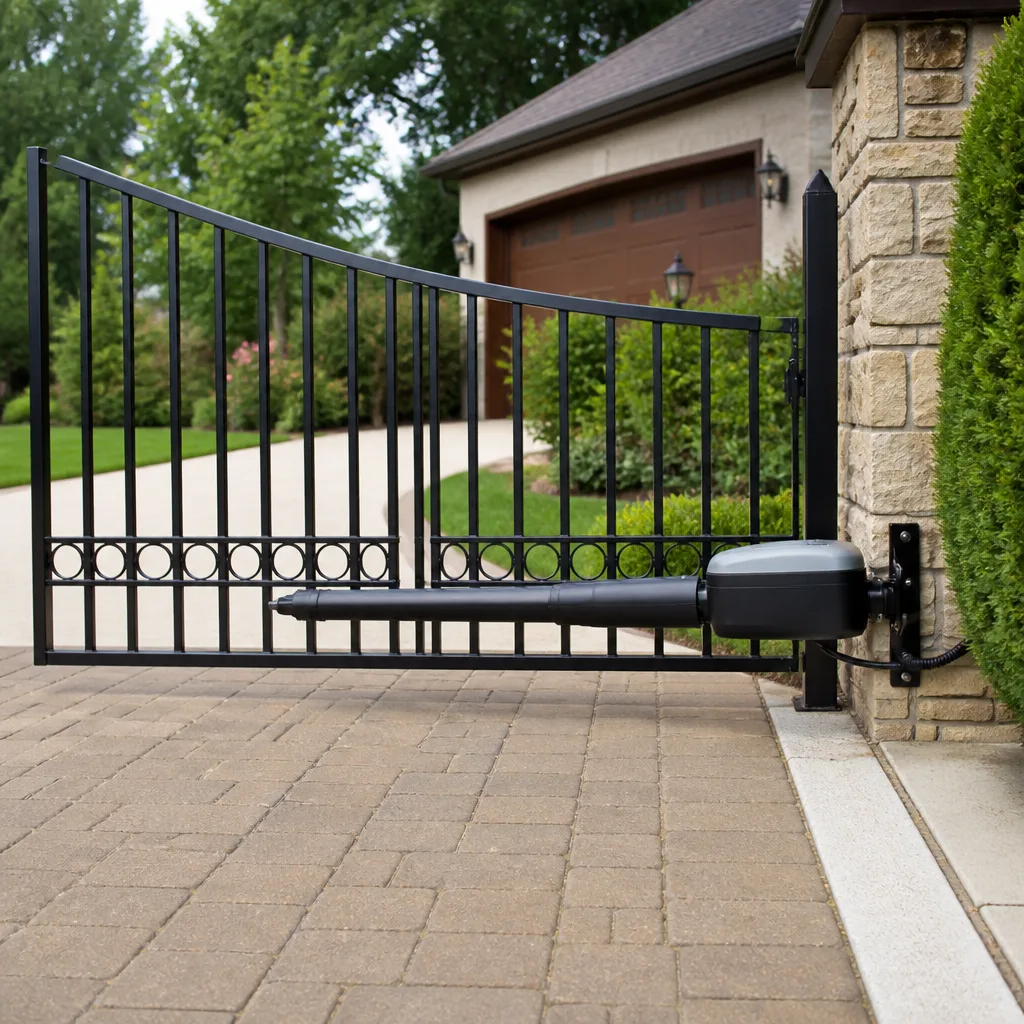 LiftMaster operators
Free on-site gate assessment - hinges, posts, and your LiftMaster or Nice gate operator checked before anything is quoted
The assessment is free and the quote is the invoice.
Get your free estimateGate Motor & Opener Troubleshooting: Common Problems and How to Fix Them
When a gate stops mid-travel and reverses, the instinct is “motor problem.” In our experience, it almost never is. The actual cause is usually a misaligned photo-eye (the infrared beam that stops the gate if something crosses the path) or a limit switch that drifted after the gate settled into its posts – both diagnosable in under ten minutes without a single tool. We’ve run thousands of service calls and the pattern holds: most gate “failures” are sensing and calibration issues, not dead motors. This guide walks you through the checks that catch those problems first, how to read your control board’s fault codes in plain language, and the point where a technician should take over. If you’re in Whitney, the caliche-hard ground and summer heat push gate hardware harder than most homeowners expect, which is exactly why the diagnostic order matters.
Quick Answer
Most gate motor problems come down to three culprits: a limit switch that drifted out of position, a photo-eye knocked out of alignment, or a backup battery that reads full voltage at rest but sags under motor load. Check sensors and limits before assuming the motor is bad. If the gate won’t move at all, check the breaker and the manual release before anything else. True motor and control-board failures are far less common than the internet suggests.
Styles & brands we work with
- Wrought iron
- Wood & steel frame
- Farm & ranch
- Sliding driveway gates
- LiftMaster operators
Table of Contents
- Symptom-First Diagnostic Tree
- Reading Fault Codes on Common Control Boards
- Testing Battery Backup Under Load
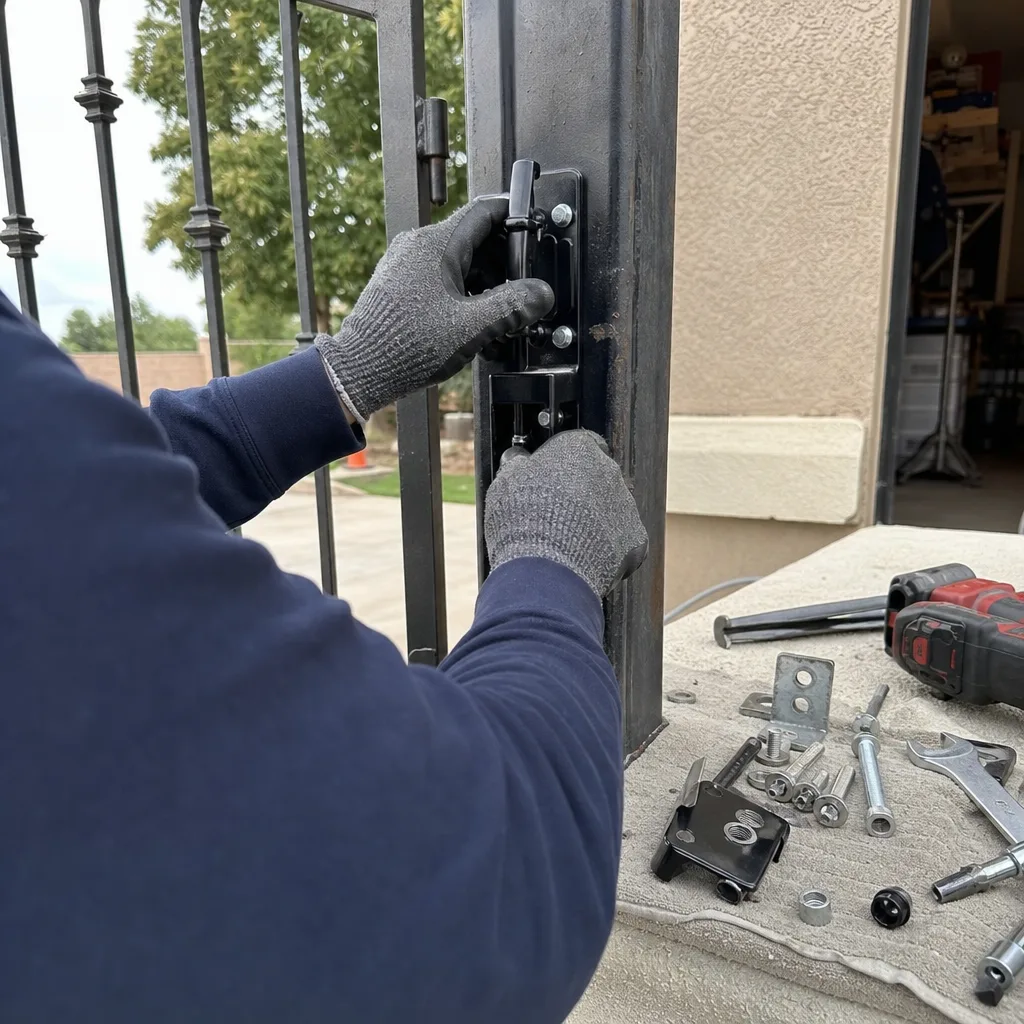
- Adjusting Limit Switches: Linear Actuators and Rack-and-Pinion
- Photo-Eye and Obstruction Sensor Alignment
- Homeowner-Serviceable vs. Technician-Required
- Common Mistakes to Avoid
- When to Call a Professional
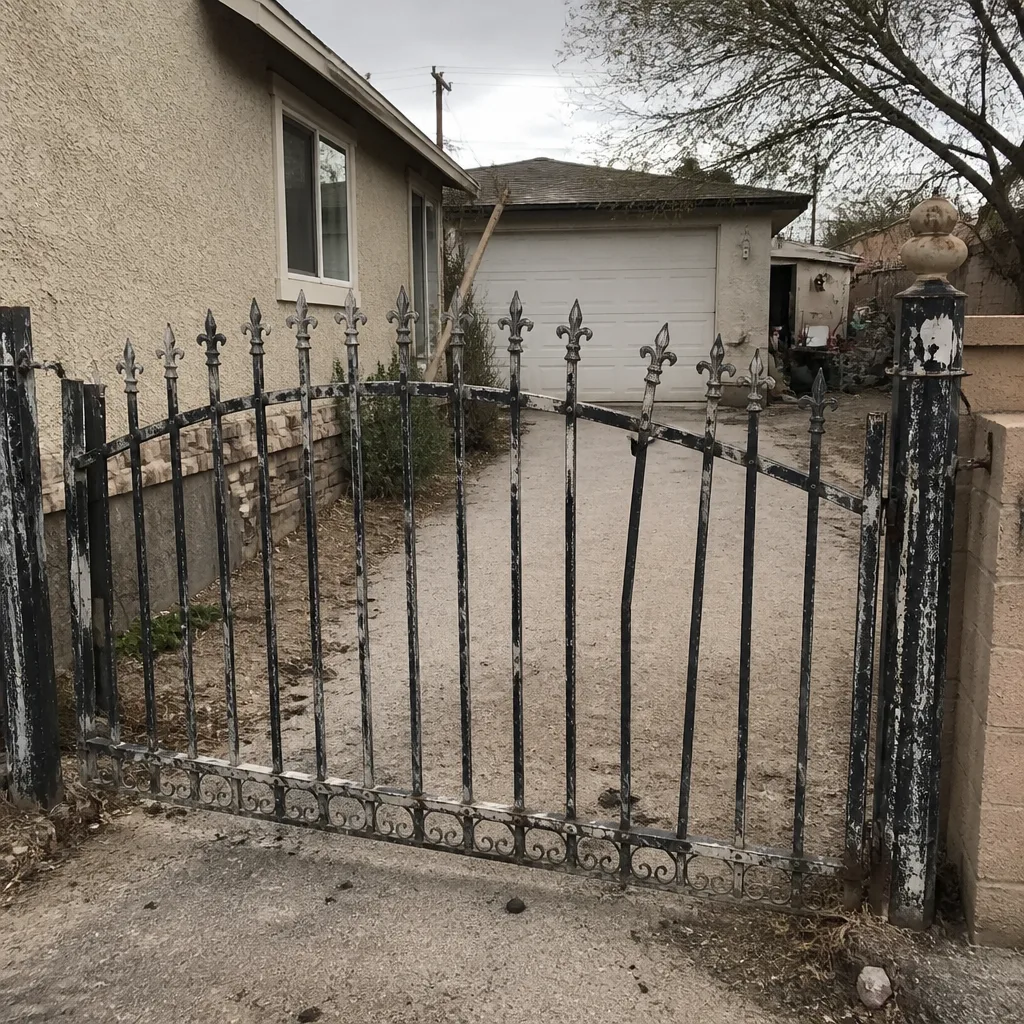 Before
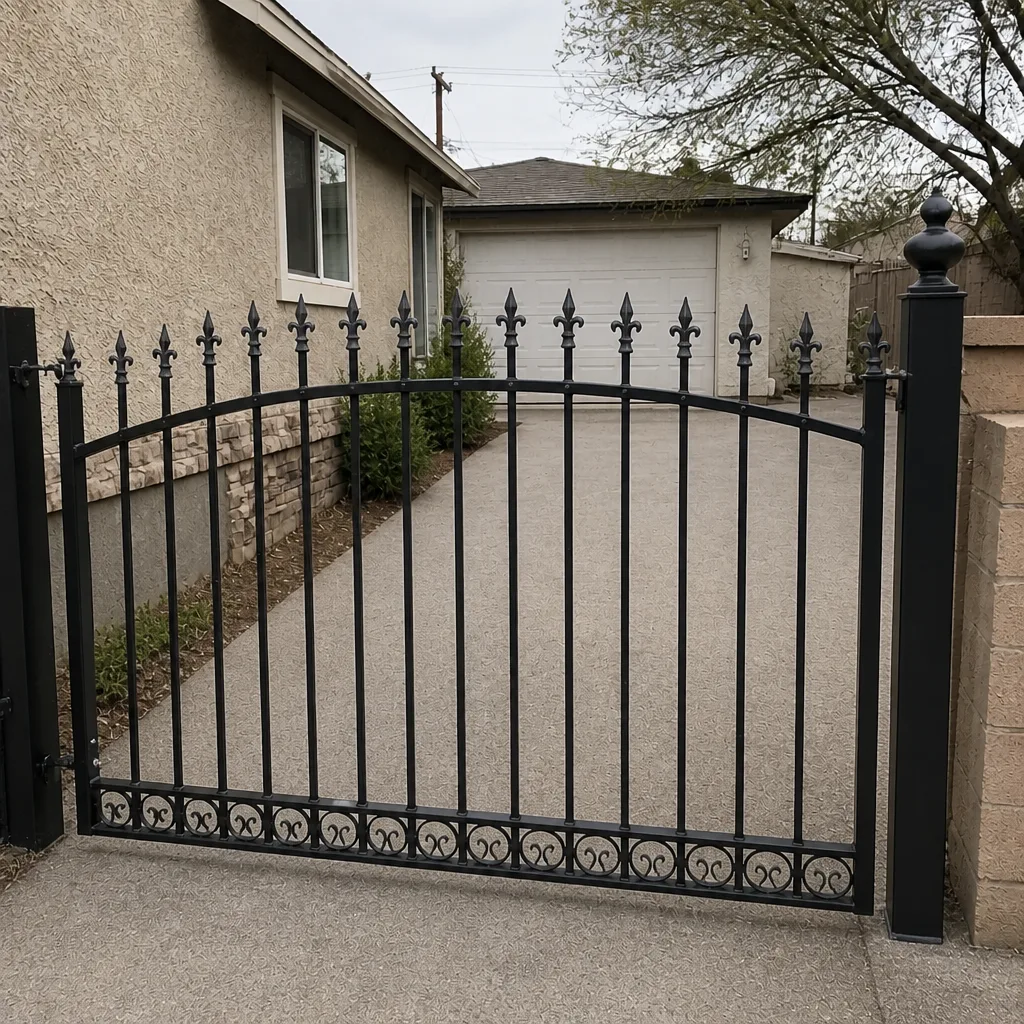 After
Symptom-First Diagnostic Tree
Start with what the gate is doing, not what you think is broken. Each symptom below points to two likely causes and one first check you can do in minutes. This is the same order our technicians work in, and it prevents the most expensive mistake in gate repair: replacing a motor that was never the problem.
Gate won’t move at all
- Likely cause 1: Tripped breaker or dead power supply at the control box.
- Likely cause 2: Manual release lever engaged (the gate is in free-hand mode).
- First check: Open the control box, confirm the breaker, and check the manual release lever position. Both take under two minutes.
Gate moves, then reverses mid-travel
- Likely cause 1: Misaligned photo-eye. The beam breaks and the board reads it as an obstruction.
- Likely cause 2: Limit switch set past its intended travel point.
- First check: Wipe both photo-eye lenses and check that the alignment LED is solid, not flickering. Then watch the gate’s reversal point – if it reverses at the same spot every time, suspect the limit switch.
Gate opens but won’t close
- Likely cause 1: A safety sensor is blocked or the beam is broken by debris, a leaf, or a shifted post.
- Likely cause 2: Reversed wiring at the control board (a common symptom after a power outage or board swap).
- First check: Clear the path and check the sensor LEDs. If both are solid, test the close command at the board’s manual button.
Gate closes but won’t open
- Likely cause 1: Open limit switch not triggering, so the board doesn’t register the open cycle.
- Likely cause 2: A stuck or failed open-direction relay on the board.
- First check: Manually trip the open limit switch and see if the board responds.
Gate moves slowly
- Likely cause 1: Low battery voltage under load, especially on solar and backup setups.
- Likely cause 2: Failing motor capacitor or worn drive gear.
- First check: Test battery voltage under motor draw (see the battery section below). If voltage sags below 11.8V during the cycle, the battery is the problem.
For a broader look at the repair categories we handle, see our Gate Repair in Whitney page. Most homeowners who work through this tree save themselves a service call and, more importantly, avoid paying for a part they didn’t need.
Reading Fault Codes on Common Control Boards
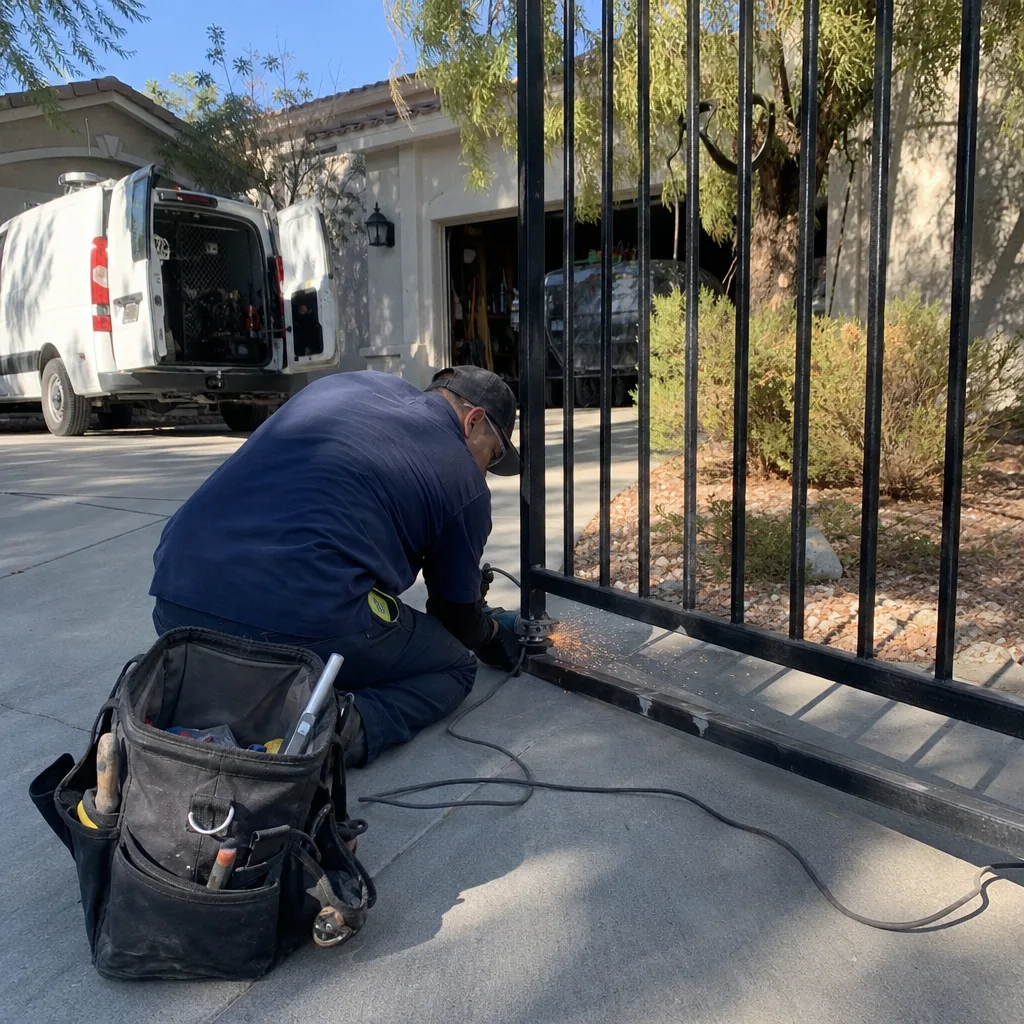
Control boards talk, but they speak in abbreviations. Here’s how to translate the three boards we see most often on residential gates. The codes differ by brand, so match the light pattern to your board before acting.
LiftMaster
LiftMaster residential gate boards typically flash the diagnostic LED a set number of times, pause, then repeat. Three flashes often mean a photo-eye fault or a wiring issue at the sensor terminal. Five flashes usually point to a limit-switch problem. A solid LED with a gate that won’t move often means the board is in a lockout state after a manual release event. The single most useful step: count the flashes carefully, twice, and write the number down before you do anything else. That number is the fastest path to the right fix.
FAAC
FAAC boards on 400-series and 390-series operators use a mix of LED patterns and error codes. A red LED that flashes slowly usually indicates an obstacle detection event. A rapid flash often means a limit-switch misread. FAAC’s documentation maps codes to specific terminals, and the exact code determines whether the issue is a sensor, a limit, or the board itself. If your gate uses a FAAC arm operator, the manual release position and the limit-switch calibration are usually involved in the “gate won’t close” symptom.
Viking
Viking boards on the K-series and L-series operators commonly display codes tied to the safety loop and the photo-eye circuit. A steady red LED on the photo-eye receiver means the beam is broken or misaligned. A code that appears only when the gate reaches a specific point usually points to a limit switch that needs adjustment rather than a board fault. Viking gate operators are common on residential swing gates, and their manuals include a code table worth keeping in the control box. If the manual’s gone, photograph the board model number and call us – we service Viking and can read the code from a photo in most cases.
Whichever board you have, the rule is the same: read the code, then check the sensor circuit before opening anything else. Nine times out of ten, the code points to a sensor or limit, not the board.
Testing Battery Backup Under Load
Here’s the test most homeowners get wrong. A battery can read a healthy 12.6V open-circuit and still fail the moment the motor draws current. That’s because open-circuit voltage says nothing about the battery’s ability to deliver amps under load. We’ve pulled dozens of batteries out of Whitney gates that read perfect on a bench and dropped below 10V the instant the motor engaged.
How to test it correctly
- Set your multimeter to DC volts and connect the probes to the battery terminals (red to positive, black to negative).
- Note the resting voltage. A healthy 12V lead-acid battery at rest should read between 12.4V and 12.8V.
- Keep the probes connected and trigger a full open or close cycle with the remote.
- Watch the voltage during the motor draw. Below 11.8V under load is a failing battery. Below 11.0V and the battery is done.
The loaded voltage is the only number that matters. If it sags, replace the battery before you touch the motor. On solar-charged setups, also check that the panel is getting sun and the charge controller is working. We’ve seen solar gates on the west side of Whitney fail every winter because a single shade tree cut the charge window. That’s a panel placement issue, not a battery issue, and swapping the battery won’t fix it.
Adjusting Limit Switches: Linear Actuators and Rack-and-Pinion
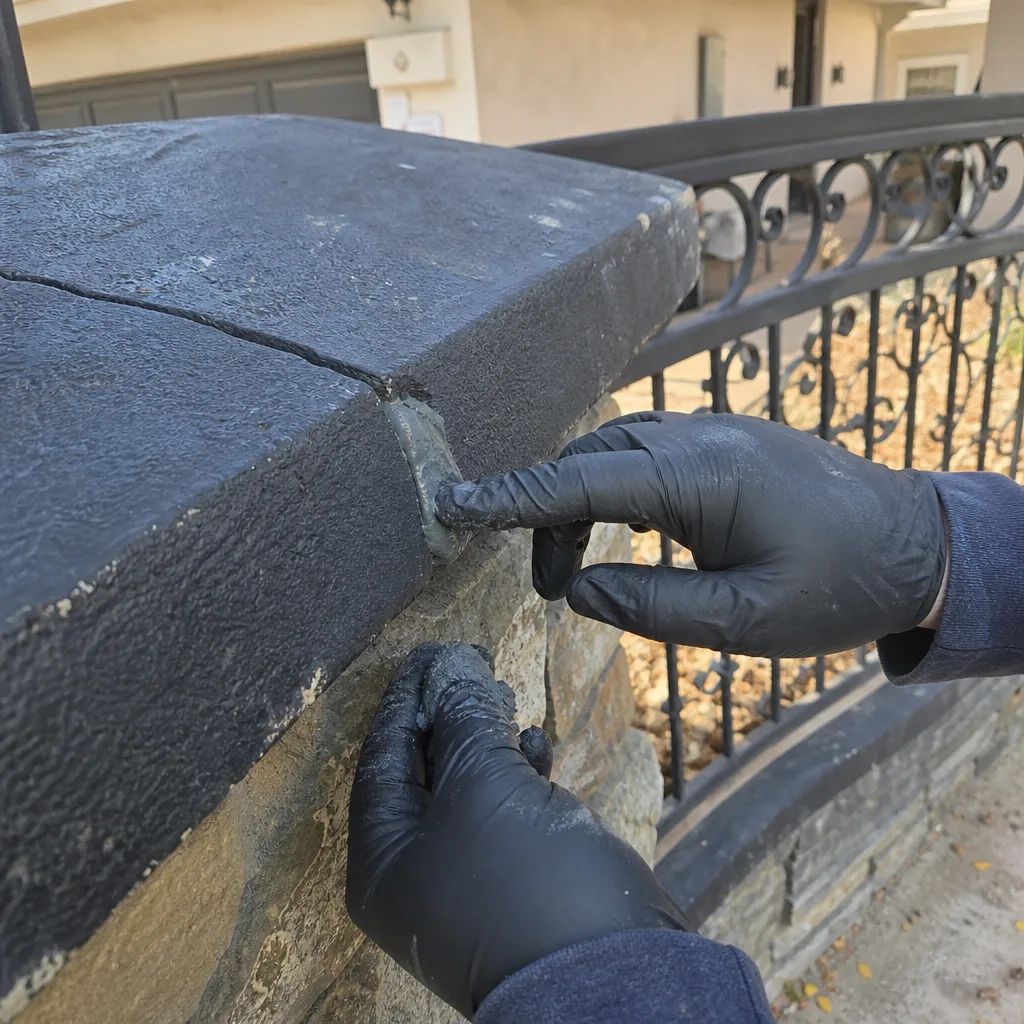
The limit switch tells the board “stop here.” When it drifts, the gate stops short or overruns its endpoint. Adjustment is a homeowner-level job on most residential operators, provided you work methodically and photograph the original position before moving anything.
For rack-and-pinion sliding gates
- Loosen the lock nut on the limit-switch cam with a 10mm or 13mm wrench (the size varies by brand – check your manual; Linear and Ghost Controls units commonly use 10mm).
- Note the direction of adjustment. To extend travel, turn the cam in the direction of gate movement. To shorten travel, turn it opposite.
- Tighten the lock nut firmly but don’t over-torque; the cam housing is soft aluminum on many units.
- Run a full open and close cycle and confirm the gate stops 1-2 inches from the physical stop. Not touching it, not 6 inches away.
- Photograph the new cam position and the gate’s stopping point on both ends. That photo is your baseline for next time.
For linear arm actuators
- Loosen the limit-switch screw on the arm’s travel channel.
- Move the switch toward the motor to shorten travel; toward the gate end to extend.
- Re-tighten and cycle the gate. Adjust in small increments – 1/4 inch is usually enough.
- Confirm the gate stops just before the physical stop on both ends and doesn’t grind against the post.
On the swing gates we service around Whitney, the most common cause of limit drift is post settling. Our soil shifts and hardens with the monsoon season, and a gate that was perfect in April can stop short by October. The fix is usually a minor limit adjustment – not a new motor. If you’re unsure which limit your operator uses, our Gate Motor & Opener in Whitney page covers the brands we service and how to identify your unit.
Photo-Eye and Obstruction Sensor Alignment
A photo-eye is two components: a transmitter on one side and a receiver on the other. The transmitter shoots an infrared beam across the gate opening; the receiver reads it. If the beam breaks – by a leaf, a misaligned post, or a person – the gate reverses or refuses to close. Misalignment is the most common gate fault we see, and it’s fixable in minutes.
How to check alignment
- Find the receiver (usually the unit with the LED). If the LED is solid, the beam is intact. If flickering or off, alignment or blockage is the issue.
- Wipe both lenses with a soft cloth. Pollen and dust coat them quickly here.
- Stand between the sensors and watch the LED as you move. If it flickers when you move, the beam is barely holding – a sign of misalignment or a weak transmitter.
- Loosen the mounting screws on the receiver and aim it slowly until the LED goes solid and stays solid.
- Tighten the screws and re-test with a full cycle.
Two inches of misalignment is enough to break the beam. If the sensor posts themselves are loose, fix the mounting before re-aiming – a wobbly post will drift again in weeks. On Whitney properties with decorative stone or masonry posts, we often recommend remounting the sensors to the gate post itself rather than the decorative row, since masonry shifts seasonally.
Homeowner-Serviceable vs. Technician-Required
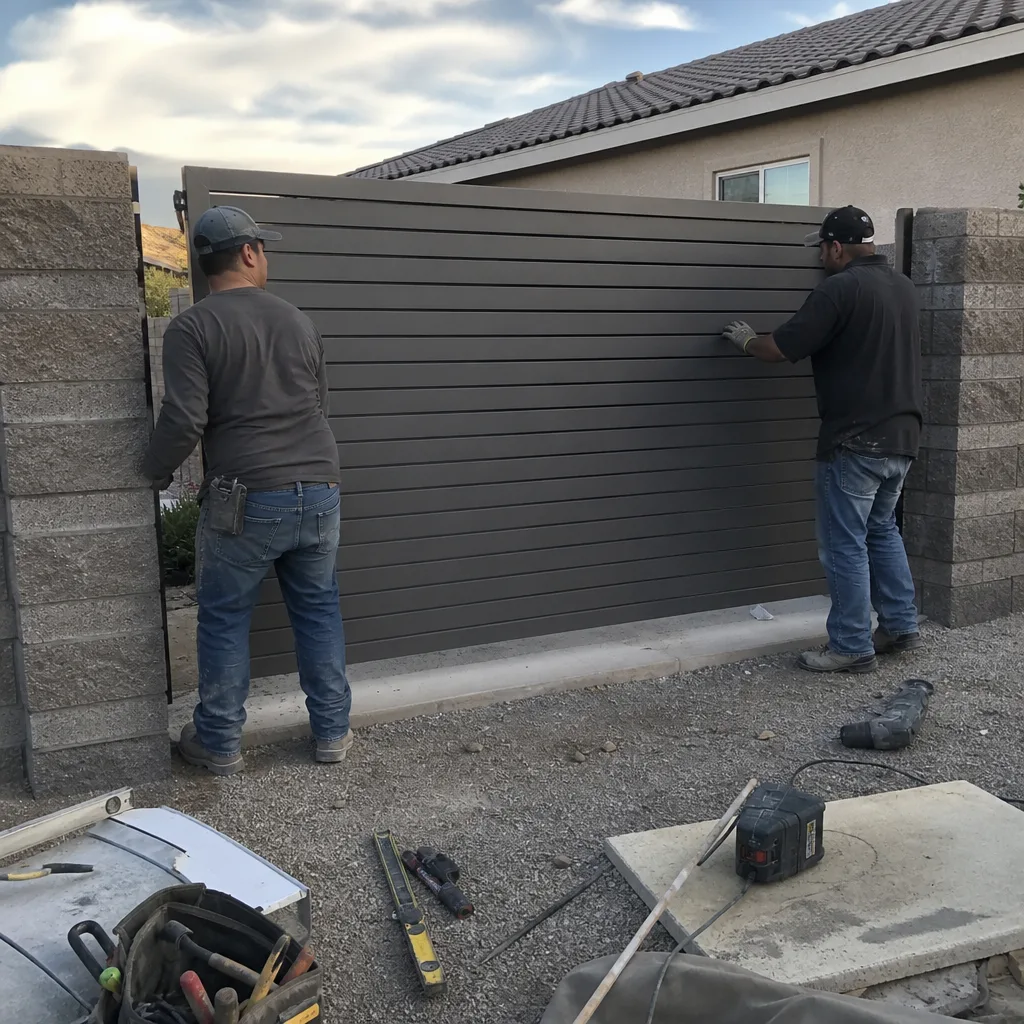
Knowing which side of this line you’re on saves money and prevents injuries. Here’s the breakdown we use on every call.
Homeowner-serviceable
- Cleaning and aligning photo-eye sensors
- Adjusting limit switches (with the manual)
- Replacing the backup battery
- Clearing obstructions from the gate path
- Checking and resetting a tripped breaker
- Photographing fault codes for a technician
Technician-required
- Motor capacitor replacement (discharge risk; requires the correct capacitance value)
- Control board swap (wiring order must match or you’ll damage the board)
- Buried conduit fault or low-voltage wire failure in the ground
- Arm bracket welding or re-anchoring to a shifting post
- Safety loop or access-control rewiring
- Any diagnosis after two or more failed resets
Two hard rules. First, don’t open the motor housing – the capacitor can hold a charge even after power is off, and improper discharge is genuinely dangerous. Second, don’t replace a control board without reading the fault code first; we’ve seen homeowners spend $400 on a board only to find the real fault was a $2 limit switch. If you’re at the edge of the list above, our team can help – the Vance Gate Repair Whitney home page gives you the full range of what we handle.
Common Mistakes to Avoid
- Replacing the motor before checking the sensors. Nine in ten “dead motor” calls trace back to a photo-eye or limit switch. Check both before spending anything.
- Testing the battery at rest only. A 12.6V open-circuit reading means nothing if the battery sags below 11V under load. Always test during a full cycle.
- Adjusting the limit switch without photographing the original position. Without a baseline, you can’t tell whether you moved it in the right direction. Photograph before you touch a thing.
- Ignoring the manual release lever. Half of “won’t move at all” calls are just a lever in free-hand mode – a 30-second fix that saves a service call.
- Mounting sensors to decorative posts. In Whitney, decorative masonry posts shift with the seasons. Mount the photo-eye to the structural gate post, not the surround.
- Running a gate with a broken safety edge. If the gate’s obstruction sensor or safety edge isn’t working, stop using the operator. A non-reversing gate is a serious hazard for kids and pets.
- Calling a company that prices after the work. Ask for a written price up front. Every Vance visit starts with the flat price handed over before any tool is picked up.
When to Call a Professional
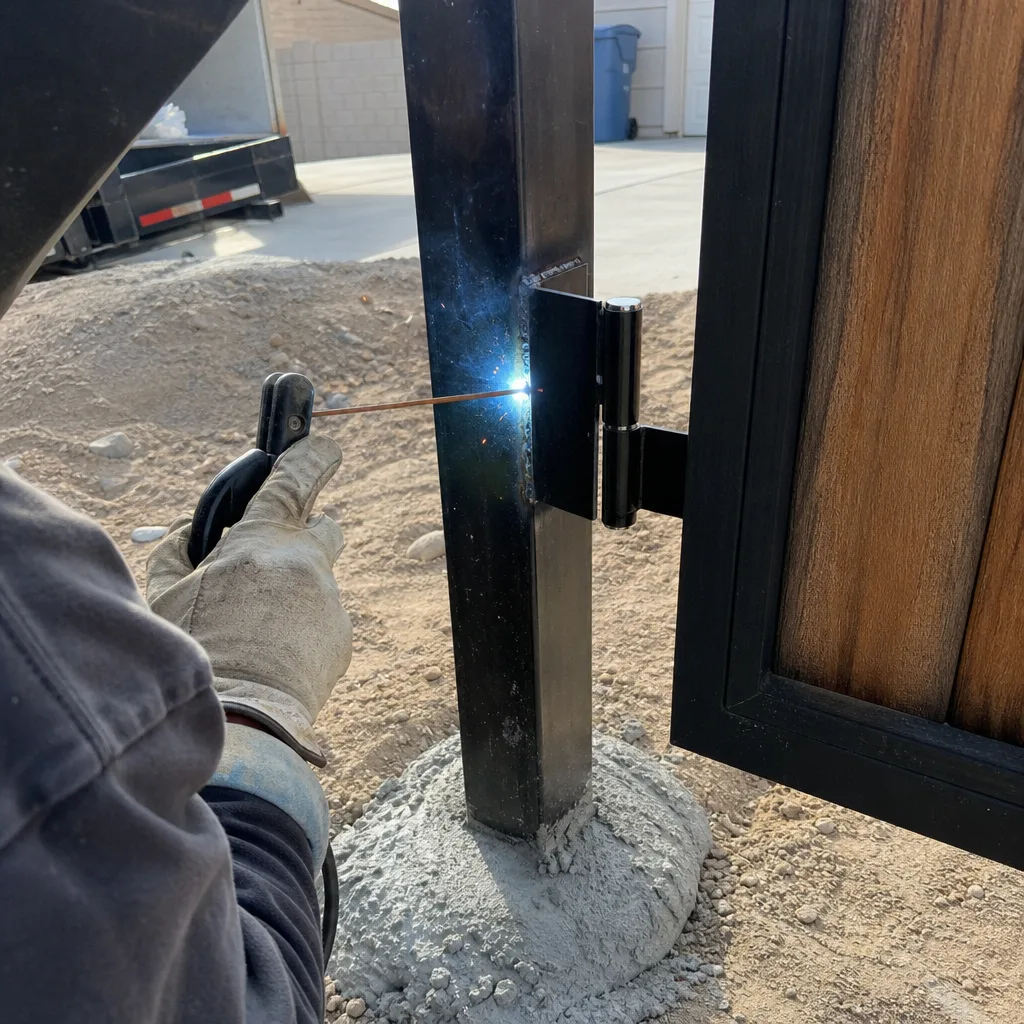
Call a professional when the gate won’t move at all after a breaker and manual-release check, when a fault code repeats after a sensor reset, when you smell burning from the control box, when a buried wire is suspected, or when the safety reverse feature fails. Those last two are urgent – a gate that doesn’t reverse on obstruction is a real hazard, and a shorted buried wire can damage the board beyond repair.
We’ve found that most of the “should I call?” questions come down to two failed resets. Try the reset once, then a second time after a sensor clean. If it still misbehaves, that’s the call point. Vance Gate Repair Whitney offers free written estimates in Whitney – call (844) 797-4861 and we’ll walk you through what you’re seeing before you commit to anything. Our technicians bring up to 12 years of experience and document every adjustment, so the next technician, or the next homeowner, doesn’t have to rediscover the same problem.
See the difference
BeforeAfter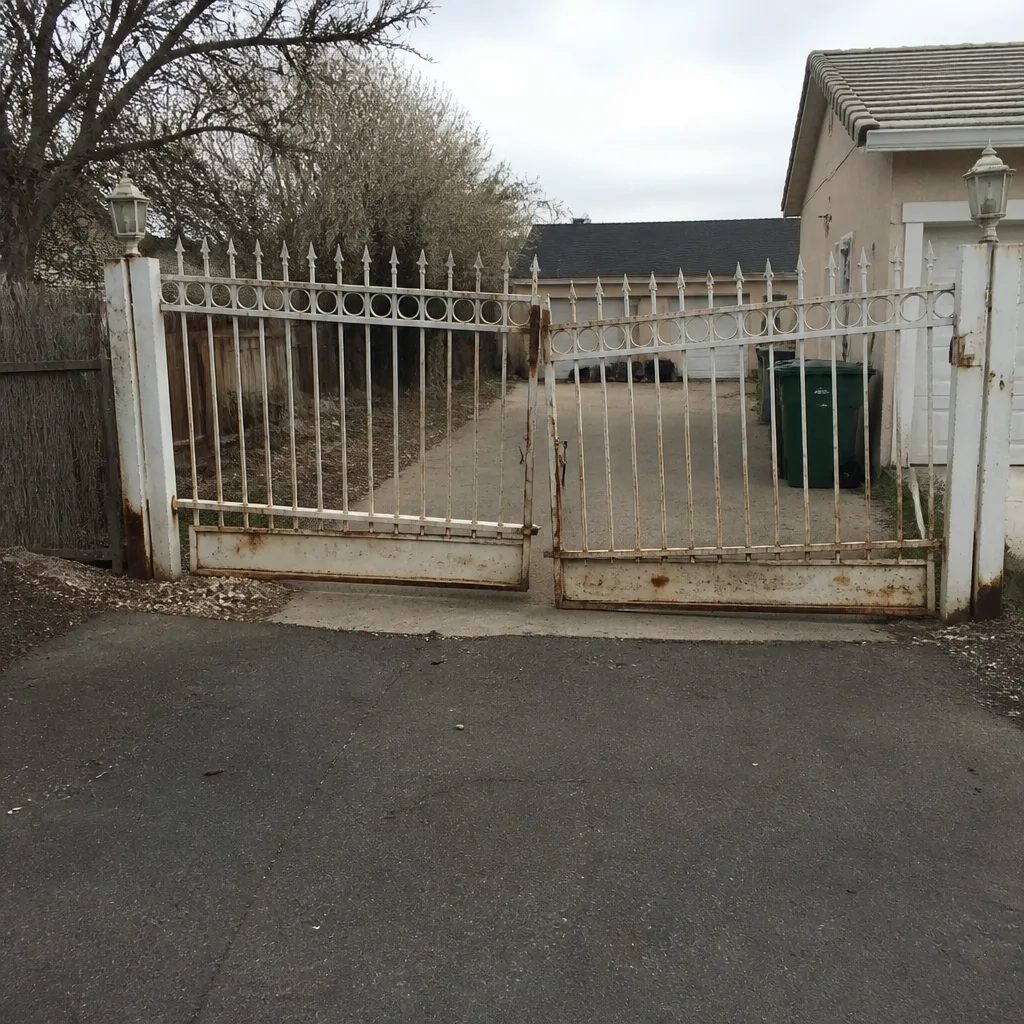 Before
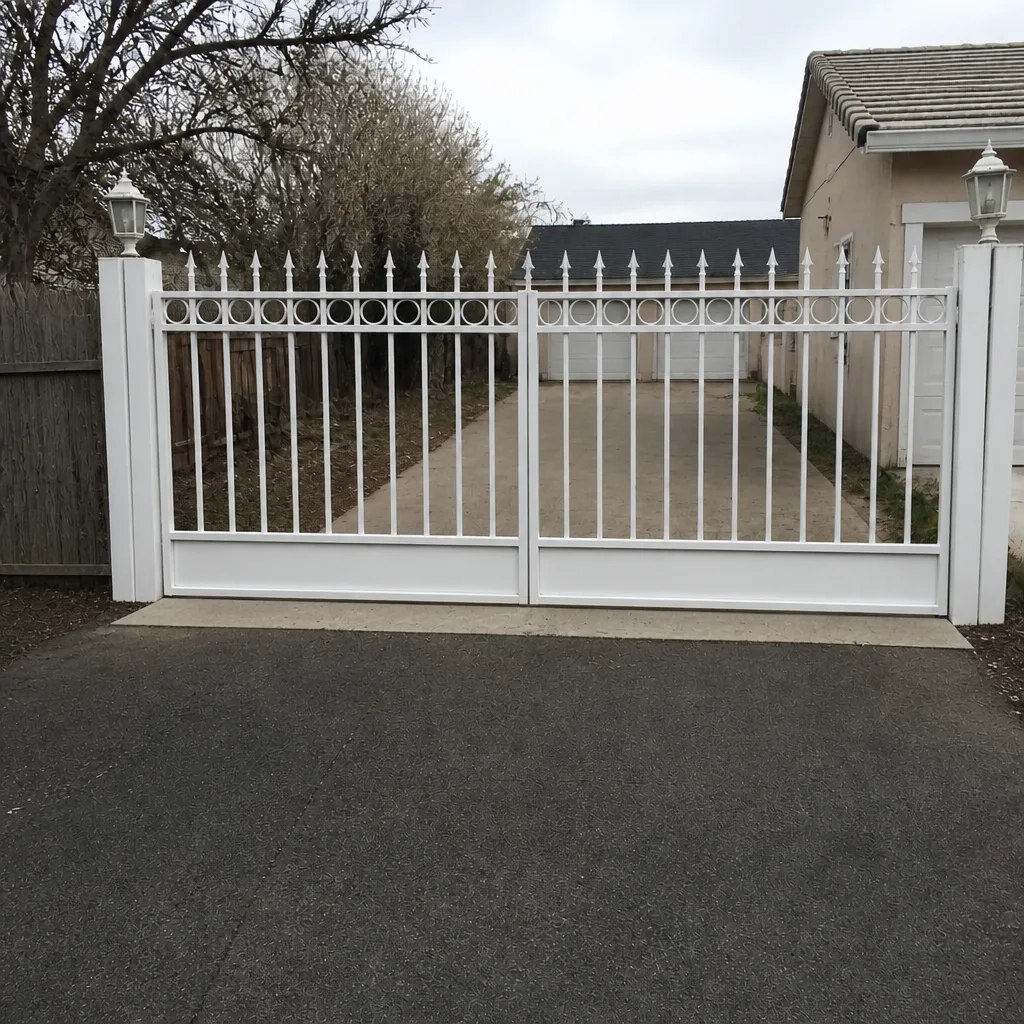 After
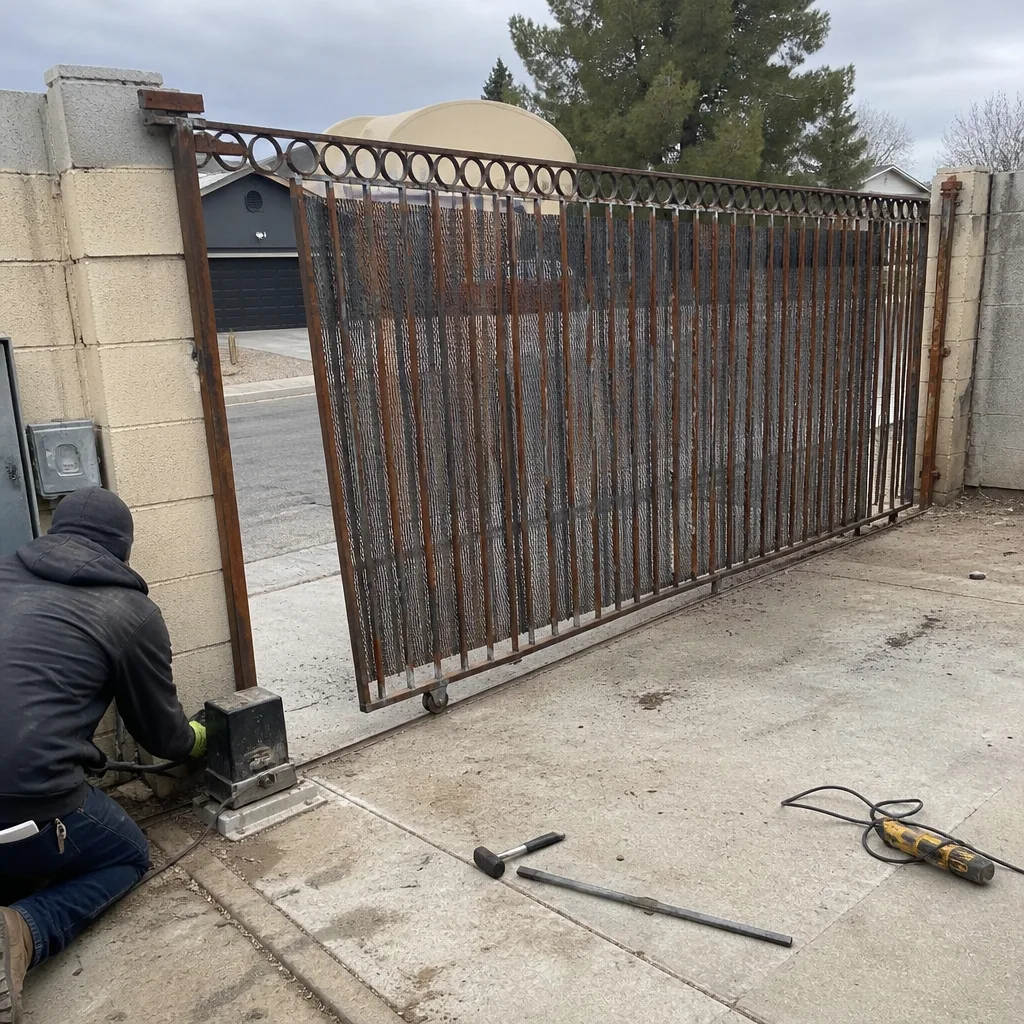 Before
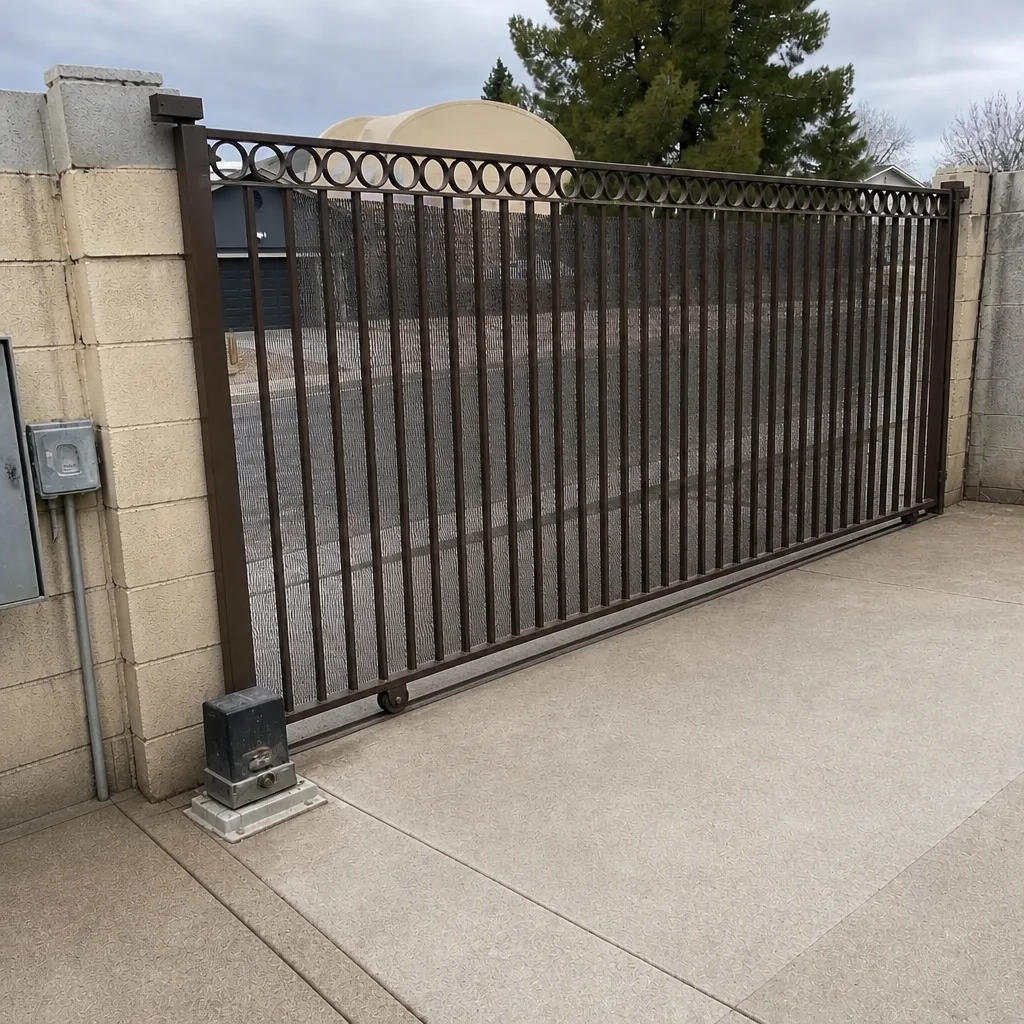 After
Frequently Asked Questions
A gate that opens but won’t close almost always has a blocked or misaligned safety sensor, or reversed wiring at the control board. Check the photo-eye LEDs first – both should be solid – then clear the path and test the close command at the board. If the LEDs are solid and it still won’t close, the wiring or the board is the next suspect. Call (844) 797-4861 for a free estimate if the sensor check doesn’t solve it.
Most gate motor repairs in Whitney run between $180 and $450 depending on the part and the brand. Limit switch and sensor fixes sit at the low end; control board replacement sits at the high end. We hand over the written price before any work starts, so you’re never surprised at the invoice. Call (844) 797-4861 for an exact quote – estimates are free.
Yes, on most residential operators. Turn off power at the breaker, photograph the wiring, swap the battery, and reconnect in the same order. The one thing to watch: test the new battery under load, not just at rest, to confirm it actually holds up during a cycle. If the battery is part of a solar setup and keeps failing, the charge controller or panel placement is worth a look.
A gate that reverses mid-travel is almost always reading an obstruction – either the photo-eye beam broke or the limit switch drifted past its endpoint. Check the sensor LEDs and the gate’s reversal point. If it reverses at the same spot every time, the limit switch is likely the cause. Same-spot reversal is the strongest signal to check limits before sensors.
We service nine major gate-automation brands, including LiftMaster, FAAC, BFT, Linear, Viking, Ghost Controls, DoorKing, Elite, and Mighty Mule. That means we can work on the motor that’s already on your property rather than steering you toward a replacement. Call (844) 797-4861 with your model number and we’ll confirm before we arrive – estimates are free.
Yes, on most residential operators, provided you turn off power first and photograph the original position before moving the cam. Limit adjustment is a homeowner-level job on sliding and swing gates alike. The work that isn’t safe for a homeowner is the motor capacitor and the control board – both require a trained technician. If you’re unsure which side your adjustment falls on, we can walk you through it.
The Bottom Line
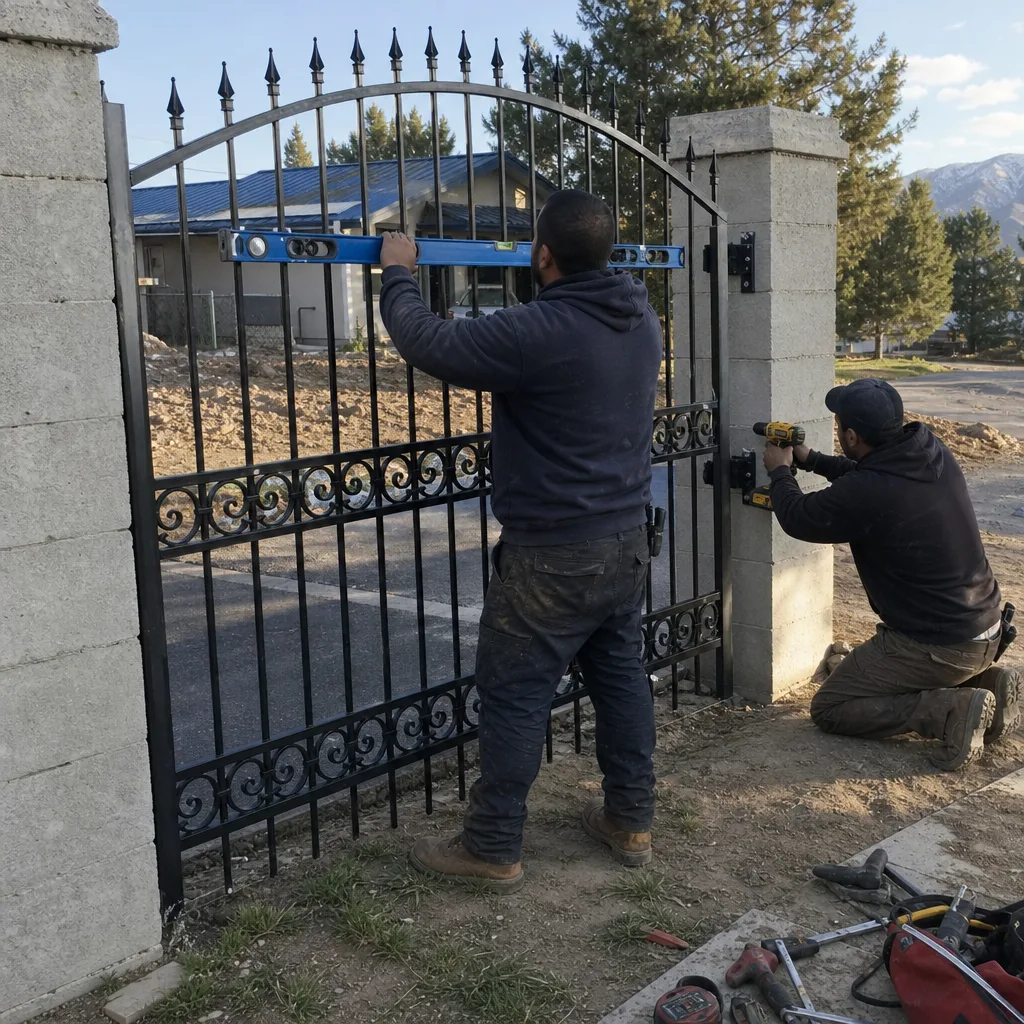
Most gate problems aren’t motor failures. They’re limit switches that drifted, sensors that got knocked out of alignment, or batteries that pass a rest test and fail under load. Work the symptom tree in order: sensors first, limits second, battery under load third, board and motor last. Document what you find – a photo of the original limit position and a note of the fault code saves hours and prevents repeat spending. Know the line between homeowner-serviceable and technician-required, and don’t cross it for the capacitor or the control board. When resets stop working, that’s the call point. Our Gate Installation in Whitney team also handles full replacements if the time comes, and we’ll tell you plainly if that’s the right move.
Written by the team at Vance Gate Repair Whitney.