
Last updated November 18, 2026
 Wrought iron
 Wood & steel frame
 Farm & ranch
 Sliding driveway gates
 LiftMaster operators
Free on-site gate assessment - hinges, posts, and your LiftMaster or Nice gate operator checked before anything is quoted
The assessment is free and the quote is the invoice.
Get your free estimateGate Installation Warning Signs Every Homeowner Should Know
A gate that swings smoothly on install day can be pulling its hinges out of the post within two winters if the post was set at the wrong depth, and there is no symptom until the sag is already structural. In our experience across Whitney, the failures we get called back to fix almost never started on day one. They started at the moment the installer packed up, when five small details went unverified and no paperwork existed to prove what was actually done. This guide covers what to check before that truck leaves your driveway: the physical tells at completion, what a verbal-only scope costs you later, and a checklist you can run on the day of installation to confirm the minimum record was left behind.
Quick Answer
The five warning signs worth checking at job completion are: a post that isn’t plumb, uneven hinge gaps, limit switches that don’t stop the gate at the correct end points, an unsealed conduit entry at the motor housing, and no documentation of loop detector or sensor alignment. If a finished install leaves you with none of these written down or photographed, that absence is itself a warning sign, because the next technician starts from zero and you pay twice to rediscover the same problem.
Styles & brands we work with
- Wrought iron
- Wood & steel frame
- Farm & ranch
- Sliding driveway gates
- LiftMaster operators
Table of Contents
- 1. The Post Is Not Plumb (And Why Depth Matters More Than Level)
- 2. Hinge Gaps That Aren’t Uniform
- 3. Limit Switches Set Past the Travel Endpoint
- 4. The Conduit Entry at the Motor Housing Is Unsealed
- 5. Loop Detector and Sensor Alignment Without Documentation
- 6. The Motor Is Undersized for the Gate’s Weight Class
- 7. What a Verbal-Only Scope Means for Future Liability
- 8. Your Day-of-Installation Checklist
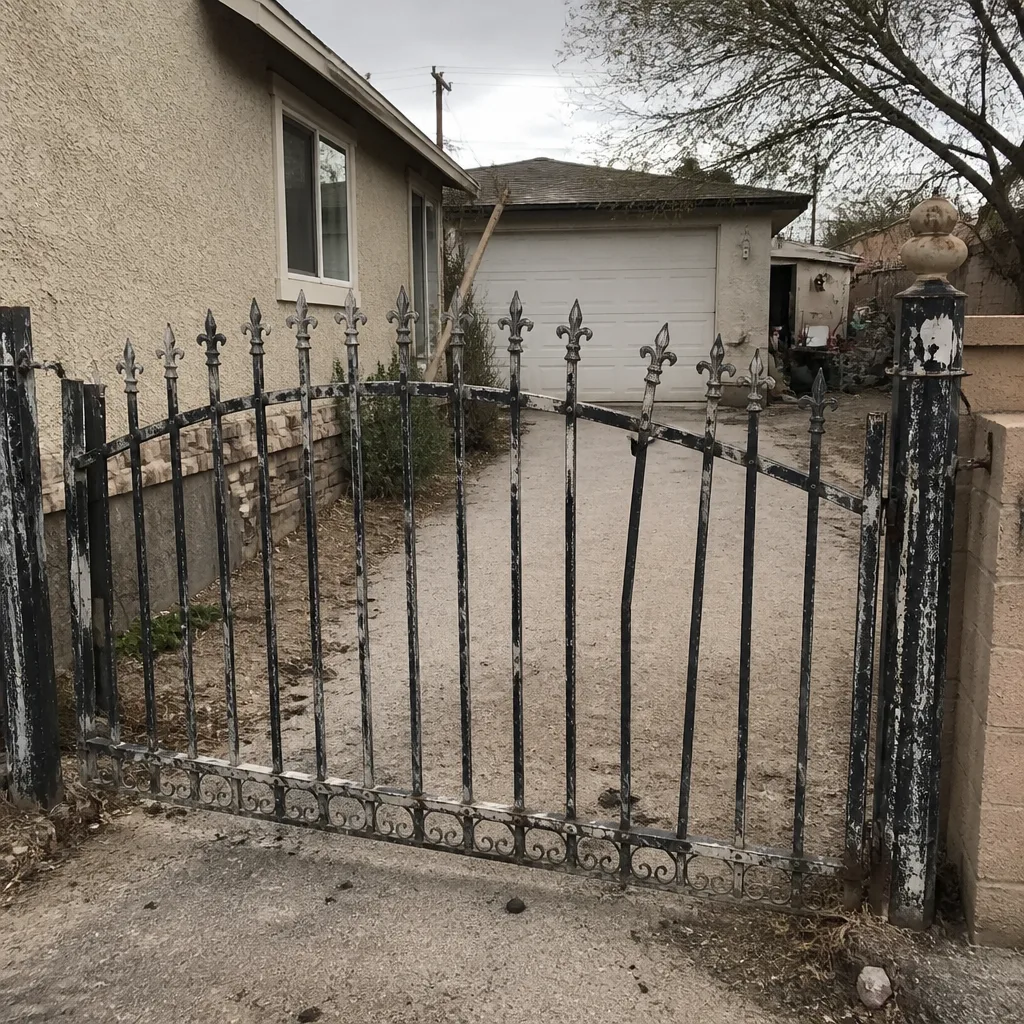 Before
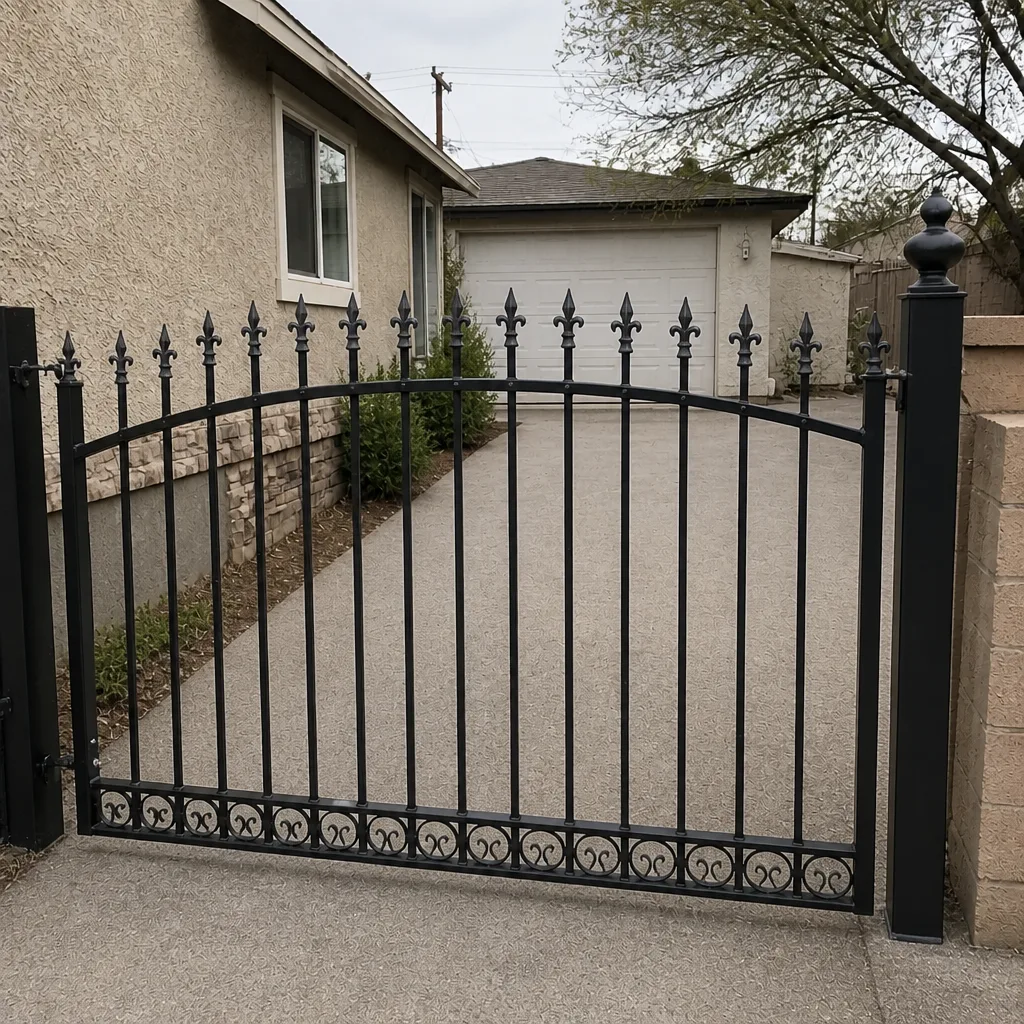 After
1. The Post Is Not Plumb (And Why Depth Matters More Than Level)
Plumb is the first thing to check and the easiest to fudge. A four-foot level against the post face will tell you in ten seconds whether the installer got it right. But plumb at the surface says nothing about depth below grade, and depth is where the failures hide. In Whitney’s soil conditions, where the ground moves with seasonal moisture and occasional freeze, an undersized footing will hold for one season and start to lean in the second. By the time the gate drags on the ground, the post has moved enough that no hinge adjustment will fix it.
Ask the installer two questions before they backfill: how deep did the footing go, and what was the concrete volume? A gate post set in a hole that’s been widened to save concrete is a post that’s going to sag. We’ve seen Whitney installations where a 700-pound dual-swing gate sat on a footing that was never deeper than the frost line, and the homeowner had no way of knowing until eighteen months later when the gate wouldn’t latch.
What you can check yourself, standing in the driveway:
- The post is plumb on two faces, not one. A twist shows up on the second face.
- The concrete collar at grade is at least as wide as the post is thick.
- No visible gaps between the post base and the concrete.
- The installer can tell you the footing depth in inches without looking it up.
If they can’t answer the depth question on the spot, that’s the first warning sign of the day.
2. Hinge Gaps That Aren’t Uniform
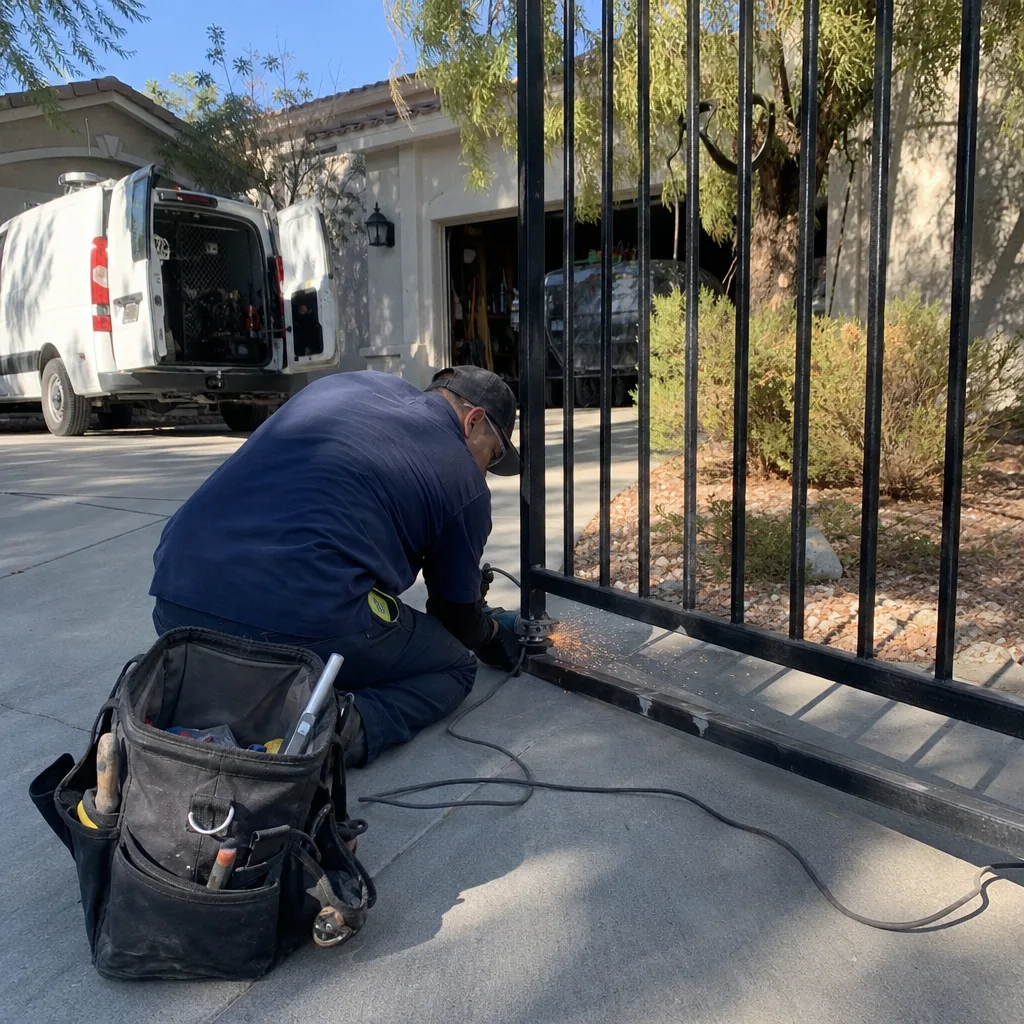
Walk along the closed gate and look at the gap between the gate frame and the post at each hinge point. The gaps should be roughly equal. A middle hinge with a gap twice the size of the top hinge means the gate frame is warped, the post is leaning, or the hinges were mounted to different reference lines. Any of those will stress one hinge more than the others, and that hinge is the one that fails first. We’ve replaced plenty of Whitney hinges that failed because the gate was never hung level in the first place.
This is also where a verbal scope causes trouble. If your installer told you “hinges are set,” but you have no photo of the gaps, a future technician has no baseline to compare against when a sag develops. They’ll do their best from the condition in front of them, but they can’t tell whether a gap was always there or opened up last month.
Grab a photo of the gate in the fully closed position with all hinges visible, and a second shot with the gate fully open. Two minutes of your time, and it becomes the reference for every future adjustment.
3. Limit Switches Set Past the Travel Endpoint
The limit switch is the component that tells the motor when to stop. If it’s set 12 degrees past where the gate should end its travel, the gate will slam into the physical stop with every cycle, and the motor, the hinges, and the post all wear faster. The symptom is a gate that starts to shudder or bounce at full open, then a gate that stops opening altogether, usually within a year. We’ve seen BFT and Linear operators driven into early failure because the limit switch was never dialed in properly at install.
What to check at install completion:
- Cycle the gate open fully and watch where it stops. It should stop before it contacts any hard stop with any force.
- Cycle it closed. Same check: it should stop cleanly, not slam.
- Ask the installer to show you where the limit switch is set and to write the reading down.
- Get the reading photographed. The photo of the set position is the record that tells the next technician exactly where it was.
If the gate bounces at end of travel, stop the install and ask them to reset the switch. It takes two minutes and prevents the repair bill eighteen months later.
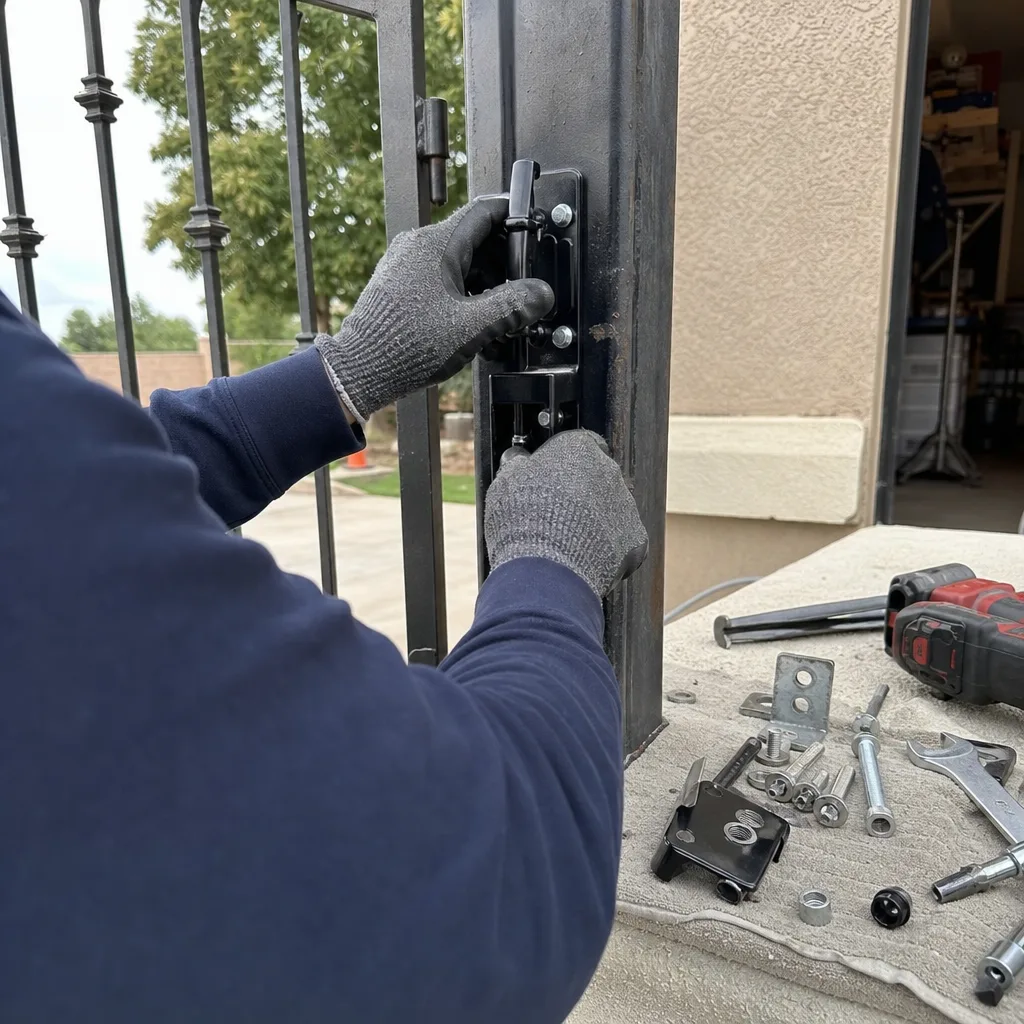
4. The Conduit Entry at the Motor Housing Is Unsealed
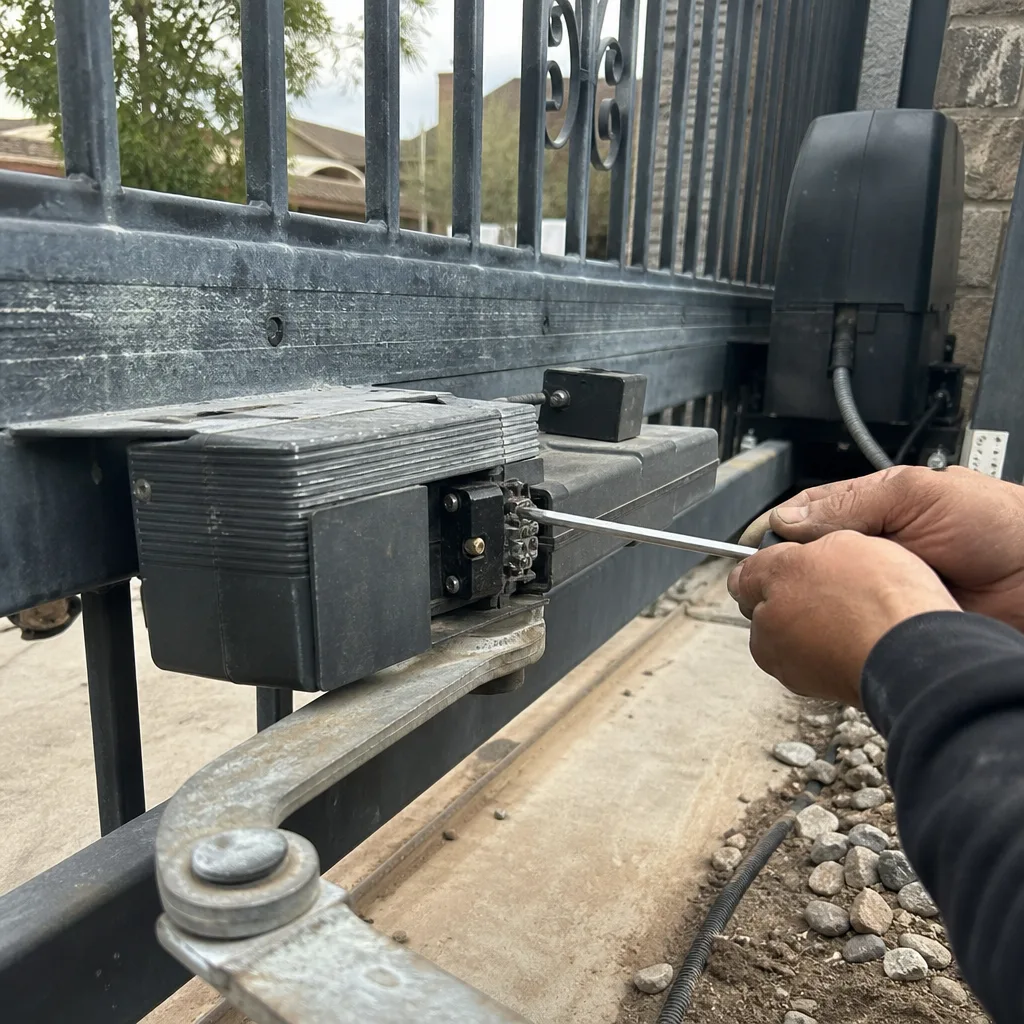
The conduit carrying low-voltage power from the house to the motor enters through a knockout on the motor housing. That entry point is where water gets in. In Whitney, spring runoff and summer irrigation both work on that fitting, and a conduit that was sealed at install with a simple rubber grommet will fill with condensation and moisture by year two. Water in the housing means a corroded board, and the replacement board costs more than proper sealing ever would have.
Look at the knockout on the motor. You should see a liquid-tight fitting, not a bare grommet or exposed conduit threads. Trace the conduit down toward the ground: it should go into a weather-rated junction box, not disappear into soil or gravel. The seal at the motor is the last line of defense and it’s the one most often skipped.
This is also where “It works fine” is not the reassurance it sounds like. A gate with wet conduit and a dry motor works fine today. The board inside might already be showing corrosion it will reveal after the next rainy season. Documentation of what was sealed, with what fitting, and when, is the only way to know if a future board failure was a defect or a predictable consequence of a skipped step.
5. Loop Detector and Sensor Alignment Without Documentation
If your gate uses a loop detector in the driveway or photo-eyes (the infrared beam that stops the gate if something crosses the path), the alignment of those sensors is not a set-and-forget detail. A photo-eye that’s off by two inches will trip intermittently in direct sun or after a rain. The installer might have gotten it right by eye, but without written alignment angles or a photo of the set position, the next service call starts by guessing.
Ask for the paperwork on the loop detector cut, the sealant used on the saw cut, and the photo-eye bracket angles. If the answer is “we just aligned them and they work,” you’ve got no reference point for the next visit. Viking and Ghost Controls operators are especially sensitive to photo-eye alignment, and a misalignment that shows up as intermittent trips has cost Whitney homeowners multiple paid callbacks that could have been prevented with a photo taken at install.
What you want to be handed at the end of the job: a photo of the loop detector seal, a photo of each photo-eye in its mounted position, and the written alignment values if the operator stores them.
6. The Motor Is Undersized for the Gate’s Weight Class
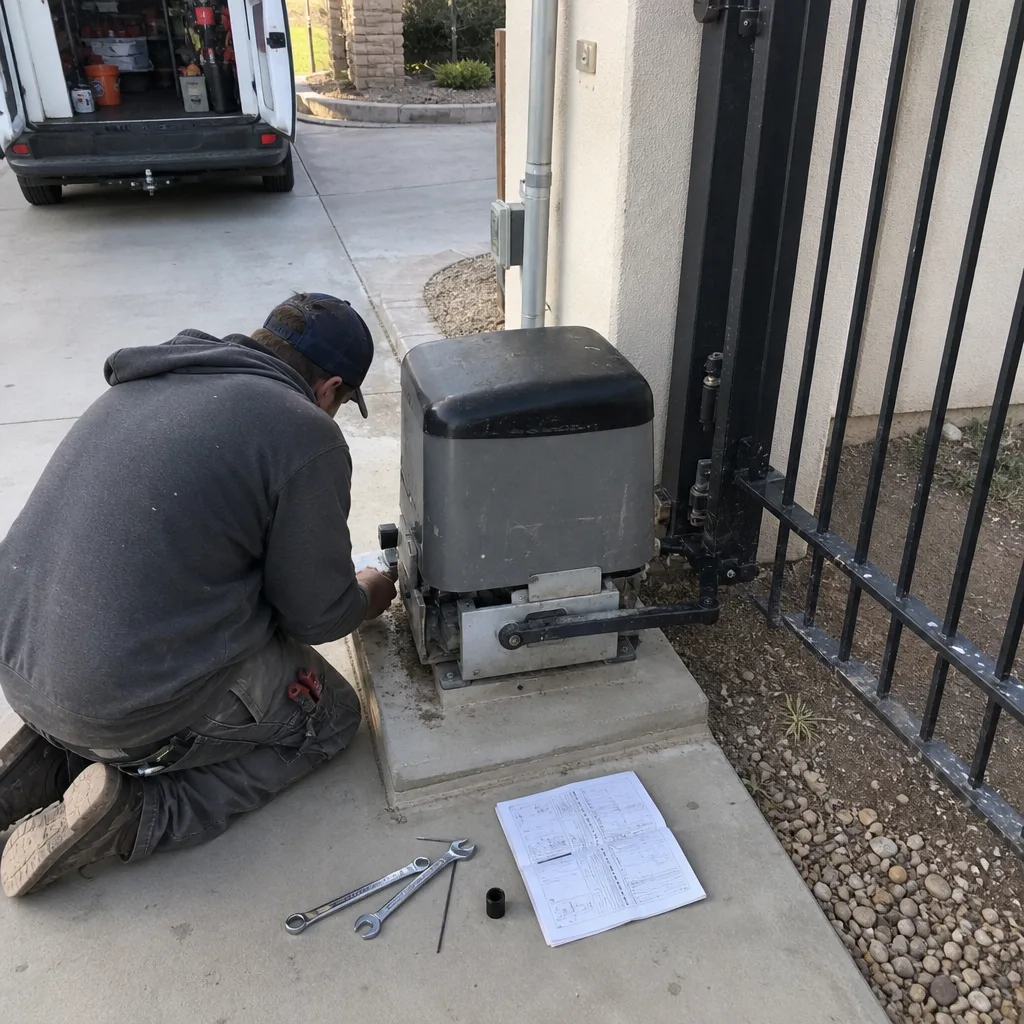
An undersized motor doesn’t fail on day one. It works, then it works harder, then it cuts out on thermal overload in July, and by then the warranty on the wrong motor has usually run out. The visual tells are subtle: a sluggish start (the gate hesitates for half a second before it swings), a motor housing that is hot to the touch after a single cycle, and thermal cutout trips during the hottest weeks of a Whitney summer.
Ask the installer to state the gate’s actual weight and the operator’s rated capacity in writing. If the gate weighs 400 pounds and the motor is rated for 350, you can expect cutout trips within the first hot season. If the installer can’t tell you the gate weight, they guessed.
The fix at this point is a new motor, and that is a much bigger bill than having spec’d the correct one at install. This is why the written scope matters so much: if the operator model and the gate weight are written down, the undersized spec is on the paper, and the conversation is short. Without the paper, the conversation is a lot of “it should have worked.”
7. What a Verbal-Only Scope Means for Future Liability
If no written record exists of the wire gauge, the conduit depth, the motor model, or the limit-switch readings, the next technician starts from zero. That’s not a paperwork preference; it’s a cost you pay twice. When we arrive at a gate with no documentation, we have to trace the wiring, test the motor against the gate weight, and figure out the original install spec from the physical evidence. That’s an hour of diagnostic time before a single adjustment happens. With a written scope and a photo record, the same job starts with what the previous installer found and set.
The other liability side is warranty. If the motor fails in month fourteen and the install came with a verbal “one year on the motor,” you have no proof of purchase date, no proof of the model spec, and no proof of what the installer agreed to. A written scope and a photographed record is what makes the warranty enforceable rather than a verbal promise everyone remembers differently.
The photo record also protects you at resale. A gate with a documented service history is a gate a buyer’s inspector can trust. A gate with no paperwork is a negotiating point.
8. Your Day-of-Installation Checklist
Run this list before the installer packs up. It takes ten minutes and it is the difference between a documented install and a verbal one.
- Post plumb. Check two faces with a level. Ask for the footing depth in inches.
- Hinge gaps uniform. Photograph the gate closed and open with all hinges visible.
- Limit switch reading. Have the installer show you the set position and photograph it.
- Conduit seal. Confirm a liquid-tight fitting at the motor knockout and a weather-rated junction box at the ground.
- Sensor documentation. Photo of loop detector seal and each photo-eye bracket position.
- Motor spec. Written gate weight and written operator rated capacity.
- Wire gauge and conduit depth. Written down, not just stated.
- Part numbers. The operator model and any components replaced, written and photographed.
If any line on this list is missing when the installer finishes, ask for it before they leave. A crew that can’t produce the record is a crew that hasn’t thought about what happens after they leave. For a closer look at what a full install should include, see our Gate Installation in Whitney page.
Common Mistakes to Avoid
- Accepting a verbal scope. If the wire gauge, conduit depth, and motor model aren’t written down, the next technician starts from zero, and you pay twice to rediscover the same problem.
- Skipping the post-depth question. Plumb at the surface says nothing about the footing below grade. In Whitney’s soil, an undersized footing holds one season and fails in the second.
- Trusting the “it works fine” handshake. A gate that cycles cleanly on install day can hide an unsealed conduit or a limit switch set past travel. The symptom shows up months later.
- Letting the installer photo-eye align “by eye.” A two-inch misalignment trips intermittently in sun or after rain, and without a photo of the set position, every future service call is a guessing game.
- Not photographing the limit switch. The reading is the reference point for every future adjustment, and it takes thirty seconds to capture.
- Ignoring a sluggish start. A half-second hesitation on the first swing is the earliest tell of an undersized motor. It will cut out on thermal overload in the first hot Whitney summer.
- Assuming the warranty is enforced by memory. A verbal “one year on the motor” is only as good as the paperwork behind it. Get it in writing or it doesn’t exist.
See the difference
BeforeAfter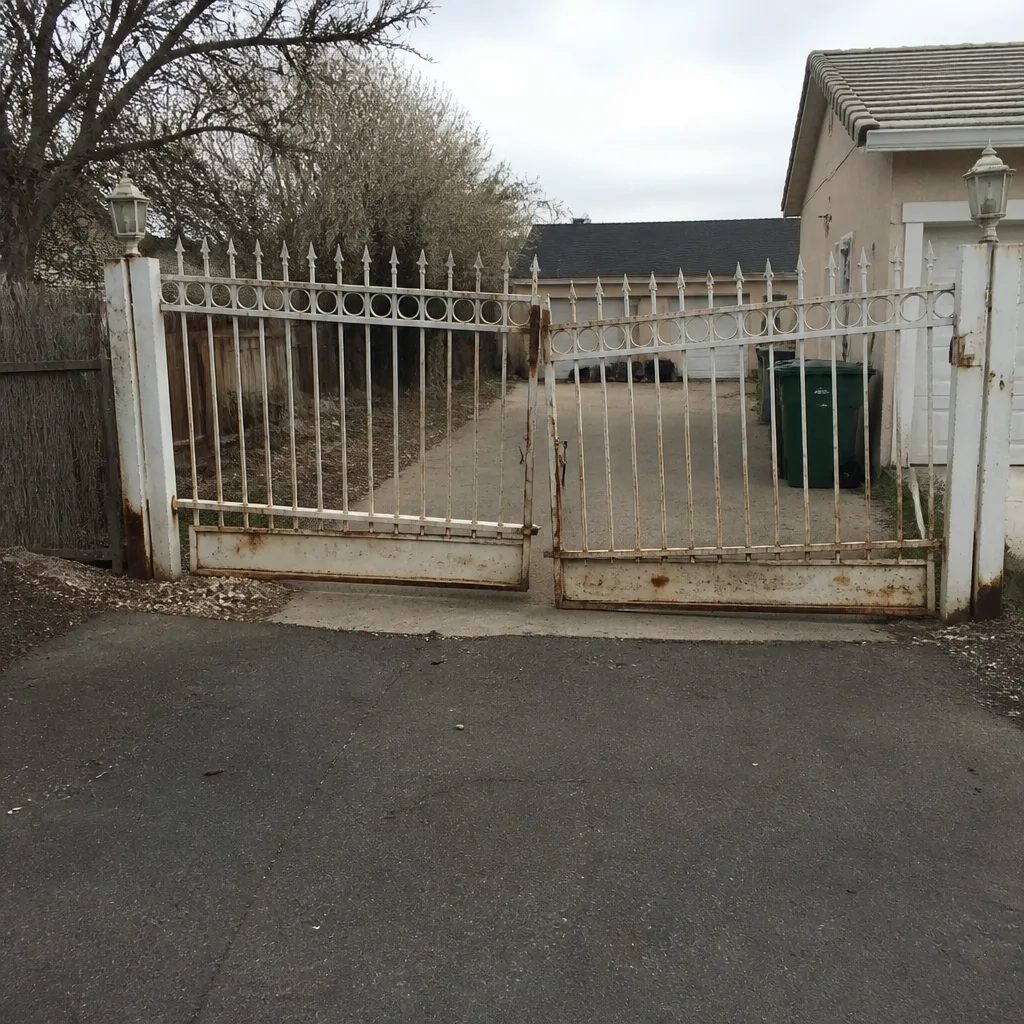 Before
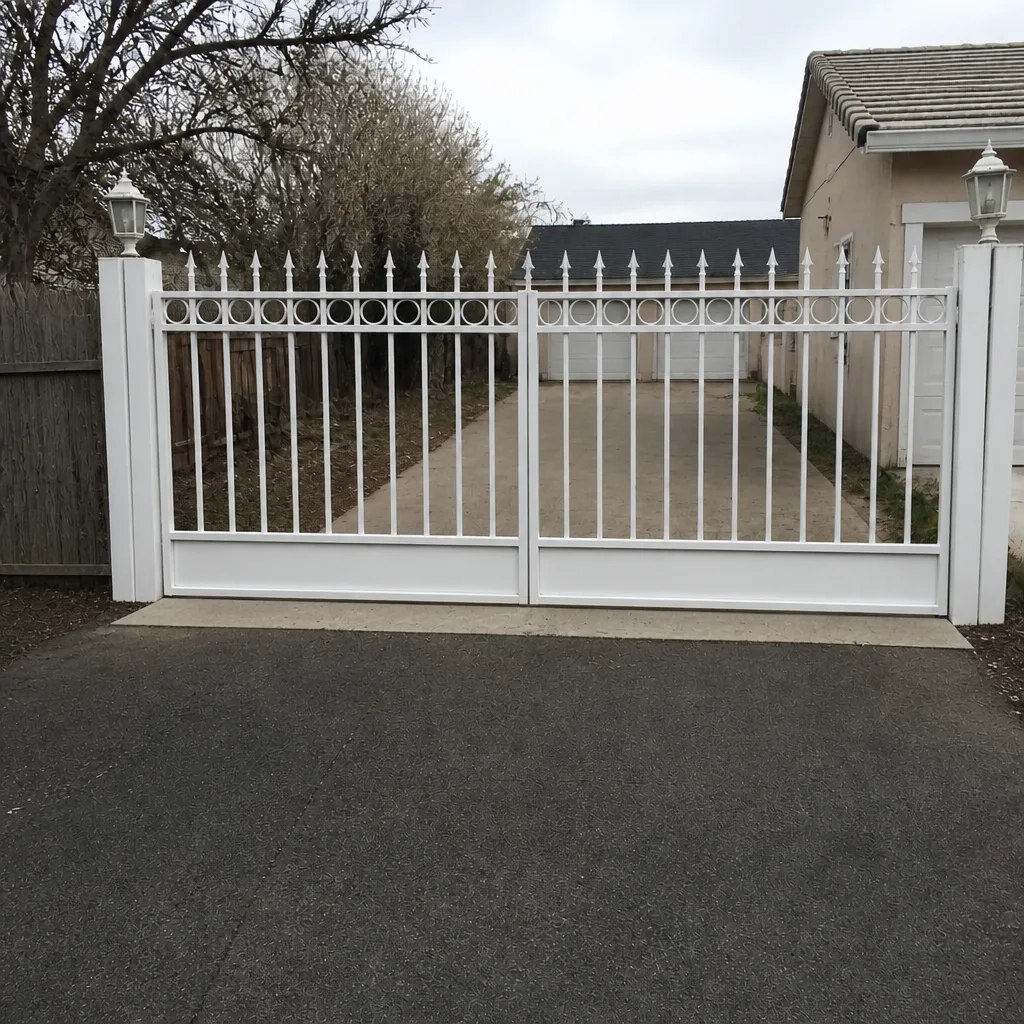 After
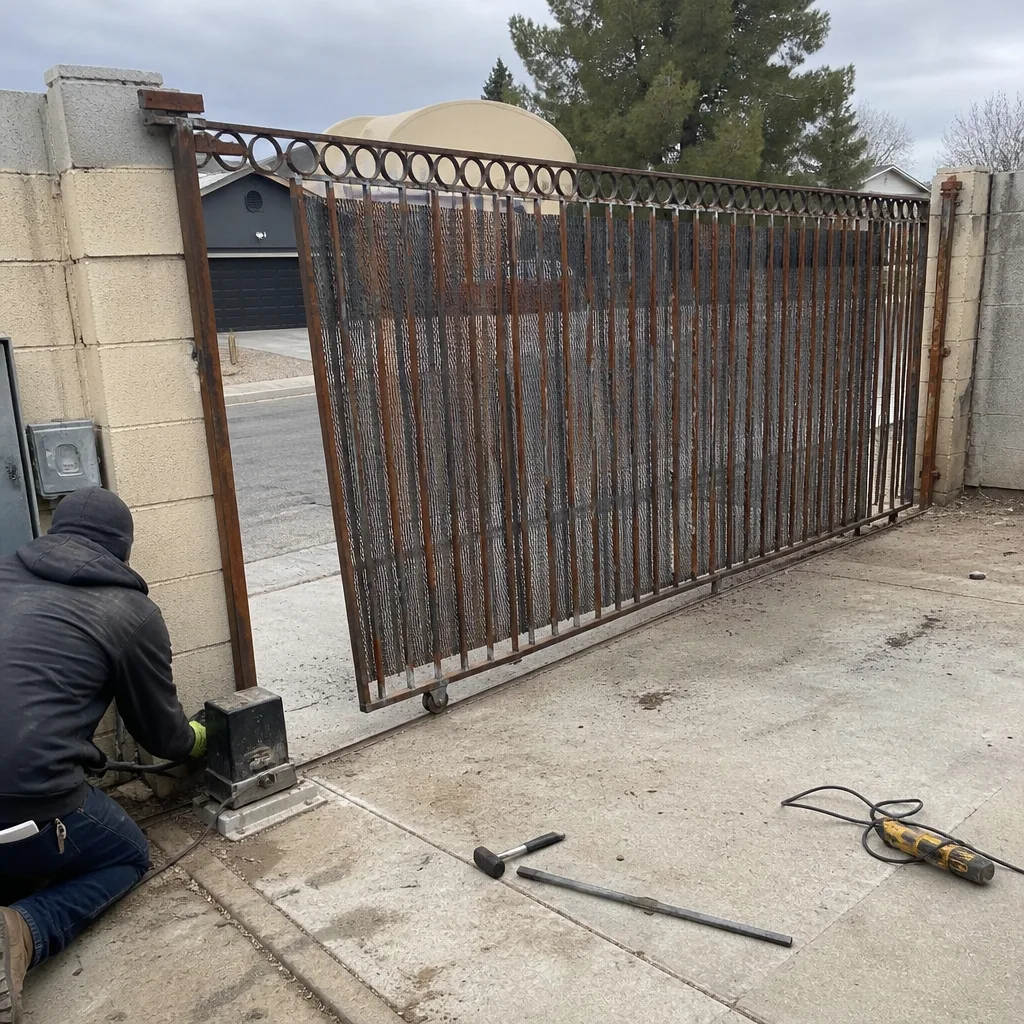 Before
 After
When to Call a Professional
Some install issues are worth a same-week call, and others can wait a week to schedule a measure. If the gate bounces at end of travel, the motor housing is hot after a single cycle, or the post is visibly leaning more than two winters from install, that’s a repair call and we can usually get someone out the same day. If you’re at the planning stage, or you’re reviewing a written estimate from another installer and want a second read on it, that’s a measure-and-pricing visit that we book on a scheduled basis. You should never accept step-by-step instructions for anything involving the motor’s high-voltage connection or the gate’s spring system over the phone; those components injure people when handled by untrained hands. Vance Gate Repair Whitney offers free estimates in Whitney, and we’ll review any written estimate you already have at no cost if you want a second opinion before you sign. Call (844) 797-4861 to get started. For repair-specific signals on an existing gate, our Gate Repair in Whitney page covers what to look for.
Frequently Asked Questions
Post plumb (on two faces, not one), uniform hinge gaps along the closed gate, limit switches that stop the gate cleanly at each end point, a liquid-tight conduit seal at the motor housing, and documentation of photo-eye or loop detector alignment. If any of the five is missing when the installer packs up, that absence is itself a warning sign and worth raising before they leave.
Without a written record of wire gauge, conduit depth, motor model, and limit-switch readings, the next technician has to trace and test the whole install from scratch, which is diagnostic time you pay for. The written record is also what makes a warranty enforceable; a verbal “one year on the motor” is only as good as the paperwork behind it. For a full picture of the documentation standard we follow, see the Vance Gate Repair Whitney home.
Three tells: a half-second hesitation before the gate starts to move, a motor housing that is hot after a single cycle, and thermal cutout trips during the hottest weeks of summer. Ask the installer for the gate’s actual weight and the operator’s rated capacity in writing. If the gate weighs more than the rating, the motor is undersized and will keep cutting out.
Yes. A gate that works fine but has no photographic record of the wiring is a warning sign in itself, not just a paperwork preference. Without photos of the wiring diagram, the limit-switch set position, and the part numbers, every future service call starts with a physical investigation instead of a record review, and the hour of diagnostic time is charged to you.
A written scope with the gate weight, the operator model, the wire gauge, and the conduit depth; a photo record of the footings, the hinge gaps, the limit-switch reading, and the sensor alignment; and the written price before any work starts. Our Gate Motor & Opener in Whitney page covers the operator side in more detail, and if you want a second opinion on an existing estimate, bring it and we’ll review it free.
Yes, and there’s no charge for it. Bring the written estimate and any documentation the other installer shared, and we’ll walk through what’s specified and what’s missing. If the gate’s operator is a BFT, Linear, Viking, or Ghost Controls model, we service those brands routinely and can tell you whether the spec matches the gate weight and class. Call (844) 797-4861 to set up the review.
The Bottom Line
The warning signs worth knowing at gate installation are the ones visible before the truck leaves, not after the warranty lapses. Check the post for plumb and ask for the footing depth. Photograph the hinge gaps, the limit-switch reading, the conduit seal, and the sensor alignment. Get the motor spec in writing against the actual gate weight. If the installer can’t produce the record, the gate may work fine today and pull its hinges out of the post within two winters with no way to prove what was done wrong. Run the checklist, get the paper, and you’ll never pay twice to rediscover the same problem.
Vance Gate Repair Whitney is here when you need a documented install, a second opinion on an existing estimate, or a repair on a gate that’s already showing the signs. We’re reachable at (844) 797-4861 any hour, and every estimate is free.
Written by the team at Vance Gate Repair Whitney.