
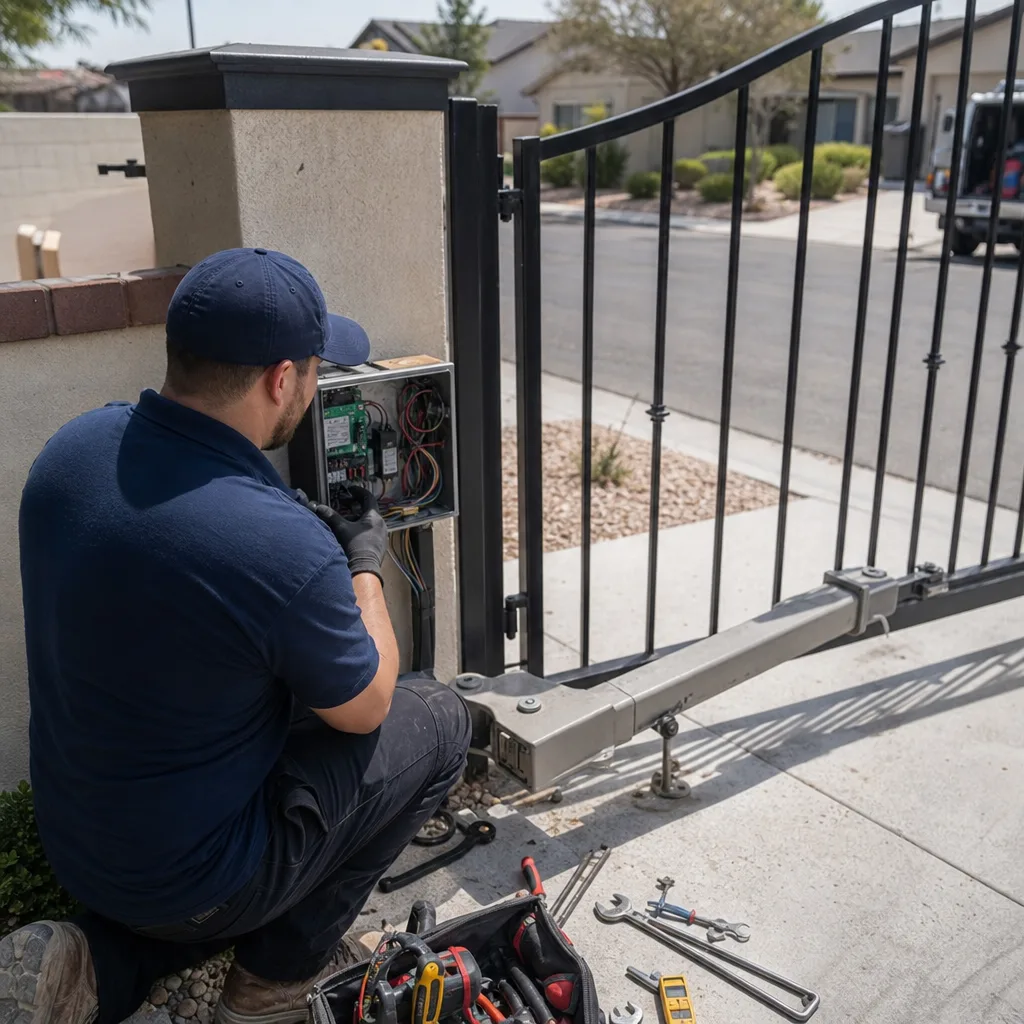
Last updated November 18, 2026
 Wrought iron
 Wood & steel frame
 Farm & ranch
 Sliding driveway gates
 LiftMaster operators
Free on-site gate assessment - hinges, posts, and your LiftMaster or Nice gate operator checked before anything is quoted
The assessment is free and the quote is the invoice.
Get your free estimateGate Installation Troubleshooting: Common Problems and How to Fix Them
A gate that works on installation day can carry three latent defects that won’t surface until the first heat cycle, the first rain, or the first 500 cycles. The warranty clock is already running from the moment the installer drives away. In Whitney, we’ve torn down gates installed only months earlier and found the exact same five shortcuts underneath. This guide walks you through what to test in the first 30 days so a contractor can be held to their scope before the window closes, and how to prove what was done wrong when the installer won’t pick up the phone.
Quick Answer
Most post-installation gate problems are installation defects that weren’t caught at commissioning, not normal wear. In the first 30 days, test travel time variance, the obstruction sensor, remote range in every season, and every weld and bolt; if something fails, document it with photos and a written log immediately, because the warranty clock is already running.
Styles & brands we work with
- Wrought iron
- Wood & steel frame
- Farm & ranch
- Sliding driveway gates
- LiftMaster operators
Table of Contents
- The 30-Day Post-Installation Inspection Checklist
- Installation Defect or Normal Break-In?
- The Five Installation Shortcuts That Cause 6-to-18-Month Failures
- What to Do When the Installer Won’t Respond
- How a Second Technician Reads the Installation
- Why Whitney Conditions Expose Installation Faults Faster
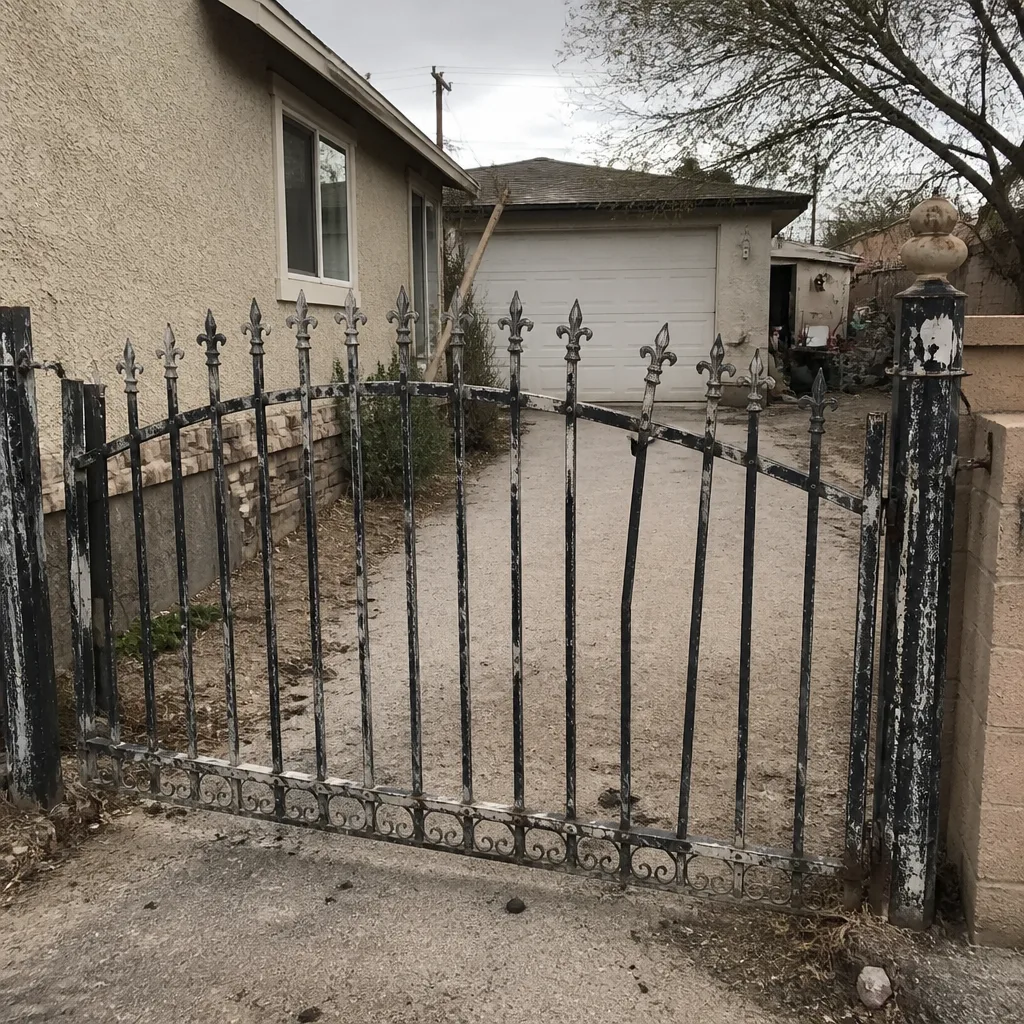 Before
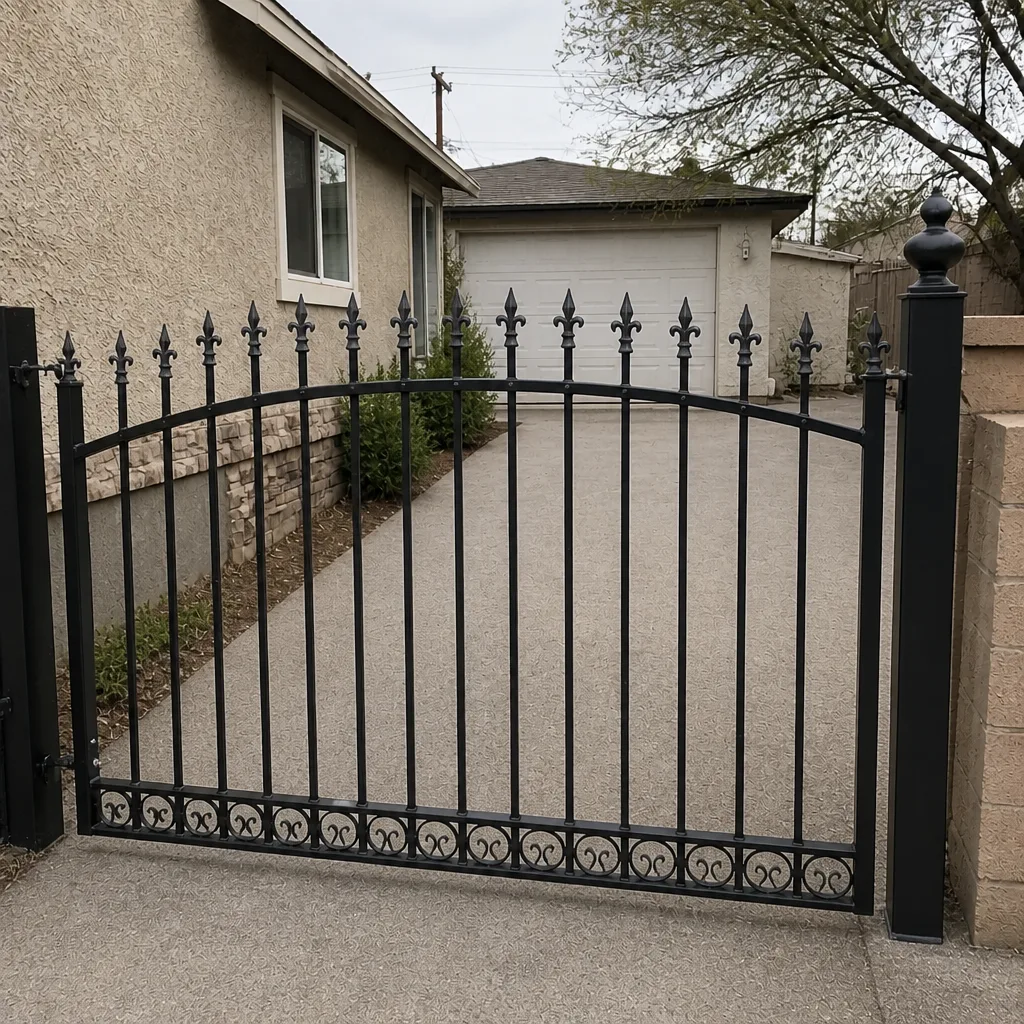 After
The 30-Day Post-Installation Inspection Checklist
The first month tells you almost everything about how the gate was installed. Do this checklist within 30 days of install, and repeat the sensor and range tests once after the first 30 days of regular use. If the installation is defective, these four tests will surface it before you lose the argument.
- Travel time variance. Time the gate opening and closing from fully closed to fully open and back. Record both on day one, day 15, and day 30. A drift of more than 2 or 3 seconds across the month points to a motor working against resistance, which usually means the track or hinge is binding, the arm bracket is off-square, or the limit switch was set with no clearance to full travel.
- Obstruction sensor test. Block the photo-eye beam with your hand while the gate is moving; the gate should reverse or stop within about 2 seconds. Do the same with a shoe placed in the path of a swing gate to test the safety edge. If you have to lift your hand slowly, the beam is misaligned or the sensor was never wired to reverse.
- All-weather remote range check. Test the opener from the driver’s seat at the same spot on a cool morning, a hot afternoon, and after rain. If range drops from 100 feet to 30 feet across those conditions, suspect the antenna was run along metal, the receiver was mounted in the sun or inside a sealed control box, or the battery contacts are marginal.
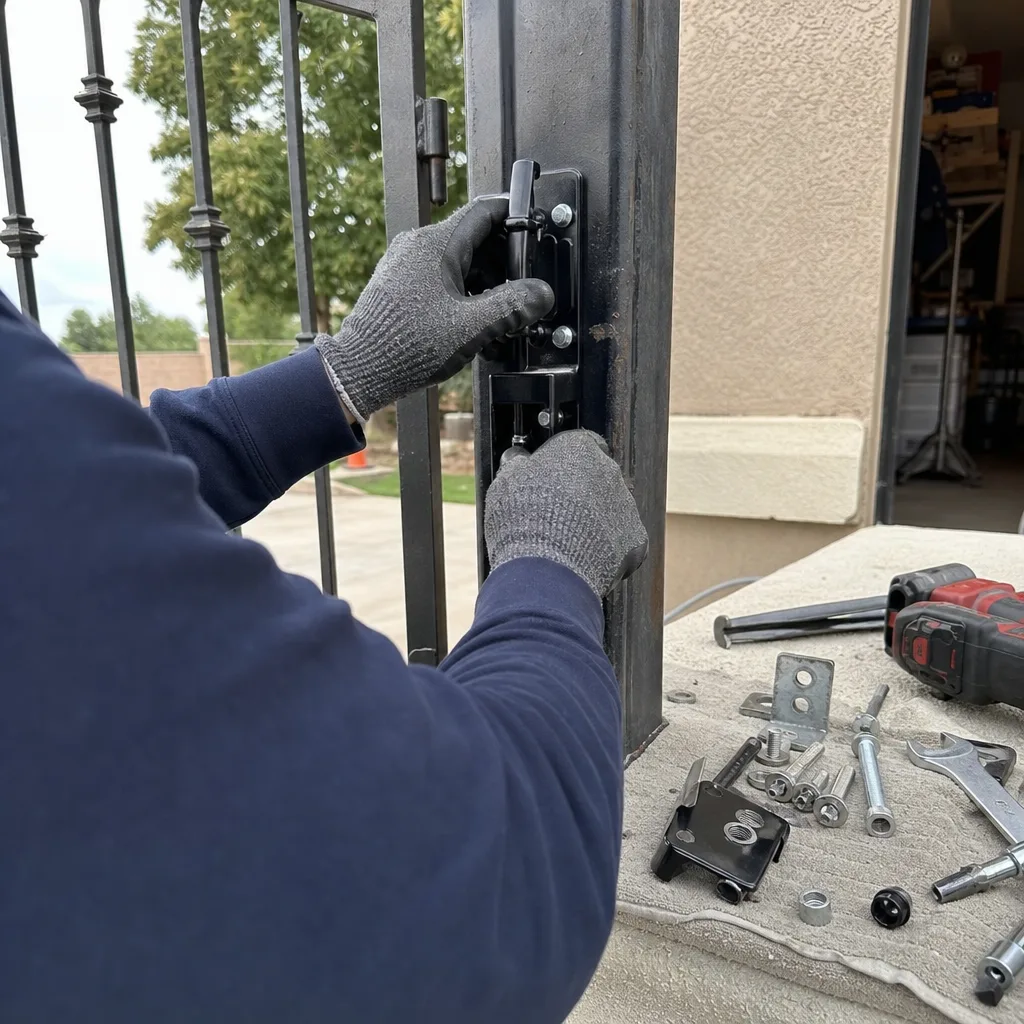
- Visual weld and hardware inspection. Crouch at hinge level and look at every weld on the frame and post brackets for a hairline crack. Check every bolt under the hinge with a wrench; anything you can turn by hand on day 30 was loose on day one. Loose post-base anchor nuts are the most-missed item on this list.
Keep those readings in a notebook or a photo on your phone with a date stamp. Under Clause 4 (Evidence on every job), we photograph every limit switch, every anchor, and every weld at install so a future technician can see exactly what was set and when. Your own log does the same thing for you.
Installation Defect or Normal Break-In?
This is the distinction that decides who pays. Normal break-in is the gate settling slightly over the first two to four weeks: a small amount of arm-bracket movement, a light hinge squeak, a half-second change in travel time. Defects are the failures that shouldn’t be there at all inside the warranty window, and they usually appear as one of these signs.
- A gate that reverses only sometimes. That’s a miswired or misaligned obstruction sensor, not break-in. Sensors don’t drift; they get installed wrong.
- Motor laboring or humming at one end of the travel. The limit switch was set short of full travel, so the motor fights a mechanical stop on every cycle. Break-in doesn’t cause this.
- Water pooling in the control box after rain. A missing drip loop or a lid installed without a gasket. This is a shortcut, and Left alone it fails the board within the first wet season.
- Post base showing a gap under the plate. The base was set on a dry pad or left ungrouted, which lets the post walk out of plumb. Grout doesn’t fail; it was never there.
- Remote working only up close. Usually a receiver antenna issue, not the remote. If the installer tested the remote from 10 feet and called it done, this is the result.
If you see more than one of those, the gate needs a technician to look at it before month six. When in doubt, a second opinion on the written scope is the cheapest way to learn whether the first installer built what they said they would. We review any other company’s written estimate at no cost, and that review is often the moment a homeowner learns whose problem this actually is.
The Five Installation Shortcuts That Cause 6-to-18-Month Failures
In our experience, the same five shortcuts account for most of the premature gate failures we see in Whitney. Each one survives the first few months, which is exactly why it gets missed at handoff.
1. Undersized wire
Low-voltage control wire and 120-volt power runs are the classic corner cut. An undersized conductor works fine at moderate temperatures but loses voltage on a long run, so the motor gets weaker every year. Symptoms show up as a gate that reverses on its own in cold weather or a receiver that drops once the second remote is added.
2. Missing drip loops
The control box and the motor’s electrical entry need a low point where water runs off before it reaches the terminals. Installers who run power straight into the box without a drip loop are leaving a slow leak that finds the circuit board in the first heavy rain. It’s a ten-minute fix at installation and a much larger job after a board replacement.
3. Ungrouted post bases
A gate post can be perfectly plumb on install day and then walk out over a year if the base plate was set on a pad that isn’t grouted to the footing. Look for daylight under the post plate and a gate that won’t stay aligned as the seasons change. Non-shrink grout under load-bearing gate posts isn’t optional.
4. Wrong limit-switch type
Limit switches set the stop points so the gate motor doesn’t overrun. The wrong type, or one set with no clearance, means the motor hits mechanical stops on every cycle. Over hundreds of cycles that eats the arm or the operator gears. Different brands handle this differently, which is why servicing Linear, Viking, Ghost Controls, and DoorKing gates means asking which limit arrangement was actually installed, not just whether the gate moves.
5. Missing surge protection
Gate automation lives outside, on the same grid that carries lightning and summer storms. A board with no surge arrestor or no grounding rod is one lightning strike from a dead operator. This is one of the most common reasons a new gate install fails in month 14, and it’s the cheapest item on the entire install to add up front.
What to Do When the Installer Won’t Respond
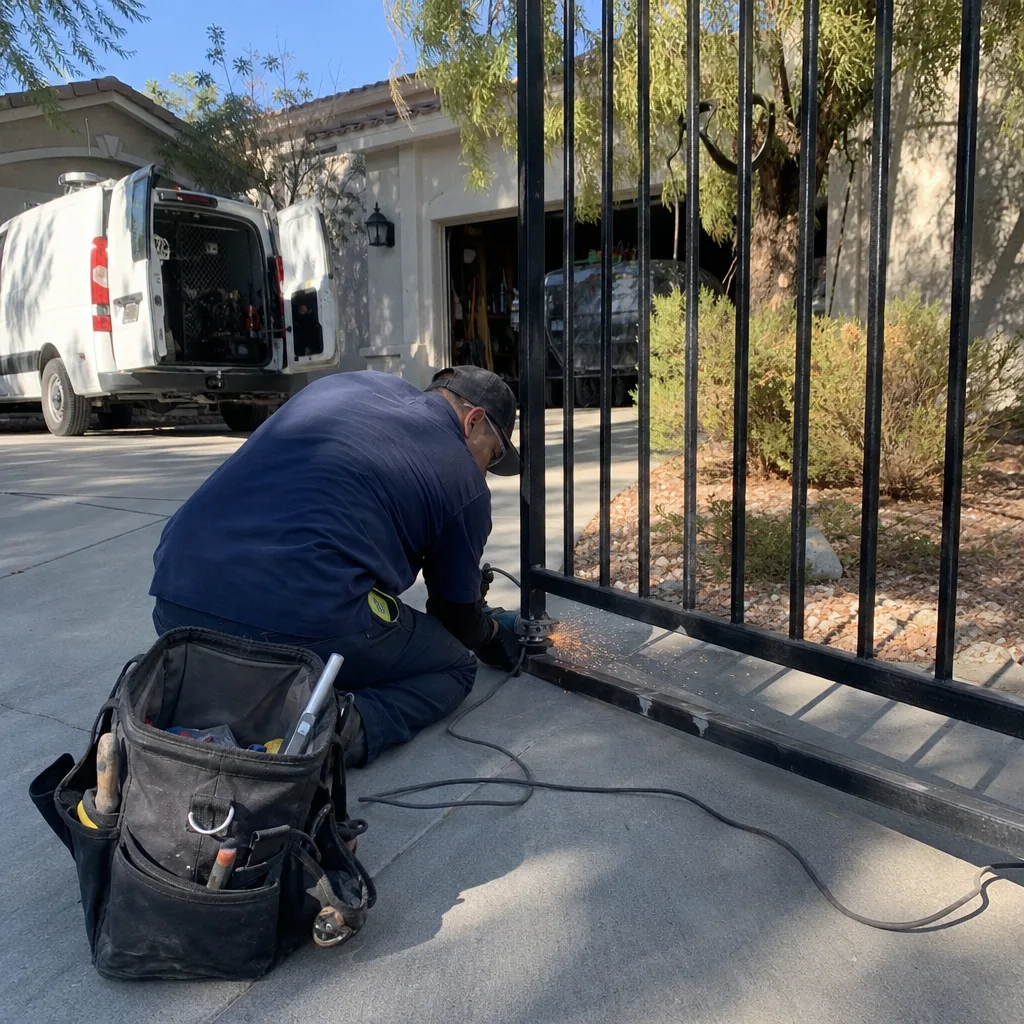
Warranty disputes usually fail on documentation, not facts. Before you call your installer again, build a record the installer can’t argue with, because a small-claims judge will read exactly what you have.
- Photograph the defect with a date stamp. Wide shot of the gate, close-up of the defect, close-up of the installation detail that caused it. Include a photo of the whole control box and the post base, since that’s what a technician reads first.
- Write a timeline in plain language. Date installed, date the problem started, who you spoke to, and what was promised. Email it to the installer and keep a copy. Email is the record that survives a phone call.
- Get the written scope. Find the original written estimate or contract and pull out the line items. That’s the document that defines what the installer agreed to build.
- Send a written notice of defect with a reasonable repair deadline. State the exact items in the scope that are not being met and ask for repair by a specific date. Certified mail if the phone and email are dead.
- Get a written second opinion. A technician who reads the installation can put the defect in trade terms in writing, and that written opinion is worth more than any verbal description. Bring it to a small-claims filing if the deadline passes.
Small-claims filing limits and procedures differ by state; for the exact dollar limit and forms, check your state court’s small-claims page before you file. The core of the case is simple: you have a written scope, dated photographs, and a written opinion that the installation doesn’t meet it.
How a Second Technician Reads the Installation
A good technician doesn’t guess at what the first installer did. They read the installation like a document. That’s why we do commercial-grade documentation on residential gates: every visit leaves a photographed record of what was found, what was set, and what was installed.
- The control box tells the story. Wire gauge, terminal strip condition, the presence of a surge arrestor, and whether the board has a moisture stain. A board photograph from install day shows whether the board was wet when the installer finished.
- The limit switches read like a diary. Their positions show how much travel the installer expected. If they’re set short, the motor has been fighting a stop since day one, and the arm shows the wear pattern to confirm it.
- The post base and frame welds are structural evidence. Daylight under a base plate, grind marks around a weld, or a bracket with mismatched bolts tells a technician what was and wasn’t grouted or torqued.
- Wiring diagrams close the loop. A photograph of the wiring with the terminal numbers visible means the next technician doesn’t have to trace and guess what color went where.
This is what makes a second opinion actually useful: the technician isn’t arguing with the first installer, they’re reading the physical evidence. When a gate needs a proper gate installation in Whitney, the same documentation habit is what ought to happen at handoff. Before we leave any job, you get a photo log of every adjustment and a written record of the part number installed, so a future technician starts with facts instead of a mystery.
Why Whitney Conditions Expose Installation Faults Faster
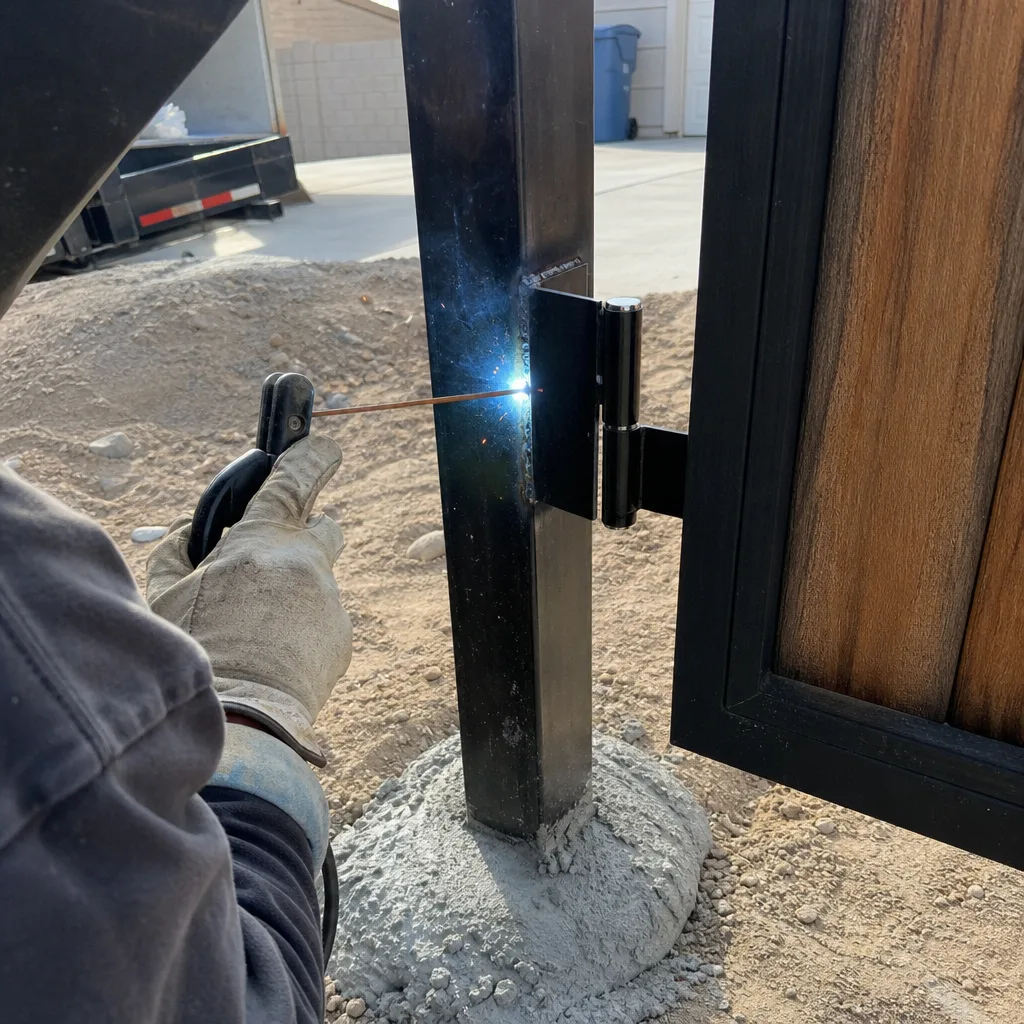
Whitney’s climate does installation defects a favor: it finds them sooner. Summer afternoon temperatures, winter cold snaps, and the seasonal rains here all stress the weak points in a gate install faster than milder climates do. A missing drip loop fails in the first real rain. An undersized wire that works at 70 degrees reverses on a 105-degree afternoon because voltage sags on the long run. An ungrouted post base walks out of plumb through the first dry-to-wet cycle. That’s why our recommendation for Whitney is to run the 30-day checklist, then repeat the sensor and range test once more right before the first hot month and again before the winter rains. Two extra ten-minute checks a year will catch nearly everything the first installer hid.
In our experience, gates installed by other companies and brought to us for service most often fail on three of the five shortcuts: missing surge protection, undersized wire, and ungrouted bases. Our technicians have up to 12 years of experience reading exactly those failures on Whitney gates. Seeing the evidence for the first time is usually the moment a homeowner realizes the gate that “worked fine” was never tested properly.
Common Mistakes to Avoid
- Assuming the first 30 days don’t matter. The warranty clock starts on install day, so a defect you notice in month seven is harder to prove than a defect you documented in week two. Run the checklist on day one, day 15, and day 30.
- Testing the safety sensor with a slow hand. A real obstruction test blocks the beam quickly and confirms the gate reverses within about 2 seconds. Testing gently only proves the beam is aimed somewhere near your hand.
- Skipping the post base visual. Look under the base plate with a flashlight after the first rain. A gap or a soft footing is easy to miss and hard to fix late.
- Paying the final invoice before the gate is tested. Under Haven Standard Clause 1, the price is in writing before any work starts, and under Clause 4 you get the photographic record on the same visit. Ask for both before the check clears, then run the tests.
- Letting the installer set the limit switch without clearance. Ask how close to full travel the stop was set. A stop set 12 degrees past travel wears out an operator in a year.
- Believing a remote test from 10 feet is a range check. Range check it from the driver’s seat, at the real approach, in summer heat and after rain. If it only works from 20 feet, the antenna or receiver mount was done wrong.
- Throwing out the paperwork. Keep the written scope, the photo log, and any wiring diagram the installer leaves. If the manufacturer of your motor only services through a dealer network, a documented wiring record makes warranty work possible without a guessing game.
See the difference
BeforeAfter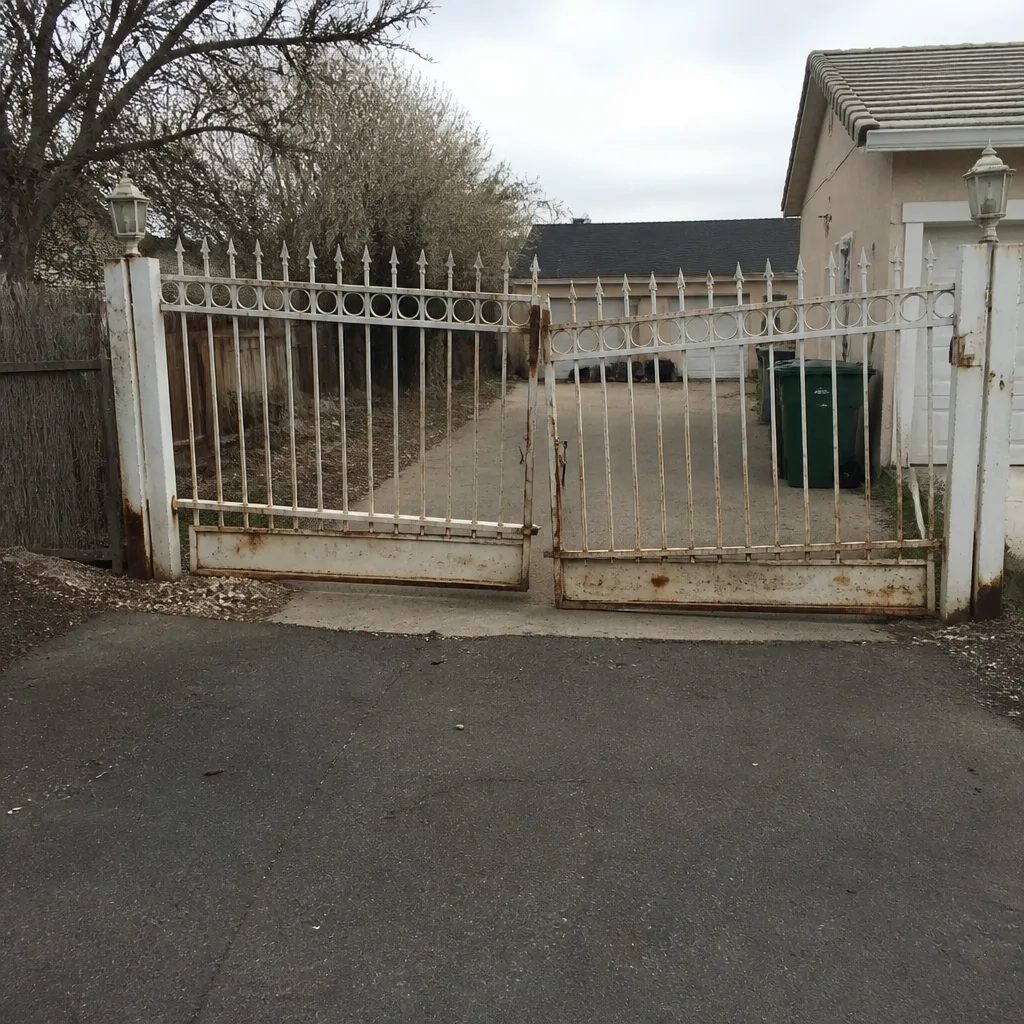 Before
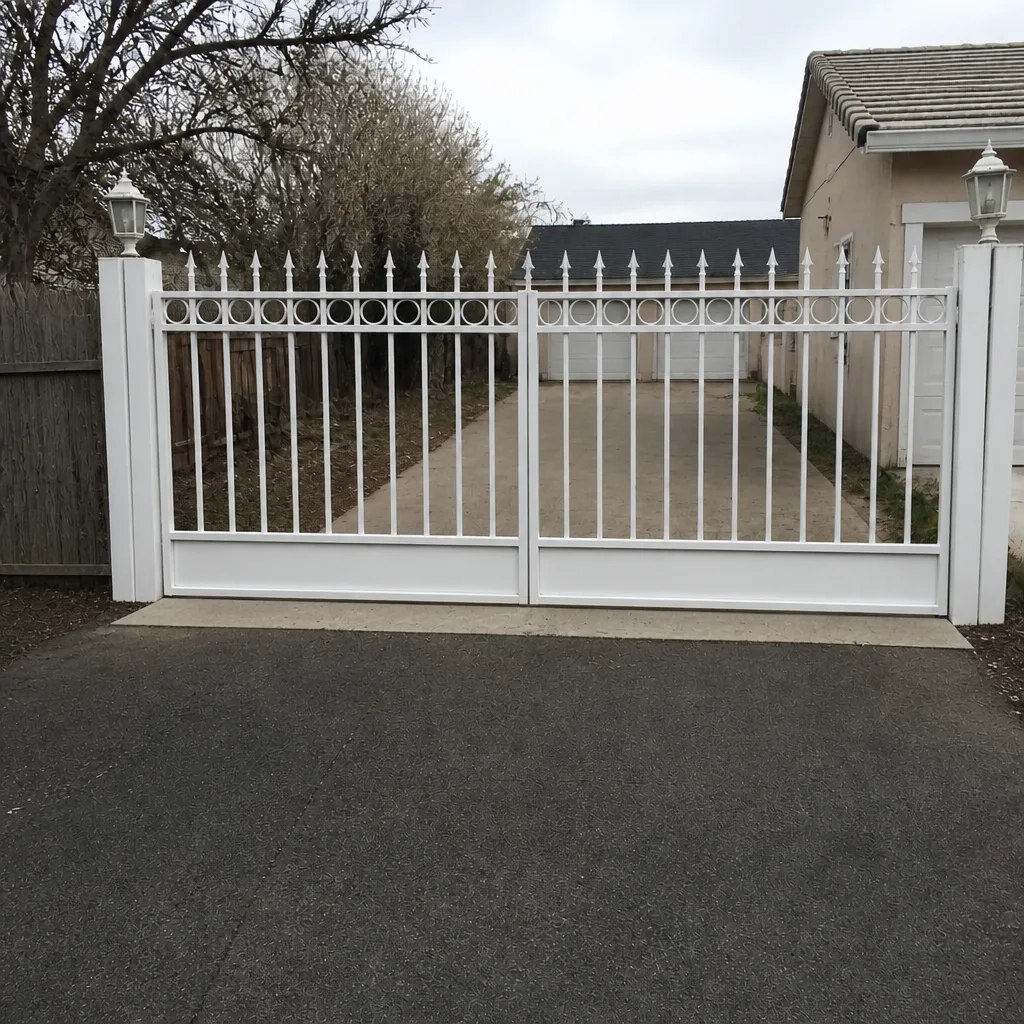 After
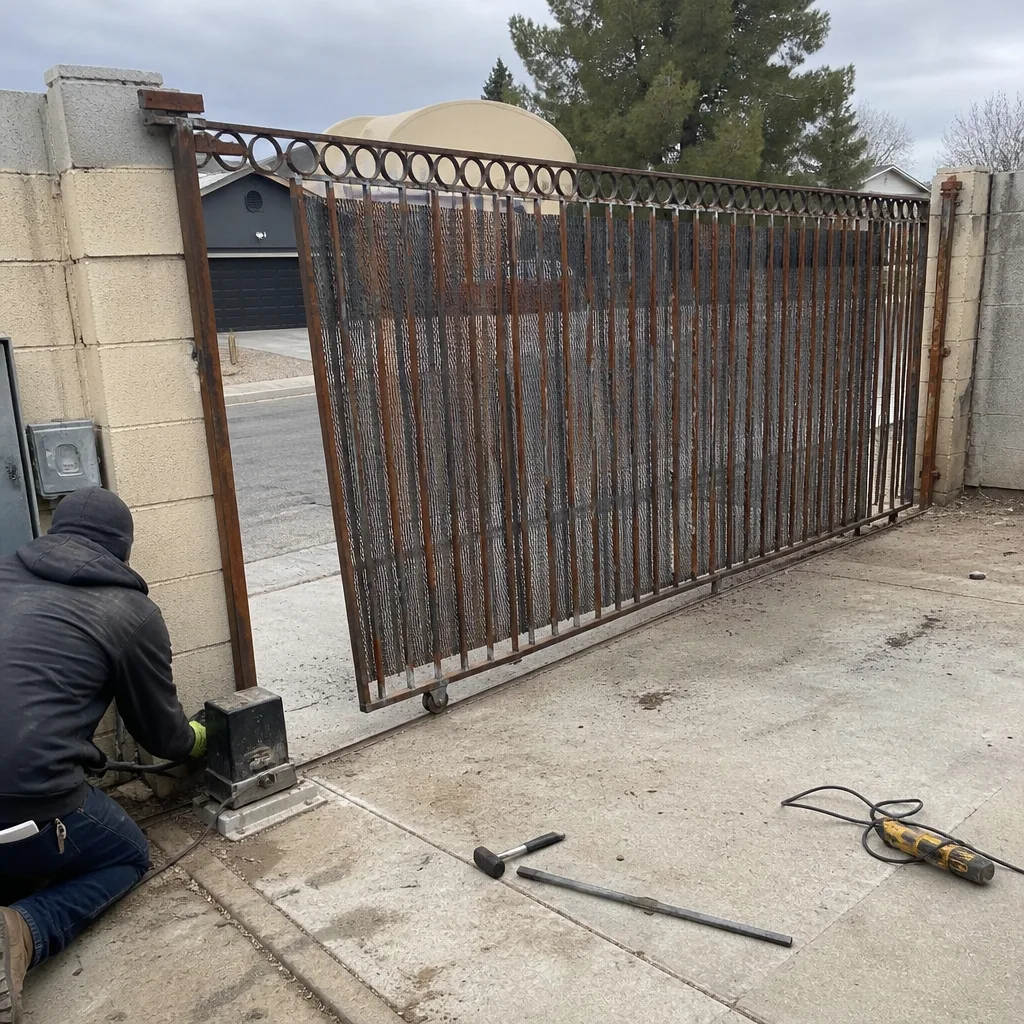 Before
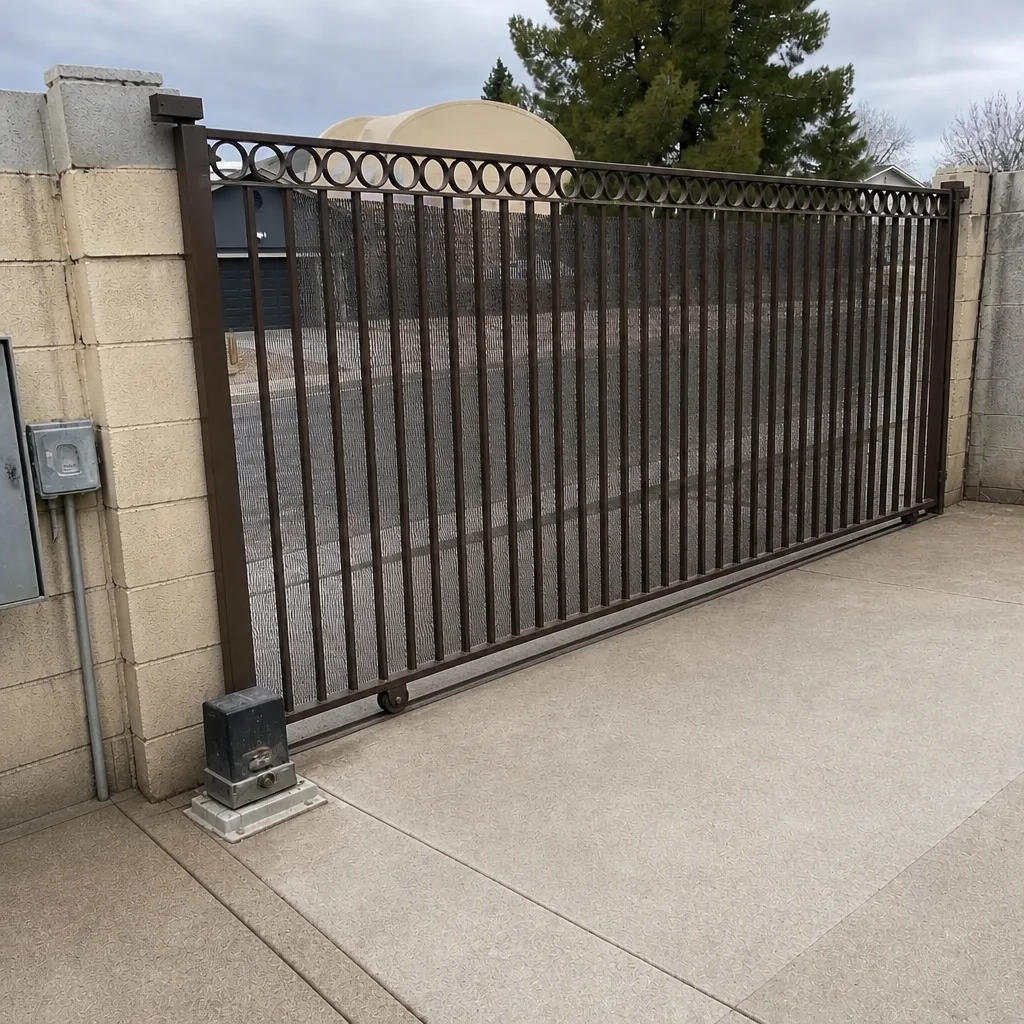 After
When to Call a Professional
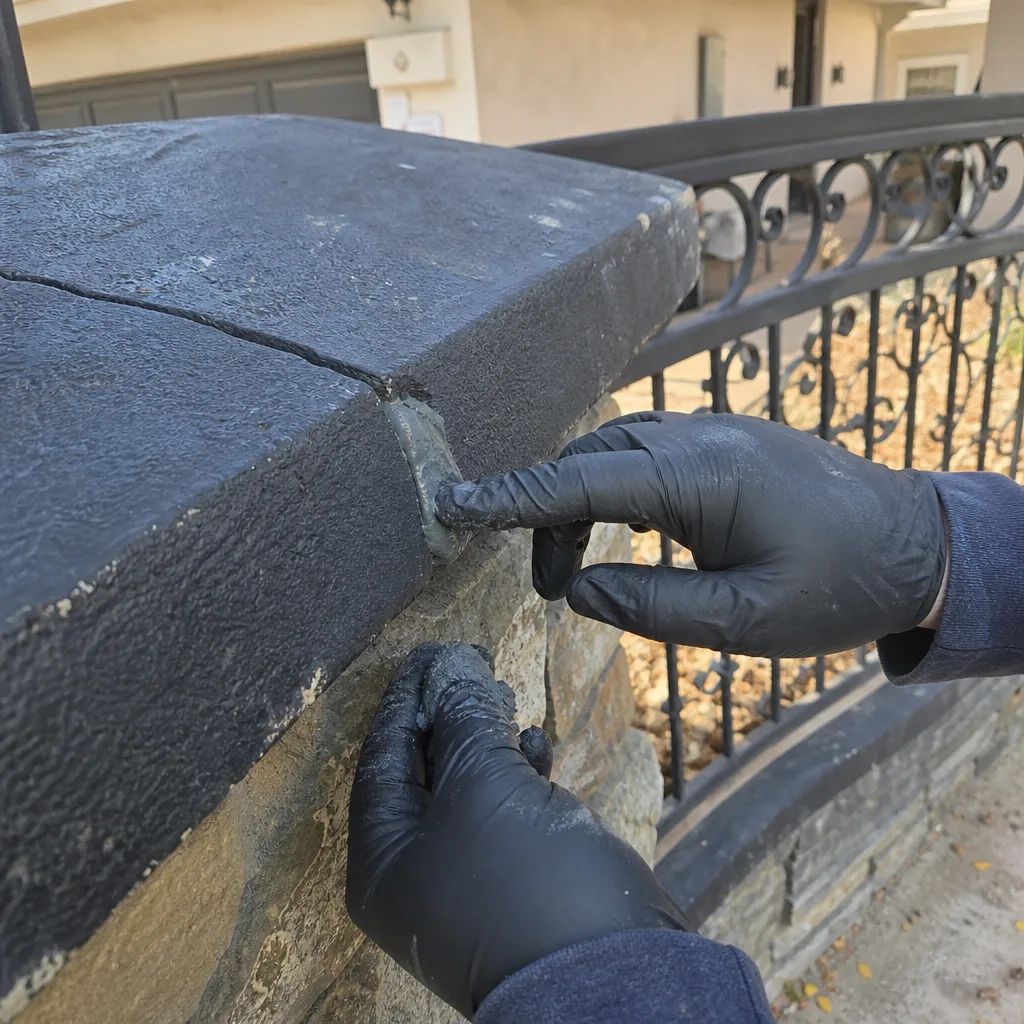
Call a professional when any part of the gate reverses intermittently, when the motor labors at one end of its travel, when the control box shows water inside, or when a post base has a gap under it. Those are installation defects, and the longer they sit, the more they cost: a bad limit setting takes out an operator arm, and a dripping control box takes out a circuit board. Also call when the installer has stopped responding and you need the defect documented in writing for a claim. Vance Gate Repair Whitney offers free estimates in Whitney – call (844) 797-4861 and a live person answers, day or night, with no callback queue. We photograph what we find and leave you the written record, so a second opinion is never just our word against theirs.
Frequently Asked Questions
Test your new gate on installation day, again at 15 days, and again at 30 days. A gate that passes all four checks in that window is far less likely to fail at month six, and any defect you document early is much easier to prove against the installer’s written scope.
An installation defect shows up as a failure that shouldn’t exist inside the warranty window: intermittent reversing, motor laboring at one end of travel, water in the control box, or a gap under the post base. Normal break-in is a slight settling over two to four weeks that doesn’t change what the gate does. If the gate changes behavior, it’s usually a defect. Call us for a free second opinion on another company’s estimate if you’re not certain whose problem it is.
A proper installation includes correctly sized wire for the run, drip loops at the control box and motor, a grouted load-bearing post base, correctly set limit switches with clearance to full travel, and surge protection on the operator. Those five items are what we check first when an install fails prematurely. Call (844) 797-4861 for a free estimate and we’ll walk you through what a written scope should have included.
Usually yes, but only if you can prove the defect existed within the install. That means documented photos with date stamps, a written timeline, and a written description of the defect from a technician. Send written notice to the installer with a repair deadline, and keep a copy. Our 365-Day Done Right Promise works that way by design: if the repair isn’t right, we make it right at no additional charge. Call (844) 797-4861 and we’ll document what we find before any work starts.
Yes. We service nine major gate automation brands, including Linear, Viking, Ghost Controls, and DoorKing, and the technician can identify the model from the control board or motor label. That’s exactly why a photographed wiring diagram from the original installation is so useful, and why we leave one on every visit.
Stop driving the gate and have it inspected before the post moves further out of plumb. A gap under a load-bearing post plate means the base was never properly grouted, and continuing to cycle the gate accelerates the misalignment. A technician can restore the footing and reset the gate before the frame warps. Call (844) 797-4861 for a free estimate; a live person answers at any hour.
The Bottom Line
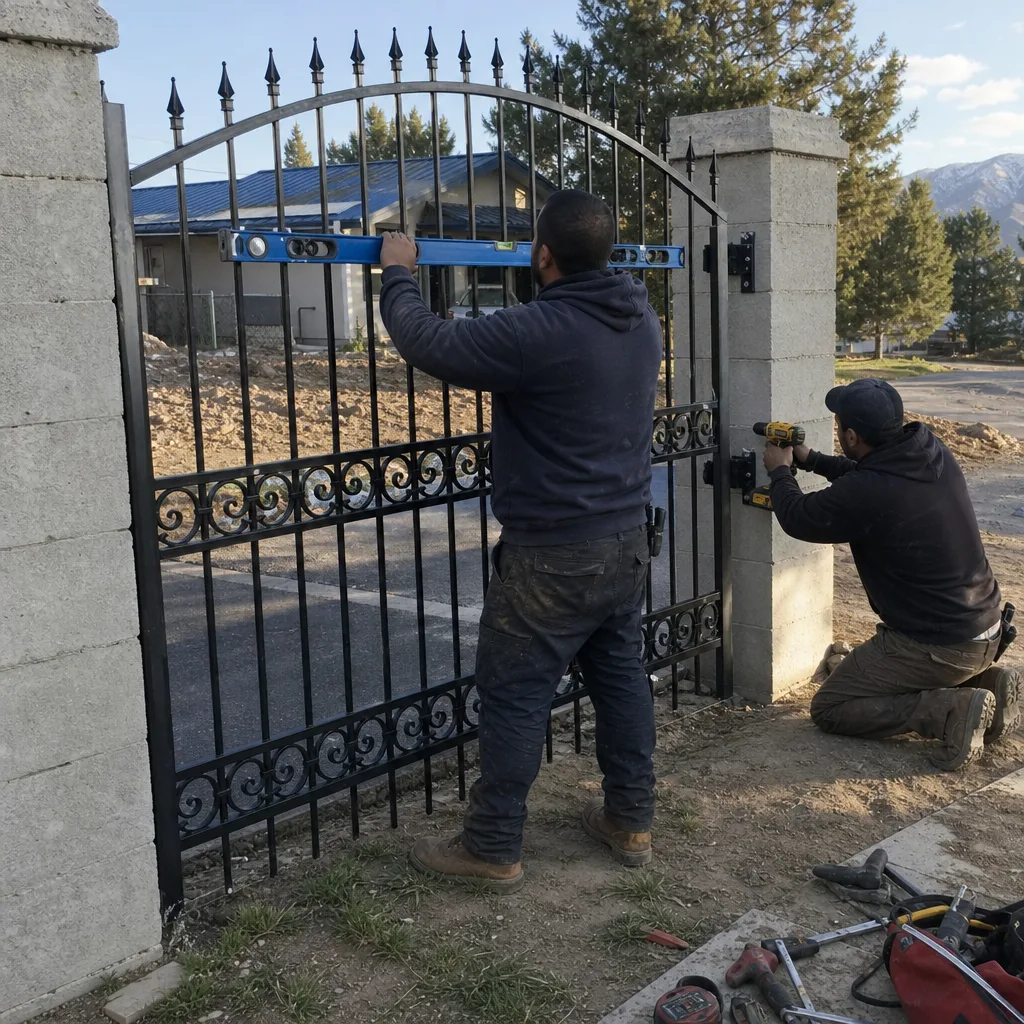
Your gate’s warranty clock starts on install day, and the first 30 days are when latent defects show themselves: a limit switch set short, an undersized wire run, a missing drip loop, an ungrouted base, no surge protection. Test travel time, the obstruction sensor, all-weather remote range, and the welds and bolts. Keep dated photos and a written log. If the installer goes quiet, put the defect in writing with a repair deadline, and get a second opinion in trade language before you file anything. That’s how a homeowner ends up paid back in a repair instead of stuck with the problem.
Vance Gate Repair Whitney can read what the first installation did. Call (844) 797-4861 for a free estimate – the price is written before we pick up a tool, and you’ll have a photo record of what we found before we leave. Explore our Vance Gate Repair Whitney home page, our gate repair in Whitney service, or our gate motor & opener in Whitney page for the next step.
Written by the team at Vance Gate Repair Whitney.