
Last updated November 18, 2026
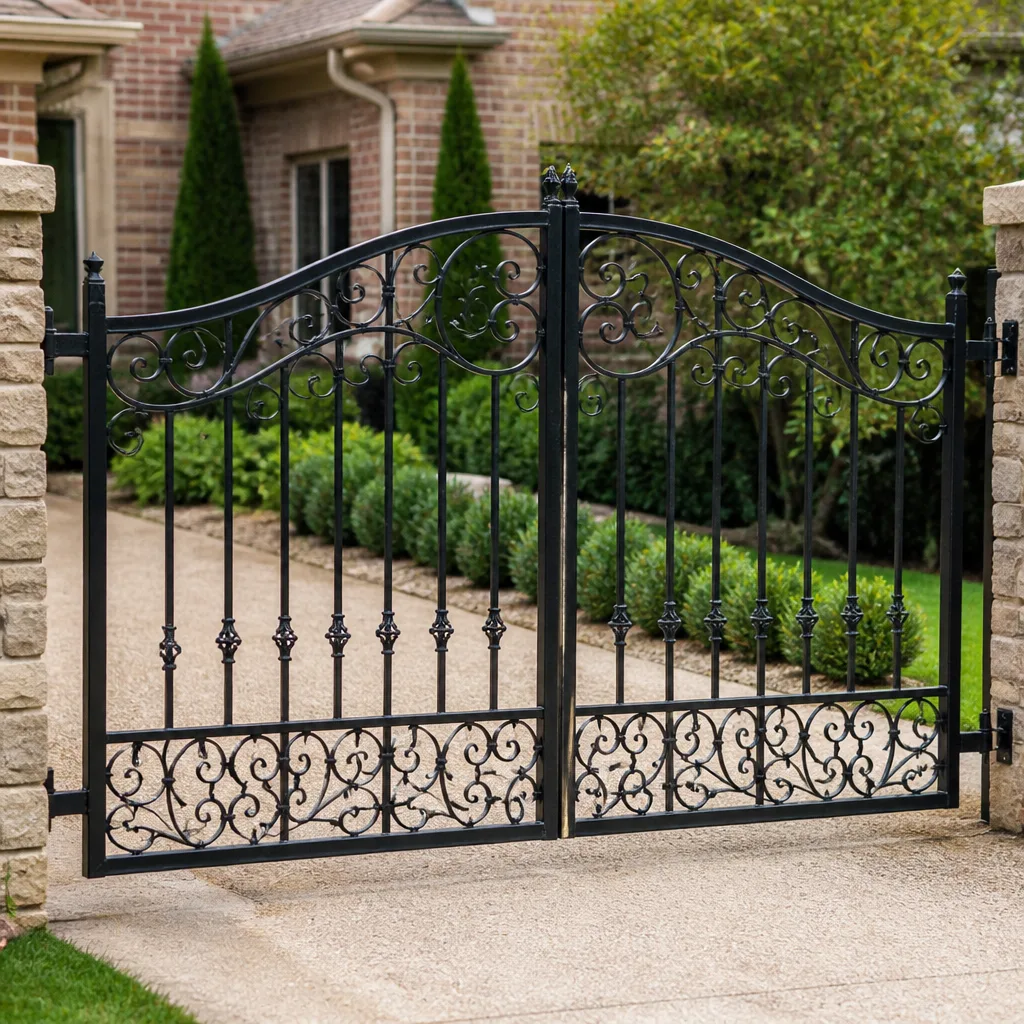 Wrought iron
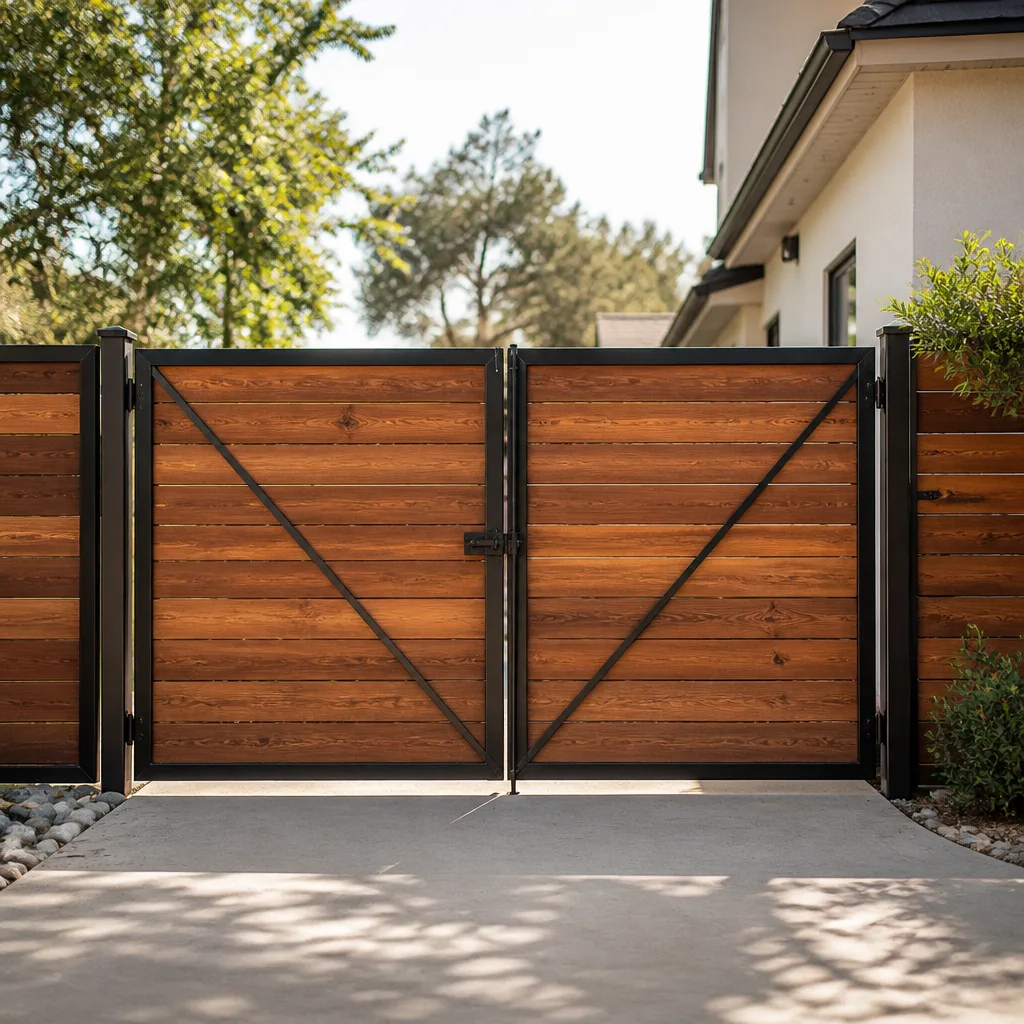 Wood & steel frame
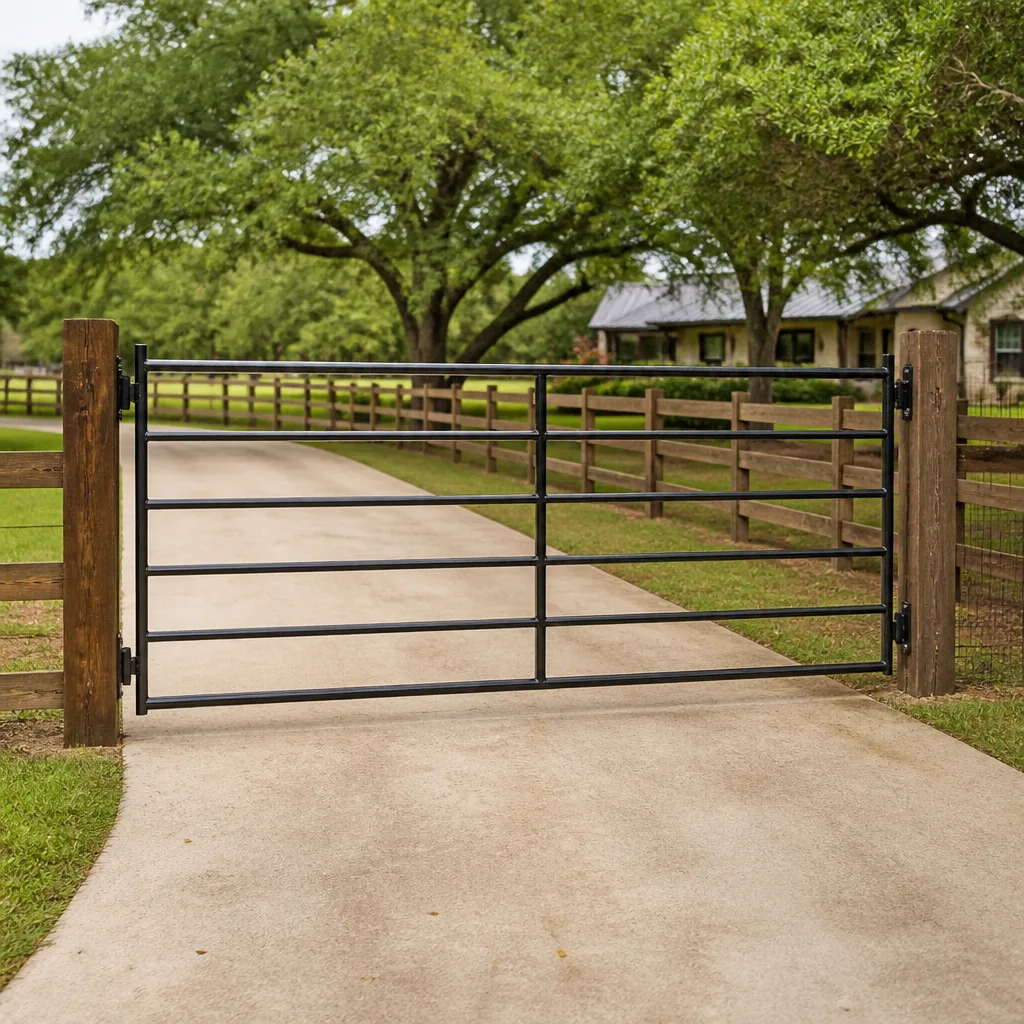 Farm & ranch
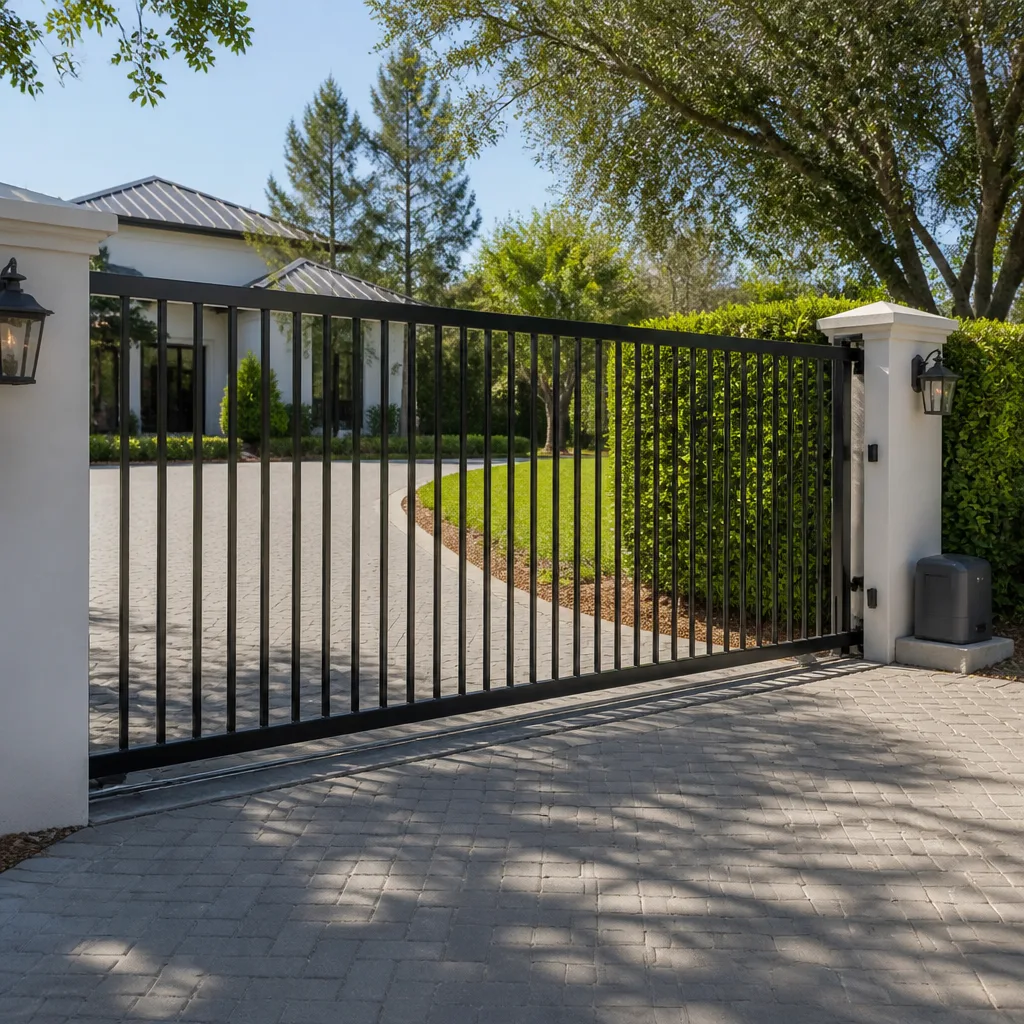 Sliding driveway gates
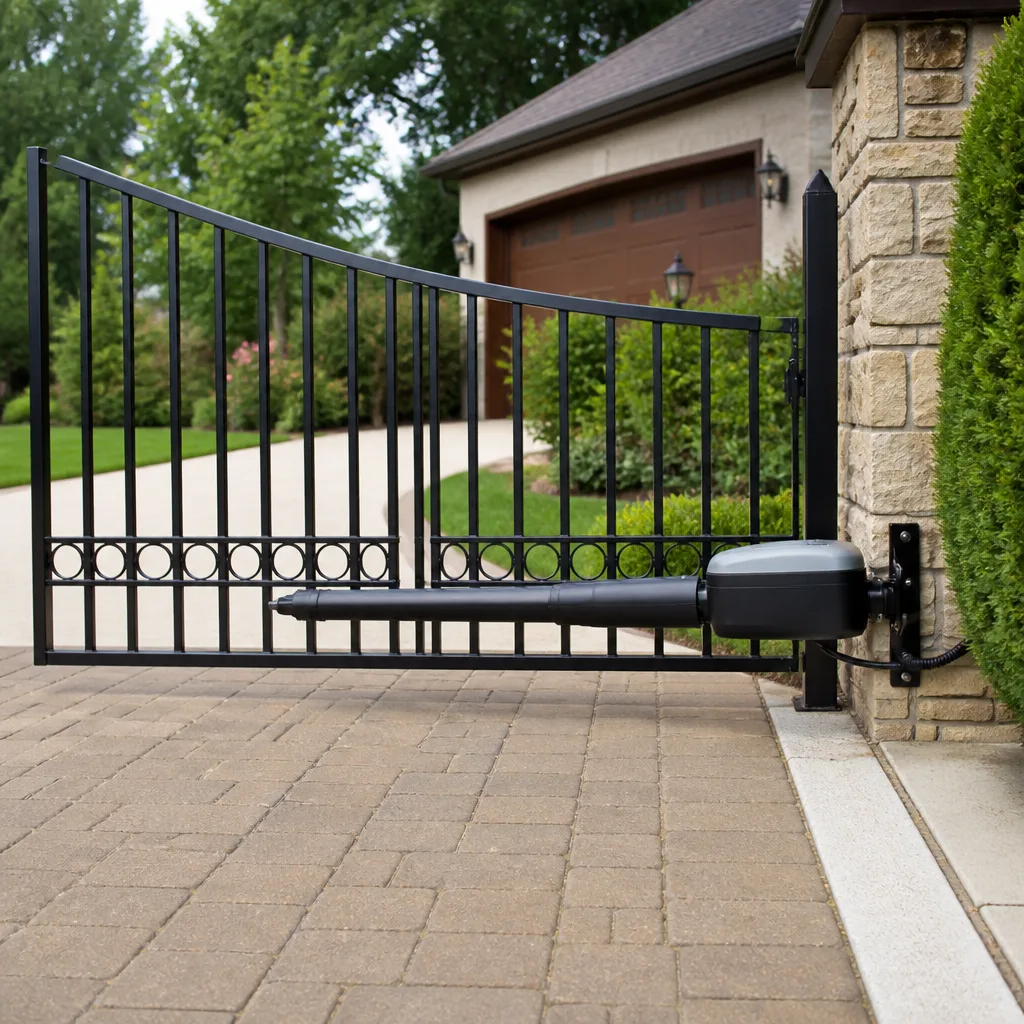 LiftMaster operators
Free on-site gate assessment - hinges, posts, and your LiftMaster or Nice gate operator checked before anything is quoted
The assessment is free and the quote is the invoice.
Get your free estimateThe Complete Gate Installation Guide for Whitney Homeowners
The gate itself is the cheapest part of a gate installation. The post footings, the conduit run, and the operator mounting are where Whitney projects go wrong. In our experience across thousands of gates, the failures that show up two or three years after a “finished” installation almost never trace back to the gate panel. They trace back to a footing poured too shallow for the soil, a conduit run that skipped a pull point, or a motor sized for a lighter gate than the one actually hung. This guide covers what a complete Whitney installation should include from the foundation up, so the money you spend holds up past the first hot summer.
Styles & brands we work with
- Wrought iron
- Wood & steel frame
- Farm & ranch
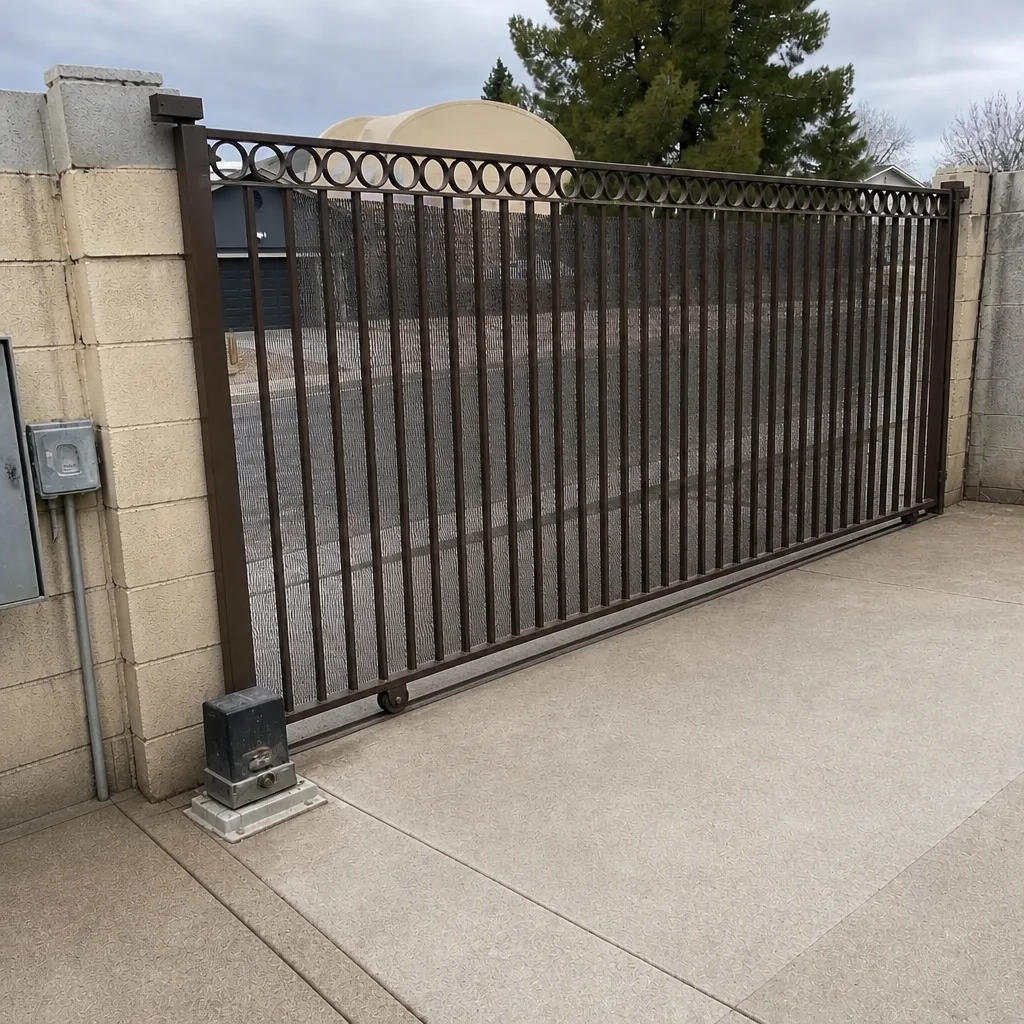
- Sliding driveway gates
- LiftMaster operators
Quick Answer
A complete gate installation in Whitney should include engineered post footings sized to local soil and frost depth, conduit and low-voltage wiring planned for future service, an operator sized to actual gate weight and daily cycle count, and a documentation package (wiring diagram, limit-switch settings, and photos of the conduit path and footing depth) handed to you at completion. The written scope should itemize post gauge, footing dimensions, and wire gauge, not just the operator model.
Table of Contents
- Why Whitney Installations Fail at the Foundation
- Whitney Soil and Frost: What Changes Your Footing Depth
- Conduit and Low-Voltage Wiring Decisions You Only Make Once
- What a Complete Written Installation Scope Should Itemize
- How Operator Sizing Is Calculated (and Why Undersizing Kills Motors)
- The Documentation Package You Should Receive
- The Installation Process, Step by Step
- Common Mistakes to Avoid
- When to Call a Professional
- Frequently Asked Questions
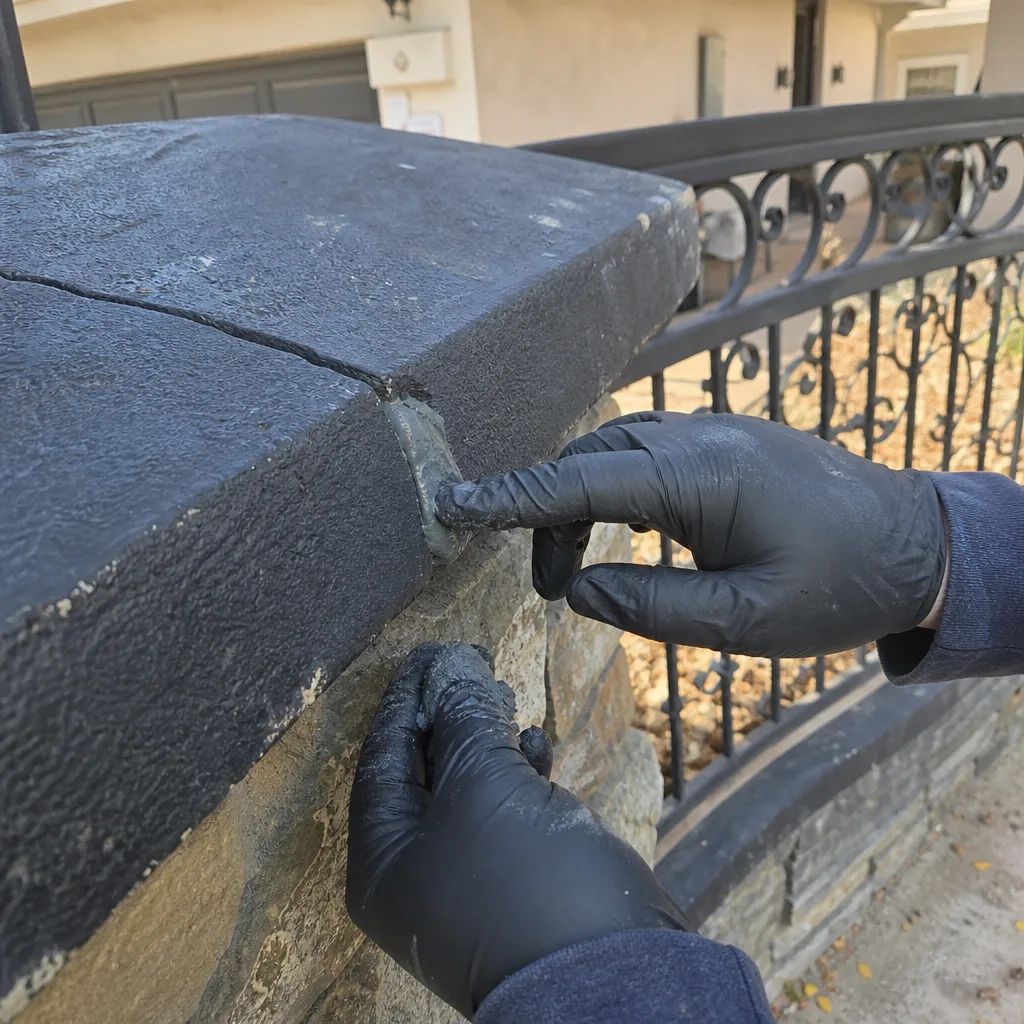
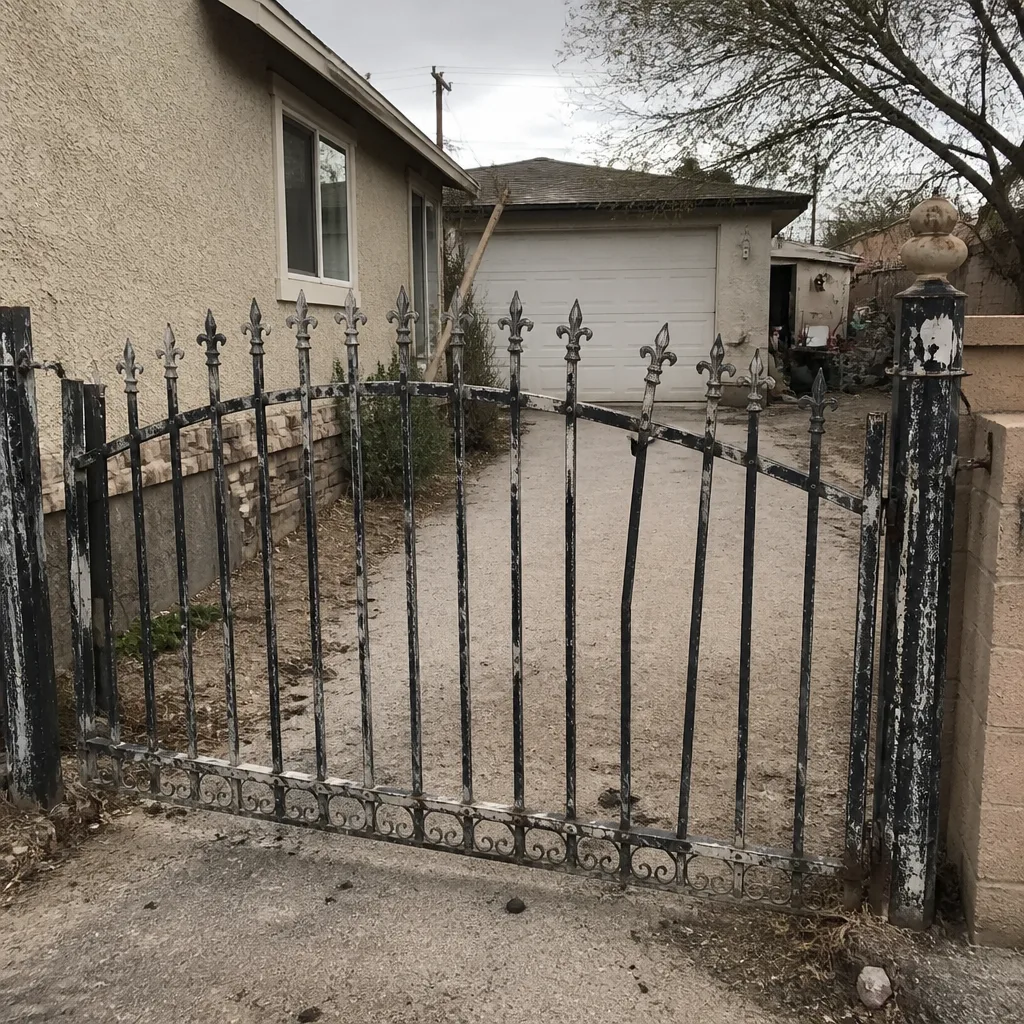 Before
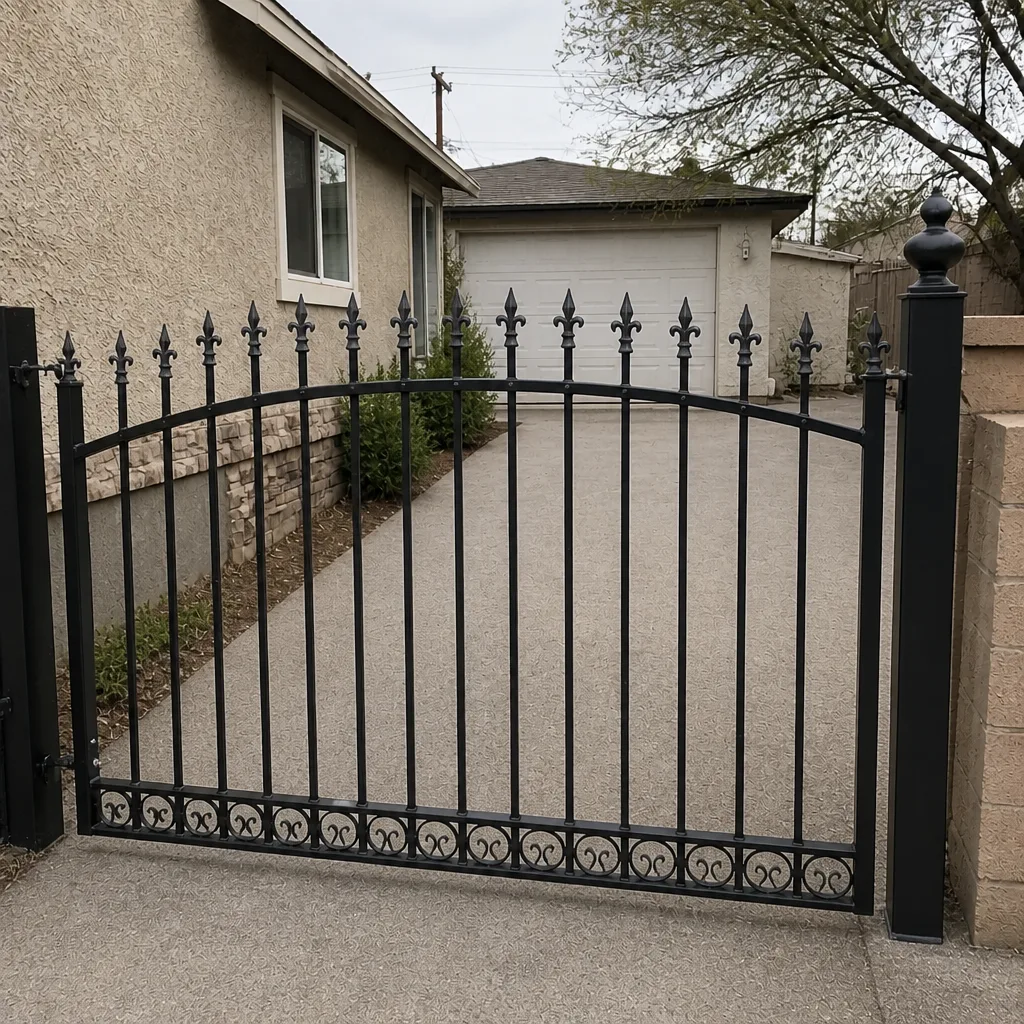 After
Why Whitney Installations Fail at the Foundation
Most gate problems we’re called to fix in Whitney started at the concrete, not the motor. A post that shifts a quarter inch per season throws off the gate’s travel, wears the hinges unevenly, and fools the operator’s limit switches into “phantom” faults that look like a motor problem and cost like one. Homeowners end up paying for a motor diagnosis when the real issue is a footing that never had enough mass.
The economics are stark. A full residential installation in the Whitney market commonly runs $5,000 to $9,000 depending on gate width, material, and automation. When the posts are undersized, remediation within three years can add $1,500 to $2,500: pulling the gate, cutting out the footing, re-pouring, re-hanging, and re-setting the operator. That’s the $2,000 hole our thesis points to, and it’s almost always avoidable at the pour.
What goes wrong specifically:
- Footing depth guessed rather than specified. A contractor pours what he pours on every job. Whitney’s soil and frost behavior get ignored.
- Concrete mixed by eye. A weaker mix in a bigger hole still moves. Strength matters as much as volume.
- Post gauge below spec. A thinner wall post flexes under a heavy gate and magnifies every flaw in the footing.
- No drainage plan. Water pooling at the base of a post undermines the soil around it over a few wet seasons.
The gate panel is visible and easy to price. The footing is buried and easy to skip. That’s exactly why it’s where we look first, and why it belongs in the written scope before anyone digs. If you’re already chasing a problem rather than planning an install, see our Gate Repair in Whitney page for how we diagnose footing-related failures.
Whitney Soil and Frost: What Changes Your Footing Depth
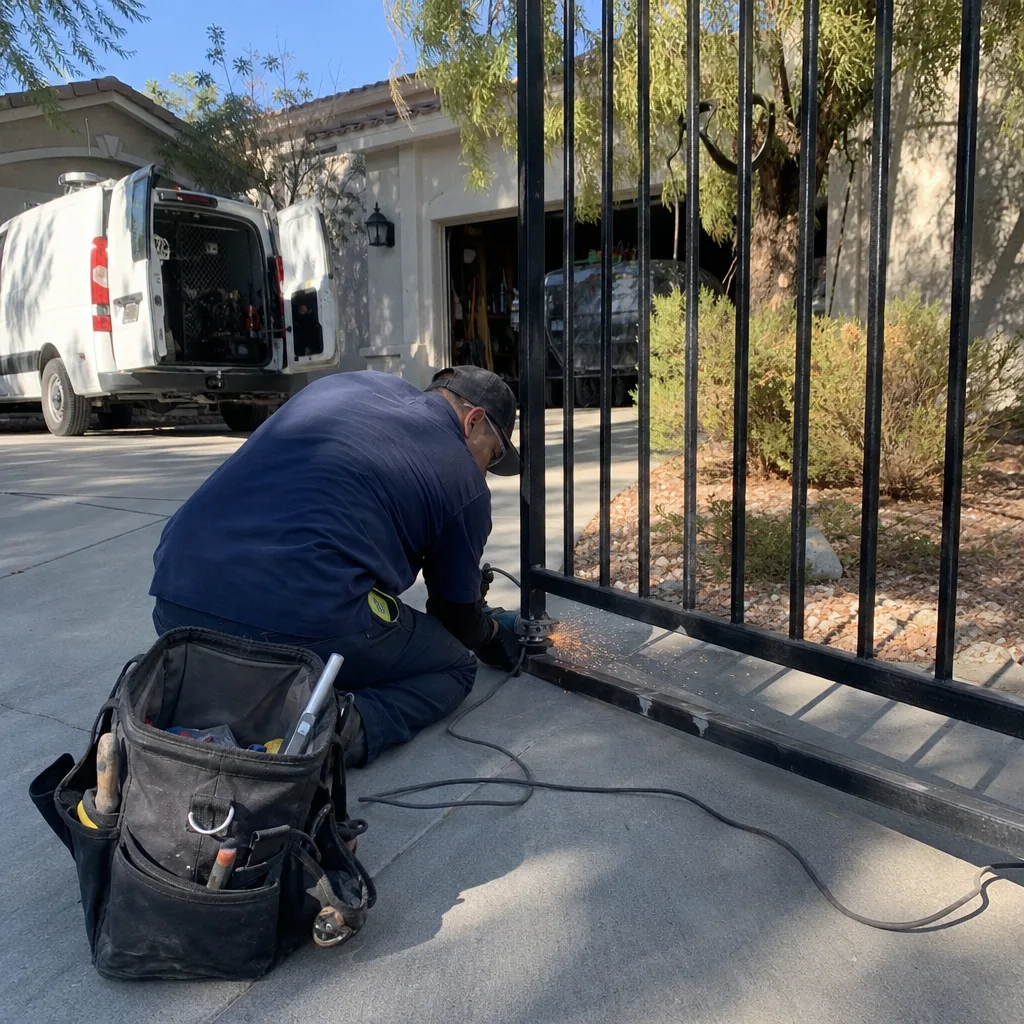
Whitney’s ground and climate are not the same as coastal or Midwest job sites, and footing assumptions imported from wetter climates are a leading cause of failure here. Local soils tend toward compacted, sometimes caliche-heavy ground that drains fast on the surface but can hold moisture at depth after a rare sustained rain. That combination changes both how deep you go and how you mix the concrete.
Here’s how it plays out on a Whitney install:
- Frost depth is shallower than northern climates, but not zero. A footing sized for a deep-frost region is oversized and wasteful; a footing sized for no frost at all is undersized. The right depth sits between those, matched to local code and soil.
- Caliche and hardpan need wider footings, not deeper ones. When the ground resists digging, some crews go shallow and wide to save labor. Wider helps only if the bell is properly formed. A sloppy wide hole is worse than a clean deep one.
- Concrete mix selection matters. A hotter, drier climate cures concrete faster and can cause early cracking if the mix and water ratio aren’t right for the day. A mix specified for the local conditions outlasts a generic “one bag fits all.”
- Drainage around the post base. Slope the grade away from the post and keep the concrete crown above soil so water doesn’t sit against the steel.
We can’t give you a single frost-depth number that applies to every Whitney lot, because soil and grade vary from street to street. What we can tell you is that a written scope should state the footing dimensions and concrete specification for your specific property, not a generic line item. That single sentence in the quote is what separates a foundation that lasts from one you’ll be paying to redo.
Conduit and Low-Voltage Wiring Decisions You Only Make Once
The conduit run is the decision that determines how easy or impossible every future service call will be. Once the trench is backfilled and the driveway is finished, the wiring path is locked in. Get it right and a technician can pull a new low-voltage wire in twenty minutes. Get it wrong and every future repair means trenching, cutting, or improvising around a path that was never planned for service.
What a properly planned run includes:
- Oversized conduit. A conduit sized for exactly today’s wire leaves no room to add a second circuit, a keypad, or a safety-edge loop later. We spec conduit with spare capacity.
- Pull points and sweep bends. Sharp 90-degree elbows trap wire and make pulling new cable a nightmare. Sweeps and accessible junction points keep the run serviceable.
- Separate low-voltage from line-voltage. The operator’s control wiring and the power feed should not share a path that induces interference. Keeping them apart prevents the “mystery ghost-open” faults that are miserable to trace.
- Photo-eyes and safety edges wired in at install, not added after. The infrared beam that stops the gate if something crosses the path, and any edge sensor on the gate leaf, should be part of the original plan. Retrofitting them means re-pulling wire.
- Access control provisions. If a keypad, intercom, or phone-app entry is even a maybe, run for it now. It’s a few extra dollars at install and a major project later.
This is the same discipline our team applies on every automation job, and it’s the reason we document the conduit path with photos before backfill. If you’re weighing automation for an existing gate, our Gate Motor & Opener in Whitney page covers how we check whether the current wiring can support it.
What a Complete Written Installation Scope Should Itemize
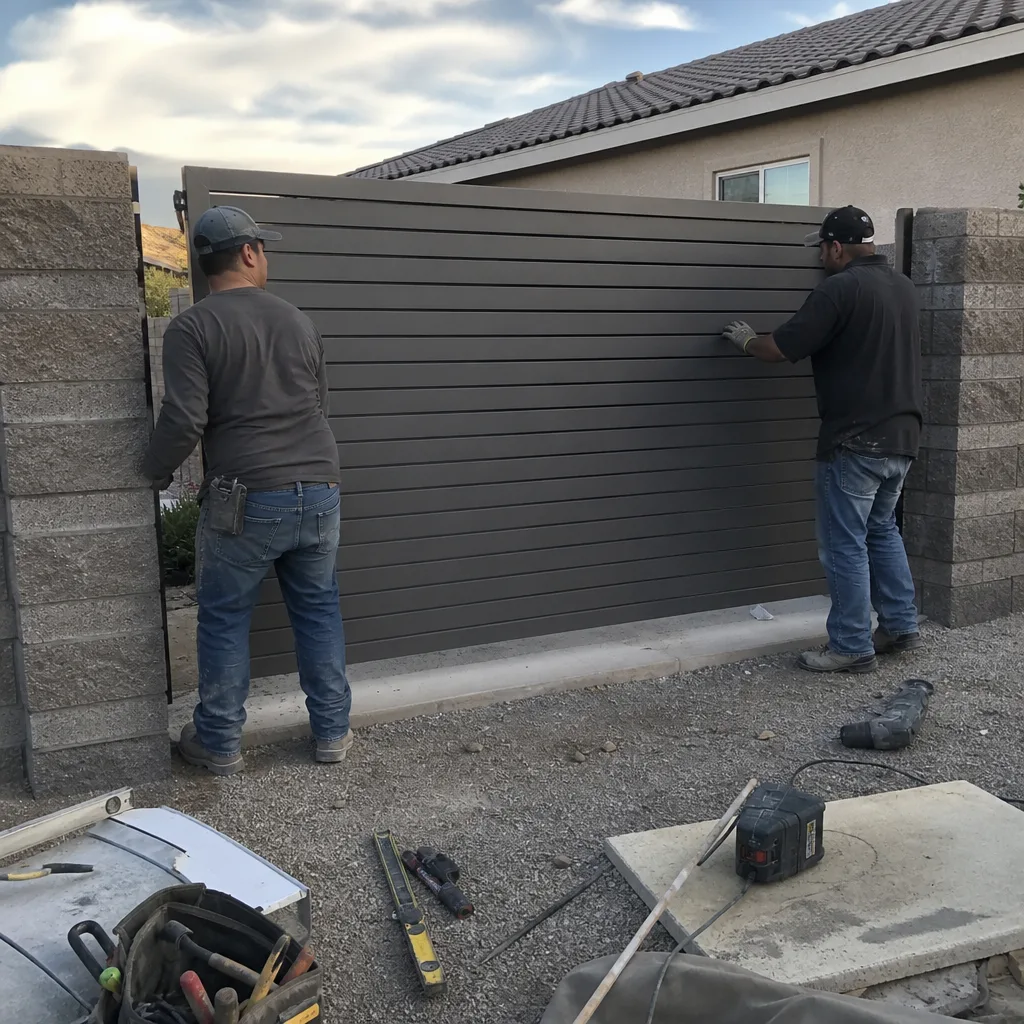
Most installation quotes name the operator model and a lump-sum price. That’s not a scope. A real written scope lets you compare two bids fairly and protects you from the three “surprise” line items that show up mid-job. Here’s what yours should itemize, in writing, before any work begins:
- Gate panel specifications: material, width, height, and weight. Weight drives operator sizing, so it has to be stated.
- Post gauge and dimensions: the wall thickness of the posts, not just the size. A thinner gauge flexes.
- Footing dimensions and concrete spec: hole diameter, depth, and mix. This is the line item nearly everyone omits.
- Conduit size, wire gauge, and routing plan: how the power and control wiring travel from the source to the operator.
- Operator model and rated capacity: matched to the gate’s weight and expected daily cycles.
- Safety devices: photo-eyes, safety edges, and how they’re wired and tested.
- Access control: keypad, remote, intercom, or app integration, stated as included or excluded.
- What’s left on the property: the documentation package described below.
Line 3 and line 4 are the ones that decide whether your installation ages well. A bid that itemizes the operator but not the footing is telling you where the corners will be cut. The flat price should be written and in your hands before a shovel touches the ground, and the total on the invoice at the end should match that number. If a bid from another company looks low, bring the paperwork to us: we offer a free second opinion on any written estimate from another gate company, and we’ll tell you what it’s missing. You can start planning with our Gate Installation in Whitney page.
How Operator Sizing Is Calculated (and Why Undersizing Kills Motors)
Undersizing is the leading cause of premature motor failure, and it’s entirely preventable with a calculation nobody sees in the quote. An operator has two ratings that matter: the weight it can move, and the number of cycles it can handle per day. Size it to the gate and it lasts. Size it to a lighter gate, or ignore cycle count, and it works perfectly until the day it doesn’t, usually two to three years in.
The calculation runs on three inputs:
- Gate weight. A heavier gate needs a motor with headroom above its weight, not one rated exactly at it. Continuous strain is what burns out the gearbox.
- Gate length and leverage. A long gate applies more torque at the hinge. Length matters even at the same weight.
- Daily cycle count. A gate that opens twice a day is a different machine than one that opens forty times. An operator rated for heavy residential use but installed on a high-traffic entry will fail early if the cycle count wasn’t considered.
Swing and slide gates are sized differently, and brand selection follows the calculation, not the other way around. We service nine major automation brands, including BFT, Linear, Viking, and Ghost Controls, so the calculation is driven by your gate and your traffic pattern rather than by which motor we happen to stock. The right motor for a wide, heavy Whitney driveway gate is rarely the cheapest unit a bid names. When the gate is oversized for its operator, the failure shows up as gearbox wear, limit-switch drift, and repeated service calls, not a clean break. That’s the cost of saving $300 at the quote.
If you already have a motor that’s struggling on a gate it was never sized for, we can tell you quickly whether the fix is a setting adjustment or a properly sized replacement. The cycle-frequency point is where a lot of “the motor keeps failing” stories actually come from.
The Documentation Package You Should Receive
At completion, you should walk away with more than a working gate. You should have a record that lets any future technician understand the installation without guessing. That’s our evidence-first habit applied to installations, and it’s written into the way we work. The package should include:
- A wiring diagram showing the power feed, control wiring, and safety-device circuits as actually installed.
- Limit-switch settings recorded as they were set, with readings a technician can reference.
- Photographs of the conduit path taken before backfill, showing the route and pull points.
- Photographs of footing depth and post placement during the pour.
- The part numbers installed, operator model, and any access-control components.
Why it matters: when a gate fails five years from now, the next technician either has this record or has to rediscover the installation by trial and error. Rediscovery is expensive and it’s paid by you. With the documentation in hand, a diagnosis is a ten-minute review instead of a day of tracing. We leave a photo record of every adjustment and install on every visit, and we file it so nobody has to guess.
The Installation Process, Step by Step
A well-run installation follows a predictable sequence. Here’s the order that keeps a Whitney project on the rails, from the first measurement to the final handover:
- On-site measurement and weight check. We measure the opening, confirm gate weight and material, and note the grade and drainage around the post locations.
- Written scope and flat price. Footing dimensions, post gauge, conduit size, wire gauge, operator model, and safety devices, all itemized and priced before work starts.
- Excavation and footing pour. Footing depth sized to local soil and conditions, with photos taken during the pour. Concrete allowed to cure properly before any load is placed on it.
- Conduit and wiring run. Low-voltage and line-voltage kept separate, pull points set, and the path photographed before backfill.
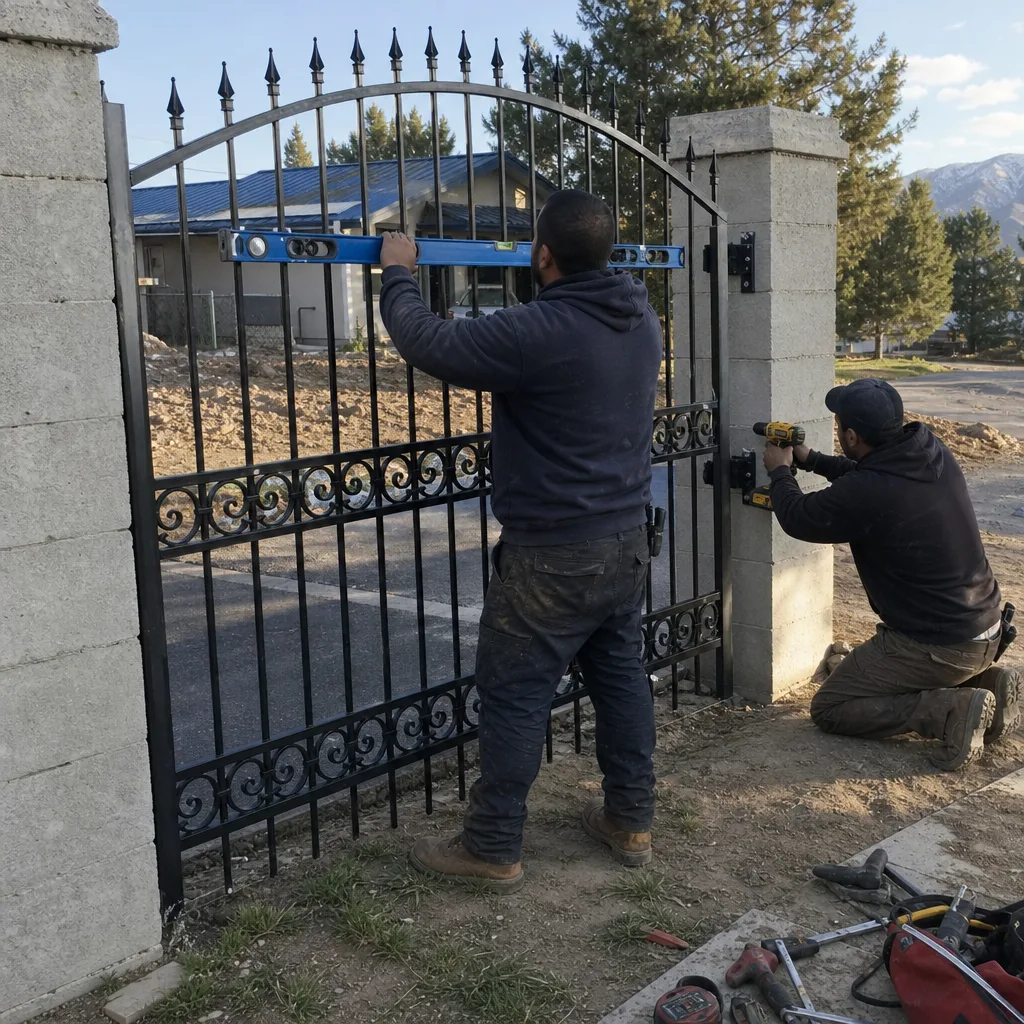
- Gate hanging and alignment. Gate hung level, hinges checked for even travel, and height set for clearance and swing.
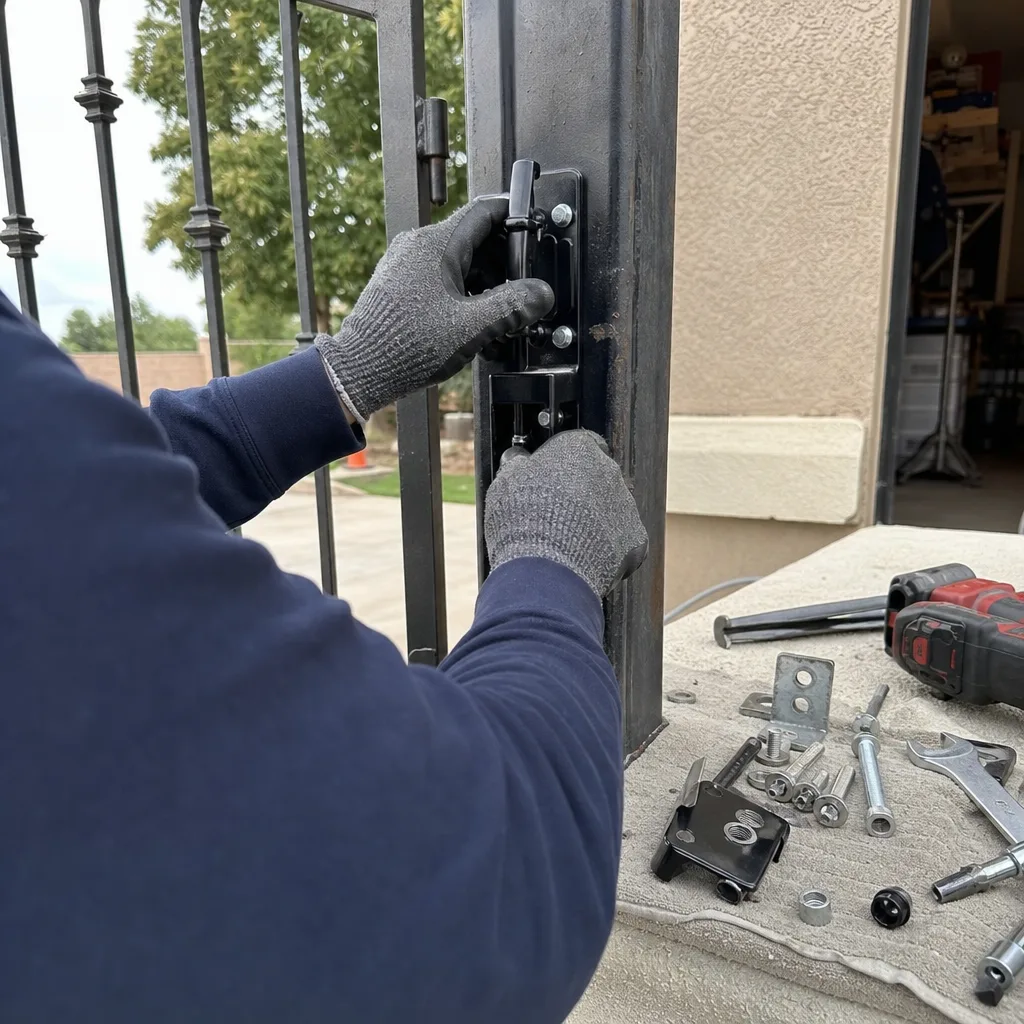
- Operator mounting and sizing verification. Operator installed to the sized specification, bracket secured, and the arm bracket checked for integrity.
- Safety device wiring and testing. Photo-eyes aligned and tested, safety edges verified, and the reverse-on-obstruction function confirmed.
- Limit-switch setting and documentation. Travel limits set, readings recorded, wiring diagram finalized, and the full package handed over.
That sequence is written down and followed on every job, which is how a flat price gets delivered with confidence. When the process is documented, the price holds. When you’re comparing bids, ask any contractor to walk you through this sequence. A bid that can’t describe its own steps is a bid that hasn’t planned them.
Common Mistakes to Avoid
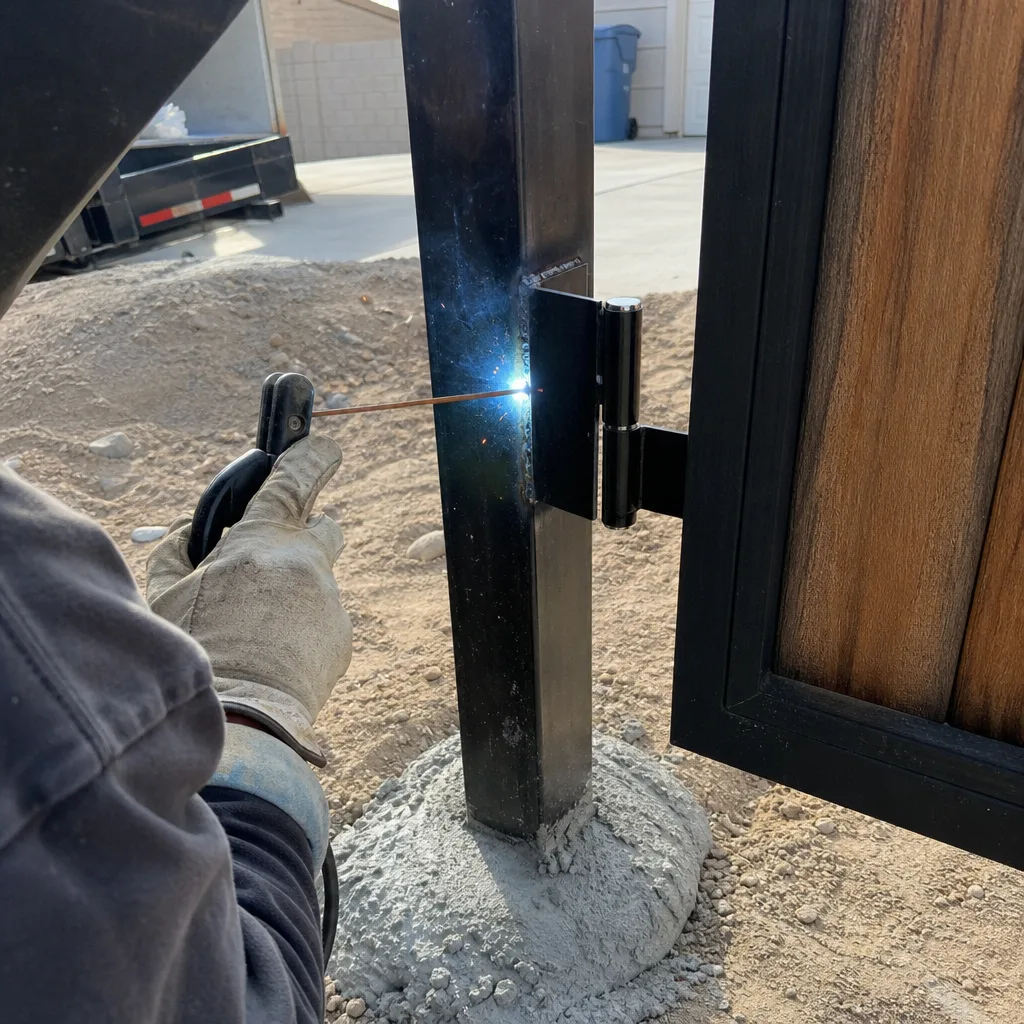
- Approving a lump-sum quote with no footing line item. If the bid names the operator and a price but not the footing dimensions and concrete spec, the foundation is an afterthought. That’s the item that fails first in Whitney soil.
- Letting the trench get backfilled without photos. Once the conduit is buried, you rely entirely on the contractor’s word about where it runs. Insist on pictures before the dirt goes back.
- Choosing the operator before the gate weight is known. Sizing follows weight and cycle count, not the other way around. A motor chosen from a catalog without a weight measurement will be wrong for a heavy Whitney gate.
- Skipping safety-device wiring to save money. Photo-eyes and safety edges should be planned and wired at install. Retrofitting them means re-trenching and re-pulling wire at several times the cost.
- Accepting an undersized post to save a few dollars. A thinner-gauge post flexes under load and magnifies footing flaws, turning a small shift into a persistent alignment problem.
- Taking the verbal nice-to-know and leaving the documentation behind. No wiring diagram, no limit-switch readings, no photos means every future service call starts from zero, and you pay for that rediscovery.
- Ignoring drainage at the post base. Whitney gets occasional heavy rain that pools. Grade the soil away from the post and keep the concrete crown above grade so water doesn’t undermine the footing over a few seasons.
When to Call a Professional
Some gate work belongs in trained hands. The installation involves high-tension springs, live line-voltage wiring, and heavy loads on posts that can mangle a gate if a footing lets go. If any of the following describes your situation, it’s time to call:
- You’re planning a new gate and need the footing sized for Whitney soil and frost behavior rather than guessed.
- Your existing gate has shifted, dragged, or stopped latching after a recent install.
- A new operator was installed and keeps faulting or wearing out prematurely.
- Your safety devices aren’t wired in, or you’re not sure they work.
- You need the wiring and conduit path redone so future service is actually possible.
Vance Gate Repair Whitney offers free estimates in Whitney. The written price is in your hands before any work starts, and every visit leaves a photo record of what we found and what we set. Call (844) 797-4861 to book a measurement. A live person answers at any hour, so you’re not leaving a message in a queue.
Frequently Asked Questions
A full residential gate installation in Whitney typically runs $5,000 to $9,000, depending on gate width, material, automation, and the footing work required for your specific soil and grade. The written scope should itemize post gauge, footing dimensions, and wire gauge so the number has context. Call (844) 797-4861 for an exact quote. Estimates are free.
Footing depth depends on local soil and frost behavior and is set for your specific property, not from a generic number. What matters is that the written scope states the footing dimensions and concrete spec for your lot before work begins. That line item is the one most bids omit, and it’s the one that determines whether the gate still sits true three years out. Call (844) 797-4861 and we’ll walk through what your property needs.
No. Gate installation is measured, ordered, and scheduled work. The footing has to be poured and cured, the conduit run planned, and the operator sized to the gate before anything is hung, so a complete installation is a multi-stage project rather than a single visit. What we commit to is a written scope and a flat price before work starts, not a same-day promise. Call (844) 797-4861 to schedule a measurement.
A complete installation includes the gate panel, engineered post footings, the conduit and low-voltage wiring run, a correctly sized operator, wired and tested safety devices, and the documentation package (wiring diagram, limit-switch settings, and photos of the conduit path and footing depth). Ask for each of these in the written scope. Call (844) 797-4861 for a full itemized estimate.
Yes. The low-voltage wiring run, line-voltage power feed, photo-eyes (the infrared beam that stops the gate if something crosses the path), and safety-edge wiring are planned into the installation rather than added after, so they’re serviceable later. That’s a big part of what makes future service calls quick instead of expensive. Call (844) 797-4861 for a free estimate.
Premature motor failure almost always traces back to undersizing: a motor rated below the gate’s actual weight or daily cycle count works fine until the continuous strain wears the gearbox and drifts the limit switches. Fixing it usually means sizing to the real gate weight and traffic pattern rather than the cheapest unit a bid named. We service nine major brands, including BFT, Linear, and Viking, and can check whether your current motor is the right one. Call (844) 797-4861.
The Bottom Line
In Whitney, a gate installation succeeds or fails on the parts you can’t see. Footings sized to local soil and frost behavior, conduit planned for future service, an operator calculated against real gate weight and cycle count, and a documentation package that lets any technician understand the job without guessing. Those four things are why a $6,000 installation holds up instead of needing $2,000 in remediation within three years. Get the written scope, check the footing and wiring line items, and keep the photos. The gate panel is the cheapest part of the job, and it should be the last thing you worry about.
Written by the team at Vance Gate Repair Whitney.
Ready to plan your installation properly? Call Vance Gate Repair Whitney home at (844) 797-4861 for a free estimate. We’ll hand you a written price before any work begins and leave a documented record of everything we installed.
See the difference
BeforeAfter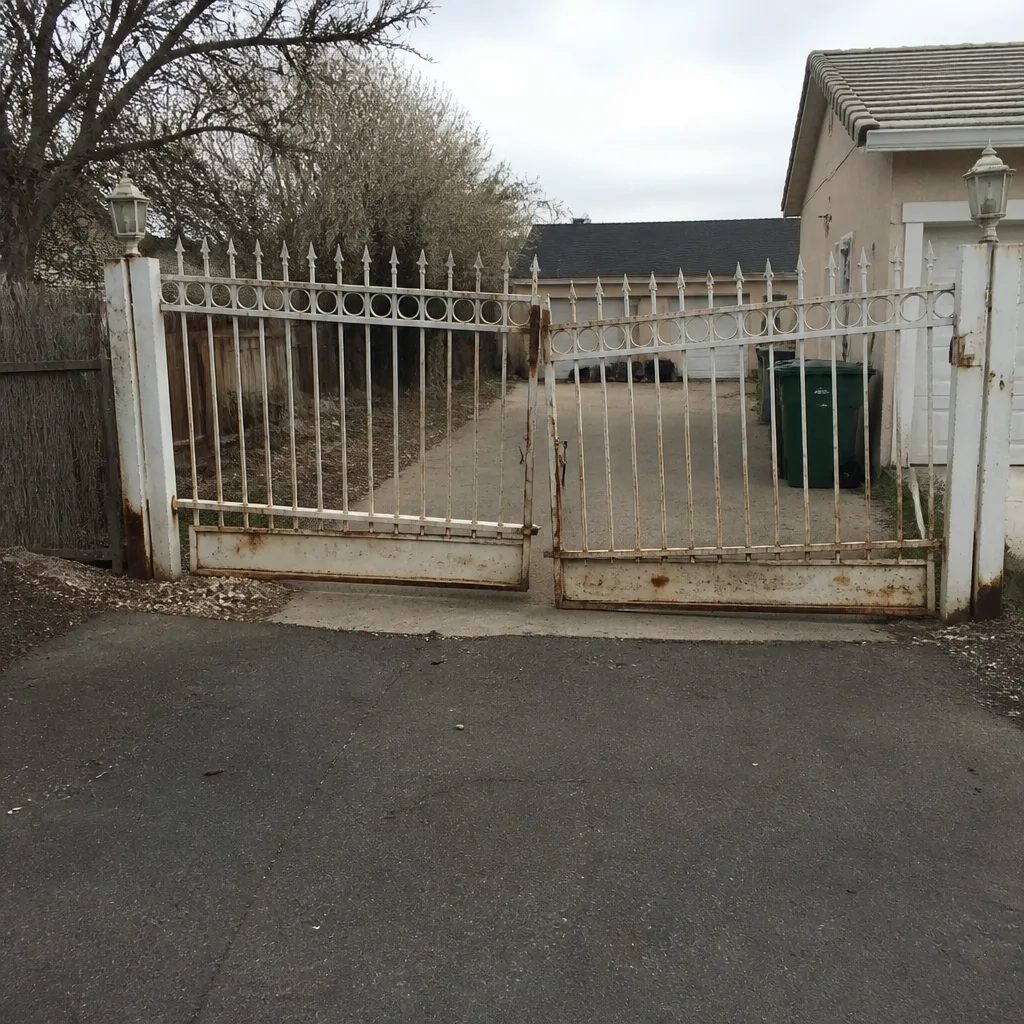 Before
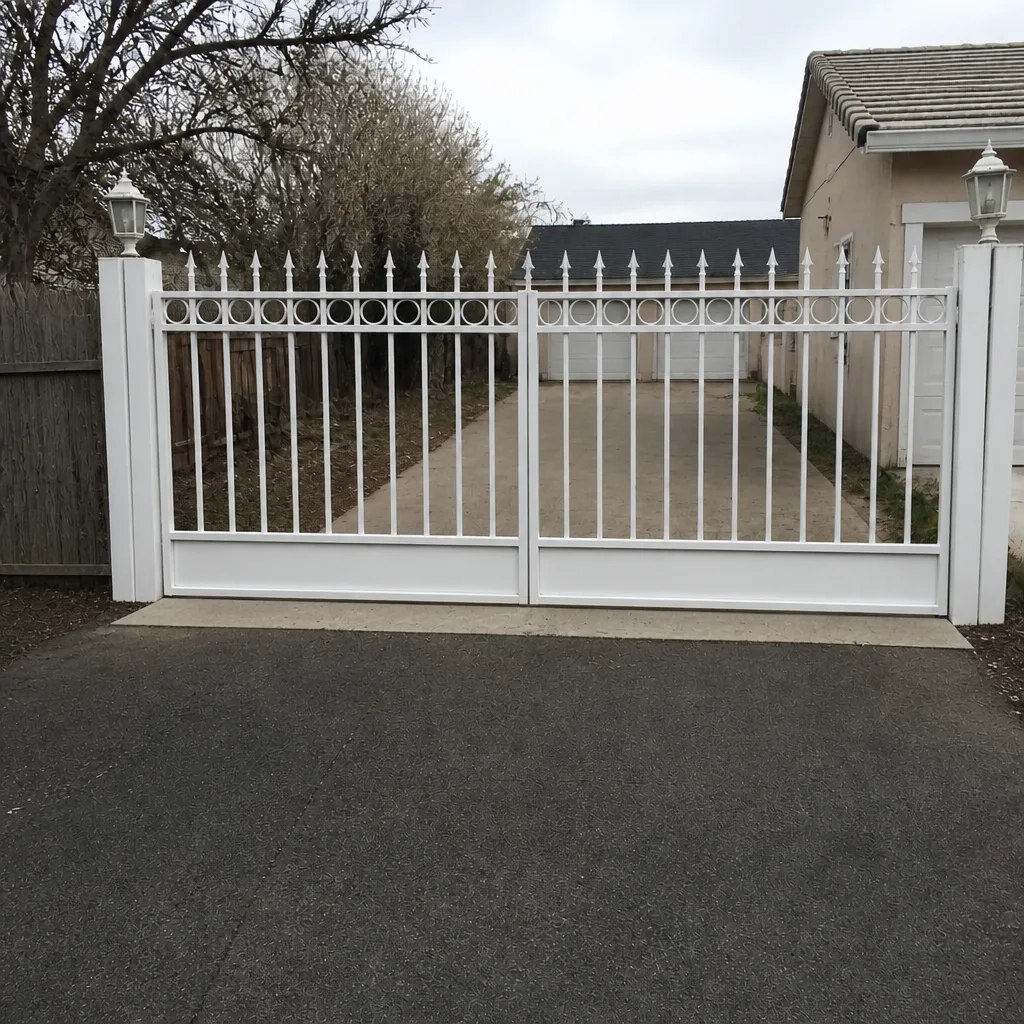 After
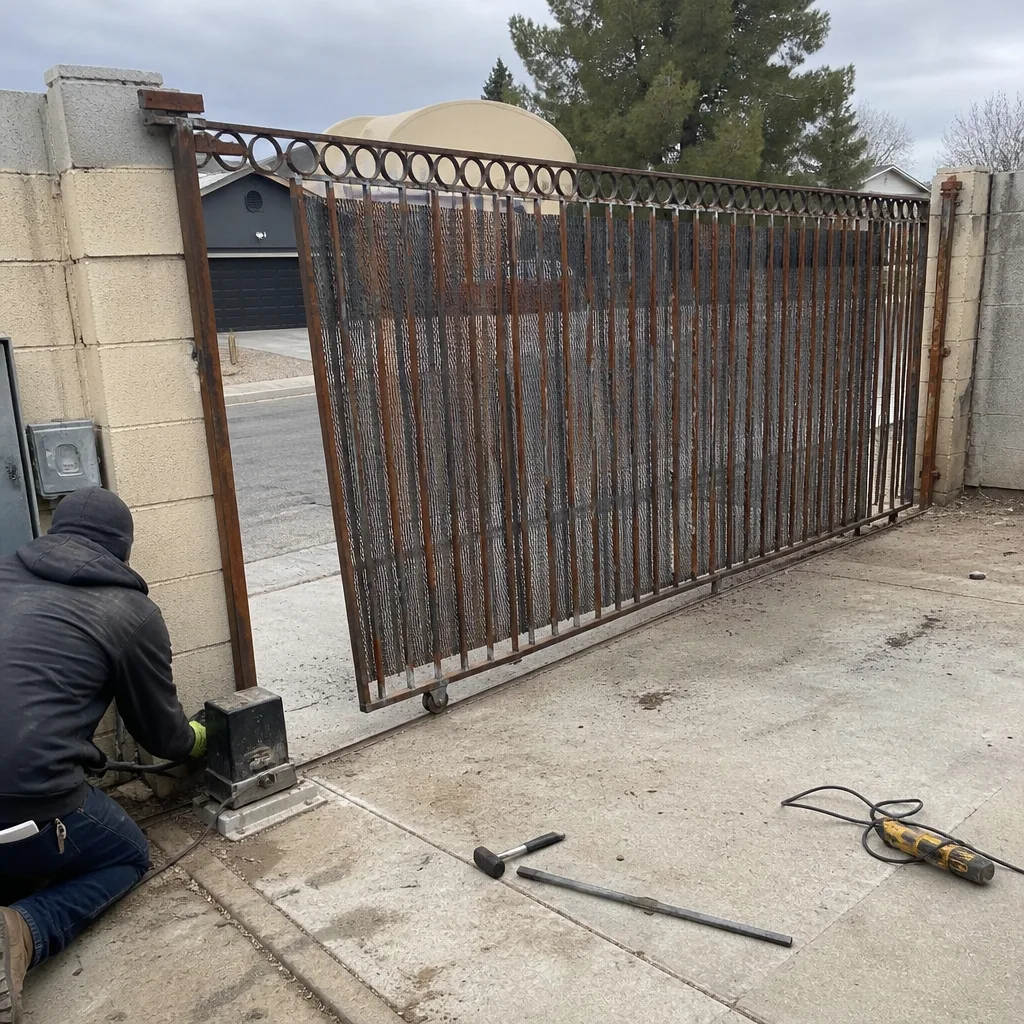 Before
 After